The Day I Learned to Share Cookies
I still remember the first time I baked these little peanut butter gems. My grandson was coming over, and he had just found out he couldn’t eat wheat anymore. His poor little face was so sad. He thought cookies were gone forever.
I wanted to prove him wrong. So I grabbed my old mixing bowl and started experimenting. When he took that first bite, his eyes went wide. He said, “Grandma, these are better than the old ones!” I still laugh at that. Doesnt that smell amazing when they bake?
Why These Cookies Work
The secret is the peanut butter. It brings so much flavor and moisture that you dont miss the wheat at all. Gluten-free flour can be tricky, I know. But when you use a good one with xanthan gum already in it, like the Pillsbury kind I love, the dough holds together just right.
The molasses is my little trick. Just one teaspoon. It adds a warm, deep sweetness that makes these taste homemade. This matters because store-bought gluten-free cookies often taste dry or sandy. These are soft and chewy, just like cookies should be.
Ingredients:
| Ingredient | Amount | Notes |
|---|---|---|
| Gluten-free peanut butter | 1/2 cup | |
| Granulated sugar | 1/2 cup | |
| Brown sugar, packed | 1/2 cup | |
| Unsalted butter, softened | 1/2 cup | |
| Molasses | 1 teaspoon | |
| Large egg | 1 | |
| Gluten-free all-purpose flour with xanthan gum | 1 1/4 cups | I like Pillsbury gluten-free flour. Not all gluten-free flours are created equal. You may experience different baking results depending on the gluten-free flour blend you choose. |
| Baking soda | 3/4 teaspoon | |
| Baking powder | 1/2 teaspoon | |
| Gluten-free all-purpose flour | 1 tablespoon | |
| Granulated sugar (optional) | 1 tablespoon |
These Cookies Remind Me of Sunday Afternoons
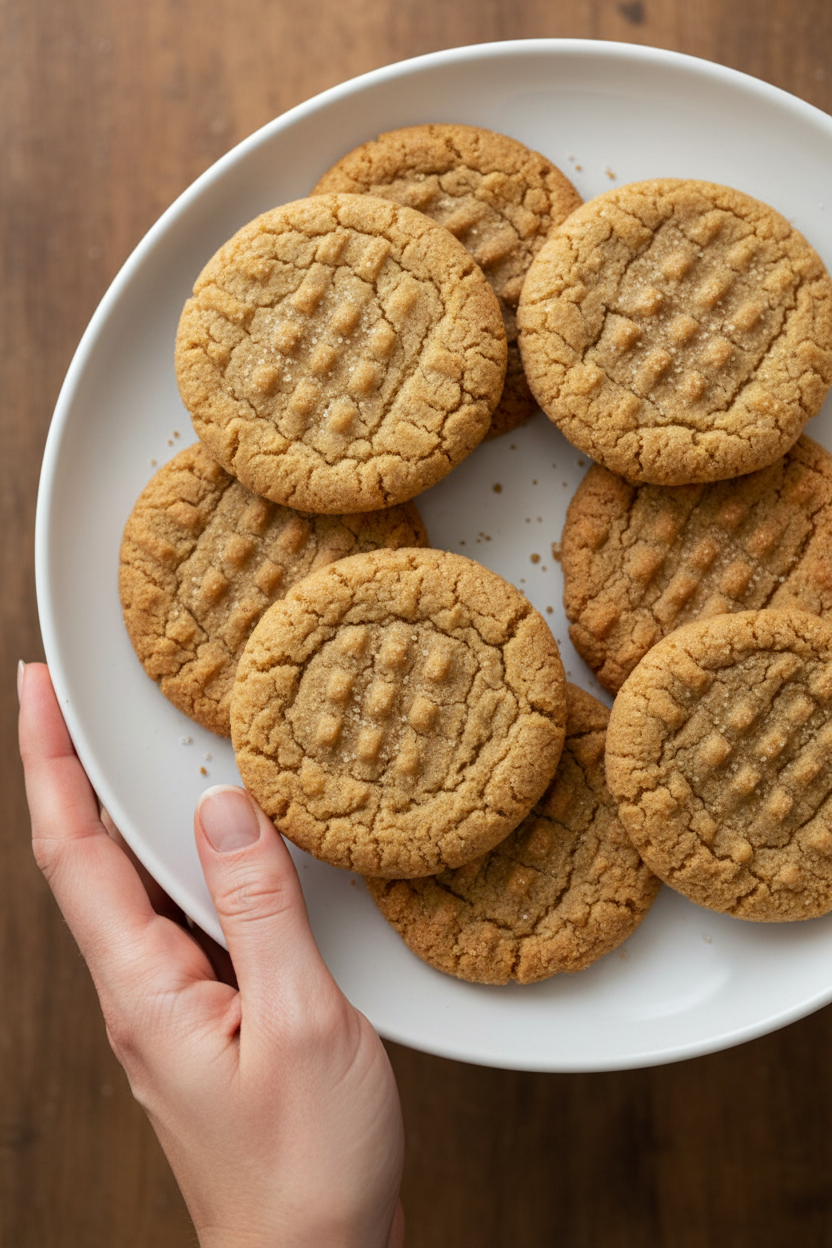
I still remember the first time I made peanut butter cookies for my grandkids. The kitchen smelled like warmth and happiness, just like a big hug. These gluten-free cookies are just as good as the old-fashioned ones I used to bake. You won’t even miss the wheat flour, I promise. Doesn’t that smell amazing when they’re in the oven?
The trick is to use a good gluten-free flour that already has xanthan gum in it. I like Pillsbury because it behaves just like regular flour. Not all gluten-free flours are the same, so watch out for that. (Hard-learned tip: If your dough feels too sticky, don’t panic. Just pop it in the fridge for a few extra minutes.)
Now let’s get to the fun part. The dough is like soft playdough, and the kids love helping me press the fork marks on top. Do you remember making cookies with someone special when you were young? Who taught you to bake your first cookie? Share below!
Step 1: In a large bowl, add the sugar, brown sugar, softened butter, and peanut butter. Use your mixer and beat everything until it is smooth and creamy. This should take about two minutes.
Step 2: Add the egg and the molasses to the bowl. Mix again until everything is fully combined. The color will turn a beautiful golden brown.
Step 3: In a separate medium bowl, stir together the gluten-free flour, baking soda, and baking powder. Make sure there are no lumps hiding in the bottom of the bowl.
Step 4: Pour the flour mixture into the peanut butter batter. Mix until it all comes together into a soft dough. It will feel like soft playdough at this point. (Hard-learned tip: Don’t overmix or the cookies will be tough.)
Step 5: Cover the bowl with plastic wrap and put it in the fridge for 30 minutes. This helps the cookies stay thick and chewy instead of spreading into flat pancakes.
Step 6: Preheat your oven to 375 degrees Fahrenheit. Line a cookie sheet with parchment paper so nothing sticks.
Step 7: Scoop out tablespoon-sized balls of dough and place them two inches apart on the cookie sheet. Use a cookie scoop if you have one. I find it makes the cookies all the same size.
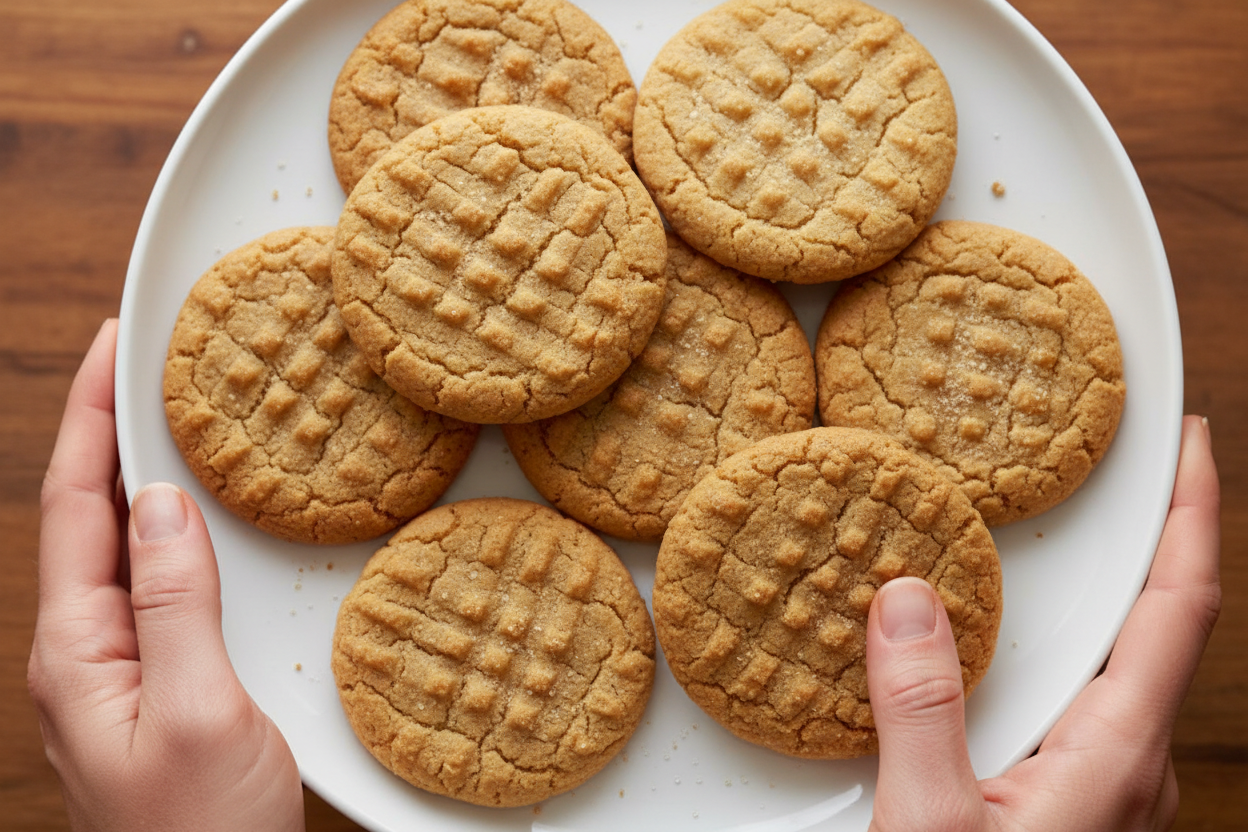
Step 8: Put one extra tablespoon of gluten-free flour in a small bowl. Dip the bottom of a fork into the flour, then press down on each cookie ball. Make a crisscross “x” pattern on top.
Step 9: Sprinkle a little extra granulated sugar on top of each cookie if you like. This gives them a nice little crunch.
Step 10: Bake for 10 to 12 minutes. Look for the edges to turn light brown. Every oven is different, so keep an eye on them. Let them cool completely on the cookie sheet before moving them.
Cook Time: 10-12 minutes
Total Time: 45 minutes
Yield: 24 cookies
Category: Dessert, Cookies
Three Fun Twists to Try
Sometimes I like to change up these cookies just for fun. It keeps things exciting in the kitchen. My grandkids love guessing which batch is which. You can pick one of these twists or try them all.
Chocolate Lover’s Twist: Add a handful of chocolate chips to the dough before chilling. The melted chocolate makes every bite feel like a treat.
Spicy Snickerdoodle Twist: Mix one teaspoon of cinnamon into the sugar you sprinkle on top. It gives the cookies a cozy, warm taste.
Crunchy Nut Twist: Fold in half a cup of crushed peanuts or pecans. The extra crunch is wonderful with the soft cookie. Which one would you try first? Comment below!
How to Serve These Little Treats
These cookies are perfect all by themselves, but I love to make it special. Place them on a pretty plate with a few fresh berries on the side. You can also serve them warm with a scoop of vanilla ice cream for a real dessert.
For a cozy afternoon, I pour a tall glass of cold milk for the kids. The grown-ups might enjoy a small cup of coffee or a glass of cold almond milk. Nothing beats a cookie and a drink shared with someone you love. Which would you choose tonight?
Storing and Reheating Your Cookies
Let these cookies cool all the way before you store them. Warm cookies turn soggy in a sealed container. I keep mine in a tin with a tight lid. They stay soft for up to five days on the counter.
You can freeze the dough for later, too. Scoop it into little balls, then pop them on a tray in the freezer. Once they are solid, toss them in a freezer bag. I once forgot a batch in the freezer for a month. They baked up just fine, and nobody knew the difference.
To reheat, just warm a cookie in the microwave for ten seconds. It tastes like it just came out of the oven. Batch cooking saves time for busy weeks. Having cookie dough ready in the freezer means you always have a treat. Have you ever tried storing it this way? Share below! That is why this matters—you get fresh cookies without all the work at once.
Three Common Problems and Easy Fixes
Sometimes the cookies spread too flat. This happens when the butter is too soft. Pop the dough in the fridge for thirty minutes. I remember my first batch looked like pancakes. Chilling the dough fixed it right away.
Another problem is cookies that come out dry or crumbly. That usually means too much flour. Spoon your flour into the measuring cup, don’t scoop it. This matters because dry cookies taste more like cardboard than peanut butter. Fixing this gives you soft, chewy bites every time.
Last, the crisscross pattern might disappear while baking. Dip your fork in a little extra gluten-free flour before pressing. I once forgot and just pressed with a plain fork. The dough stuck, and the pattern vanished. A light dusting of flour keeps the lines clear. Which of these problems have you run into before? Fixing these small things makes you feel like a real baker.
Five Quick Questions and Answers
Q: Can I use regular peanut butter?
A: Yes, but avoid the oily, natural kind. It makes cookies spread too much.
Q: Can I make these ahead of time?
A: Absolutely. Chill the dough up to two days before baking.
Q: What if I don’t have molasses?
A: Swap in honey or maple syrup. Use just one teaspoon.
Q: How do I double the recipe?
A: Simply double every ingredient. The baking time stays the same.
Q: Is the sugar on top necessary?
A: No, it is optional. It adds a little crunch, but plain is fine too.
Which tip will you try first?
A Warm Goodbye from My Kitchen to Yours
I hope these cookies bring some sweetness to your day. They are simple, forgiving, and perfect for sharing. I always sneak one while they are still warm. It is a little memory I carry from my own grandma’s kitchen. Have you tried this recipe? Tag us on Pinterest! Nothing makes me happier than seeing your baking.
*Fun fact: Peanut butter cookies were first made in the early 1900s. The fork pattern helped bakers press the dough flat.*
Happy cooking!
—Tessa Hammond.
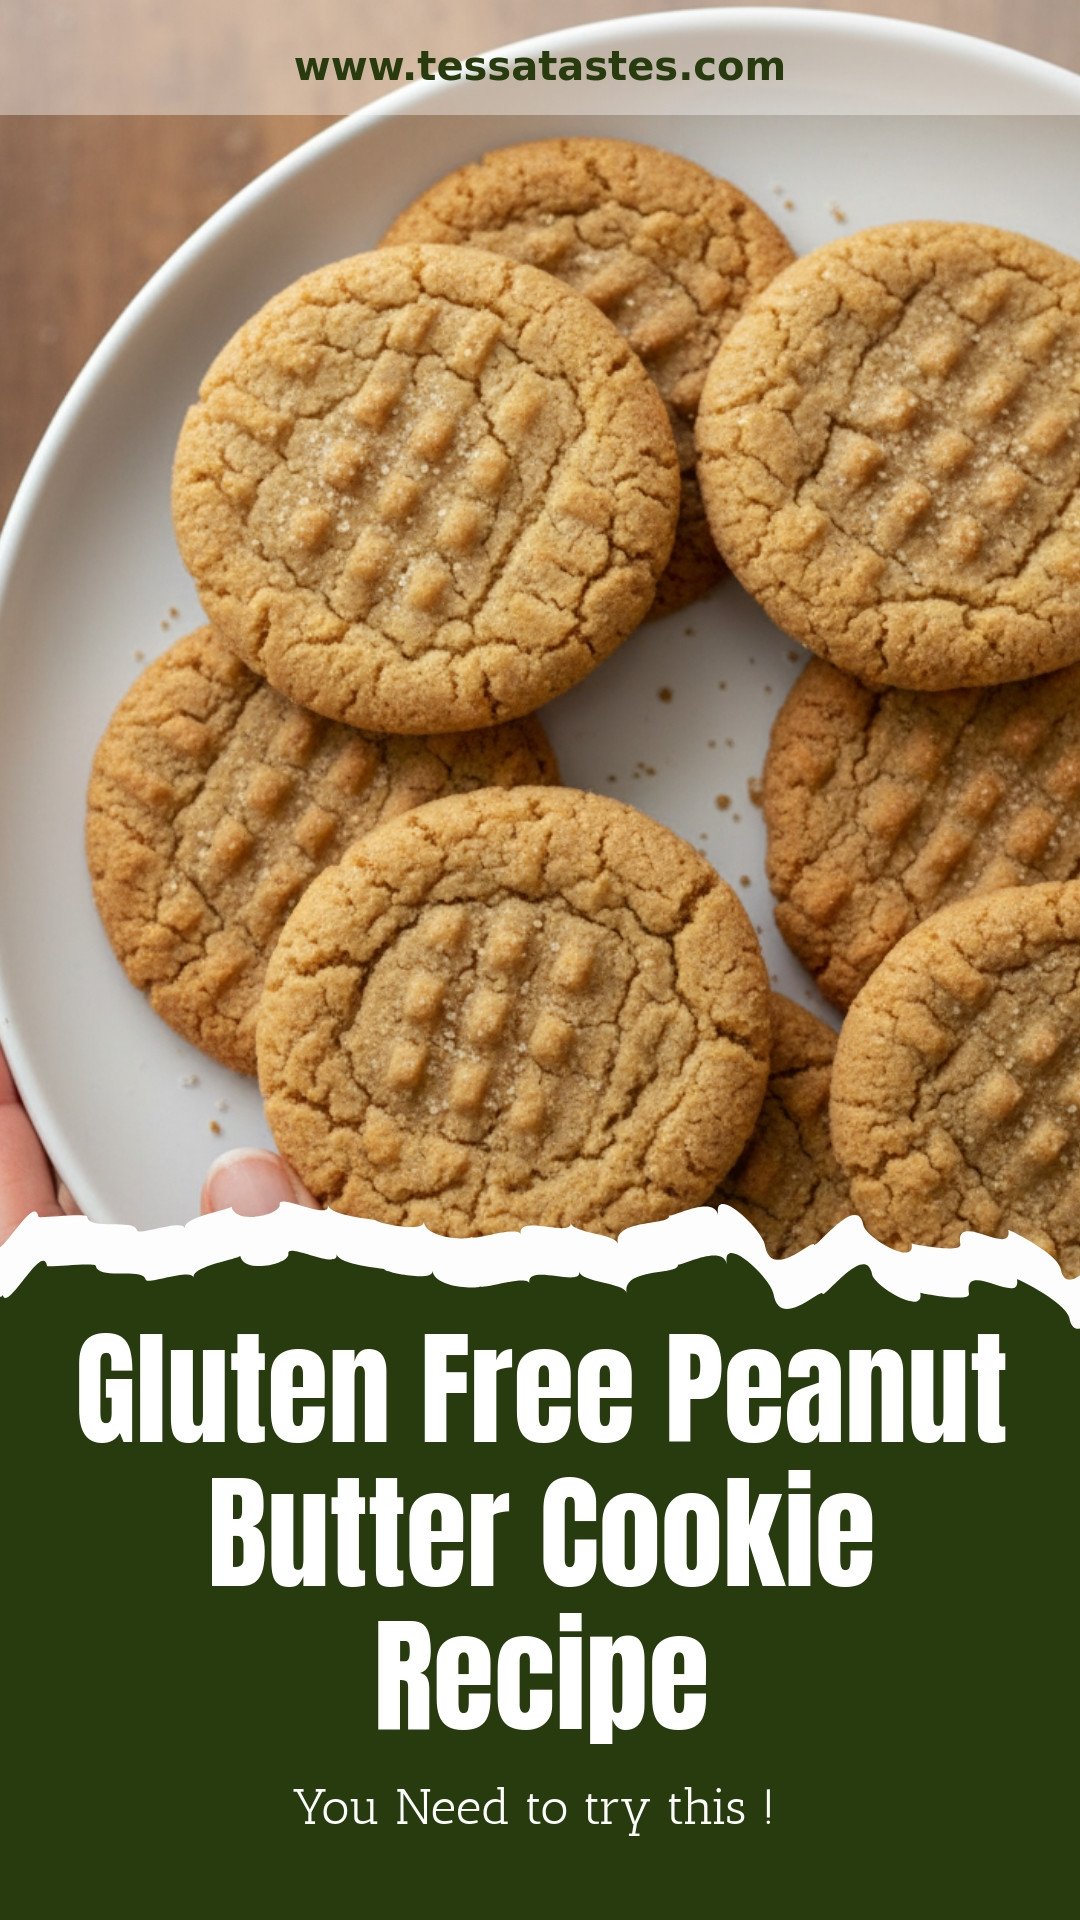
Gluten-Free Peanut Butter Cookies: Gluten Free Peanut Butter Cookie Recipe
Description
Gluten-free peanut butter cookies that are soft, chewy, and packed with peanut butter flavor. A classic crisscross cookie made with gluten-free flour.
Ingredients
Instructions
- Add the granulated sugar, brown sugar, butter, and peanut butter to a large bowl and mix with your mixer until fully combined and creamy.
- Mix in the egg (or egg replacer) and the molasses. Mix until fully combined.
- In a medium bowl add the gluten-free flour, baking soda and baking powder and stir to blend ingredients.
- Add the flour mixture into the batter and mix until fully combined. The cookie dough will be like soft playdough.
- Cover cookie dough and refrigerate for 30 minutes.
- Preheat oven to 375°F.
- Scoop 1 tablespoon of dough on a parchment-lined cookie sheet 2 inches apart. (I used a greased 1 1/2 tablespoon cookie scoop.)
- Add the tablespoon of gluten-free flour into a small bowl. Dip the bottom of your fork into the gluten-free flour and then press down on the tops of the cookies to make a crisscross “x” shape.
- Sprinkle the tops of the cookies with granulated sugar. (optional)
- Bake for 10-12 minutes or until light brown on the edges. (Please watch your cookies because every oven is different.)
- Allow the cookies to cool completely. Store in an airtight container. Enjoy!
Notes
- For best results, use a gluten-free flour blend that contains xanthan gum. Dough must be chilled before baking. Store in an airtight container.


Leave a Reply