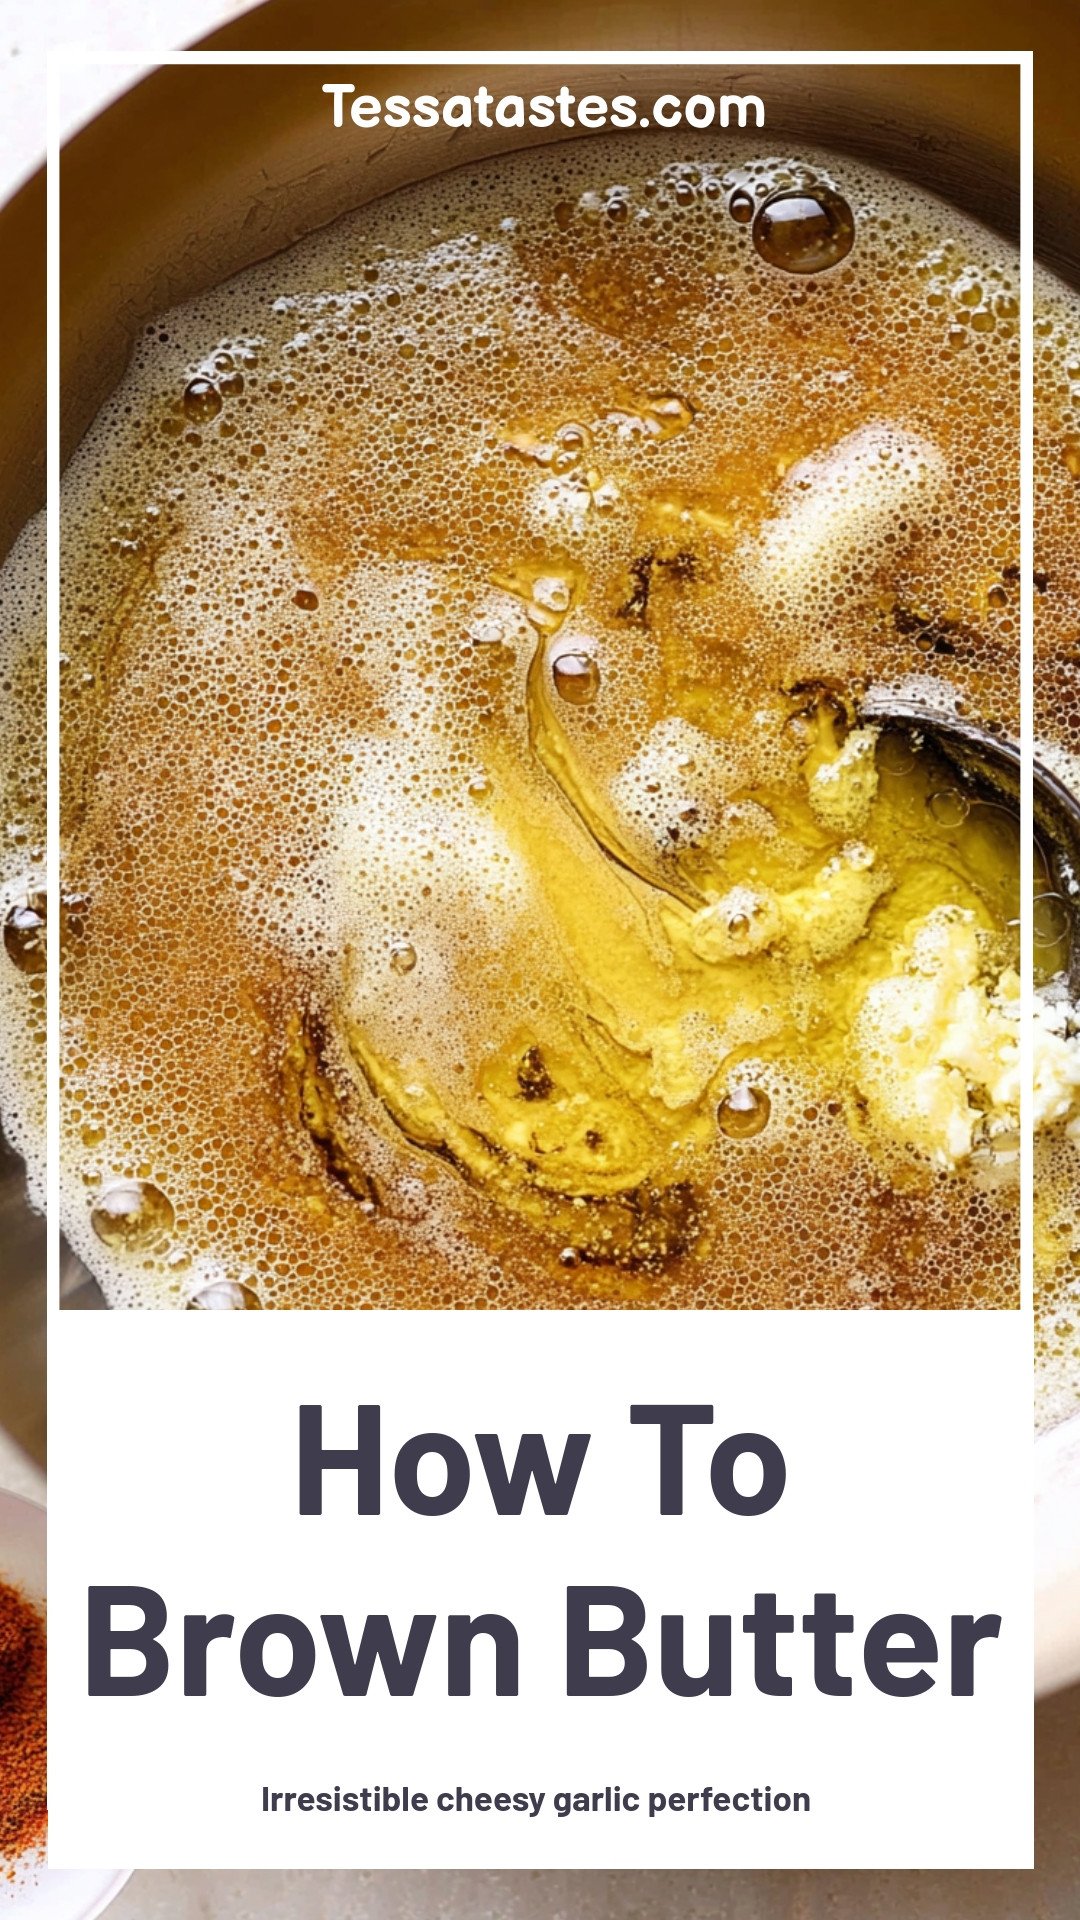
What is Brown Butter?
Brown butter is just butter that has been cooked a little longer. You cook it until the milk parts turn into tiny brown specks. Those specks are the magic. They give the butter a warm, nutty taste.
It makes everything taste richer and deeper. I think it’s a little kitchen secret that feels fancy. But it is so easy to do. Have you ever tried brown butter in your cookies?
A Little Story About My First Time
The first time I made it, I was so nervous. I stood over the pan, watching it like a hawk. I was sure I would burn it.
But then I smelled that toasty, nutty smell. I knew it was ready. I still laugh at how worried I was. It is much tougher to burn than you think.
Why This Matters in Your Kitchen
Learning to brown butter teaches you to trust your senses. Your nose and your eyes are your best tools. This matters because cooking is about feeling, not just following.
It turns a simple ingredient into something special. You do not need to buy expensive things. You just need to pay attention. What is one simple ingredient you love to use?
How to Make It, Step-by-Step
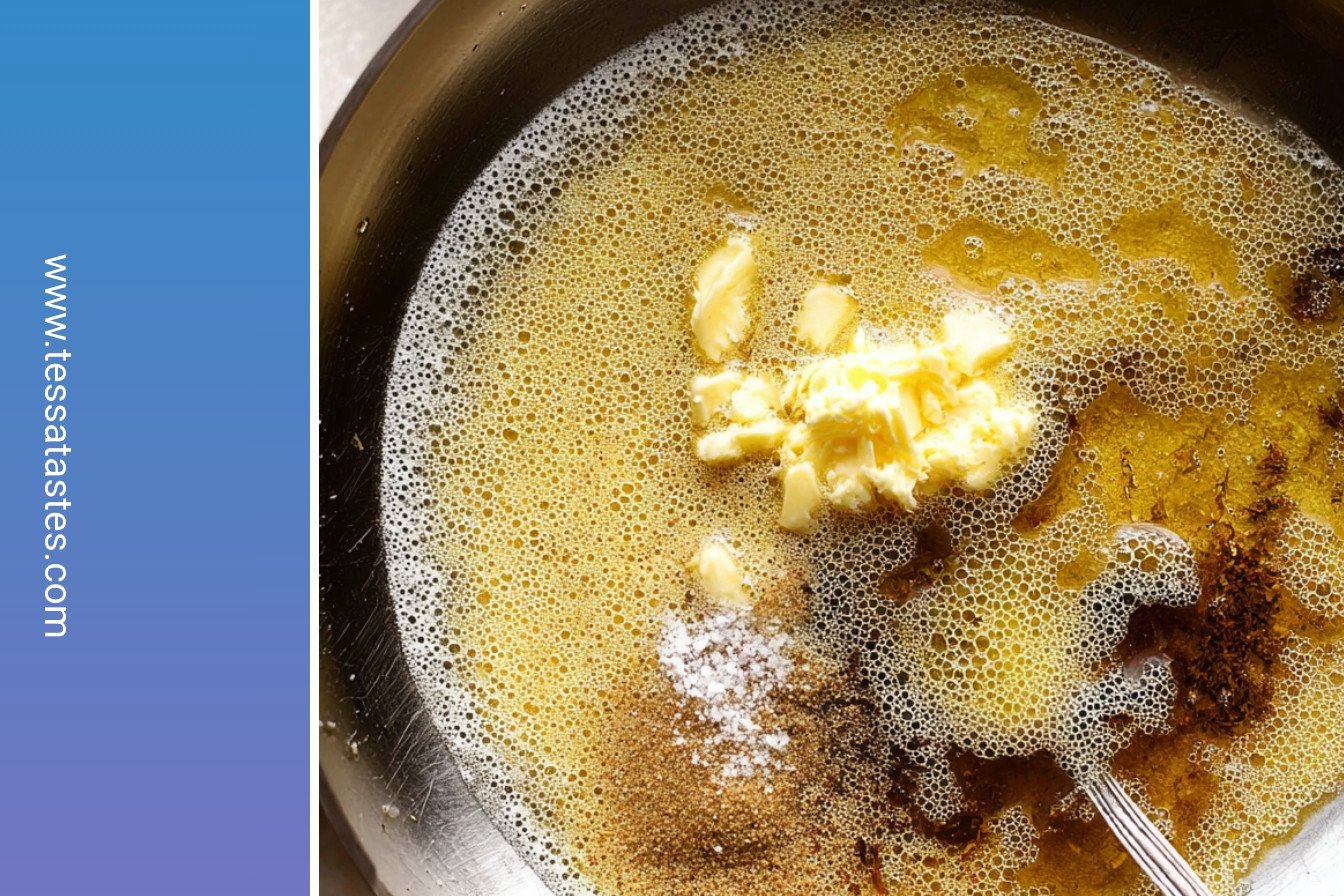
Start with a cold pan. Put your butter pieces in it. Turn the heat to medium-high. Watch the butter melt and start to foam.
Keep stirring with a spoon. You will see those little brown bits start to form. The smell will change. It will smell amazing, like toasted nuts. That is your signal it is almost done.
The Most Important Part
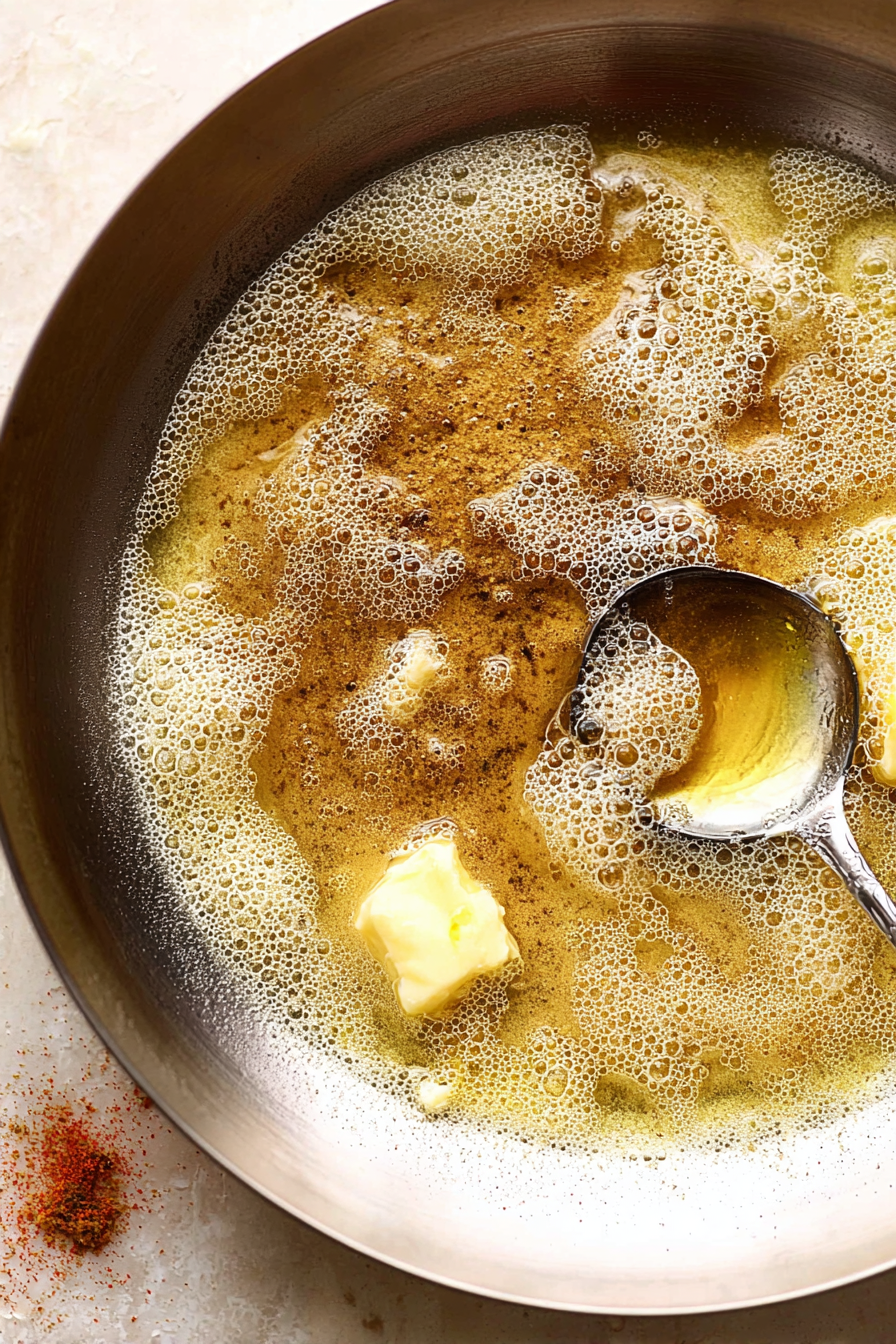
Do not walk away from the pan. It happens fast at the end. You must stir and scrape the bottom so the bits do not stick.
As soon as it is amber-colored and nutty, pour it into a bowl. The hot pan will keep cooking it if you leave it in there. This step saves your brown butter from burning.
A Fun Fact for You
Fun fact: In France, they call brown butter “beurre noisette.” That means “hazelnut butter.” They named it after the lovely, nutty smell.
I love that name. It sounds so elegant. But it is just our simple, cooked butter. Do you know any other fancy names for simple foods?
Now, Go Use Your Brown Butter!
You can use it right away in sauces or let it cool for baking. It makes chocolate chip cookies taste incredible. It is wonderful drizzled over pasta or vegetables.
This one trick makes you a better cook. It shows how a little patience creates big flavor. What will you make with your first batch of brown butter? I would love to hear your plans.
Ingredients:
| Ingredient | Amount | Notes |
|---|---|---|
| unsalted butter, cut into pieces | 1 cup | or use however much butter your recipe is calling for. |
How To Brown Butter: Irresistible Cheesy Garlic Perfection
Hello, my dear! Let’s make some kitchen magic today. We are browning butter. It sounds fancy, but it is so simple. It makes everything taste warm and nutty. I remember the first time I tried it. I was so nervous I’d burn it! Now it’s one of my favorite tricks.
You just need a good eye and a little patience. The smell will fill your whole kitchen. It reminds me of toasted nuts and cozy afternoons. Doesn’t that smell amazing? Let’s get started. You will be so proud of the flavor you create.
- Step 1: Grab a stainless steel skillet. Make sure it is cold to start. Put your butter pieces right in the pan. Have a heat-proof bowl waiting nearby. You will need it in a hurry later. (This is my hard-learned tip! Having the bowl ready saves you from a scramble.)
- Step 2: Turn your stove on to medium-high heat. Watch the butter slowly melt. Give the pan a little swirl now and then. This helps it melt evenly. Soon, you will see a foamy white layer appear. This is your first clue. The browning is about to begin!
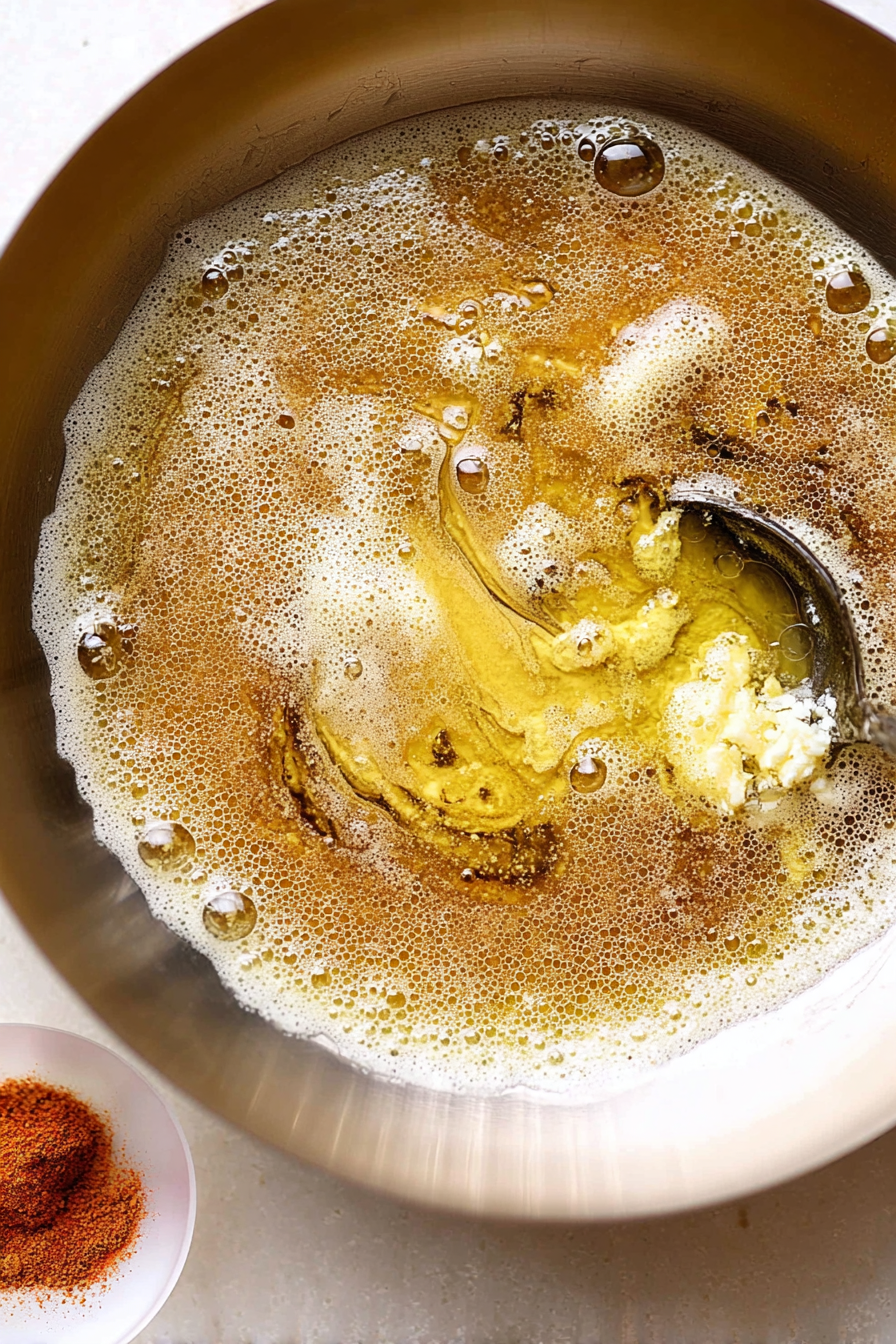
- Step 3: Now, grab a wooden spoon. Start stirring gently. The foam will start to go down. Look closely at the bottom of the pan. Do you see those tiny golden specks? Those are the milk solids. They hold all the yummy flavor. I still laugh at how I used to worry about them.
- Step 4: Keep stirring and scraping the pan. You do not want those lovely brown bits to stick. They can burn if you leave them alone. The butter will look light gold now. It is so tempting to take it off the heat. But wait just a little bit longer. It needs more time to become perfect.
- Step 5: Stay right by the stove. Keep stirring until the color is a deep amber. The little bits are nicely browned. The smell will be wonderfully nutty and toasty. The foam will be almost gone. Then, you are done! What’s the best smell in your kitchen? Share below!
- Step 6: Quickly pour everything into your waiting bowl. Do not leave it in the hot pan for a second! The pan’s leftover heat will keep cooking the butter. It could turn your perfect brown butter into burned butter. And we do not want that after all our hard work.
Now your brown butter is ready. Let it cool if your recipe says to. Or use it right away in its liquid gold state. You can use it for pasta, cookies, or drizzled on vegetables. It makes simple food taste so special.
Cook Time: 5 minutes
Total Time: 10 minutes
Yield: 1 serving
Category: Sauce, Kitchen Basic
3 Fun Twists on Brown Butter
This basic brown butter is wonderful. But you can play with it, too! Here are some of my favorite ideas. They are all so simple and fun. Try one next time you make a batch.
- Herb Garden Delight: Stir in fresh thyme and a little lemon zest after browning. It is so fresh and lovely on fish or potatoes.
- Sweet & Spicy Kick: Add a tiny pinch of red pepper flakes and a drizzle of honey. Perfect for brushing on cornbread or roasted carrots.
- Garlic Lover’s Dream: Toss in two minced garlic cloves right after you take it off the heat. Let it sizzle for just a minute. Your pasta will thank you.
Which one would you try first? Comment below!
Serving Your Brown Butter Creation
So, what will you make with your beautiful brown butter? I have a few simple suggestions. They always make a meal feel a bit more special. My grandson loves it on popcorn for movie night.
For a cozy dinner, toss it with fettuccine and lots of Parmesan cheese. Serve it with a simple green salad on the side. Or, drizzle it over steamed green beans with slivered almonds. So good! For a drink, a crisp apple cider is lovely. A chilled glass of Chardonnay is nice for the grown-ups.
Which would you choose tonight?
Keeping Your Brown Butter Perfect
Let’s talk about keeping your brown butter. You can store it in the fridge for weeks. It will become solid again, just like regular butter.
You can even freeze it for months. I pour mine into an ice cube tray. This makes little flavor cubes for future recipes.
I remember my first time making it. I was so proud of my nutty butter. I stored it all in one big jar. Now I use smaller containers for easy use.
Batch cooking like this saves you time. It means a special dinner is always close by. A little prep work makes weeknight meals feel like a treat.
Have you ever tried storing it this way? Share below!
Brown Butter Troubleshooting
Is your butter burning too fast? Your heat is probably too high. Always start with a medium flame for more control.
I once used a dark pan. I could not see the little brown specks forming. A light-colored pan helps you see the color change clearly.
Are you missing that nutty smell? You might have taken it off the heat too soon. Let it get a nice amber color. This matters because that smell is the flavor.
Stirring is your best friend here. It stops the milk solids from sticking and burning. This simple step builds your cooking confidence. You are in charge of creating that delicious taste.
Which of these problems have you run into before?
Your Brown Butter Questions
Q: Is this gluten-free? A: Yes, butter is naturally gluten-free. It is a great way to add flavor.
Q: Can I make it ahead? A: Absolutely! Make a big batch on the weekend. Store it for your weekly cooking.
Q: What if I only have salted butter? A: You can use it. Just know it will be a bit saltier. I prefer unsalted for more control.
Q: Can I double the recipe? A: You can, but use a larger pan. This gives the butter plenty of room to cook evenly.
Q: Any special tips? A: A fun fact: the toasty smell comes from the milk solids. They are the tiny brown bits in the butter.
Which tip will you try first?
Share Your Kitchen Success
I hope you love making brown butter. It makes simple food taste extra special. I learned this from my own grandmother many years ago.
I would love to see what you create. Did you pour it over pasta? Or maybe you used it in cookies? Share your cooking story with me.
Have you tried this recipe? Tag us on Pinterest!
Happy cooking!
—Tessa Hammond.
How To Brown Butter: Irresistible cheesy garlic perfection
Description
Learn the simple technique for how to brown butter to create a rich, nutty flavor. Elevate your baking and cooking with this essential kitchen skill.
Ingredients
Instructions
- Add the butter pieces to a cold, stainless steel skillet. Set a heat-resistant bowl to the side so it’s ready for the brown butter once it’s done.
- Turn the heat to medium-high and melt the butter. (Choose medium heat if you feel you have a strong flame on your stove). Swirl the pan occasionally to help the butter melt evenly. The butter will begin to foam, this is a clue that browning is happening soon.
- Stir with a rubber spatula or wooden spoon. The foam will begin to subside and you’ll start to see tiny specks at the bottom of the pan. At this point, the color will be a light golden brown.
- Stir and scrape the bottom of the pan so the milk solids that are beginning to brown don’t stick or burn. (These flecks give brown butter its yummy flavor.) Some people think you need to take the pan off at this step, but don’t jump the gun. It needs a little more browning to be juuuust right.
- Continue to stir until those little bits become browned, the butter smells nutty and toasty, it’s an amber-brown color, and it’s no longer foamy.
- Transfer the brown butter and all of the delish brown bits immediately into a heat-proof bowl. It’s important to remove to a bowl straight away so the residual heat from the pan doesn’t burn the butter. That’s it!
- Use the brown butter as directed in your recipe. Some may direct you to use it in its liquid state, or it may need to be cooled completely/solidified.


Leave a Reply