The Magic of Browned Butter
Let’s talk about the butter. You will brown it first. This is my favorite little trick. It makes the kitchen smell so nutty and warm.
Browning butter is like a tiny kitchen adventure. You watch it go from yellow to golden to a toasty brown. I still laugh at how something so simple can change everything. It gives these cookies a deep, rich flavor that is just wonderful.
A Little Cookie Story
My grandson once called these “crackly-top cookies.” He said they looked like a froggy’s back. I thought that was so funny. Now I always think of him when I make them.
That is why this matters. Food is more than just eating. It is about the memories you make while you cook. It connects you to the people you love. What is a food that reminds you of someone special?
Getting the Dough Just Right
Now, your dough might look a bit wet at first. Do not worry. This is perfectly normal. Just walk away for a few minutes. Let the flour and oats get to know the butter.
When you come back, it will feel like cookie dough. I like to think the ingredients are just having a little chat. Fun fact: letting the dough rest like this is called “hydrating.” It makes for a much softer cookie!
The Secret to a Perfect Cookie
Here is my biggest tip. Do not over-bake them. You want the edges just golden. The middle might still look a tiny bit soft. They will keep cooking on the pan after you take them out.
Pulling them out at the right time is the key to a chewy cookie. This matters because a soft cookie is a happy cookie. It shows you cared enough to watch them closely. Do you like your cookies chewy or crunchy?
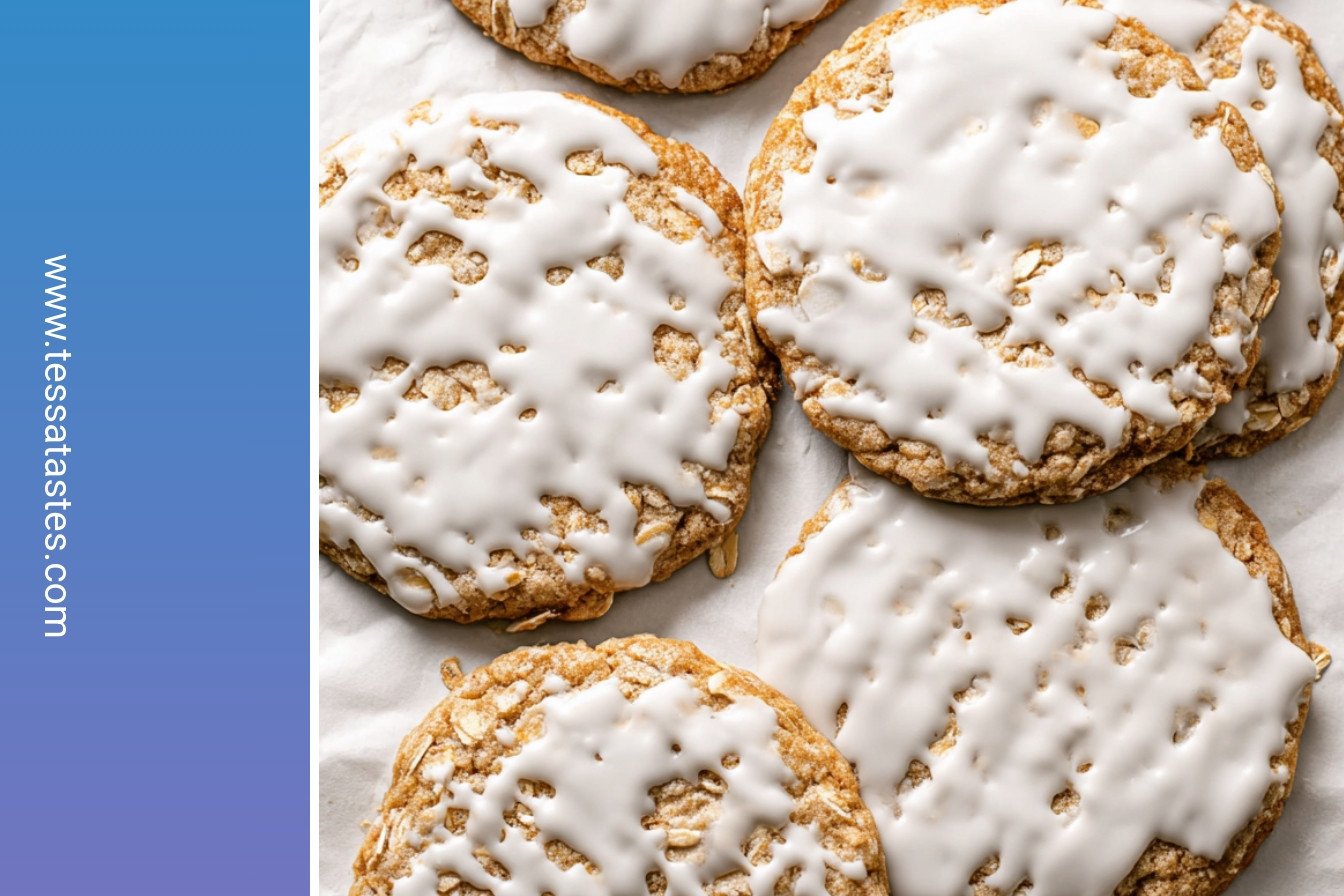
The Final Icy Touch
The icing is the fun part. Just a quick dip and you are done. The white frosting on the warm, spiced cookie is so pretty. Doesn’t that look amazing?
That sweet icing with the spicy cookie is a perfect match. It is like they were always meant to be together. It is a simple joy that always makes me smile. What is your favorite cookie and frosting combination?
Ingredients:
| Ingredient | Amount | Notes |
|---|---|---|
| butter, unsalted | 12 Tbsp. | |
| brown sugar | 1/2 cup | tightly packed (light or dark) |
| white sugar | 1/3 cup | |
| egg | 1 large | room temperature |
| egg yolk | 1 large | room temperature |
| vanilla extract | 1 tsp. | |
| old fashioned oats | 1 cup | |
| all-purpose flour | 3/4 cup | spooned and leveled |
| cake flour | 3/4 cup | spooned and leveled |
| cornstarch | 1 tsp. | |
| baking soda | 1/2 tsp. | |
| baking powder | 1/2 tsp. | |
| salt | 1/2 tsp. | |
| ground cinnamon | 1 tsp. | |
| ground nutmeg | 1/2 tsp. | |
| Icing | ||
| powdered sugar | 1 cup | or more as needed |
| milk | 2 Tbsp. | |
| vanilla extract | 1/2 tsp. | |
| salt | pinch | |
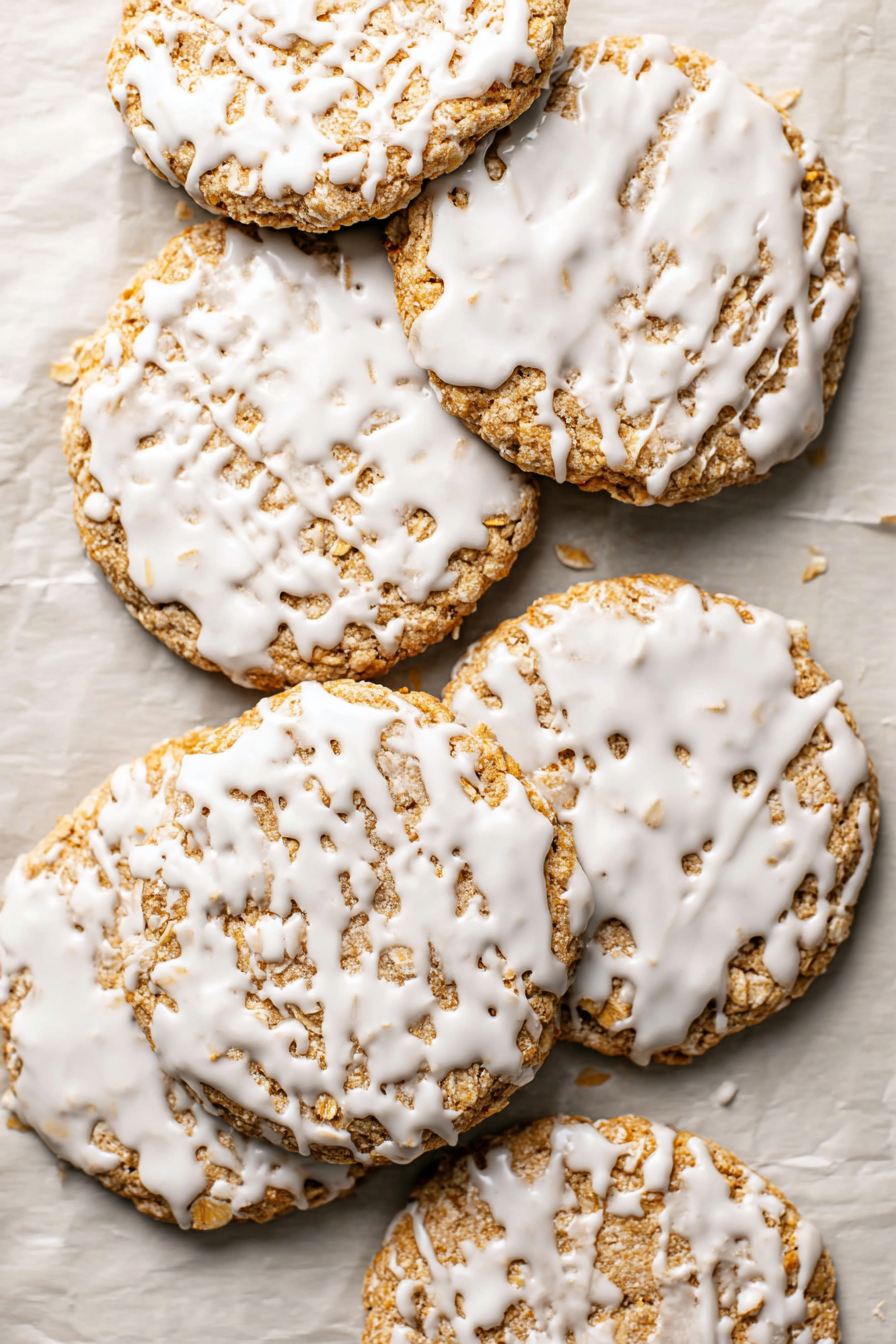
My Iced Oatmeal Cookie Secrets
Oh, these cookies bring back such memories. My grandson calls them crispy clouds. I think that’s just perfect. They are creamy, crunchy, and simply impossible to eat just one. The secret is in the browned butter. It gives them a warm, nutty flavor that makes your whole kitchen smell like heaven. I still smile when I make them.
Let’s get started. First, you’ll brown your butter. Just melt it in a pan until it turns a lovely golden color and smells toasty. (Hard-learned tip: Don’t walk away from the stove! It can burn in a blink.) Let it cool for a bit. Now, pulse your oats in a food processor. You want them a little chunky, not like dust. It gives the cookies a wonderful texture.
Step 1: Preheat your oven to 375°F. Line your cookie sheets with parchment paper. This little step saves so much scrubbing later. I learned that after scraping many, many pans. Now, whisk the sugars into your slightly cooled brown butter. Doesn’t that smell amazing? Add the egg and egg yolk, one at a time. Then stir in the vanilla.
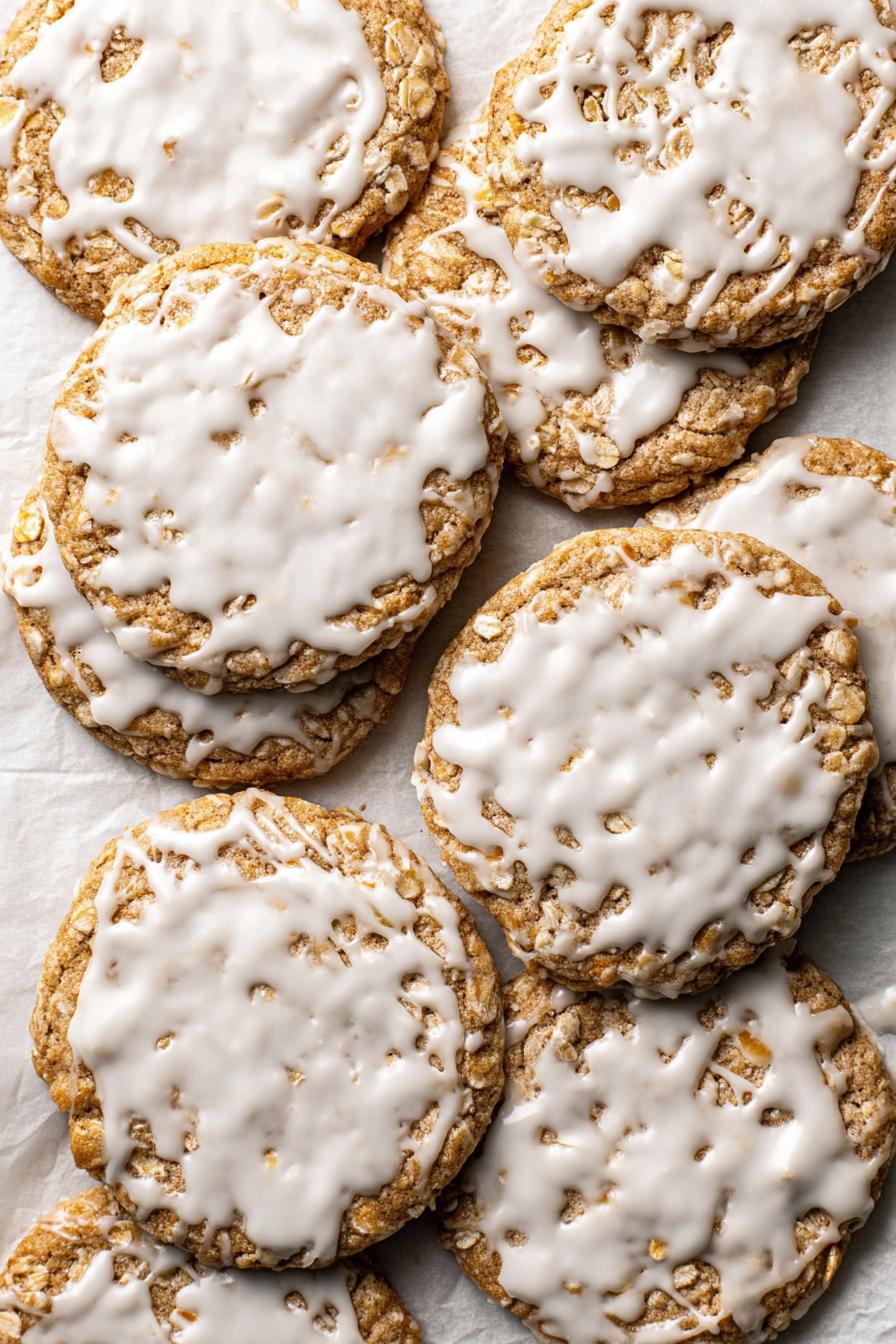
Step 2: Add all your dry ingredients, including those pulsed oats. Fold everything together gently. The dough might look a little wet at first. Don’t worry. Just let it sit for a few minutes. It will thicken up nicely. Roll the dough into small balls, about the size of a walnut. Place them on your cookie sheets.
Step 3: Bake for 8 to 10 minutes. Watch for golden brown edges. The centers might look a little soft, and that’s the key! They firm up as they cool. Let them rest on the pan for 5 minutes. Then move them to a rack to cool completely. What’s your favorite cookie to dunk in milk? Share below!
Step 4: Time for the icing! Whisk the powdered sugar, milk, vanilla, and a pinch of salt. It should be nice and thick. Now for the fun part. Gently dip the top of each cooled cookie into the frosting. I always sneak a bite of one before it’s iced. It’s a cook’s treat!
Cook Time: 10min
Total Time: 30min
Yield: 22 cookies
Category: Dessert, Cookies
Three Tasty Twists to Try
Once you master the classic, you can have some fun. I love playing with new ideas. Here are a few of my favorites. They are all so simple, but they feel so special.
Raisin & Spice: Stir in a handful of plump raisins. Add an extra pinch of cinnamon too. It tastes like a cozy autumn day.
Lemon Zest Drizzle: Skip the vanilla in the icing. Add a teaspoon of fresh lemon juice and a little zest instead. It’s so bright and cheerful.
Chocolate Chip Crunch: Mix in half a cup of mini chocolate chips. The little melty bits with the crunchy oats are a dream.
Which one would you try first? Comment below!
How to Serve Your Cookies
These cookies are wonderful all on their own. But sometimes, you want to make a moment extra sweet. For a real treat, I crumble one over a bowl of vanilla ice cream. The mix of temperatures and textures is just lovely.
They are also perfect for packing in a lunchbox. Just tuck one in with a little note. It always makes someone’s day brighter. For a drink, a tall, cold glass of milk is the classic choice. For the grown-ups, a cup of black coffee with a splash of cream is a perfect partner. Which would you choose tonight?
Keeping Your Cookies Happy
Let’s talk about keeping these cookies yummy. They freeze beautifully. Just place cooled cookies in a single layer on a tray. Once frozen, pop them into a bag.
This stops them from sticking together. You can freeze the dough balls, too. Then bake a few fresh cookies anytime you want. I once forgot I had a batch in the freezer.
Finding them a month later was a lovely surprise. Storing food well means less waste. It also means a sweet treat is always close by. Have you ever tried storing it this way? Share below!
Cookie Troubles? Easy Fixes!
Sometimes cookies can be tricky. But do not worry. Here are some simple fixes for common problems.
If your cookies spread too much, your butter was too warm. Chilling the dough for 30 minutes helps a lot. I remember when my first batch turned into one giant cookie. It was still tasty, but not quite right.
If the icing is too thin, add a bit more powdered sugar. If it is too thick, add a tiny splash of milk. Getting this right makes your cookies look beautiful. It also makes you feel like a baking pro. Which of these problems have you run into before?
Your Iced Oatmeal Cookie Questions
Q: Can I make these gluten-free?
A: Yes. Use your favorite gluten-free flour blend instead of the regular flours.
Q: Can I make the dough ahead?
A: Absolutely. Keep it in the fridge for up to two days before baking.
Q: What if I do not have cake flour?
A: Use one cup of all-purpose flour total. Your cookies will still be wonderful.
Q: Can I double the recipe?
A: You can. It is perfect for a bake sale or a big family.
Q: Is browning the butter necessary?
A: It adds a lovely, nutty flavor. But melted butter works in a pinch. Which tip will you try first?
Bake, Share, and Enjoy
I hope you love baking these cookies as much as I do. The smell of cinnamon and oats is pure happiness. Fun fact: Oats were one of the first cereals grown by humans.
I would love to see your kitchen creations. Sharing food is a way to share joy. Have you tried this recipe? Tag us on Pinterest!
Happy cooking!
—Tessa Hammond.
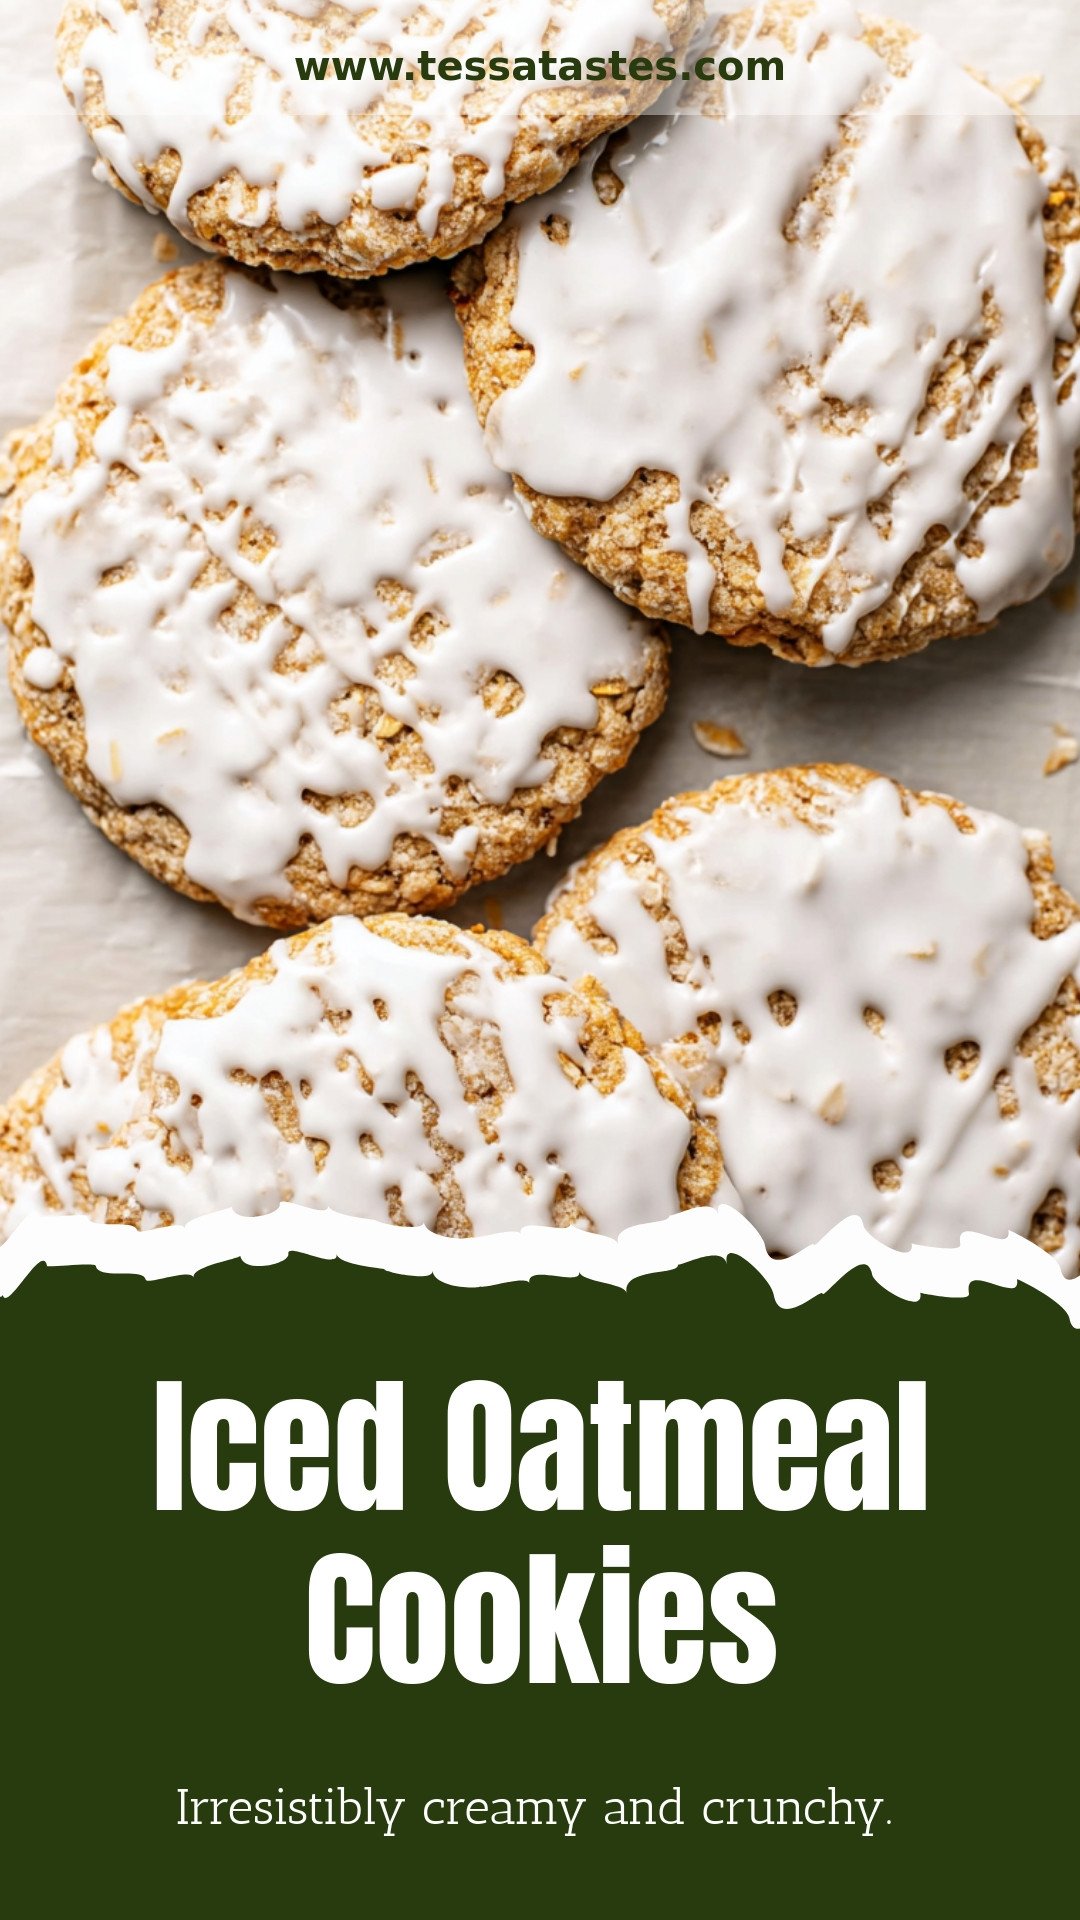
Iced Oatmeal Cookies: Irresistibly creamy and crunchy.
Description
The ultimate recipe for soft & chewy Iced Oatmeal Cookies! An easy, classic bakery-style treat perfect with a glass of milk. #baking
Ingredients
=== Icing ===
Instructions
- Brown the butter: For a detailed tutorial, seethis post on how to brown butter.Set aside & cool slightly for 10-15 minutes.
- Preheat the oven to 375°F. Line 2 cookie sheets with parchment paper or silicone baking mats. Set aside.
- Pulse the oats in a food processor about 10 times. They should have some texture to them, not finely ground. Set aside.
- Add the sugars to the slightly cooled brown butter and whisk. Then add in the eggs, one at a time, until incorporated. Then add in the vanilla.
- Add in the dry ingredients (including the pulsed oats) and fold them in just until incorporated. The dough may feel or look wet, but as it sits the flour will hydrate and it will feel more like a cookie dough.
- Roll into about 1 – 1 1/2 Tbsp. sized balls and place on the prepared cookie sheets.
- Bake for ~8-10 minutes or just until the edges are golden brown. Be careful not to over bake, under bake is key. Let the cookies cool on the cookie sheet for 5 minutes then transfer to a wire cooling rack.
- Make the frosting: whisk all frosting ingredients together in a bowl. The frosting will be thick, this is perfect (add more powdered sugar as needed to get right consistency). Dip/dunk the tops of each cooled cookie lightly into the frosting. Repeat with remaining cookies and enjoy!
Notes
- Cooling time is 10 minutes.


Leave a Reply