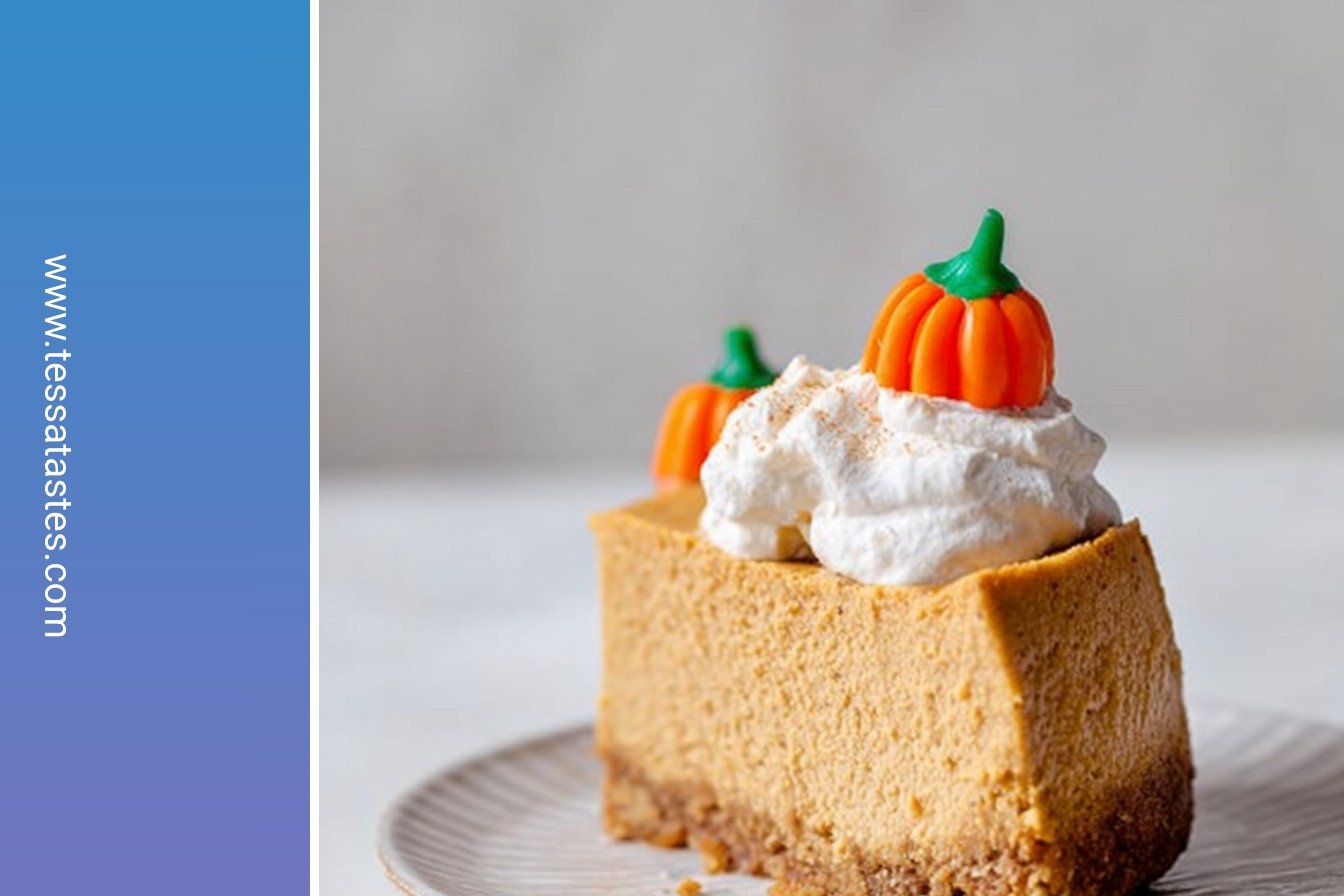
The Magic of a Pumpkin Cheesecake
I love making this in the fall. The air gets crisp. The leaves turn orange. It just feels right for a pumpkin dessert. This cheesecake is so creamy and smooth. It feels like a warm hug from the inside.
My grandson once called it “pumpkin pie’s fancy cousin.” I still laugh at that. It is a bit fancier, but so easy. You just mix everything in one bowl. Doesn’t that sound simple? What is your favorite dessert to make when the weather turns cool?
A Little Story About the Crust
Let’s talk about the crust. It is just crushed graham crackers and butter. You do not even need a fancy machine. I use a rolling pin and a bag. It is a great way to get out a little frustration!
Packing the crust down firmly matters. It keeps your slice from crumbling later. A little brown sugar in the crust is my secret. It gives a nice, warm caramel flavor. Fun fact: Graham crackers were invented to stop people from having naughty thoughts! Can you believe that?
Making the Dreamy Filling
Now for the best part. The filling. Make sure your cream cheese is soft. This is so important. It makes the filling silky, not lumpy. Room temperature eggs and sour cream help too.
Just mix everything together in one big bowl. The smell of all those spices is wonderful. It smells like the holidays. Doesn’t that smell amazing? Have you ever baked with pumpkin puree before?
The Instant Pot Does the Work
This is where the magic happens. The Instant Pot makes it so easy. You just add water, lower the pan in, and wait. No worrying about a water bath in the oven. It makes the cheesecake perfectly moist.
Letting the pressure come down slowly matters. This keeps your beautiful cheesecake from cracking on top. Patience is the secret ingredient here. It is hard to wait, but it is worth it.
The Long, Hard Wait
The hardest part is next. You must let it chill. For hours! I know, it is a test of willpower. But this waiting time is what makes the cheesecake set. It becomes firm and sliceable.
I always make mine the night before. That way, it is ready for the next day. It teaches us that good things come to those who wait. Do you have a hard time waiting for desserts to be ready? I sure do!
Ingredients:
| Ingredient | Amount | Notes |
|---|---|---|
| Graham cracker sheets | 10-12 | For the crust |
| Butter, melted | 4 Tbsp. | |
| Brown sugar | 3 Tbsp. | |
| Salt | 1/8 tsp. | |
| Cream cheese, softened | 16 oz. | For the filling |
| 100% pumpkin puree | 1, 15 oz. can | Not pumpkin pie filling |
| Large eggs, room temperature | 2 | |
| Sour cream (or heavy cream), room temperature | 1/2 cup | |
| Brown sugar | 1/2 cup | |
| Granulated sugar | 1/4 cup | |
| Flour | 1/4 cup | |
| Corn starch | 2 Tbsp. | |
| Pumpkin pie spice | 2 Tbsp. | |
| Vanilla extract | 2 tsp. | |
| Cinnamon | 1 1/2 tsp. | |
| Nutmeg | 1/2 tsp. | |
| Allspice | 1/2 tsp. | |
| Ground Ginger | 1/2 tsp. |
My Easy Instant Pot Pumpkin Cheesecake
Oh, the smell of pumpkin and spice in the kitchen. It just feels like a hug. I love making this cheesecake for my grandkids. It’s so much simpler than you might think. My old oven used to make the top crack. But my Instant Pot? It makes it perfectly smooth every single time. Doesn’t that sound nice?
- Step 1: Crumble your graham crackers. A food processor is quick. But a rolling pin and a bag works just as well. I still laugh at the noise it makes. A little bang-bang-bang on the counter.
- Step 2: Mix in the melted butter and brown sugar. This makes it all stick together. It also makes it taste like a cookie. (A hard-learned tip: Make sure your butter is just melted, not hot. Hot butter makes the crust greasy.)
- Step 3: Get your springform pan ready. Lining the bottom with parchment paper is a lifesaver. It means your cheesecake will slide right out later. No sticking!
- Step 4: Press your crust into the pan. I use a small measuring cup to press it down. Then pop the whole pan in the freezer. This chills the butter so the crust stays firm.
- Step 5: Put all the filling ingredients in a big bowl. The cream cheese, pumpkin, eggs, and all those wonderful spices. Just mix it until it’s smooth and beautiful. That orange color always makes me smile. What’s your favorite spice smell? Share below!
- Step 6: Pull your pan from the freezer. Pour that lovely filling right over the cold crust.
- Step 7: Pour water into the pot. Lower your cheesecake in on the trivet. Lock the lid and set it for 40 minutes.
- Step 8: After it beeps, just walk away. Let the pressure come down on its own for another 40 minutes. This patience is the secret to a perfect cheesecake. No rushing! When it’s done, chill it for hours. I always make mine the night before. The wait is so worth it.
Cook Time: 40 minutes
Total Time: 9 hours 50 minutes
Yield: 8 servings
Category: Dessert
Three Fun Twists to Try
This recipe is like a favorite story. You can tell it a little differently each time. Here are some of my favorite ways to change it up.
- A Gingersnap Crunch: Swap the graham crackers for gingersnaps. The spicy snap is so good with the pumpkin.
- Chocolate Swirl Surprise: Melt some chocolate chips. Swirl it into the filling before you cook it. It looks so pretty.
- Maple Whipped Cream Dream: Use maple syrup instead of sugar in the filling. Top it with maple whipped cream. Yum!
Which one would you try first? Comment below!
Serving Your Masterpiece
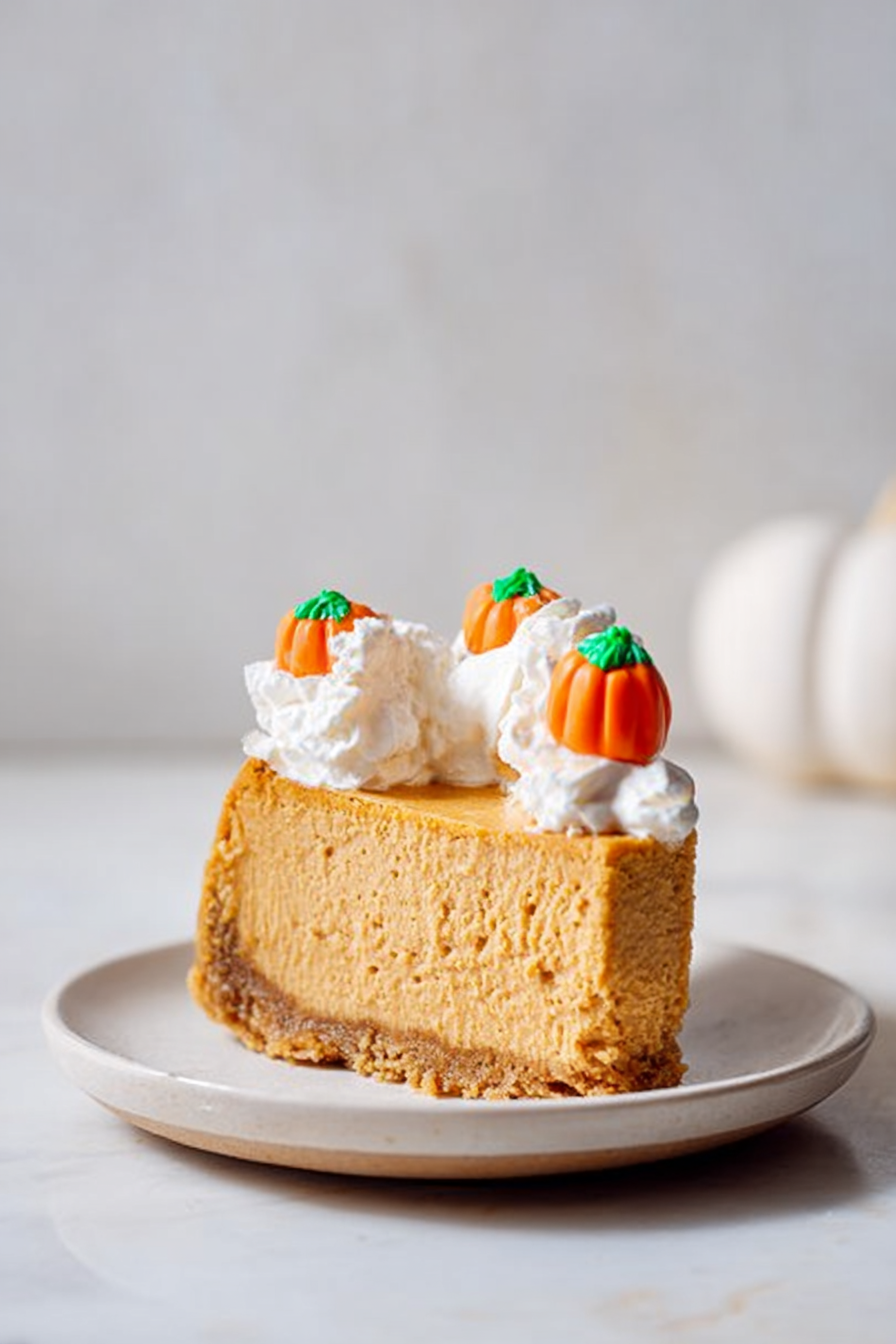
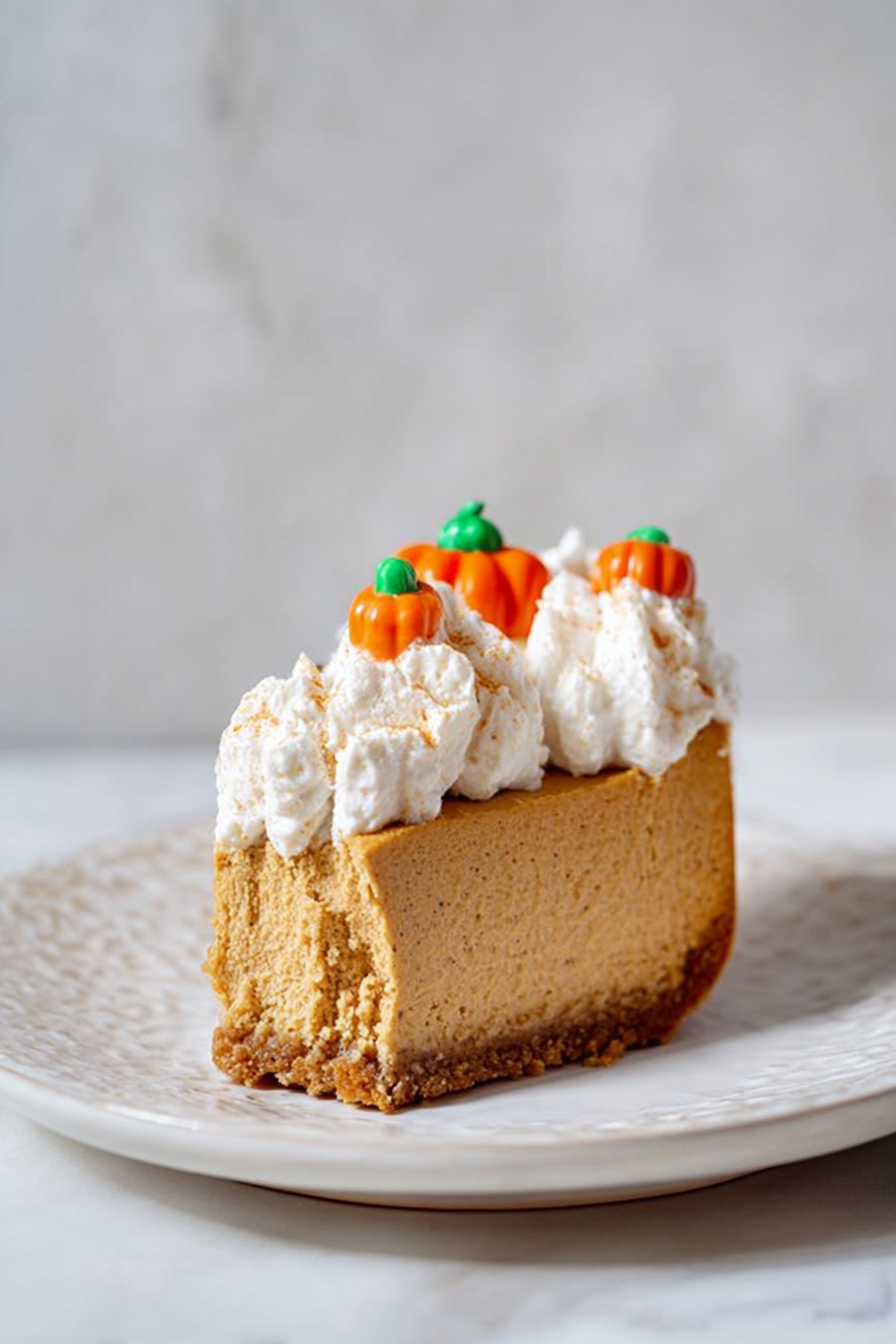
Now, how to serve your beautiful cheesecake? A simple slice is wonderful. But a little extra touch makes it special. I love a big dollop of fresh whipped cream. A sprinkle of cinnamon on top is lovely too. For a fancy look, add some toasted pecans on the side.
What to drink with it? A hot cup of coffee is my go-to. The bitterness is perfect with the sweet, spicy cake. For a real treat, a small glass of sweet dessert wine is just right. It sips like liquid autumn. Which would you choose tonight?
Keeping Your Cheesecake Happy
Let your cheesecake cool completely on the counter first. Then, cover it tightly and pop it in the fridge. It will stay perfect for about four days. You can also freeze slices for a sweet treat later.
Wrap slices well in plastic wrap. Then place them in a freezer bag. They will keep for two months. Thaw a slice in the fridge overnight when you want one.
I once tried to freeze a whole cheesecake. It was too big for my freezer. Now I always slice it first. This makes it easy to enjoy just a little bit.
Batch cooking like this saves you time later. It means a homemade dessert is always ready. Have you ever tried storing it this way? Share below!
Easy Fixes for Common Cheesecake Troubles
Is your filling lumpy? Your cream cheese must be soft. Leave it on the counter for a few hours. I remember when I used cold cream cheese. My filling was full of little lumps.
Does the top look wet? This is just condensation from the steam. Gently blot it with a paper towel. This small step makes your cheesecake look beautiful.
Is the center too jiggly? It needs more time in the fridge. Let it chill overnight. This patience gives you the perfect, firm slice. Which of these problems have you run into before?
Getting these steps right builds your confidence. It also makes the flavor and texture just right. That is a win for any cook.
Your Cheesecake Questions, Answered
Q: Can I make this gluten-free?
A: Yes! Use gluten-free graham crackers for the crust. It works just as well.
Q: How far ahead can I make it?
A: You can make it two days before serving. The flavor gets even better.
Q: I don’t have sour cream. What can I use?
A: Heavy cream is a great swap. It will still be wonderfully creamy.
Q: Can I make a bigger cheesecake?
A: I do not recommend it. This size is perfect for the Instant Pot.
Q: Is the foil wrap necessary?
A: It helps keep the top dry. It is a good idea to use it. Which tip will you try first?
A Final Word From My Kitchen
I hope you love making this creamy dessert. It always makes my kitchen smell like fall. Sharing food is one of life’s great joys.
*Fun fact: Pumpkins are actually a fruit, not a vegetable!* This always surprises people. Have you tried this recipe? Tag us on Pinterest!
I would love to see your beautiful creations. Your stories and photos make my day. Happy cooking!
—Tessa Hammond.
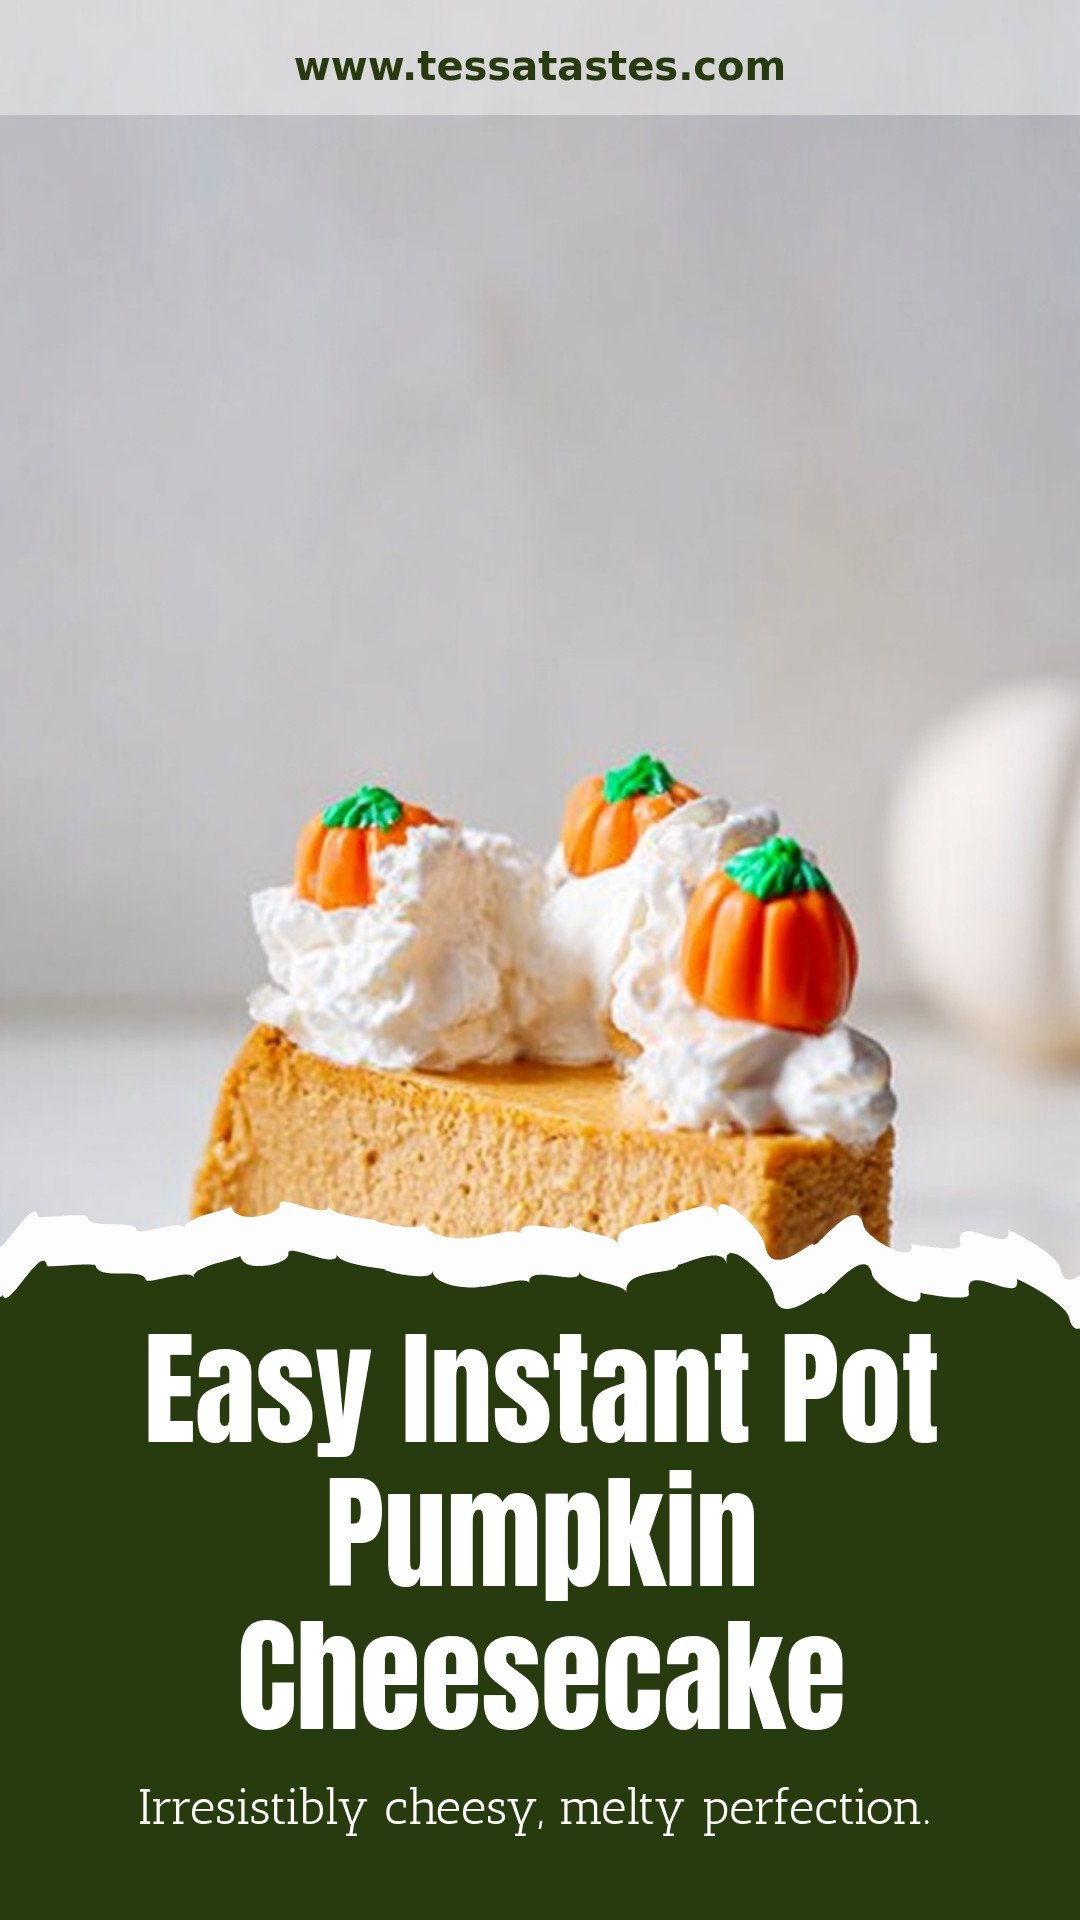
Easy Instant Pot Pumpkin Cheesecake: Irresistibly cheesy, melty perfection.
Description
Creamy, no-bake pumpkin cheesecake made easy in your Instant Pot! This decadent dessert is the perfect quick & impressive fall treat.
Ingredients
=== For the crust ===
=== For the filling ===
Instructions
- Pulse the graham crackers:In a food processor, finely pulse 10-12 full sheets of graham crackers. If you don’t have a food processor, place crackers in a ziplock bag and roll with a rolling pin until mixture is crumbly.
- Add in flavor:Then add in 4 Tbsp.melted butter, pinch of sea salt and 3 Tbsp. brown sugar.(The sugar is optional but I like the flavor it gives the crust).
- Line the removable pan:Pop the bottom piece out from your spring form pan (7×3 inch Fat Daddio’s round cheesecake pan) and wrap it withparchment paper and spray with non-stick cooking spray(such as PAM or Bak-Klene).
- Form the crust:Pour the graham cracker crust mixture into your prepared spring form pan andpack the mixture downin an even layer. You can use a mason jar, cup, flat bottomed small measuring cup or ramekin to get it nice & smooth.Place this in your freezerwhile you make the cheesecake filling
- In one large bowl, mix together all of the filling ingredients: the softened cream cheese, entire 15 oz. can of pumpkin, eggs, sour cream or heavy cream, vanilla extract, cornstarch, brown sugar, granulated white sugar, flour, ground nutmeg, Allspice, ground ginger, cinnamon, and pumpkin pie spice.
- Pull pan out of the freezer. Pour cream cheese batter into the cheesecake pan.
- Pour 1 cup water into the Instant Pot. (I use a 6 quart duo pot and have not tested in any other sizes). You can tightly wrap the cheesecake with foil to prevent excess moisture from collecting on the top. Place the cheesecake on top of the Instant Pot trivet and lower the cheesecake in the pot. Secure the lid on, be sure the valve is set to sealing, and cook on HIGH pressure for 40 minutes.
- Naturally release the pressure for another 40 minutes (time will count up to 40).
- Switch the valve to venting to release any remaining steam (shouldn’t be any though). Remove lid and carefully take the cheesecake out of the Instant Pot (take it out with the trivet so you remove it the same way you lowered it in). There may be some condensation on top of the cheesecake from the steam, just gently blot if off with paper towels.
- Let cool on counter for 15 minutes, then place in the fridge for at least 4 hours, I recommend 8+ hours or overnight so it really sets up nicely.
- Run a sharp knife around the edge of cheesecake to release it and remove the sides of the spring-form pan. Decroate as desired and enjoy!
=== For the crust ===
=== For the filling ===
Notes
- Let the cheesecake chill for the full recommended time for the best texture and flavor.


Leave a Reply