My First Yogurt Surprise
I was so nervous the first time I made yogurt. I kept checking the pot. I worried it wouldn’t work. But then it did! I still laugh at that.
It felt like a little kitchen miracle. The good bacteria from the starter yogurt grew and grew. They turned plain milk into something creamy and new. This matters because it connects us to an old, simple way of making food.
Let’s Get Started
You have two easy paths to choose from. The cold start is my favorite. It uses a special milk so you can skip the boiling step. It feels so quick and easy.
The other way involves boiling the milk first. It’s still simple, I promise. Both methods give you that wonderful “I made this!” feeling. Which method sounds easier to you, the cold start or the boil method?
The Secret to Good Yogurt
The most important part is your starter. You need a little bit of plain yogurt. It must have live cultures in it. And please, use a brand new container for the best results.
This tiny bit of yogurt is like a magic seed. It helps the whole pot of milk turn into yogurt. Fun fact: the good bacteria eat the natural sugar in the milk. This is what makes the yogurt thick and a little bit tangy.
The Waiting Game
After you mix everything, you press the yogurt button. Then you wait. The machine keeps the milk just warm enough. This is when the magic happens. Doesn’t that smell amazing?
You can let it sit for eight hours or even longer. A longer wait makes thicker, tangier yogurt. I like to set it before bed. Waking up to fresh yogurt is a lovely treat. What’s your favorite time of day to let your yogurt incubate?
Making It Just Right
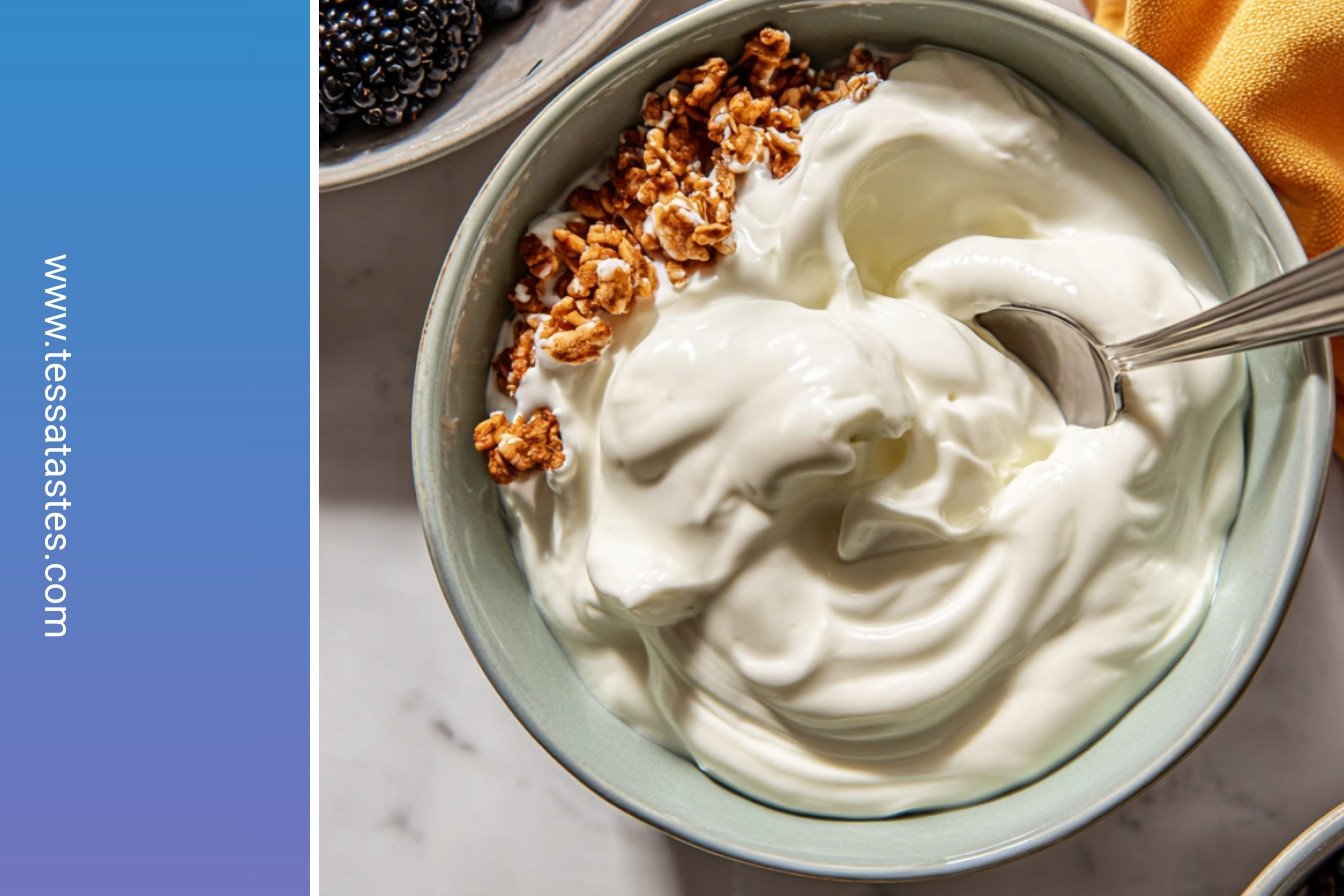
When it’s done, do not stir it! Let it cool down slowly. This helps it get thick and creamy. Then it goes into the fridge to chill.
If you want super thick yogurt, like the Greek kind, you can strain it. I use a colander with paper towels. The liquid that drains out is called whey. This matters because you control how thick you want it. It’s your homemade creation!
Your Yogurt Adventure
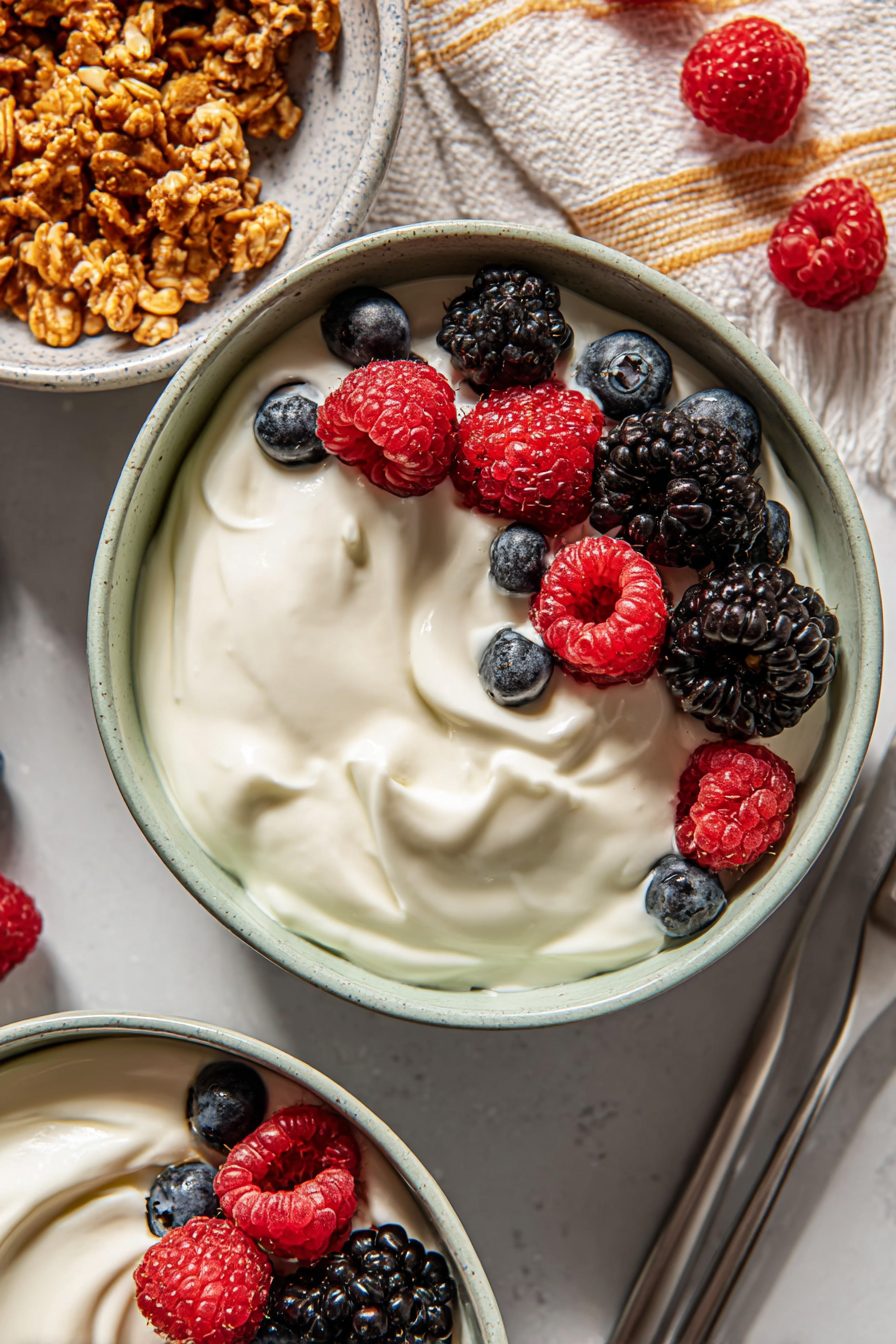
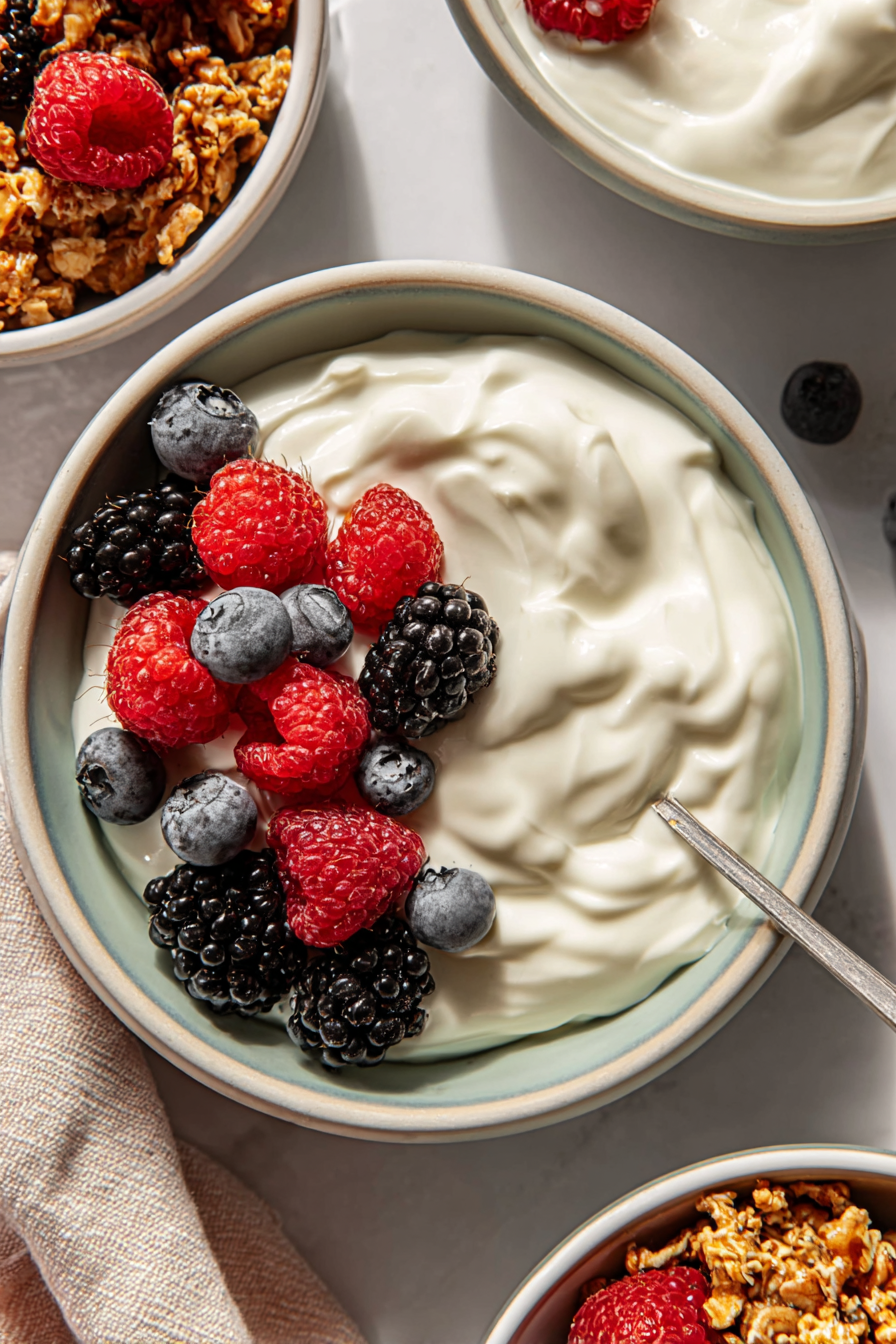
Now comes the fun part. You can eat it plain. Or you can stir in some fruit or honey. I love scraping a vanilla bean into mine. It makes it taste so special.
Making your own yogurt saves money. You also know exactly what’s inside. No funny business. It feels good to make something so healthy from scratch. What will you mix into your first batch of homemade yogurt?
Ingredients:
| Ingredient | Amount | Notes |
|---|---|---|
| whole milk (ultra-pasteurized and ultra-filtered) | 52 oz. | For cold start method. Must be ultra-pasteurized/ultra-filtered (e.g., Fairlife). |
| sweetened condensed milk (canned) | 14 oz. | Optional. For cold start method. |
| plain full fat yogurt (with live active cultures) | 2 Tbsp. | Use a newly opened container (e.g., Fage 5%). |
| vanilla bean | 1 | Optional. For cold start method. Split and scrape out beans. |
| pasteurized whole milk | 1/2 gallon | For boil method. |
| plain full fat yogurt (with live active cultures) | 2 Tbsp. | Use a newly opened container (e.g., Fage 5%). For boil method. |
My Favorite Way to Make Yogurt at Home
Hello, my dear! Come sit with me for a minute. I want to tell you about my yogurt. Making it fills my kitchen with a warm, cozy feeling. It’s like a little science project you can eat. I still laugh at the first time I tried it. I was so nervous waiting for it to thicken!
I have two ways to make it. One is super easy, and the other is still pretty simple. Let’s start with the easy one, the “cold start.” You just mix everything right in the pot. No boiling needed! It’s perfect for a busy day.
Step 1: Prepare the Milk
Let’s get our milk ready. If you want sweet yogurt, whisk the condensed milk with a little plain milk first. It blends together much better this way. Then pour in the rest of the milk and your yogurt starter. Give it another good whisk!
Step 2: Cook the Yogurt
Now, cover your Instant Pot. I use a glass lid so I can peek at it. It’s like watching a baby sleep. Then you just press the yogurt button. The timer will count up, not down. Isn’t that funny?
Step 3: Cool the Yogurt
Patience is the secret ingredient here. When the pot beeps, do not stir it! Let it cool on the counter for a bit. (My hard-learned tip: don’t put it straight in the fridge. The sudden cold can make your yogurt thin.) Then it goes into the fridge to sleep.
Step 4: Finish the Yogurt
In the morning, it might look a little lumpy. Just whisk it smooth. It will be so creamy and lovely. For thicker yogurt, like the Greek kind, you can strain it. I use a colander with paper towels. It works like a charm!
Now, for the boil method. It takes a bit longer, but it’s still easy. You heat the milk first to make it just right. Then you cool it down before adding your starter. It’s a little dance of hot and cold. Which method sounds easier to you? Share below!
Cook Time: 8 hours
Total Time: 12 hours
Yield: 8 cups
Category: Breakfast, Snacks
Three Tasty Twists for Your Yogurt
Plain yogurt is wonderful, but sometimes you want a little fun. I love playing with flavors. It reminds me of making potions when I was a girl. Here are a few of my favorite ways to dress it up.
Honey & Cinnamon Swirl
Just stir in a big spoonful of honey and a sprinkle of cinnamon. It tastes like a warm hug.
Berry Blast
Mash up some fresh raspberries or strawberries. Swirl them right into your creamy yogurt. The color is so pretty!
Vanilla Bean Dream
Scrape the tiny seeds from a vanilla bean pod. It makes the yogurt taste so special and fancy.
Each one is a little different. Which one would you try first? Comment below!
How to Serve Your Homemade Yogurt
Oh, the best part is eating it! I have my yogurt almost every morning. It makes a simple breakfast feel like a treat. I love to see it waiting for me in my favorite little bowl.
Try it with a big handful of granola for a crunch. You can also top it with fresh peach slices. Or just eat it plain with a drizzle of maple syrup. It’s so good.
For a drink, a cold glass of orange juice is perfect. Or, for the grown-ups, a nice cup of hot chai tea. The spices in the tea go so well with the creamy yogurt. Which would you choose tonight?
Keeping Your Yogurt Happy and Fresh
Making yogurt is a wonderful weekend project. You get so much for very little work. I always make the full recipe because it keeps so well.
Store your finished yogurt in clean jars in the fridge. It will stay fresh for about two weeks. I do not recommend freezing it, as the texture can become grainy.
I remember my first batch. I put the whole pot straight into the fridge. The yogurt turned out a bit thin. Now I always let it cool first. This small step makes a big difference.
Batch cooking like this saves you time. It also gives you healthy, homemade food all week. That is a wonderful feeling. Have you ever tried storing it this way? Share below!
Easy Fixes for Common Yogurt Troubles
Sometimes, your yogurt might not set perfectly. Do not worry. This happens to everyone, even me. Here are some simple solutions.
If your yogurt is thin, you may have stirred it too soon. Always let it cool before moving it to the fridge. I once got too excited and skipped this step. I learned my lesson.
If it is not thickening at all, your starter yogurt might be old. Always use a fresh, newly opened container. This matters because live cultures need to be strong. Strong cultures make thick, tangy yogurt.
If you see little lumps, just whisk them away. A good stir makes it smooth and creamy. Fixing small problems builds your cooking confidence. Which of these problems have you run into before?
Your Yogurt Questions, Answered
Q: Is this yogurt gluten-free? A: Yes, it is naturally gluten-free. Just check your yogurt starter labels to be sure.
Q: Can I make it ahead? A: Absolutely. It needs at least 6 hours to chill. Making it the night before is perfect.
Q: What can I use instead of sweetened condensed milk? A: You can use honey or maple syrup. Add it after the yogurt is made and chilled.
Q: Can I make a smaller batch? A: You can easily cut the recipe in half. Just use a smaller starter amount, about one tablespoon.
Q: Do I have to strain it? A: No, straining is optional. It just makes a thicker, Greek-style yogurt. Which tip will you try first?
A Final Word From My Kitchen
I hope you love making your own yogurt. It is a simple joy to create something so good. My grandkids love it with fresh berries and a little honey.
Fun fact: The good bacteria in yogurt are what make it thick and tangy. They are like tiny, helpful kitchen helpers.
I would be so happy to see your creations. Have you tried this recipe? Tag us on Pinterest! Sharing food stories is the best part.
Happy cooking!
—Tessa Hammond.
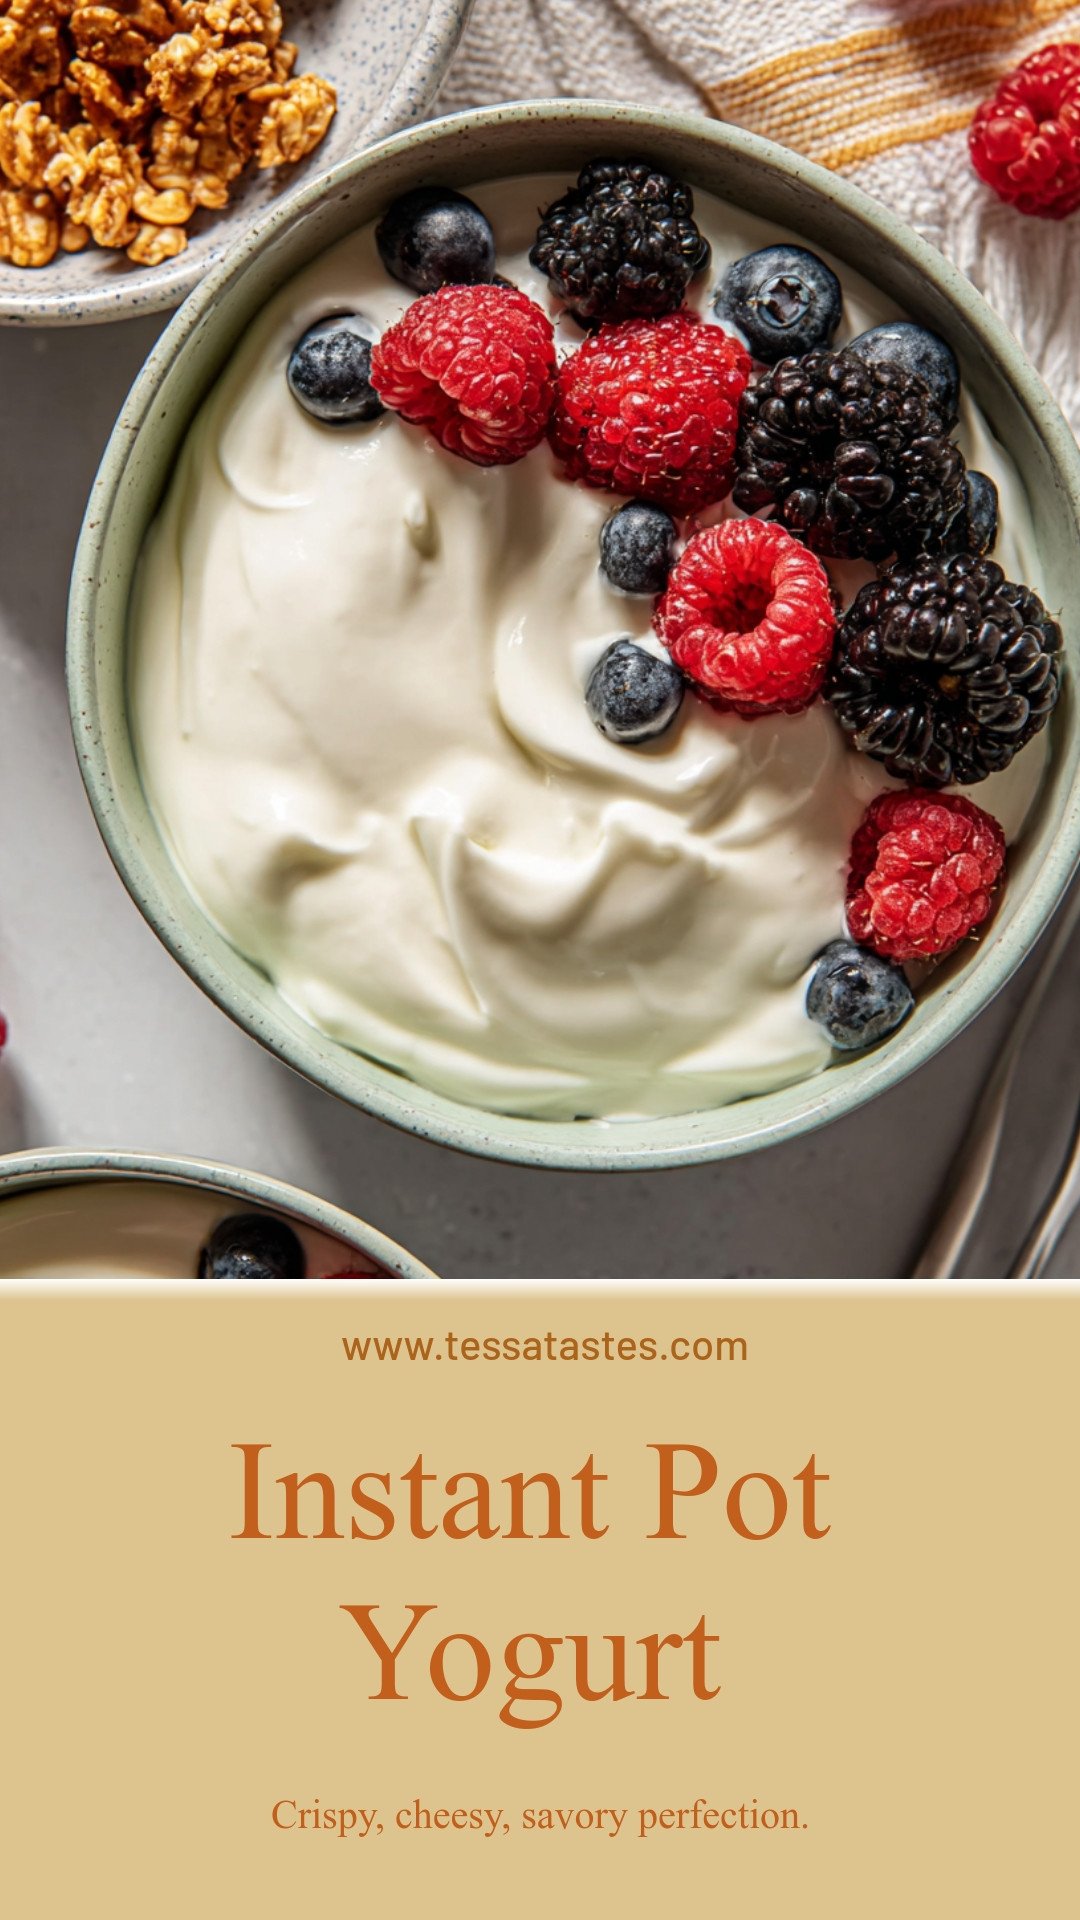
Instant Pot Yogurt: Crispy, cheesy, savory perfection.
Description
Make creamy, healthy homemade yogurt in your Instant Pot! This simple, step-by-step guide is perfect for beginners. Save money & enjoy probiotic-rich yogurt.
Ingredients
=== Cold start (no boil method) ===
=== Boil method ===
Instructions
- Sweeten: If using the sweetened condensed milk: whisk 1 cup of the milk with the sweetened condensed milk in the instant pot insert and whisk until combined. Pour in the remaining milk and yogurt and whisk again until smooth.
- Yogurt starter:If not using the sweetened condensed milk: whisk 1 cup of the milk with the yogurt an whisk well. Pour in the remaining milk and whisk well again.
- Cover: Cover the Instant pot with a glass lid or a plate (you can use the instant pot lid too, doesn’t need to seal. I just usually use a glass lid so I can see the yogurt)
- Incubation: Press the yogurt button. The time should read 8:00. Be sure the pressure is set to normal, and not low. Note: during this incubation period the timer will count UP.
- Pro tip: you can incubate the yogurt longer for a thicker and tangier yogurt, up to 12 hours. Use the +/- button to adjust the time.
- Chill: This step is necessary so the yogurt can thicken further and set up. Once the incubation period is done (When it’s done, the instant pot will beep) remove the inner pot from the instant pot. DO NOT STIR. Allow to cool to room temperature for at least 30 minutes, then cover with plastic wrap and refrigerate for at least 4-6 hours or overnight. If you place in the fridge straight away, the rapid temperature change may thin out the yogurt.
- It may seem lumpy after it chills, but give it a good whisk to thin out. At this point you can add in vanilla bean or any flavorings you prefer, or just leave as is.
- Thicker yogurt:for more of a Greek yogurt style yogurt, strain the yogurt. The longer you strain, the thicker it will become. You can use a yogurt strainer if you have one. If not, I like to place a colander over a large bowl, place some paper towels in the colander and pour the yogurt on top of the paper towels. Strain for at least 1 hour in the fridge or up to overnight in the fridge. (The longer the thicker!)
- Boil the milk in the instant pot:pour the milk in the instant pot insert and place in the instant pot housing. Lock the lid in place (the valve can be turned to sealing or venting), and press the yogurt button until “boil” or “high” appears on the screen. You may need to press the start button after this, depending on your model. This function will heat the milk to 180°-200°F to kill off any microorganisims. When it’s done, the instant pot will beep. I always like to make sure it’s reached the proper temp using a kitchen thermometer.If it is not 180°F, press the Cancel button to reset, then select sauté and heat until the milk temperature reaches 180°F
- Cool the milk: once it’s done, remove the insert from the instant pot and place in a large bowl of ice-cold water to cool the milk to 110°F-115°F. Stir the milk occasionally; this process should take 5-10 minutes. Carefully lift off the film of coagulated milk on the surface and discard it. (You can let it cool at room temperature without the ice water but this process takes much longer, about 1-2 hours).
- Yogurt starter:Place the 2 tbsp. Yogurt in a small bowl and ladle in about ½ cup of the milk. Whisk until smooth and then pour this into the rest of the milk.
- Incubation: place the insert back in the instant pot, cover the Instant pot with a glass lid or a plate (you can use the instant pot lid too, the steam vent can be open or closed. I just usually use a glass lid so I can see the yogurt) Press the yogurt button. Adjust the time to 8:00 or up to 12:00 hours. You can incubate the yogurt longer for a thicker and tangier yogurt. You can use the +/- button to adjust the incubation time. (For some models you may need to adjust the setting from “high” to “medium”).
- Chill: This step is necessary so the yogurt can thicken further and set up. Once the incubation period is done (When it’s done, the instant pot will beep) remove the inner pot from the instant pot. DO NOT STIR. Allow to cool to room temperature for at least 30 minutes, then cover with plastic wrap and refrigerate for at least 4-6 hours or overnight. If you place in the fridge straight away, the rapid temperature change may thin out the yogurt.
- It may seem lumpy after it chills, but give it a good whisk to thin out. At this point you can add in vanilla bean or any flavorings you prefer, or just leave as is.
- Thicker yogurt: for more of a Greek yogurt style yogurt, strain the yogurt (I alway do this). The longer you strain, the thicker it will become. You can use a yogurt strainer if you have one. If not, I like to place a colander over a large bowl, place some paper towels in the colander and pour the yogurt on top of the paper towels. Strain for at least 1 hour or up to overnight in the fridge. You can check it occassionall to see if it has reached a consistency you like.
- For both methods:store in sterile containers and enjoy within 10-14 days.
=== Cold start (no boil method) ===
=== Boil method (still, so easy!) ===
Notes
- Be sure to use a newly opened container of yogurt with live active cultures for the best results. The longer you incubate the yogurt, the thicker and tangier it will become. Straining the yogurt after chilling will give you a thicker, Greek-style yogurt.


Leave a Reply