A Sweet Start
I have always loved making treats. This recipe is one of my favorites. It reminds me of my own grandma’s kitchen.
The smell of peanut butter and chocolate fills the whole house. It makes everyone gather in the kitchen. I still smile thinking about it.
The Magic of Mixing
Making the dough is the best part. You just mix everything together. It turns into a soft, sweet dough.
Pressing it into the pan is fun. You get to use your hands. It feels a little bit like play dough, but you can eat it! What is your favorite part of baking? Is it mixing, or is it tasting?
A Little Chocolate Story
Let me tell you a funny story. Once, I tried to melt chocolate too fast. I was in a hurry to taste the bars.
The chocolate got all grainy and strange. I had to start over. Now I am very patient with my chocolate. This matters because good things take a little time. Rushing rarely makes anything better.
The Waiting Game
The hardest part is waiting. You have to let the bars chill for hours. It tests your patience.
But it is so worth the wait. A cold, firm bar is perfect for slicing. Doesn’t that smell amazing while you wait? What do you do to pass the time when you have to wait for a treat?
Why We Make These
This recipe is more than a dessert. It is a way to share something sweet. Sharing food is a way to show you care.
That is why this matters. A small square of something good can make a big difference in someone’s day. *Fun fact: The first peanut butter was made by the Aztecs and Incas long, long ago!*
Your Turn in the Kitchen
Now it is your turn to try. This recipe is very forgiving. Do not worry if it is not perfect.
The most important ingredient is the fun you have making it. I would love to hear about your baking adventure. Did you share your bars with friends or family?
Ingredients:
| Ingredient | Amount | Notes |
|---|---|---|
| unsalted butter | 1 cup | well softened |
| creamy peanut butter | 1 cup + 2 tablespoons | |
| graham cracker crumbs | 2 cups | |
| powdered sugar | 2 cups | |
| salt | 1/2 teaspoon | |
| semi-sweet chocolate chips | 1 (12-ounce) bag |
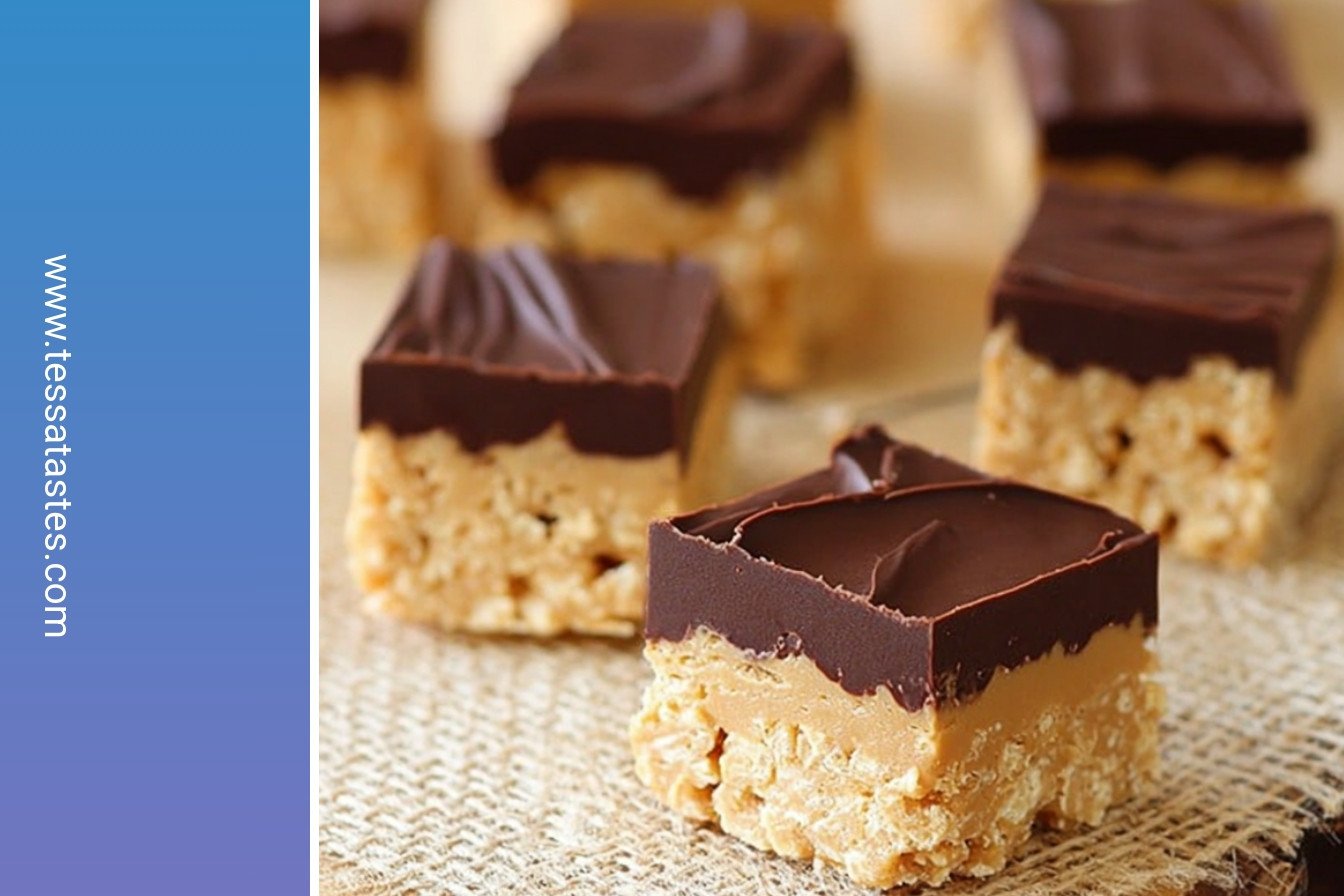
My Dreamy Peanut Butter Ball Bars
I have loved these bars since I was a girl. My Aunt May made them every holiday. The whole house would smell of peanut butter and chocolate. I still laugh at that memory. Now I make them with my own grandkids. They are so easy and fun.
You just need a few simple things from your pantry. Let’s get our hands a little messy. Doesn’t that sound like a good time? I think so, too. Here is how we make this creamy, dreamy treat.
Step 1: First, line your pan with foil. Give it a little spray with cooking oil. This makes everything so much easier later. I learned this the hard way once. My first batch stuck to the pan! (A hard-learned tip: The spray is your best friend here.)
Step 2: Now, let’s make the dough. Mix the soft butter and peanut butter together. It will become so smooth. Then add the graham cracker crumbs and powdered sugar. It will look like a soft, sweet sand. Press this into your pan. I always sneak a little taste. Can you guess the secret ingredient that makes it so good? Is it the graham cracker crumbs or the powdered sugar? Share below!
Step 3: Time for the chocolate! Melt the chips in the microwave. Do it in short bursts and stir. This stops the chocolate from getting burnt. Then stir in that extra peanut butter. Oh, doesn’t that smell amazing? It makes the chocolate silky and perfect.
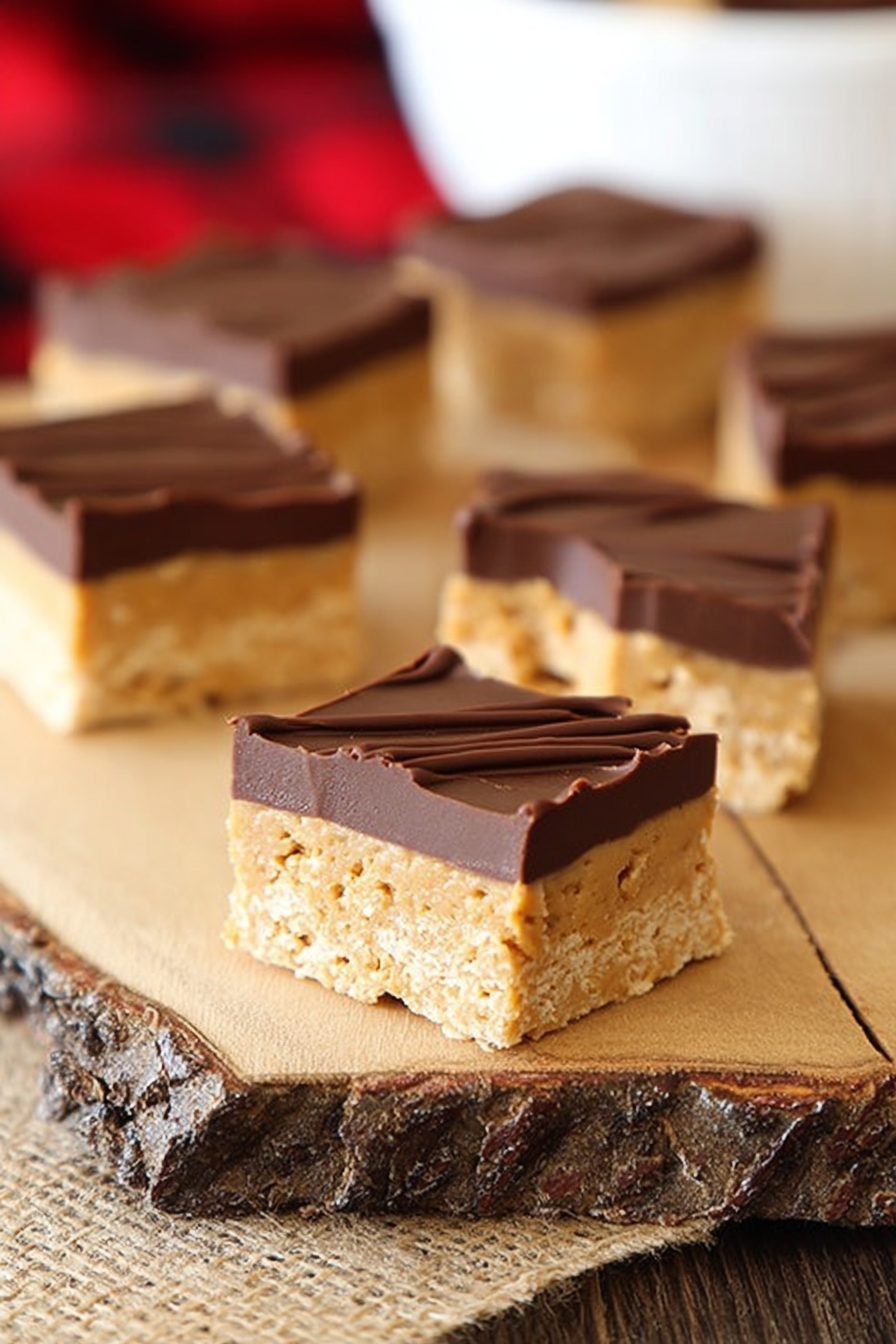
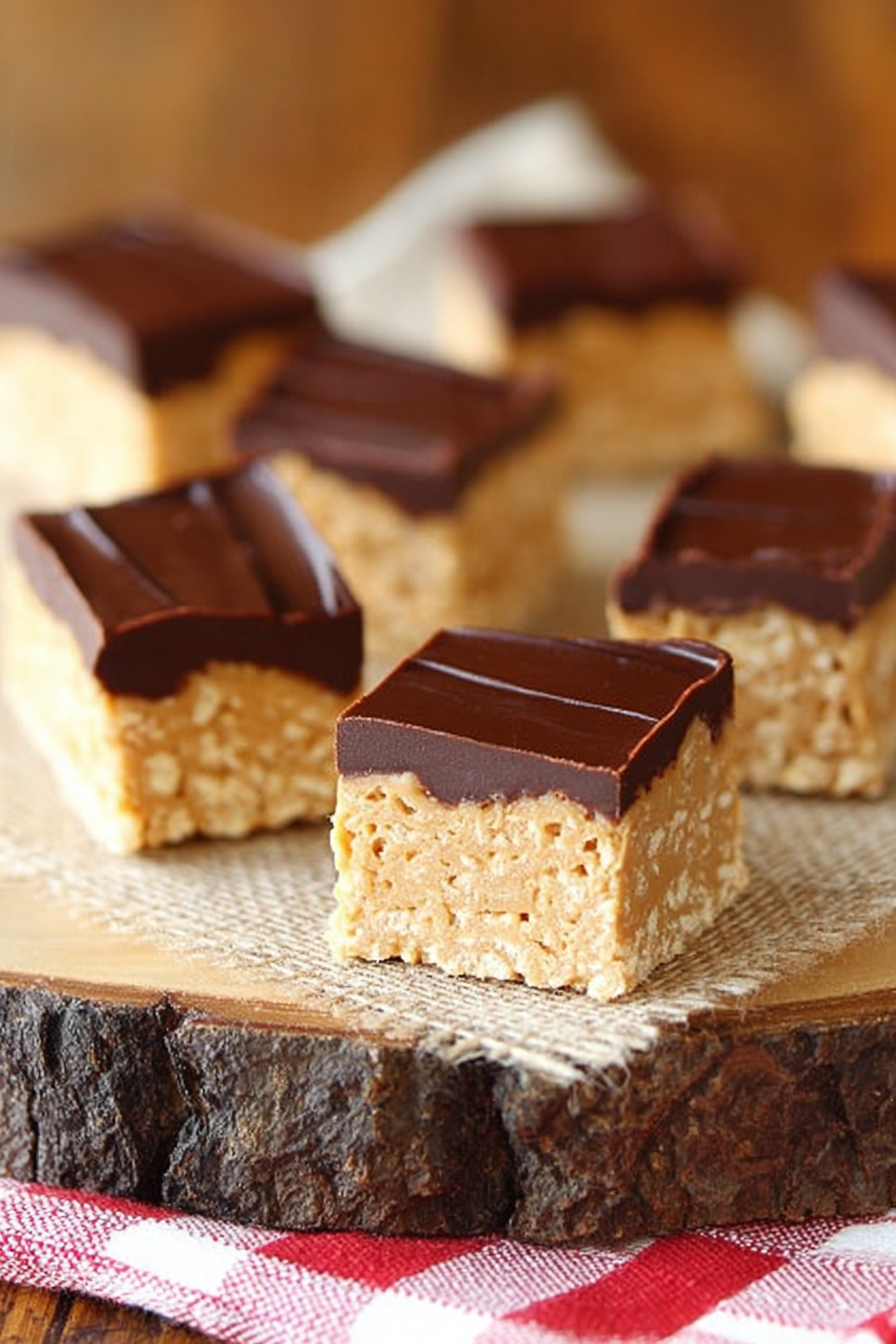
Step 4: Spread the chocolate over your dough. Be gentle so you get a nice, even layer. Now, the hardest part is waiting. Pop the pan into the fridge for a few hours. Once it’s firm, you can cut it into little squares. You will have a whole batch of happiness.
Cook Time: 3 hours (chilling)
Total Time: 3 hours 20 minutes
Yield: 64 little bars
Category: Dessert, No-Bake
Let’s Get Creative!
The best recipes can change with your mood. You can make these bars new every time. Here are a few fun twists I like. They are all so simple. My grandson loves the crunchy one best.
- Crunchy Time: Use crunchy peanut butter instead of creamy. You will get a little surprise in every bite.
- Cookie Dough Dream: Stir a handful of mini chocolate chips right into the peanut butter dough.
- Festive Fling: Sprinkle the top with colorful sprinkles right after you add the chocolate.
These are just a few ideas to start. Which one would you try first? Comment below!
Serving Your Sweet Treats
These little bars are perfect all on their own. But I love making a plate look special. For a party, place each bar in a pretty paper liner. It looks so fancy. You could also stack them high on a cake stand. Everyone will be impressed.
What should you drink with them? A cold glass of milk is the classic choice. It is just perfect. For the grown-ups, a nice cup of coffee with cream is wonderful. The bitter coffee tastes so good with the sweet peanut butter. Which would you choose tonight?
Keeping Your Peanut Butter Ball Bars Perfect
These bars love the cold. They must stay in the fridge. This keeps them firm and tasty.
You can also freeze them for later. Wrap them tightly in plastic wrap. They will keep for a whole month.
I once left a batch on the counter. They became a soft, gooey mess. Now I always use the fridge right away.
Batch cooking saves you time for fun. You can make a double batch. Then you have a sweet treat ready for guests.
This matters because good food should be easy. Storing it well means no waste. Have you ever tried storing it this way? Share below!
Fixing Common Peanut Butter Ball Bar Troubles
Is your dough too crumbly? It needs more moisture. Add one more tablespoon of peanut butter.
Is your chocolate too thick to spread? A little coconut oil will thin it. Just stir in half a teaspoon.
I remember when my chocolate looked dull. I overheated it in the microwave. Melting it slowly fixes this every time.
Fixing small problems builds your cooking confidence. You learn that mistakes are okay. This also makes the flavor much better.
Your treats will turn out just right. Which of these problems have you run into before?
Your Peanut Butter Ball Bar Questions Answered
Q: Can I make these gluten-free?
A: Yes! Use gluten-free graham crackers. It works just as well.
Q: Can I make them ahead of time?
A: Absolutely. They are better after chilling overnight.
Q: What if I only have salted butter?
A: That is fine. Just leave out the extra salt in the recipe.
Q: Can I double the recipe?
A: For sure. Use a 9×13 inch pan instead.
Q: Any fun extra tips?
A: You can sprinkle sea salt on the chocolate. It makes the flavor pop. Which tip will you try first?
Sharing the Sweetness
I hope you love making these bars. They always remind me of my grandchildren. Their smiles are the best reward.
Fun fact: The first known peanut butter recipe was published in 1896!
I would love to see your creations. Have you tried this recipe? Tag us on Pinterest!
Your kitchen stories make my heart happy. Keep sharing the joy of cooking.
Happy cooking!
—Tessa Hammond.
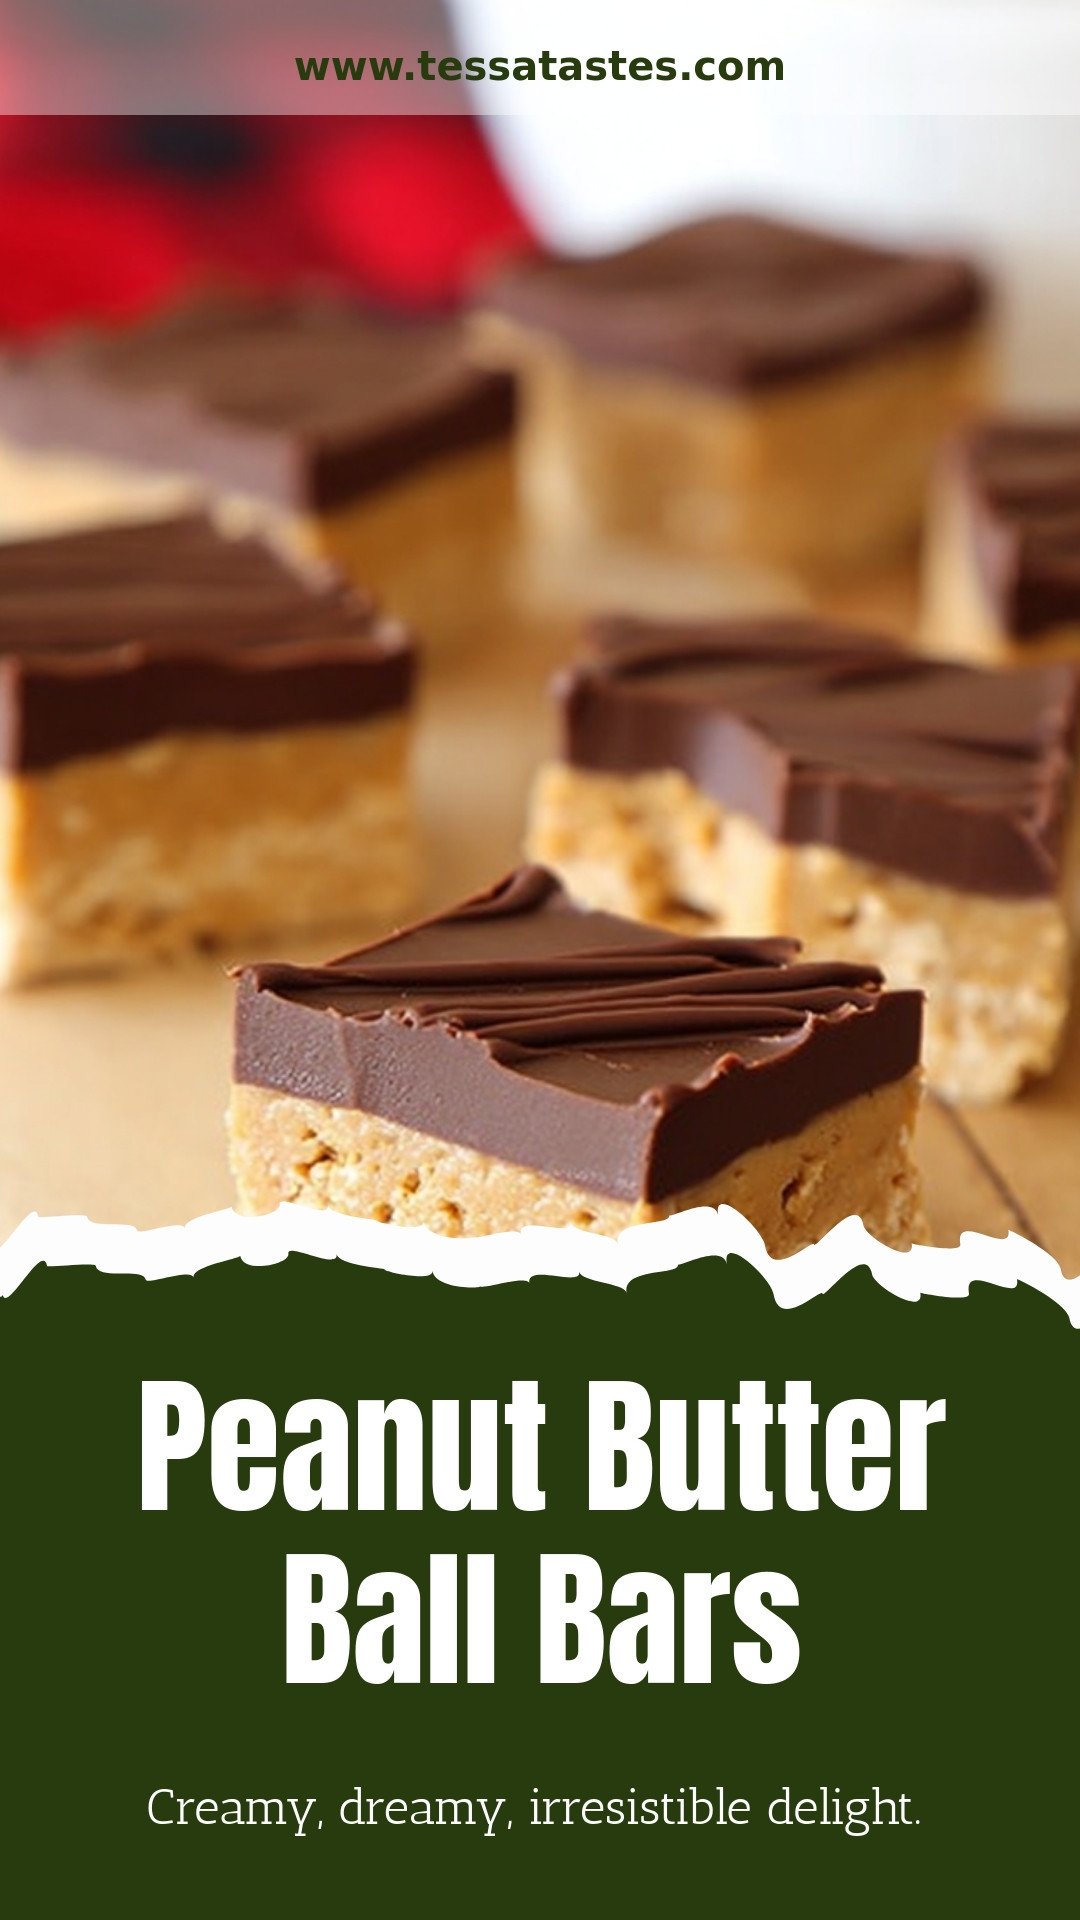
Peanut Butter Ball Bars: Creamy, dreamy, irresistible delight.
Description
No-bake Peanut Butter Ball Bars are an easy, healthy snack. These delicious energy bites are perfect for meal prep and a great gluten-free treat for kids and adults.
Ingredients
Instructions
- Line an 8×8-inch pan with parchment or aluminum foil and lightly spray the foil with nonstick cooking spray.
- In the bowl of a stand mixer or with a hand mixer, combine the butter and peanut butter until smooth. Add the graham cracker crumbs and mix well. Add the powdered sugar and salt and mix well. A soft dough will form. Press the dough evenly into the bottom of the prepared pan.
- In another bowl, melt the chocolate chips in the microwave using 30 second intervals, stirring after each interval. Microwave until the chips are nearly melted but not all the way, then stir until they melt the rest of the way to prevent them from being scorched. Add the 2 tablespoons of peanut butter and stir to combine.
- Spread the chocolate on top. Place in the fridge and allow the bars to chill through – about least 3 hours. Once firm, lift the foil out of the pan and peel it away from the bars. Slice into 1 inch squares using a very sharp serrated knife. Store in the fridge in an airtight container.


Leave a Reply