The Secret in the Dough
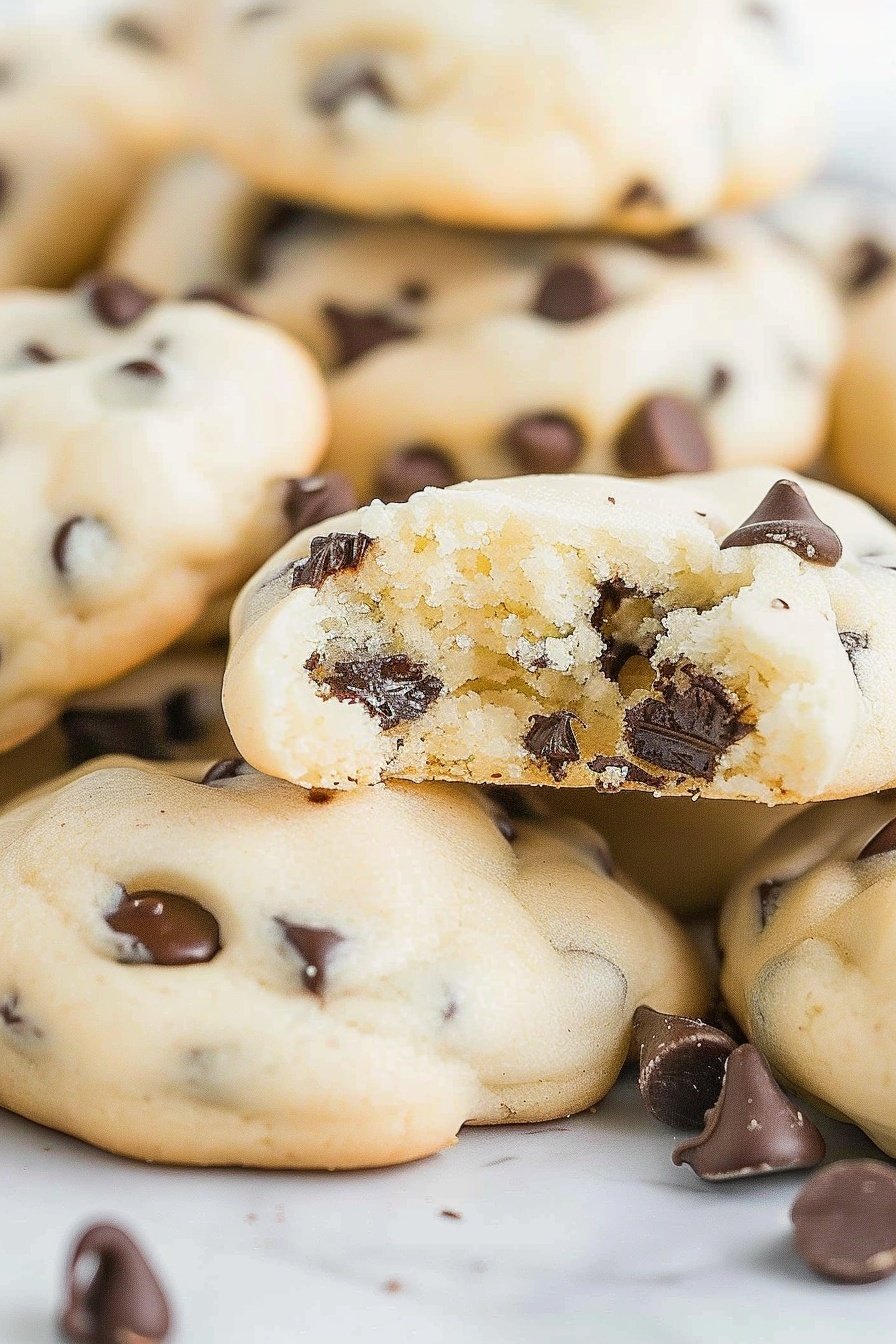
My grandson calls these my hug cookies. I think that’s the sweetest thing. The secret is the cream cheese. It makes the cookie so soft and tender.
It feels like a little cloud in your hands. When you bite in, it just melts. Doesn’t that sound lovely? What’s your favorite kind of cookie texture? Do you like them chewy or cakey?
A Little Chill Time
You must chill this dough. I know, waiting is hard. But it makes all the difference.
Once, I was in a rush and skipped this step. My cookies spread all over the pan! I still laugh at that. They were one giant, flat cookie. Chilling the dough helps them keep their perfect shape. This matters because a little patience makes a much better treat.
The Magic of Mini Chips
We use mini chocolate chips here. They are tiny but mighty. They spread little pockets of chocolate throughout every single bite.
You get chocolate in every mouthful. Fun fact: Mini chips were invented for baking! They are designed not to sink in the batter. Isn’t that clever? Tell me, are you a chocolate chip person, or do you like other mix-ins?
Watching Them Bake
Do not over-bake these cookies. Please, trust me on this. You only bake them for about 10 minutes.
They will look a little soft in the middle. That is perfect. They will finish cooking on the pan. This matters because it keeps them so wonderfully soft. Doesn’t that smell amazing? It’s the best smell in any home.
Sharing the Warmth
I love making a double batch of these. I keep some and share the rest. Food just tastes better when you share it with someone.
It’s a small way to show you care. It connects us. Have you ever baked something for a friend or neighbor? I would love to hear your story if you have.
Ingredients:
| Ingredient | Amount | Notes |
|---|---|---|
| all-purpose flour | 2½ cups | |
| baking powder | 1 teaspoon | |
| baking soda | ½ teaspoon | |
| cornstarch | ⅓ cup | |
| salted butter | ½ cup | softened |
| cream cheese | 8 ounces | softened to room temperature |
| vanilla extract | 1 teaspoon | |
| eggs | 2 large | room temperature |
| powdered sugar | 2 cups | |
| heavy cream | 3 tablespoons | |
| miniature semi-sweet chocolate chips | ½ cup | plus more to top the cookies if desired |
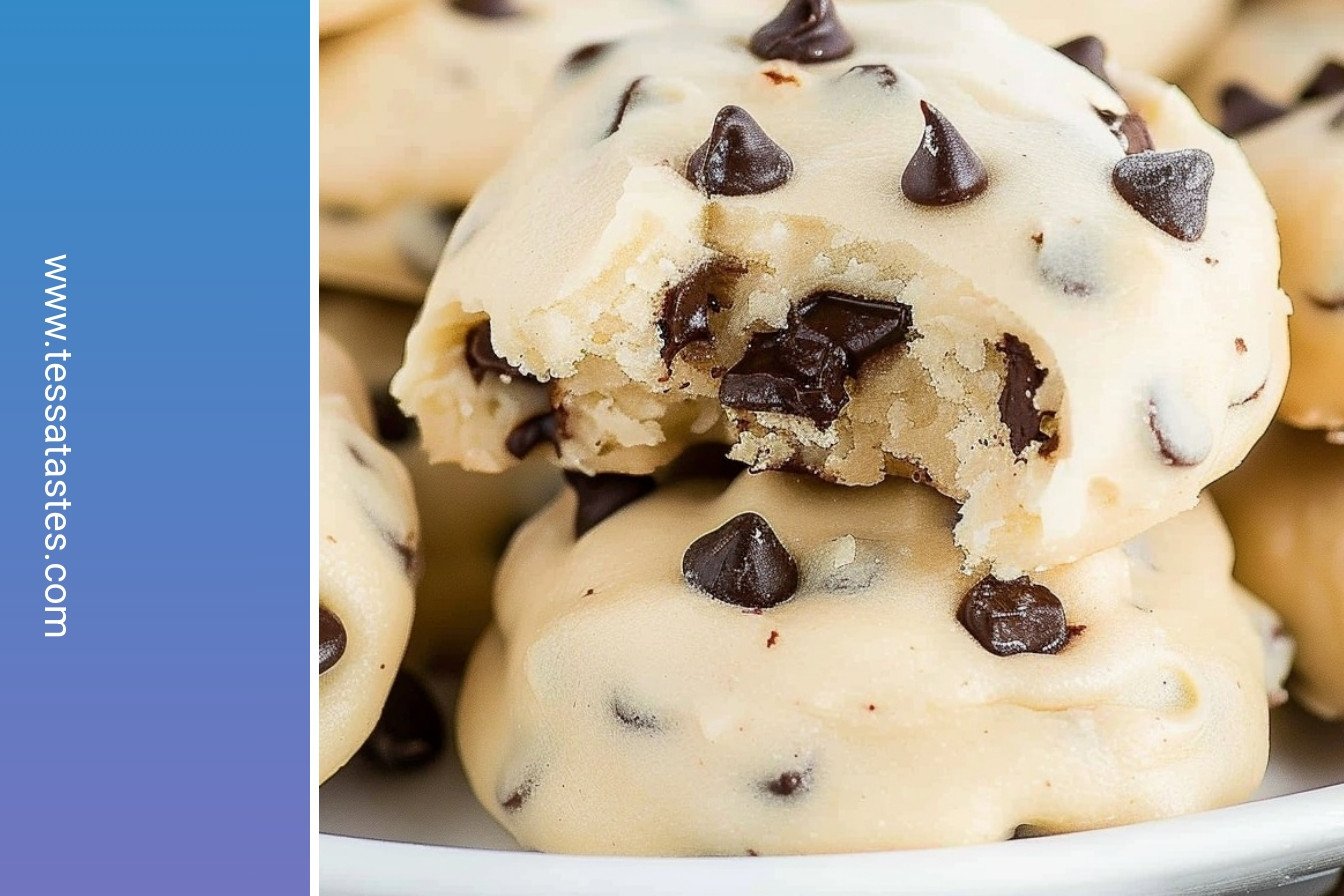
Creamy Chocolate Chip Delights: A Little Pocket of Joy
Oh, these cookies! They are my favorite thing to bake on a quiet afternoon. The secret is the cream cheese. It makes them so soft and rich. My grandson calls them “hug cookies.” I think that’s just perfect. Every bite has a little pocket of melty chocolate. Doesn’t that sound wonderful?
Let’s get our bowls ready. This dough is a dream to work with. I still laugh at the time I forgot to chill it. The cookies spread all over the pan! What a mess. So let’s do it right, step by step. You will love how they turn out.
- Step 1: Grab a medium bowl for your dry things. Put in the flour, baking powder, baking soda, and cornstarch. Just whisk them all together. Then set the bowl aside for later. This mixes everything up nicely.
- Step 2: Now for the creamy part. Use a mixer for the butter and cream cheese. Beat them until they look light and fluffy. This should take about two minutes. (A hard-learned tip: Make sure they are soft first! Otherwise, you’ll get lumpy batter.)
- Step 3: Crack in the eggs and add the vanilla. Beat it all together again. The smell of vanilla is so comforting. Use a spatula to scrape the sides of the bowl. We don’t want to leave any good stuff behind.
- Step 4: Time for the powdered sugar. Pour it in and keep mixing. The batter will become fluffy and smooth. It’s like a sweet, delicious cloud. Do you like your cookies chewy or crispy? Share below!
- Step 5: Turn your mixer to low speed. Slowly add the dry ingredients and the heavy cream. Mix just until it all comes together. The dough will be beautifully soft. Over-mixing can make cookies tough.
- Step 6: Stir in your half-cup of mini chocolate chips. I always sneak a few extra. They are my little reward for baking. Just mix them in until they are spread throughout the dough.
- Step 7: Cover the bowl with plastic wrap. Now, the dough needs a nap in the fridge. Chill it for 30 minutes. This helps the flavors get to know each other. It also makes the dough easier to handle.
- Step 8: Heat your oven to 350°F. Line your baking sheets with parchment paper. This stops the cookies from sticking. I learned that the hard way, too. It makes cleanup a breeze.
- Step 9: Your dough is chilled! Use a cookie scoop to make little balls. Place them two inches apart on the sheet. Then, pop the whole sheet into the freezer for five minutes. This little trick keeps them thick.
- Step 10: Take the sheet out. Quickly roll each ball between your palms to make it smooth. Gently press the top to flatten it a tiny bit. Sprinkle a few more chocolate chips on top. They look so pretty this way.
- Step 11: Bake for 9 to 10 minutes. They are done when the bottoms are just barely tan. The tops will still look soft. They will finish cooking on the pan. This is the key to a soft cookie.
- Step 12: Move the cookies to a cooling rack. Let them sit there until they are firm. This is the hardest part—waiting! But it’s worth it. Doesn’t that smell amazing?
Cook Time: 10 minutes
Total Time: 1 hour
Yield: 24 servings
Category: Dessert, Cookies
Three Tasty Twists on a Classic
This recipe is wonderful as it is. But sometimes, it’s fun to play with your food. Here are a few ideas to make these cookies your own. They are all so simple and delicious.
- Peanut Butter Swirl: Add a big spoonful of peanut butter to the batter. Just swirl it in with a knife before baking. You get a lovely peanut butter and chocolate ribbon.
- Orange Zest Sparkle: Grate the zest of one orange into the dough. The chocolate and orange taste like a fancy candy. It’s a bright and happy flavor.
- Minty Fresh Chip: Use mint chocolate chips instead of semi-sweet. It tastes just like your favorite ice cream. Perfect for a chilly evening with a warm blanket.
Which one would you try first? Comment below!
Serving Them Up With Style
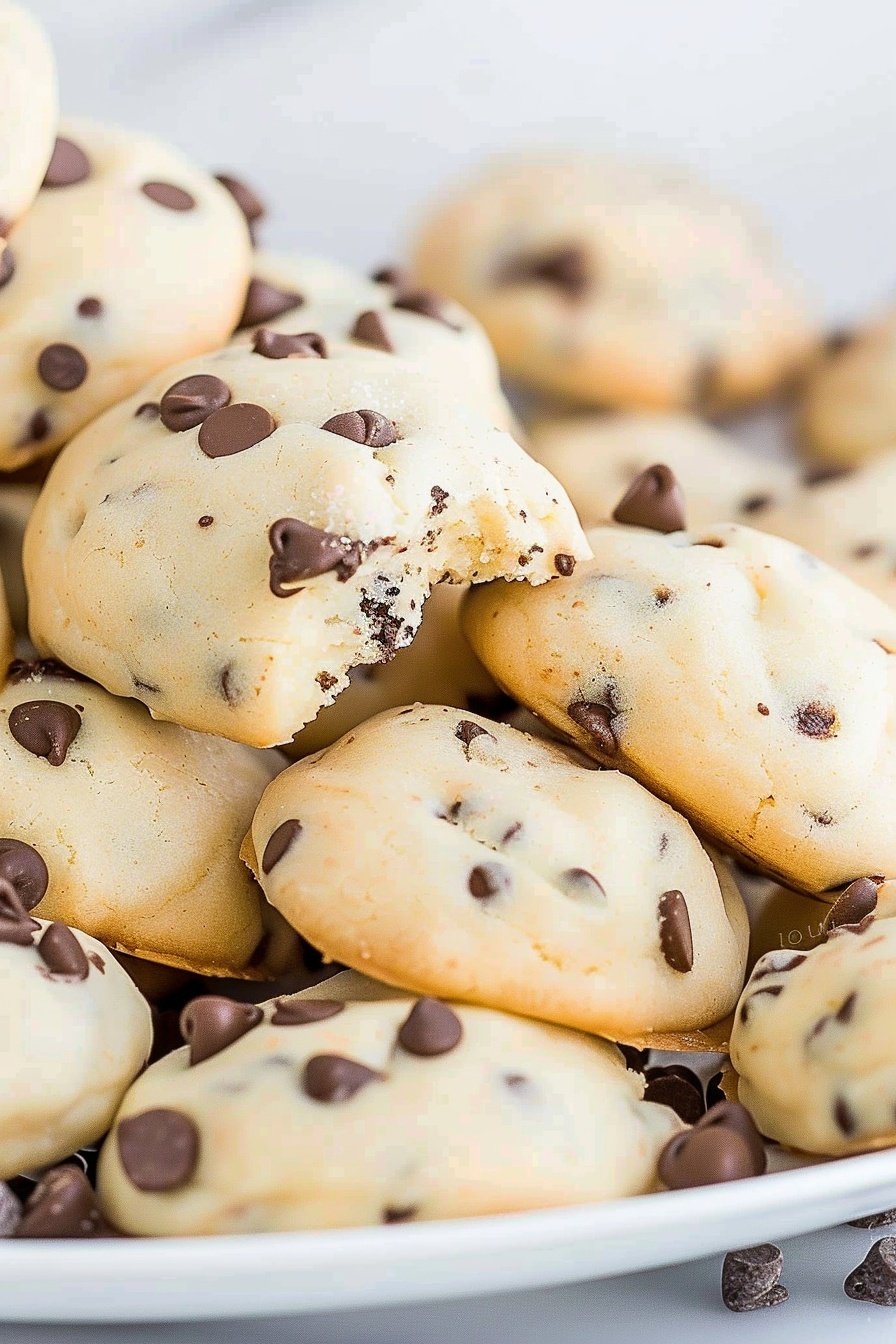
These cookies are stars all on their own. But a little presentation makes them extra special. I love to stack them high on my old ceramic plate. It reminds me of the bakeries I visited as a girl.
For a real treat, serve one warm with a scoop of vanilla ice cream. The cold and hot together is pure magic. A drizzle of caramel sauce makes it a party. For a simpler time, just a tall glass of cold milk is perfect.
If you’re having guests, pair them with a hot cup of coffee. The bitterness of the coffee loves the sweet cookie. For a non-alcoholic option, a cold glass of almond milk is lovely. Which would you choose tonight?
Keeping Your Chocolate Chip Delights Perfect
These cookies stay wonderfully soft. Just pop them in an airtight container. They will be happy on your counter for three days.
You can also freeze the dough for a future treat. I always make a double batch. I scoop the dough balls and freeze them on a tray first.
Once frozen, I toss them all into a bag. This way, I can bake just two or twenty. It is like having fresh cookies on demand.
I remember my first time freezing cookie dough. I was so proud of my future self. It makes busy days feel a little sweeter.
This matters because a little planning brings a lot of joy. A warm cookie can turn a whole day around. Have you ever tried storing it this way? Share below!
Cookie Troubles and Easy Fixes
Sometimes cookies spread too much. Your butter might have been too warm. Chilling the dough is the secret fix.
I once baked cookies with warm dough. They turned into one giant, flat cookie sheet! Now I never skip the chill time.
If your cookies are cakey, you may have over-mixed. Mix just until you see no more flour. This keeps them tender and soft.
Chocolate chips sinking to the bottom? Toss them in a spoonful of flour first. This little trick helps them stay put in the dough.
This matters because every cookie should have chocolate in every bite. These small steps make a big difference in flavor.
Getting the texture right builds your confidence. A perfect cookie feels like a small victory in the kitchen. Which of these problems have you run into before?
Your Cookie Questions Answered
Q: Can I make these gluten-free?
A: Yes! Use a good gluten-free flour blend. It should work just fine.
Q: How far ahead can I make the dough?
A: You can keep it in the fridge for two days. Or freeze it for up to three months.
Q: What if I don’t have cream cheese?
A: You can use all butter, but the cookie will be crisper. The cream cheese makes them special.
Q: Can I double this recipe?
A: Of course! Just use a very large bowl. You will have plenty to share.
Q: Are the mini chocolate chips important?
A: They give you more little chocolate pockets. Fun fact: More pockets mean more melty goodness in each bite! Which tip will you try first?
Bake a Little Joy
I hope you love baking these creamy delights. They always make my kitchen smell like happiness. Sharing them with family is the best part.
I would love to see your beautiful cookies. Your kitchen creations always make me smile. Have you tried this recipe? Tag us on Pinterest!
Happy cooking!
—Tessa Hammond.

Creamy Chocolate Chip Delights: Meltingly rich chocolate pockets.: Meltingly rich chocolate pockets.
Description
Indulge in the ultimate cookie experience with these creamy chocolate chip delights. Each bite is filled with meltingly rich, gooey chocolate pockets.
Ingredients
Instructions
- In a medium bowl, add the flour, baking soda, baking powder, and cornstarch. Whisk together, then set aside.
- In a large mixing bowl, cream together the softened butter and cream cheese until light and fluffy (about 2 minutes on medium speed).
- Add vanilla extract and eggs and beat together until combined. Use a rubber spatula to scrape the sides of the mixing bowl.
- Add in powdered sugar and continue beating to combine and make a fluffy batter.
- Turn the mixer on low and gradually add the dry ingredients and the heavy cream and mix to combine.
- Beat in ½ cup of mini chocolate chips just until combined.
- Cover dough with plastic wrap and chill for 30 minutes in the refrigerator.
- Preheat the oven to 350°F and line baking sheets with parchment paper.
- Use a cookie scoop to make balls from the chilled dough. Space 2 inches apart on prepared cookie sheets. Place the cookie sheets into the freezer for 5 minutes.
- After 5 minutes, remove the cookie sheet from the freezer and quickly roll each ball of dough between the palms of your hands to form a smooth ball. Press each ball gently on the top to flatten slightly. Sprinkle additional mini chips over the tops of the cookie dough.
- Bake for 9 to 10 minutes until the dough has spread into smooth cookies, and the cookies are just barely beginning to brown on the bottom edges.
- Transfer cookies to a cooling rack and let them cool.
Notes
- Nutrition per serving: Calories: 201kcal | Carbohydrates: 25g | Protein: 3g | Fat: 10g | Saturated Fat: 6g | Polyunsaturated Fat: 0.5g | Monounsaturated Fat: 3g | Trans Fat: 0.2g | Cholesterol: 36mg | Sodium: 90mg | Potassium: 80mg | Fiber: 1g | Sugar: 12g | Vitamin A: 295IU | Vitamin C: 0.01mg | Calcium: 26mg | Iron: 1mg


Leave a Reply