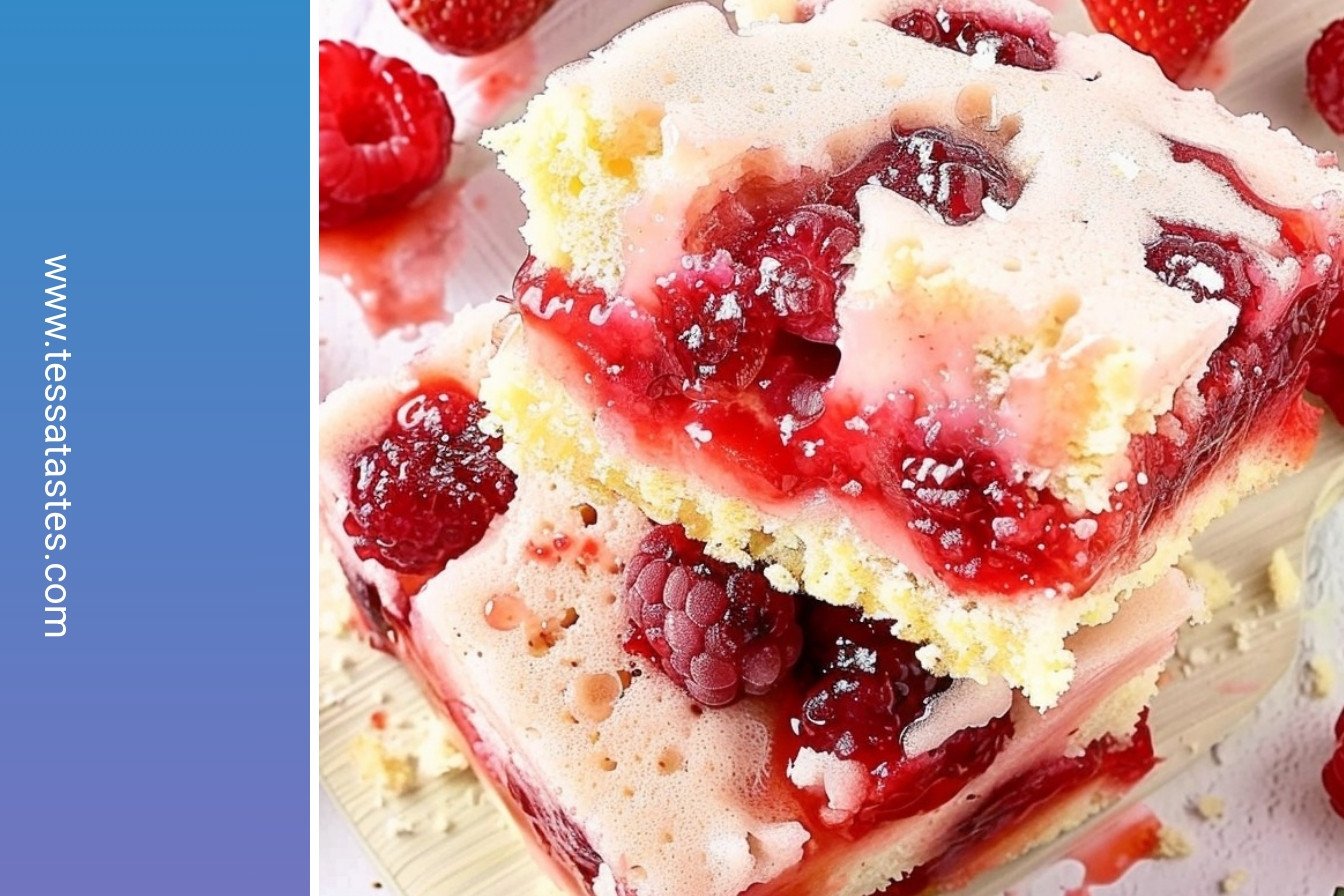
A Sweet Start to Summer
Summer is here. The sun is warm. The berries are sweet. This is the perfect time for my Summer Berry Slab. It is a big, beautiful dessert. It feeds a crowd with ease.
I love how the kitchen smells when this is baking. The sweet berries and zesty lemon fill the air. It reminds me of my own grandma’s kitchen. She taught me that the best food is made with love. What is your favorite smell from the kitchen? I would love to know.
The Story Behind the Slab
I first made this for a big family picnic. I needed a dessert that was easy to carry. I also needed one that would not make a mess. This berry slab was the answer. Everyone asked for the recipe.
I still laugh at that. My grandson thought it was magic. He saw me lift the whole thing out of the pan. His eyes got so wide. This matters because food can create such happy, silly memories.
Making the Crumbly Crust
The crust is also the topping. This makes things very simple. You mix flour, sugar, and a little salt. Then you add the cold butter. Mix it until it looks like little peas.
Now for the secret ingredient. Lemon zest! It adds a bright, sunny flavor. Doesn’t that smell amazing? The eggs bring it all together into a crumbly dough. Press most of it into your pan. Save the rest for the top.
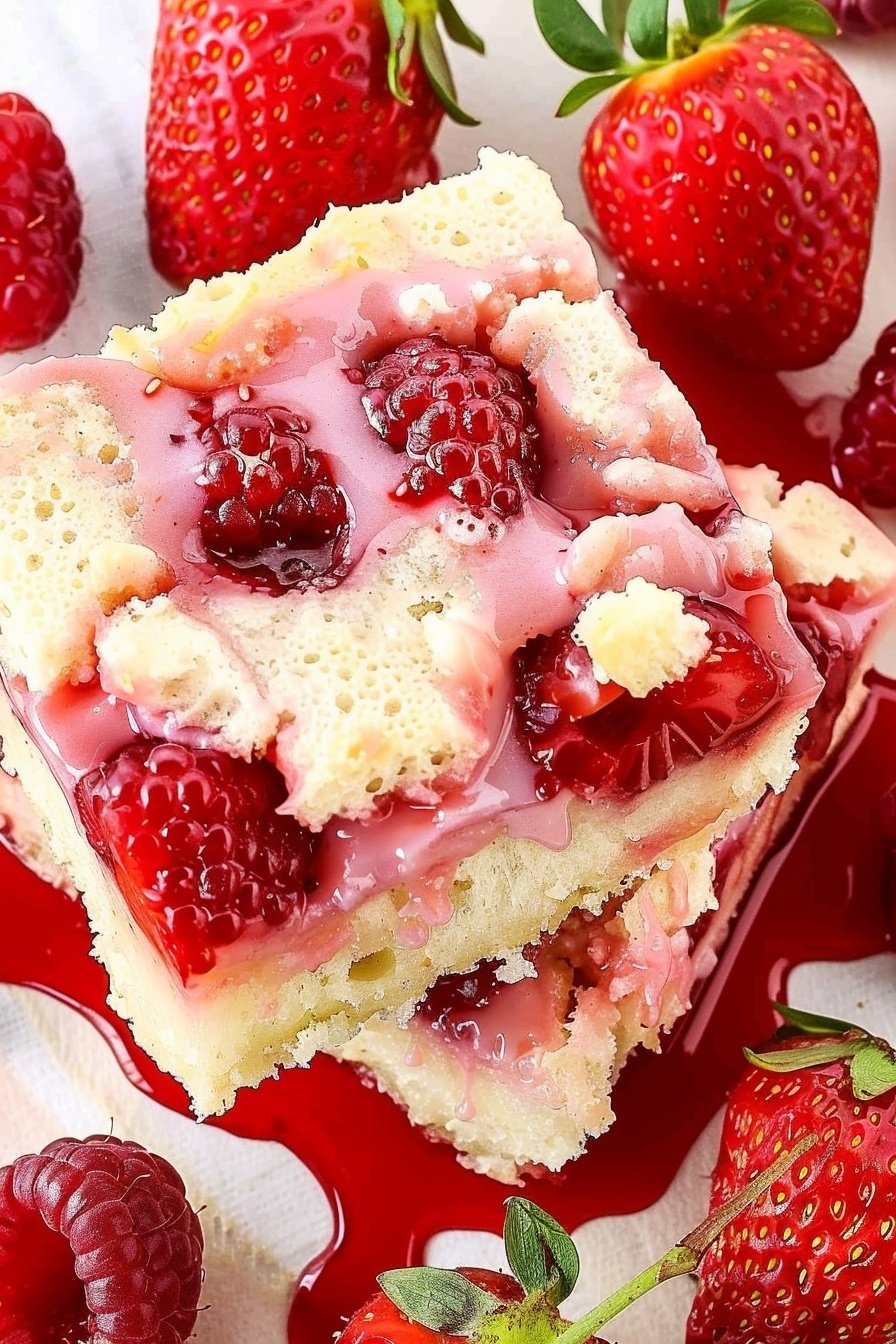
The Juicy Berry Heart
The filling is just strawberries, sugar, and lemon juice. The cornstarch helps thicken all the sweet juices. You just mix it all in a bowl. The berries get a little shiny.
Pour this red, juicy goodness over the crust. Spread it out evenly. Fun fact: The lemon juice does two jobs. It adds flavor and helps keep the berries bright red. Have you ever baked with fresh berries before?
Baking and a Little Patience
Now, crumble the rest of the dough over the berries. Pop it in the oven. It bakes until the top is golden. The smell will drive you wild. You must let it cool completely.
I know, waiting is the hardest part. But if you cut it warm, it will be too soft. Letting it cool matters. It makes the bars neat and easy to cut. This is a good lesson in patience. What is the hardest part of baking for you?
Ingredients:
| Ingredient | Amount | Notes |
|---|---|---|
| Flour | 3 cups | For crust/topping |
| Granulated Sugar | 1½ cups | For crust/topping |
| Salt | ¼ teaspoon | For crust/topping |
| Lemon Zest | 1 large lemon | For crust/topping |
| Unsalted Butter | ½ cup | Cold and cut into cubes, for crust/topping |
| Eggs | 3 | Slightly beaten, for crust/topping |
| Fresh Strawberries | 4 cups | Cut in half, for filling |
| Fresh-Squeezed Lemon Juice | 1 tablespoon | For filling |
| Cornstarch | 1 tablespoon | For filling |
| Sugar | ¾ cup | For filling |
Summer Berry Slab: Juicy, Sweet Berry Bliss
Oh, this recipe brings back such happy memories. My grandkids call this my “summer magic.” It tastes like sunshine and happy afternoons. The lemon zest makes the whole kitchen smell wonderful. Doesn’t that smell amazing?
Let’s start with the crust. It’s also the crumble on top! This is my favorite kind of recipe. You make one simple dough for two jobs. It saves so much time and mess. I still laugh at the first time I made it. I thought I had forgotten the topping!
- Step 1: First, get your oven ready at 350°F. Line your baking dish with parchment paper. Let the paper hang over the sides. This is our secret for getting the bars out later. (My hard-learned tip: This step saves you from a sticky disaster!).
- Step 2: Now, let’s make our dough. Put the flour, sugar, salt, and lemon zest in your mixer. Mix them on low until they are friends. That lovely lemon scent is my favorite part. It promises something good is coming.
- Step 3: Toss in your cold, cubed butter. Keep mixing on low. You want to see little pea-sized bits of butter. Then, pour in your slightly beaten eggs. The dough will look crumbly and soft. That is exactly what we want.
- Step 4: Take about two-thirds of this dough. Press it firmly into your pan. This becomes our crust. Now for the berries! Mix your strawberry halves with lemon juice, cornstarch, and sugar. The cornstarch thickens all the sweet berry juices. What’s your favorite summer berry? Share below!
- Step 5: Spread the berry mixture over the crust. Use a spatula to make it even. Now, take the rest of your dough. Crumble it with your fingers over the berries. Pop it in the oven for about 45 minutes. You will know it’s done when the top is golden.
- Step 6: This is the hardest part. You must let it cool completely. I know, the smell is incredible. But if you cut it warm, it will be too soft. Wait for it, I promise it’s worth it.
Cook Time: 45–50 minutes
Total Time: 1 hour
Yield: 24 bars
Category: Dessert, Snack
My Favorite Twists on This Classic
This recipe is like a good friend. It’s happy to change things up. I love playing with the flavors. Here are a few ideas from my kitchen. Which one would you try first? Comment below!
- Triple Berry Bliss: Use a mix of strawberries, raspberries, and blueberries. The different colors look so pretty together.
- Peach & Berry Dream: Swap one cup of strawberries for chopped peaches. It tastes like a summer evening.
- Almond Crumble: Add a handful of sliced almonds to the crumble topping. It gives a lovely little crunch.
Serving Your Summer Slab
This slab is wonderful all on its own. But sometimes, you want to make it extra special. For a real treat, serve a warm square with a scoop of vanilla ice cream. The way it melts into the berries is pure joy.
It’s also lovely with a dollop of whipped cream. A few fresh mint leaves on top make it look fancy. For drinks, a cold glass of milk is my go-to. Or, for the grown-ups, a sweet iced tea with lemon is just perfect. Which would you choose tonight?

Keeping Your Summer Berry Slab Fresh
Let’s talk about storing your sweet berry bliss. Once cooled, cover the whole pan tightly. It will keep on the counter for two days. For longer storage, slice it into bars first.
Place the bars in a single layer in a container. Use parchment paper between layers. Then you can freeze them for up to three months. I remember my first batch getting a little soggy.
I learned that freezing them separately works best. This batch-cooking trick matters for busy families. You always have a sweet, homemade treat ready for surprise guests. Have you ever tried storing it this way? Share below!
Fixes for Common Berry Slab Troubles
Is your crust too soft? Make sure your butter is very cold. I once used soft butter and the crust was tough. This matters because cold butter makes a lovely, flaky texture.
Is the filling too runny? Let the bars cool completely before you cut them. The filling needs time to set up properly. This patience makes every slice neat and beautiful.
Is the topping browning too fast? Just place a loose piece of foil over the top. This stops the top from burning while the middle cooks. Which of these problems have you run into before?
Your Berry Slab Questions Answered
Q: Can I make this gluten-free? A: Yes! Use your favorite gluten-free flour blend. It works just as well.
Q: Can I make it ahead? A: Absolutely. Bake it a day before you need it. The flavors get even better.
Q: What other fruit can I use? A: Blueberries or raspberries are wonderful swaps. A fun fact: my grandkids love a mixed berry version best.
Q: Can I make a smaller batch? A: Sure. Just halve the recipe and use a smaller square pan.
Q: Is the lemon zest important? A: It adds a bright little zing. But you can skip it if you must. Which tip will you try first?
Share Your Sweet Creations
I hope this recipe brings you as much joy as it brings me. There is nothing better than a kitchen smelling of berries. It reminds me of sunny days and happy times.
I would love to see your beautiful creations. Your photos always make my day. Have you tried this recipe? Tag us on Pinterest!
Happy cooking! —Tessa Hammond.
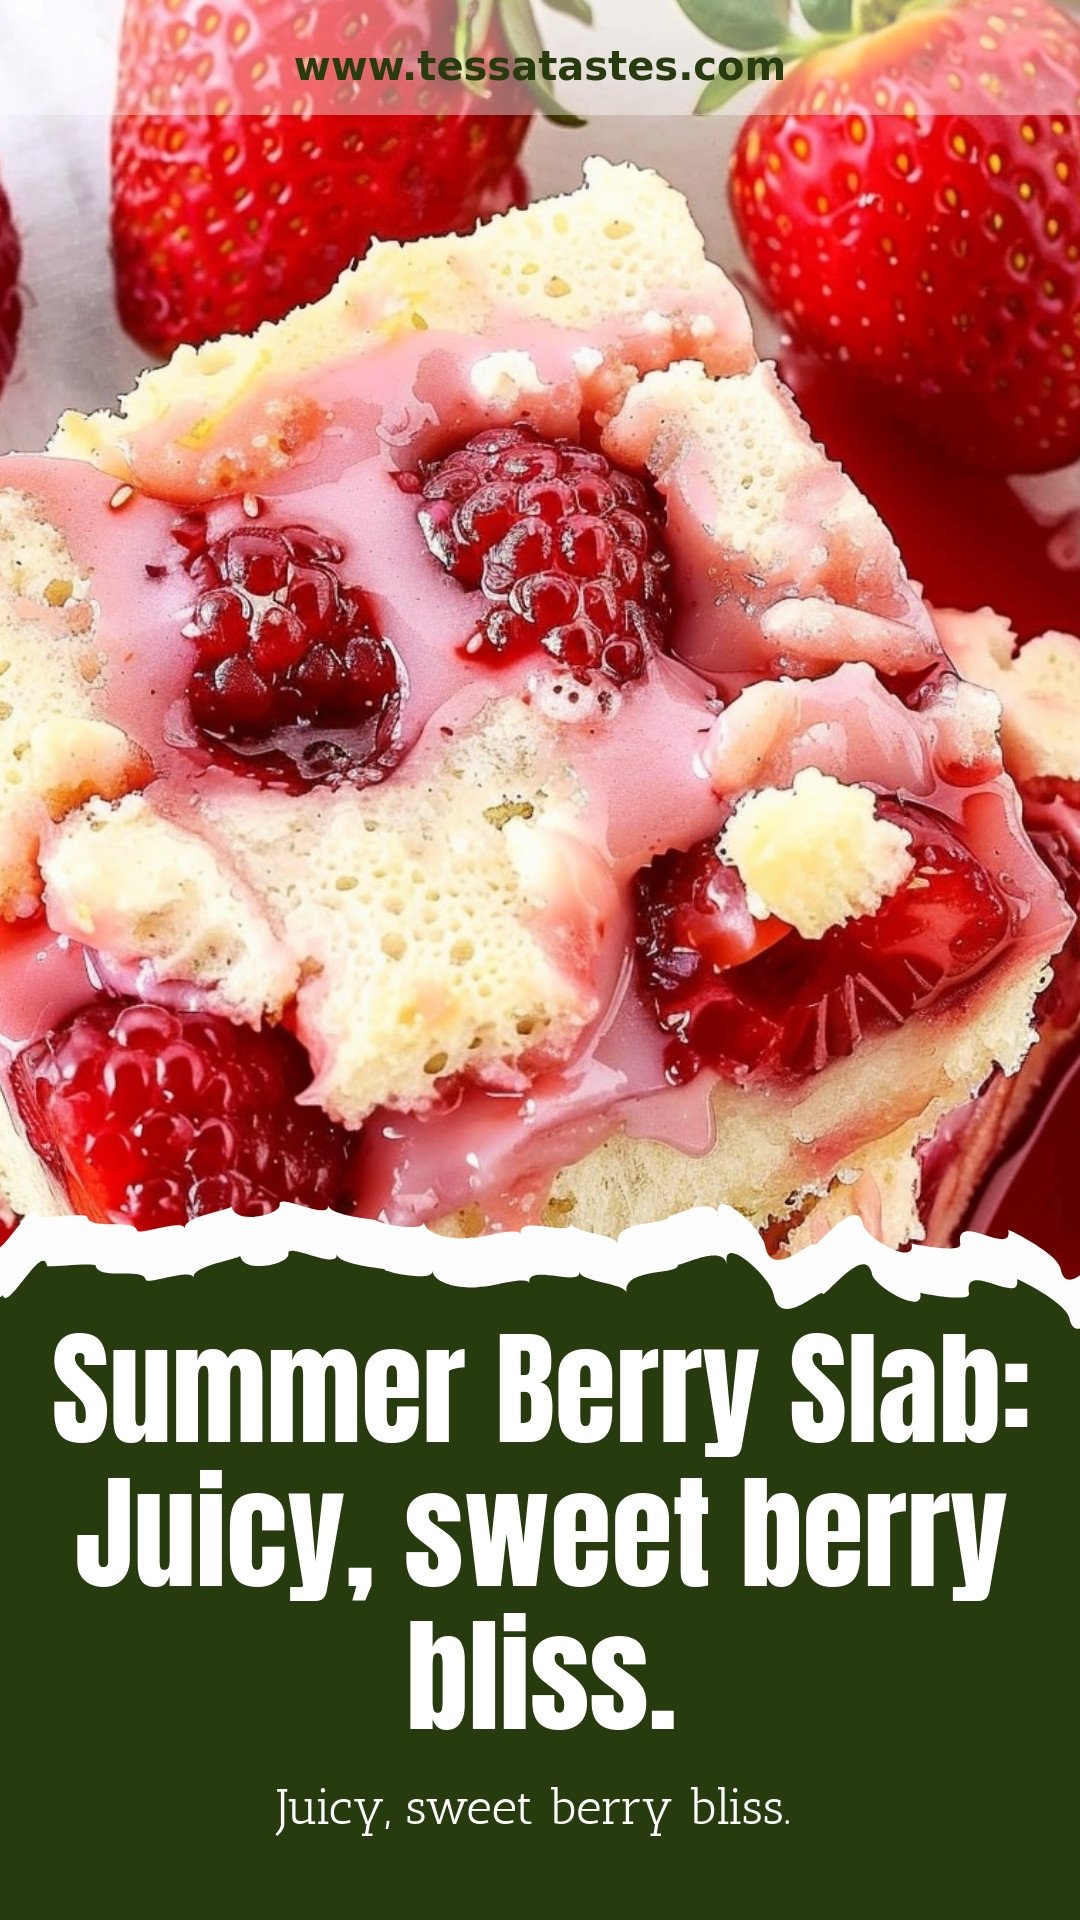
Summer Berry Slab: Juicy, sweet berry bliss.: Juicy, sweet berry bliss.
Description
Indulge in this easy Summer Berry Slab Pie! A stunning dessert bursting with juicy, sweet berry bliss, perfect for sharing.
Ingredients
=== Crust/Topping ===
=== Strawberry Filling ===
Instructions
- Preheat the oven to 350°F. Line a 9×13 baking dish with parchment paper allowing for overhang so you can lift the cooled bars out of the pan to cut.
- In a stand mixer, add the flour, sugar, salt, and lemon zest. On low speed, mix until combined.
- Add in the butter and mix until you get pea-sized pieces of butter.
- Add in the beaten eggs and mix until a crumbly dough comes together.
- Press ⅔ of the dough evenly into the bottom of the parchment-lined baking dish and set aside.
- In a large mixing bowl, combine the strawberries, lemon juice, cornstarch, and sugar. Mix until combined.
- Pour the strawberry mixture over the crust and even it out with a rubber spatula.
- Crumble the remaining dough over the strawberry filling.
- Bake in the preheated oven for 45 to 50 minutes or until the crumble appears slightly golden brown.
- Pull the baking dish out of the oven and set it aside to cool completely before cutting the bars.


Leave a Reply