A Sweet Memory
My grandson calls these “magic wands.” He once tried to use one to turn his sister into a frog. It did not work. But it did make a wonderful, sticky mess. I still laugh at that.
Making these pops is about more than a treat. It is about making a happy memory. Those are the sweetest things of all. What is your favorite summer memory with food?
Let’s Get Mixing
First, grab your pudding mix and cold milk. Pour them into a big bowl. Now, whisk it all together. Keep whisking for about five minutes.
You will see it get thick and creamy. Doesn’t that smell amazing? This part is fun. You are making something wonderful from just two things.
The Freezing Secret
Pour your pudding into the molds. Do not forget the sticks. Push them in straight. Then, the hard part is waiting. They need a long nap in the freezer.
I set a timer for eight hours. This matters because patience makes the best treats. If you rush, you will just get soupy chocolate. No one wants that.
The Big Pop-Out
When they are frozen solid, it is time. Fill a bowl with warm water. Dip each mold in for just thirty seconds. This loosens the pop.
Then, gently pull on the stick. Out it comes. Fun fact: The warm water trick works on any frozen treat mold. It is like a little kitchen magic trick.
Why We Make Things
You could buy a box of pops from the store. But making them yourself is special. You put a little bit of your heart into it.
This matters. It teaches you that you can create good things. It is a small lesson that lasts a lifetime. Do you prefer making treats or buying them?
Your Turn to Share
I hope you love these chocolate pops. They are a simple joy. I think simple joys are the best kind.
Now I want to hear from you. What is your favorite flavor for a frozen pop? Tell me all about it. I am always looking for new ideas.
Ingredients:
| Ingredient | Amount | Notes |
|---|---|---|
| chocolate instant pudding mix | 5.9 ounce | |
| cold milk | 3 cups | |
| popsicle sticks | 10 | |
| popsicle molds | for 10 popsicles |
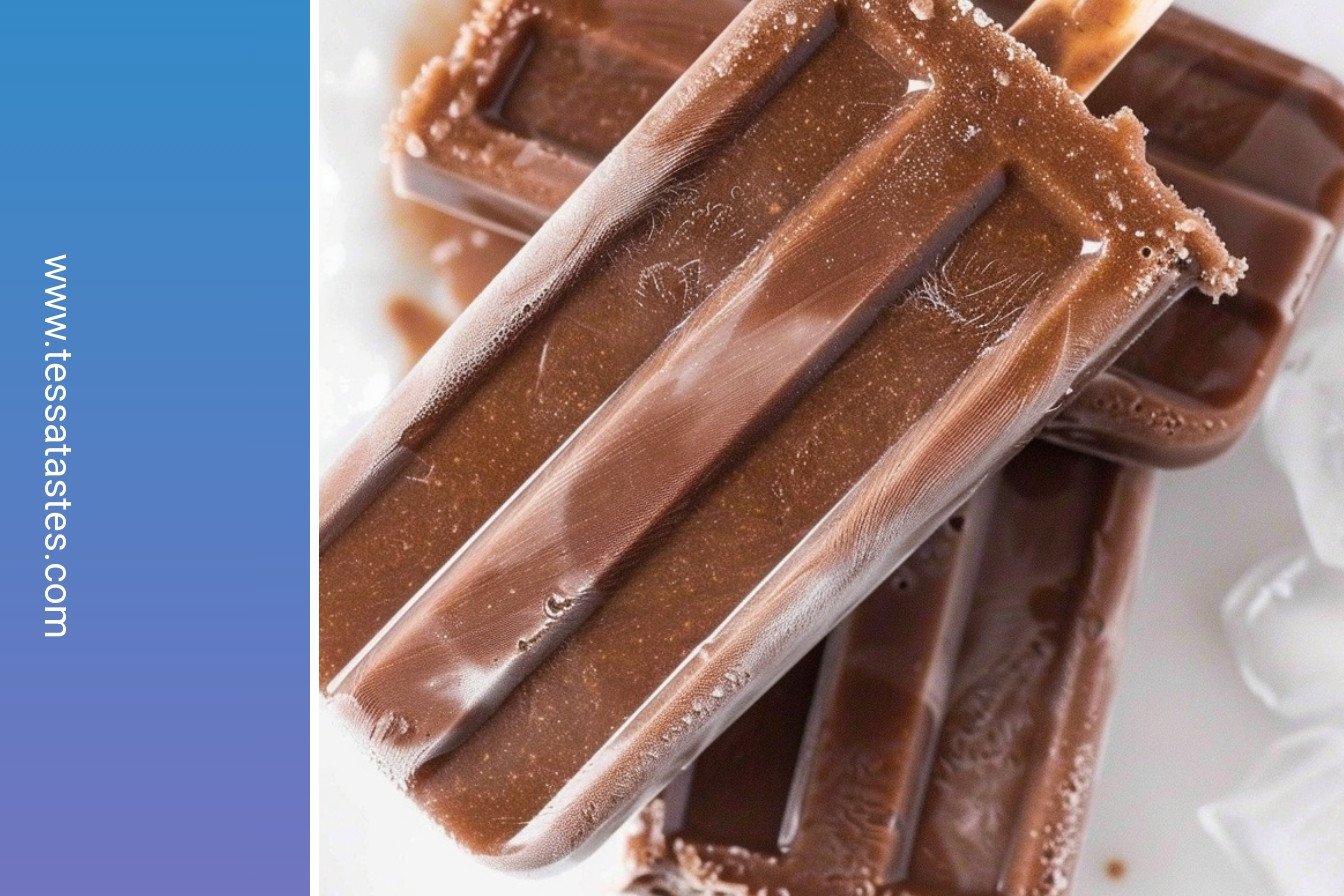
My Favorite Chocolate Ice Pops
Oh, these take me back. My grandkids used to beg for these on hot summer days. The best part is how easy they are. You just need a few simple things from your kitchen. Doesn’t that sound nice? I love how the whole house smells like chocolate. It reminds me of happy, lazy afternoons.
Let’s get our hands busy. Follow these steps for a perfect frozen treat. I still laugh at the first time I made them. I was in such a rush! Now I know to take my time.
- Step 1: Grab a big bowl. Whisk the pudding mix and cold milk together. Keep whisking for about five minutes. You will see it get nice and thick. I always think it looks like chocolate silk.
- Step 2: Now, carefully pour the pudding into the molds. Try not to drip any on the counter. (A hard-learned tip: put the molds on a small baking sheet first. This catches any spills on the way to the freezer!).
- Step 3: Time for the sticks! Push each stick straight into the middle of the mold. Make sure it stands up tall. If it leans, your pop might be lopsided. It’s okay, it will still taste wonderful.
- Step 4: Patience is key now. Put the molds in the freezer. Let them get very firm for about eight hours. I know, waiting is the hardest part. What’s your favorite thing to do while you wait? Share below!
- Step 5: When they’re frozen, fill a bowl with warm water. Dip each mold in for just thirty seconds. This loosens the pop right up. It feels a little bit like magic.
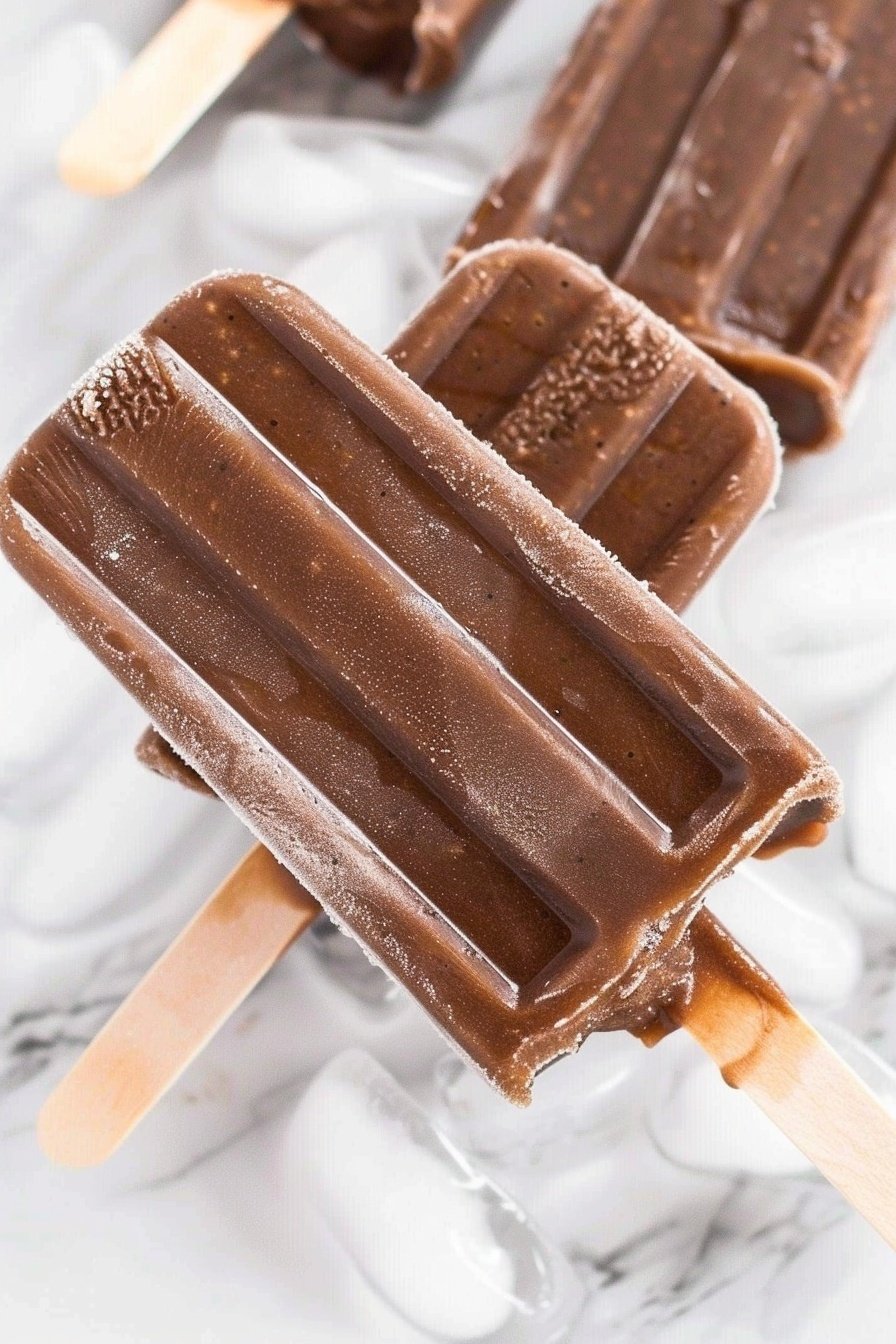
- Step 6: Gently pull your beautiful ice pops out. Place them on a parchment-lined pan to store. Then you can grab one anytime you want. Isn’t that a lovely thought?
Cook Time: 8 hours
Total Time: 8 hours 15 minutes
Yield: 10 servings
Category: Dessert, Snack
Fun Twists to Try
Once you master the basic pop, you can get creative. I love adding little surprises. It makes each bite a new adventure. My grandson loves the crunchy one best.
- Crunch Time: Stir in a handful of crushed cookies before freezing.
- Peanut Butter Swirl: Drop little spoonfuls of peanut butter into the pudding.
- Berry Blast: Place a few fresh raspberries in the bottom of each mold.
Which one would you try first? Comment below!
Serving Them Up Right
These pops are fantastic all on their own. But sometimes, it’s fun to dress them up a little. For a real party, you can roll them in sprinkles right after taking them out of the mold. The sprinkles will stick to the cold surface. You could also drizzle them with a little melted white chocolate. Doesn’t that sound fancy?
For a drink, a tall glass of cold milk is my go-to. It’s the perfect partner for chocolate. For the grown-ups, a little splash of coffee liqueur in their milk is a real treat. Which would you choose tonight?
Keeping Your Chocolate Pops Perfect
These chocolate pops keep well in the freezer. Just store them on that parchment-lined pan. This stops them from sticking together. I once used a bowl without lining it. We had one big block of chocolate ice!
You can easily make a double batch. This is great for a hot week. Having treats ready saves you time and money. It means a cool snack is always waiting. This matters because it makes hot days feel simpler and sweeter.
There is no need to reheat a frozen pop. Just let it sit for a minute if it’s too hard. This little bit of planning makes summer easier. Have you ever tried storing it this way? Share below!
Fixing Common Popsicle Problems
Sometimes the popsicle stick falls over. Make sure your pudding is nice and thick first. A runny mix makes the stick tilt. I remember when my first batch had crooked sticks. It made me laugh, but they still tasted great.
If the pop won’t come out, be patient. Dip the mold in warm water a bit longer. Do not force it or the stick may break. Getting the pop out cleanly builds your cooking confidence. It shows you can solve little problems in the kitchen.
The chocolate flavor can be weak. Using cold milk helps the pudding set up strong. This matters for a rich, creamy taste in every bite. Which of these problems have you run into before?
Your Chocolate Pop Questions Answered
Q: Can I make this gluten-free?
A: Yes, just use a gluten-free pudding mix. Check the package to be sure.
Q: How far ahead can I make them?
A: They are perfect for making ahead. They will keep for about two weeks.
Q: What can I use instead of milk?
A: You can try almond or oat milk. The texture might be a little different.
Q: Can I make a smaller batch?
A: Of course! Just use half the pudding mix and milk.
Q: Any fun extra tips?
A: You can stir in mini chocolate chips before freezing. Which tip will you try first?
Share Your Sweet Creations
I hope you love these chilly chocolate treats. They always remind me of my own grandchildren. Their faces light up when they see them.
I would love to see your kitchen creations. Your photos always make my day. Have you tried this recipe? Tag us on Pinterest!
Fun fact: The first popsicle was invented by an 11-year-old boy! I hope you have as much fun making these as he did. Happy cooking!
—Tessa Hammond.
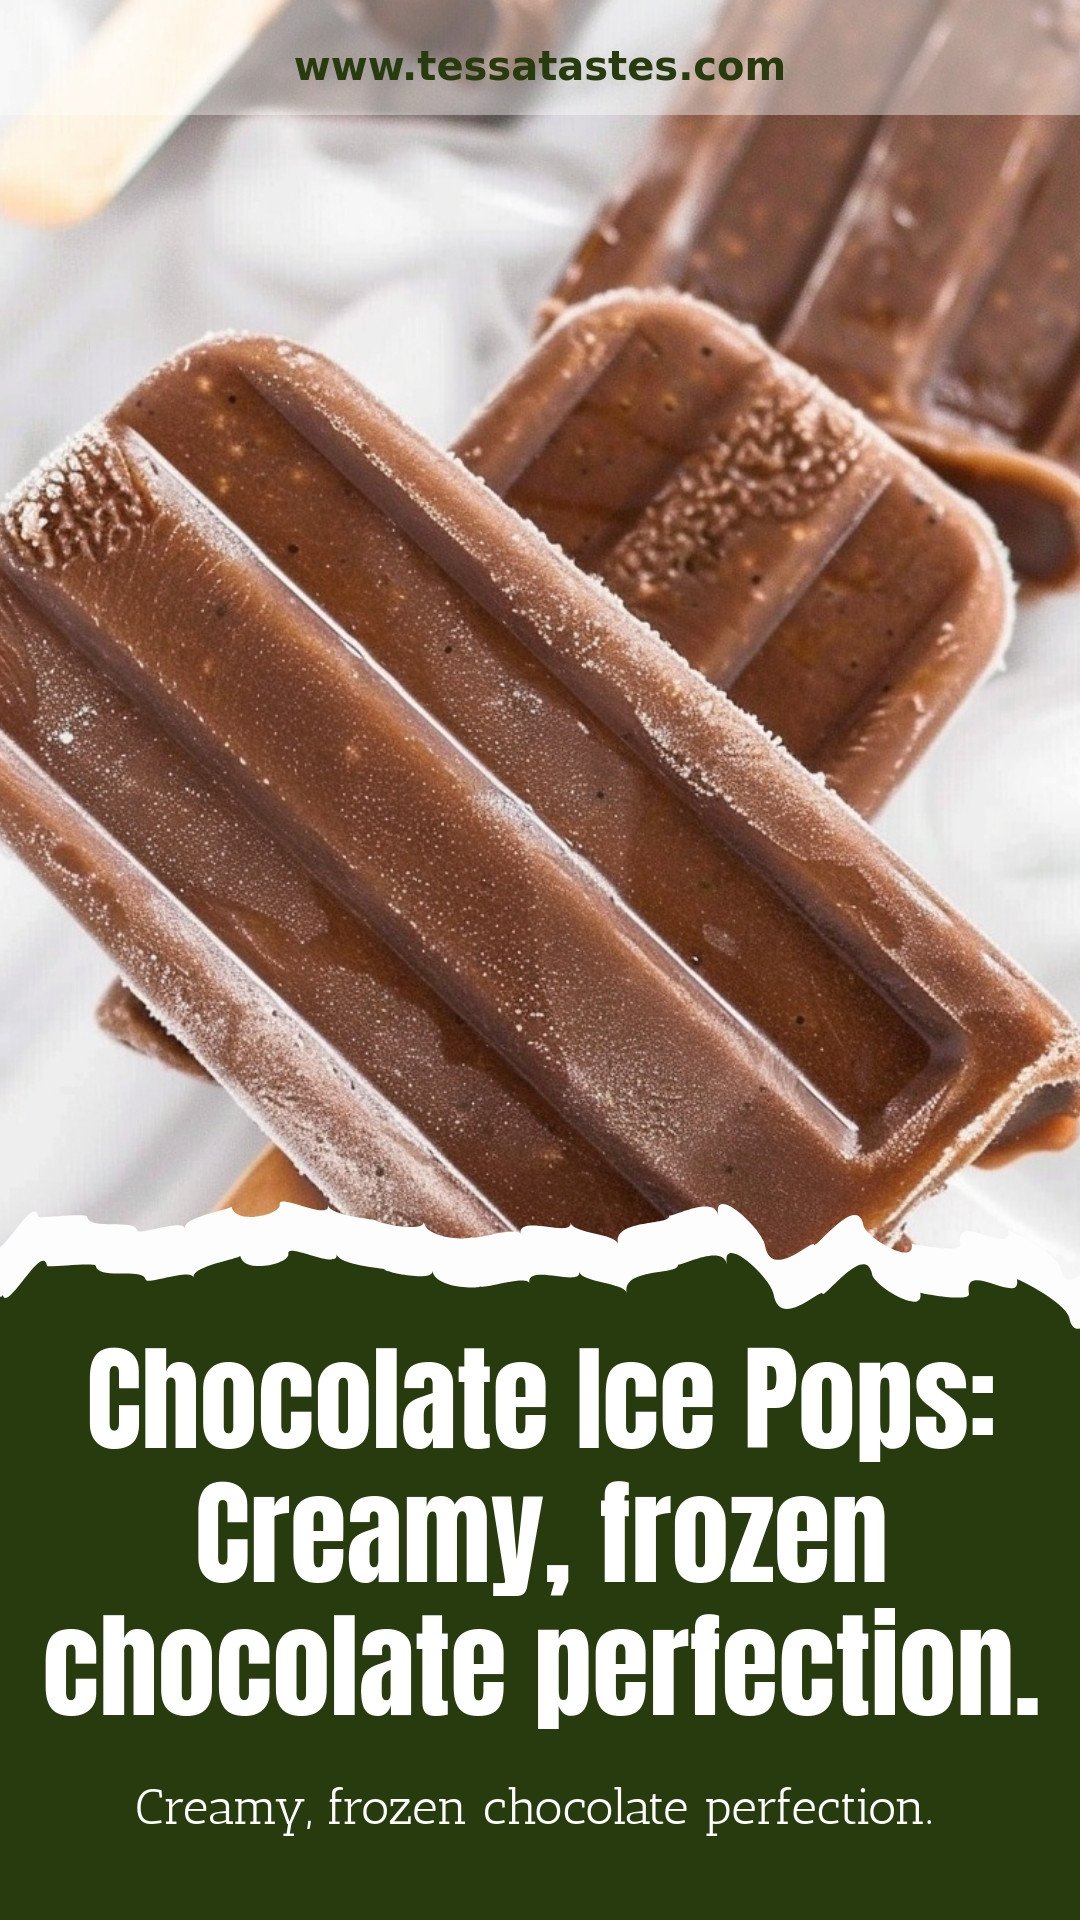
Chocolate Ice Pops: Creamy, frozen chocolate perfection.: Creamy, frozen chocolate perfection.
Description
Indulge in creamy, frozen chocolate perfection with these easy homemade chocolate ice pops. A deliciously cool treat for hot summer days.
Ingredients
Instructions
- Prepare the pudding according to package instructions: whisk together pudding mix and cold milk for about 5 minutes or until thickened.
- Transfer the pudding mix into popsicle molds.
- Be sure to insert the popsicle sticks into the filled molds before freezing.
- Freeze the fudgesicles for about 8 hours until very firm.
- Dip the molds into warm water for about 30 seconds to help loosen the fudgesicles from the molds.
- Remove the fudgesicles from the molds and place them on a sheet pan lined with parchment paper to store in the freezer.
Notes
- Creamy, frozen chocolate perfection.


Leave a Reply