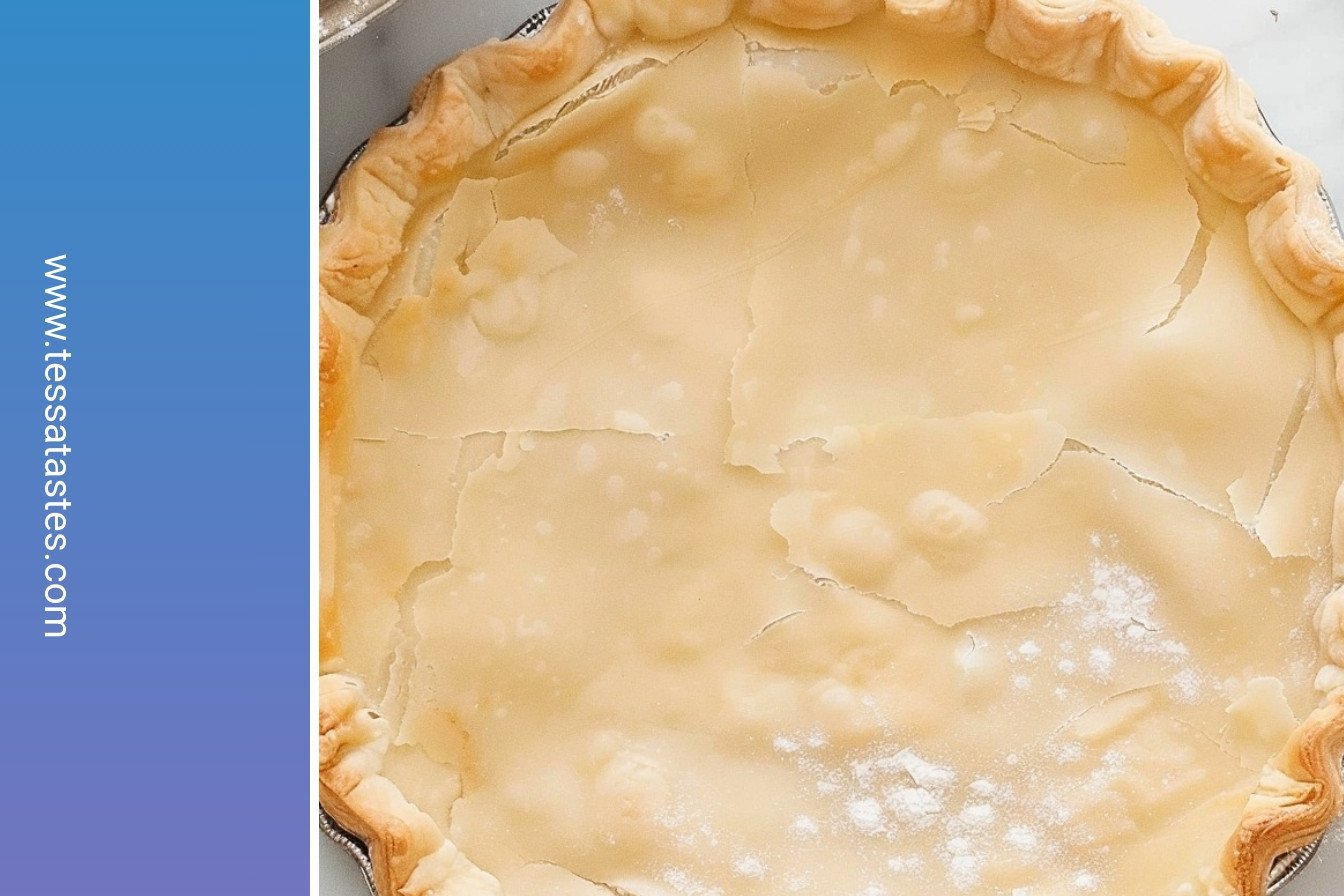
The Heart of a Flaky Crust
Making pastry is like building a tiny tower of butter and flour. You want little pockets of cold butter all through your dough. When it bakes, the butter melts and makes steam. That steam pushes the layers apart. It makes them shatter when you take a bite.
I learned this from my grandma. She always said, Tessa, do not be afraid of the butter chunks! I still laugh at that. She was right. Those uneven bits are the secret to a flaky, golden crust. This matters because a good crust turns a simple pie into something magical.
Keeping Everything Chilly
Your number one job is to keep the butter cold. I put my butter in the freezer for 15 minutes before I start. I even put ice cubes in my water. Why does this matter? Warm butter melts into the flour. Cold butter creates those wonderful, flaky layers we love.
When you work the butter in, use your fingertips. Your hands are warm, so be quick. You should see little pea-sized bits of butter in the flour. Fun fact: The French call this sablage, which means sandy. It describes that perfect, crumbly texture.
The Magic of Folding
Now for the fun part, the folding. You shape your dough into a rectangle. Then you fold it like a business letter. Right side to the middle, then left side over it. This simple trick is how you create dozens of thin, separate layers.
Each time you fold, you are making more layers. I like to think I am tucking the butter in for a nap. Does your dough feel tough or warm? Just pop it back in the fridge for a few minutes. It is a very forgiving friend.
A Little Rest Makes it Best
After all that work, the dough needs a nap. Wrapping it and putting it in the fridge is so important. This lets the gluten in the flour relax. It also re-chills the butter. I know it is hard to wait. But trust me, it is worth it.
I once tried to skip this step. My crust shrank so much in the pan! It taught me a good lesson. Patience is the most important ingredient in baking. What is the hardest part of baking for you? Is it the waiting?
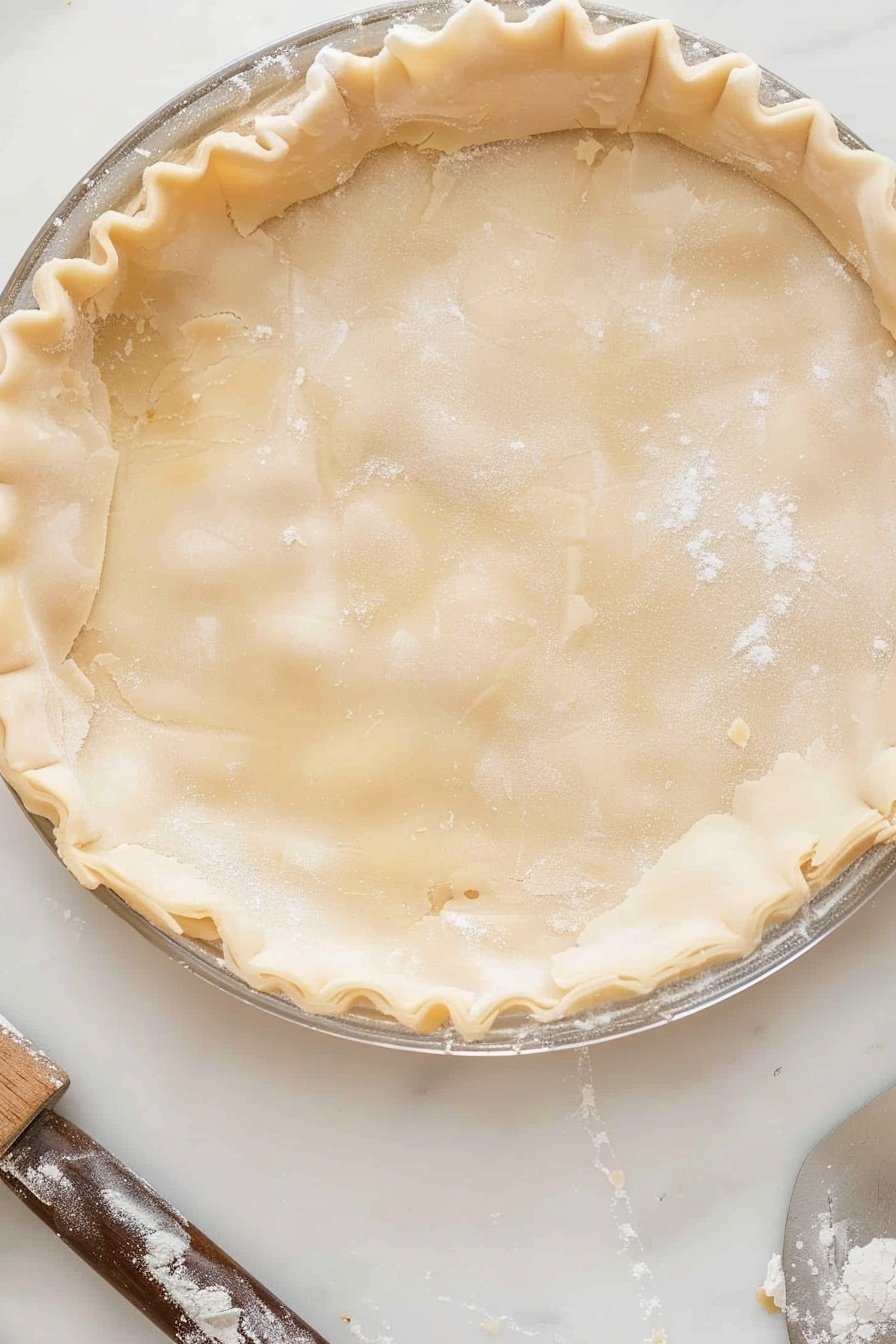
Rolling with Love
When you roll the dough, start from the center. Roll outwards, then turn the dough a little. Roll outwards again. This helps you get a nice, even circle. If you get a crack, do not worry. Just wet your finger and press it back together.
I use the upside-down pie pan trick to check the size. It works every time. The extra dough can be cut into little shapes. My grandkids love heart-shaped crust decorations on their pie. What is your favorite pie filling to put inside a flaky crust? Tell me all about it.
Ingredients:
| Ingredient | Amount | Notes |
|---|---|---|
| all-purpose flour | 2½ cups | |
| salt | 1¼ teaspoons | |
| vegetable shortening | ¼ cup | butter flavored |
| unsalted butter | 10 tablespoons | very cold |
| water | 6 to 10 tablespoons | with ice cubes in it |
My Flaky, Buttery Pie Crust Secret
Making pie crust used to scare me. I thought it had to be perfect. My first crust was tough as an old boot. Now I know the secret is cold butter and happy hands.
You just need to be gentle. Those little butter chunks are what make it flaky. When the oven heats them up, they create steam. That steam pushes the layers apart. Isn’t that clever?
Let’s get our hands dusty. Here is how we make magic together.
- Step 1: Spoon your flour into a measuring cup. Sweep off the extra with a knife. Put the flour and salt in a bowl. Whisk them together. This makes sure everything is friends.
- Step 2: Add the vegetable shortening to the bowl. Use a pastry cutter to mix it in. It should look like coarse sand. This helps make the crust tender.
- Step 3: Now for the cold butter. Cut it into small cubes. Toss them in the flour. Work the butter in quickly with your hands or the cutter. Leave some big, pea-sized chunks. Those are your flaky little treasures.
- Step 4: Drizzle in four tablespoons of ice water. Gently toss the mixture. Add more water, one tablespoon at a time. Stop when the dough holds together when you squeeze it. (My hard-learned tip: Too much water makes a tough crust. Be patient!).
- Step 5: Turn the dough onto parchment paper. Shape it into a rectangle. Fold the right side to the middle. Then fold the left side over. It looks like a letter going into an envelope. I still laugh at that.
- Step 6: Flatten and fold it a few more times. This makes all those wonderful layers. Then, divide the dough in half. Shape each half into a smooth disk. Roll the edges on a floured board to make it nice and round.
- Step 7: Wrap the disks in plastic wrap. They need a nap in the fridge. Let them chill for at least 30 minutes. This relaxes the dough and firms up the butter. Cold butter is the key to a flaky crust!
What’s your favorite pie to bake? Share below!
| Cook Time | Depends on pie filling |
| Total Time | 1 hour (plus chilling) |
| Yield | 2 pie crusts |
| Category | Baking, Basics |
Three Fun Twists for Your Crust
This crust is a wonderful blank canvas. You can make it your own with just a little twist. It’s fun to play with flavors. Here are a few of my favorite ideas.
- Sweet Cinnamon Sugar: Add a teaspoon of cinnamon to the flour. Your kitchen will smell like heaven.
- Savory Herb Delight: Mix in a tablespoon of fresh, chopped herbs. Rosemary or thyme are just lovely.
- Cheesy Goodness: Stir in half a cup of grated parmesan cheese. It’s perfect for a pot pie.
Which one would you try first? Comment below!
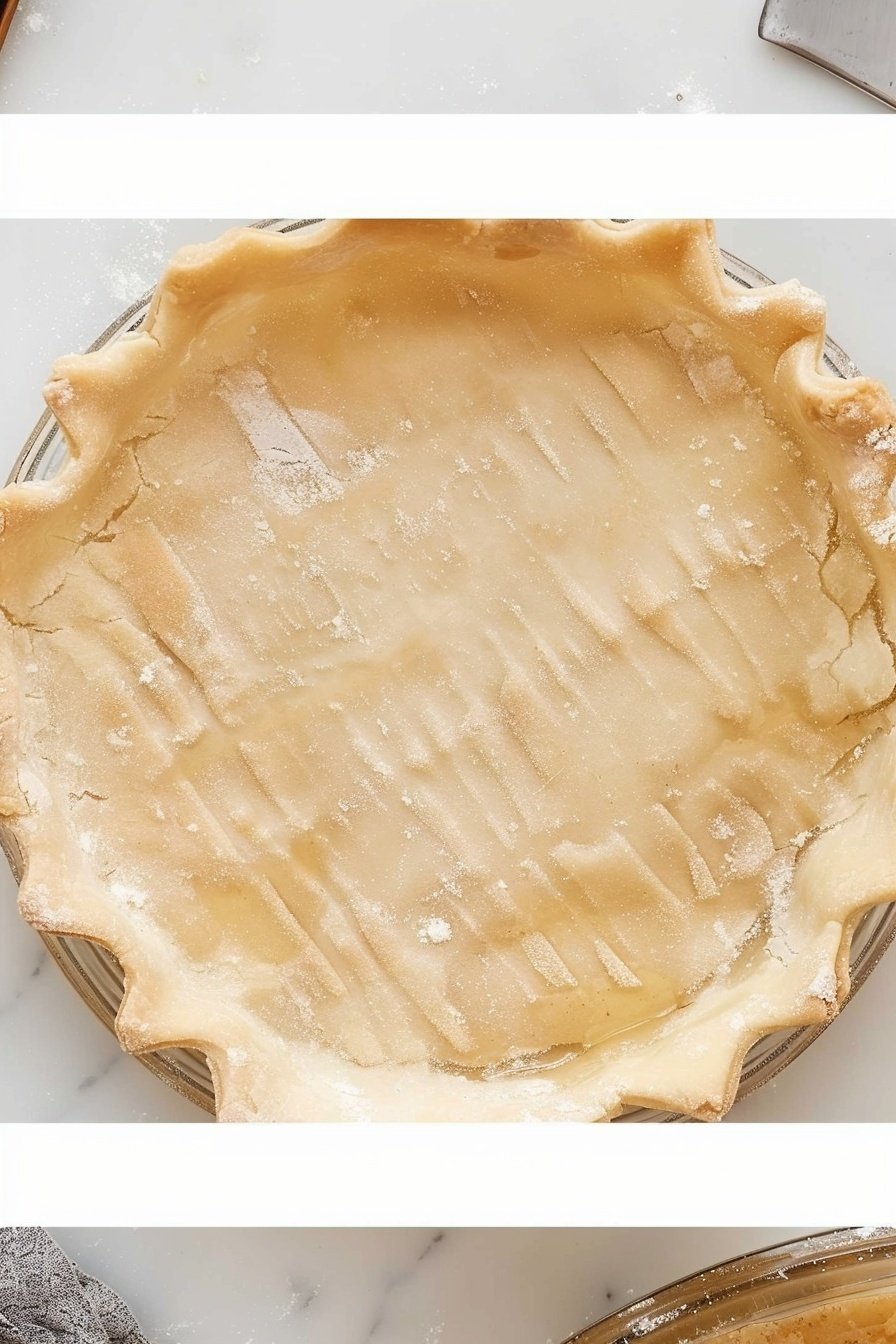
Serving Your Beautiful Creation
Oh, a freshly baked pie is a glorious thing. That golden crust is a masterpiece. Now, how will you serve it? Let me give you a few ideas.
For a fruit pie, a scoop of vanilla ice cream is a must. The cold and hot together is so good. For a custard pie, a dollop of whipped cream is just right. You could also cut out little dough shapes before baking. Bake them on a tray and use them as decorations.
What to drink? A cold glass of milk is my classic choice. It’s so comforting. For the grown-ups, a sweet dessert wine pairs beautifully. Doesn’t that sound nice? Which would you choose tonight?
Keeping Your Pastry Perfect
Let’s talk about keeping that flaky crust delicious. You can wrap the dough disk tightly in plastic. It will be happy in the fridge for two days. For longer storage, pop it in the freezer for up to three months.
I love to make a double batch of dough. This way, I always have a disk ready for a quick pie. It makes a busy day feel so much simpler. Having a foundation ready is a little gift to your future self.
I remember my first frozen pie crust. I was so proud to have it ready for surprise guests. Thaw it overnight in the refrigerator before you roll it. Have you ever tried storing it this way? Share below!
Simple Fixes for Pastry Problems
Is your dough too tough? This often happens if we overwork it. Handle the dough just until it comes together. A gentle touch makes a tender crust.
Is your dough too sticky? Just add a little more flour to your hands. I once added too much water and my dough stuck to everything. A light dusting of flour on your rolling pin helps too.
Are you worried about a soggy bottom? Dotting the crust with a knife helps steam escape. This small step gives you a crisp, golden base. Getting these little things right builds your cooking confidence. Which of these problems have you run into before?
Your Pastry Questions Answered
Q: Can I make this gluten-free?
A: Yes, use a good gluten-free flour blend. The results can be very nice.
Q: How far ahead can I make the dough?
A: You can make it up to two days ahead. Just keep it wrapped in the fridge.
Q: What if I don’t have shortening?
A: You can use all butter. Your crust will be very rich and flavorful.
Q: Can I make a bigger batch?
A: Absolutely, just double all the ingredients. You will have plenty for future baking.
Q: Any other tips?
A: A fun fact: those big butter chunks are what create the flaky layers. Which tip will you try first?
A Note From My Kitchen to Yours
I hope you have fun making this flaky pastry. It is the start of so many wonderful desserts. Do not worry if it is not perfect the first time.
My kitchen is always a little messy when I bake. The best part is sharing what you make. I would love to see your beautiful creations. Have you tried this recipe? Tag us on Pinterest!
Happy cooking! —Tessa Hammond.
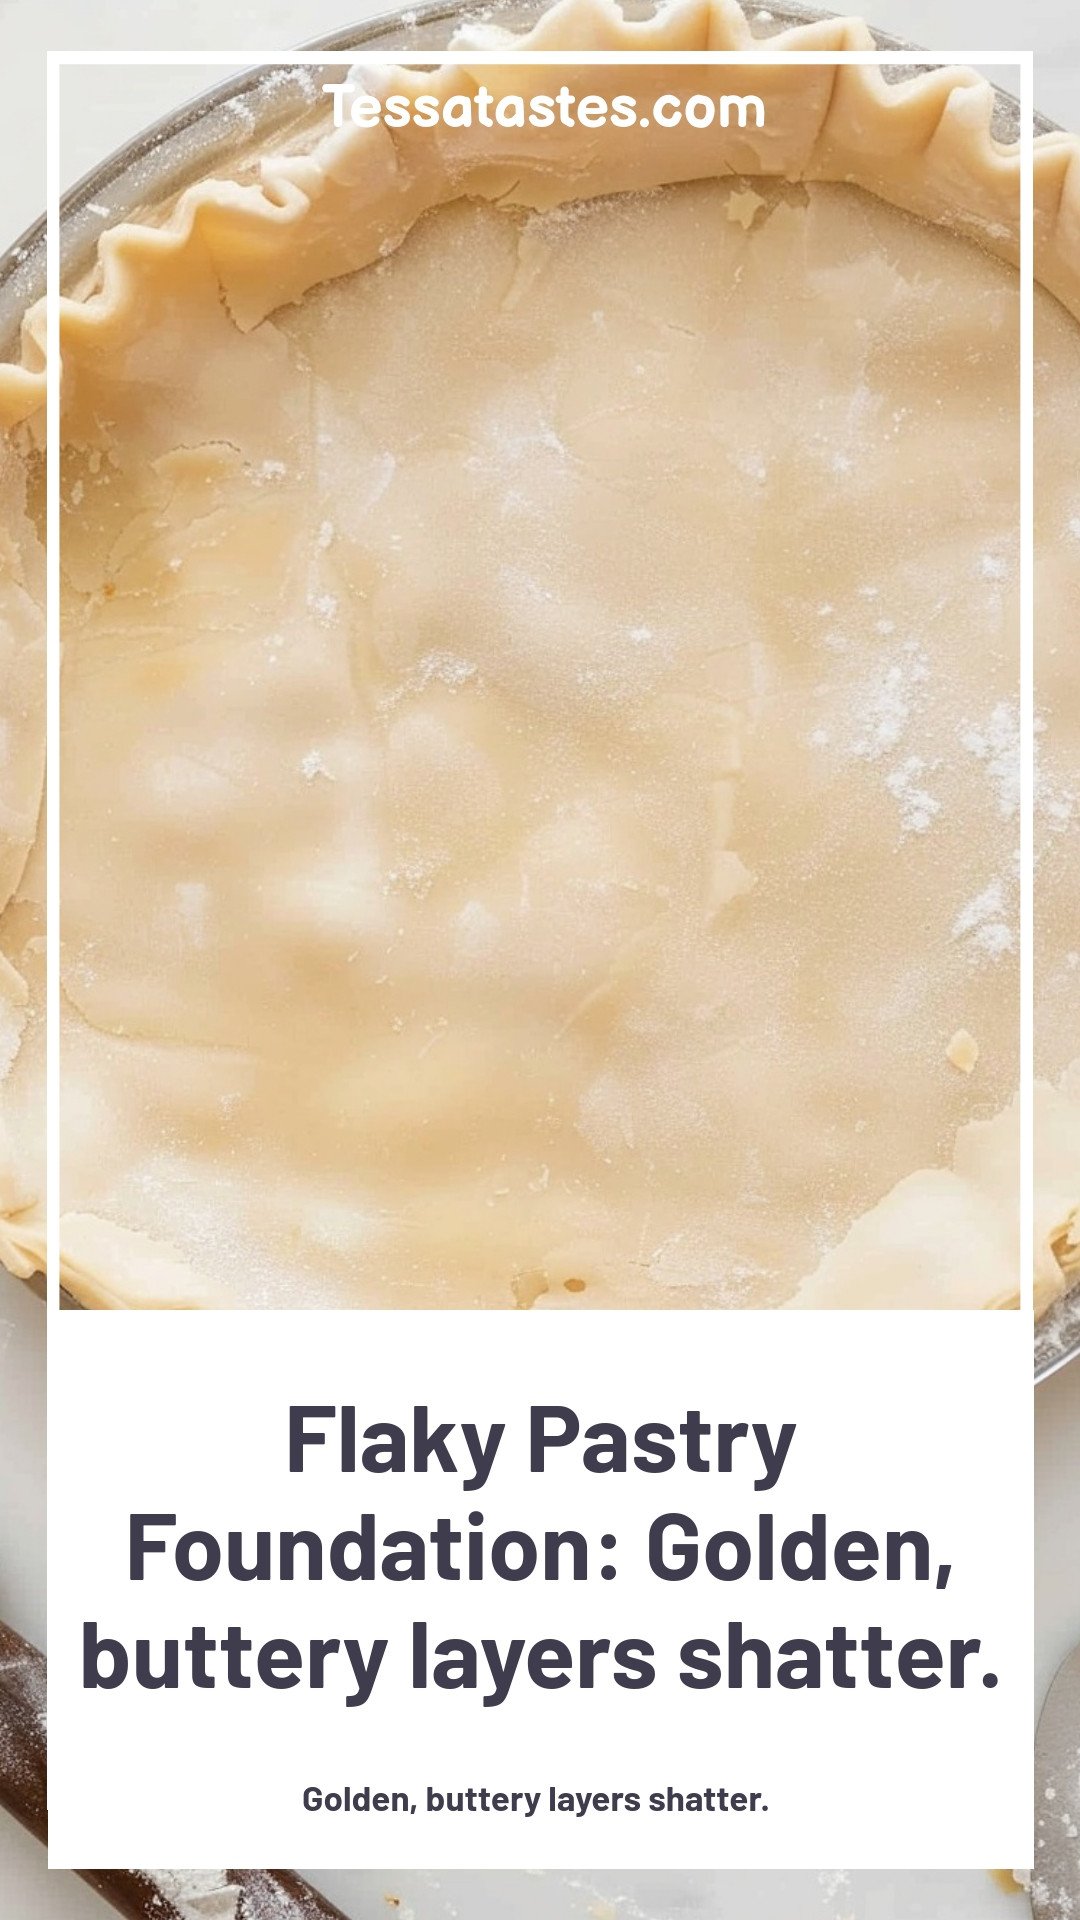
Flaky Pastry Foundation: Golden, buttery layers shatter.: Golden, buttery layers shatter.
Description
Achieve the perfect, shattering crunch with our golden, flaky pastry foundation. A buttery, layered masterpiece for pies, tarts, and all your baking creations.
Ingredients
Instructions
- Measure your flour by gently spooning it into a measuring cup and then sweeping off any excess using the back of a butter knife. Add the measured flour and salt to a medium mixing bowl. Whisk together to combine.
- Add the shortening, working it into the flour until the mixture is crumbly using a pastry cutter. It should resemble coarse sand and be thoroughly combined.
- Cut the butter into small cubes (cut each tablespoon into 4 pieces). Add the butter to the flour mixture and toss to cover the pieces with flour. Quickly work it into the mix with a pastry cutter or your hands breaking apart the pieces of butter and continuing to toss in the flour.
- The mixture should be somewhat uneven, with bigger chunks of butter mixed in with the smaller pieces (bits of butter help your crust come out more flaky and delicious, so it’s okay to have some chunks throughout the mix).
- Drizzle 4 tablespoons of ice cold water over the mixture (I ended up using 8 tablespoons). Toss gently to combine. Add only enough additional tablespoon of water to make it hold together when you gather it up and squeeze it in your hand (you don’t want to knead your dough or add too much water as this will create a tougher crust).
- Transfer the mixture to a piece of parchment paper. Loosely shape the dough into a rectangle about 15×7 or so. Fold the right side toward the middle for about one-third. Then fold the left side toward the middle. It should resemble a business letter in shape. If needed, spray a little bit of cold water on any dry areas.
- Flatten and fold again, repeating this process until it has been incorporated. (folding the dough in this way will create more flaky layers in your crust). Make sure not to handle the dough too much with your hands as they will heat up the dough and melt the butter.
- Divide the dough in half. Shape each piece of dough into a round disk. Roll the edges of the round disk along a lightly floured cutting board to smooth out the sides, kind of like rolling a wheel. The smoother you can get your edges now, the smoother and more round your pie crust will be when it is rolled out.
- Wrap the dough in plastic wrap and refrigerate it for at least 30 minutes (this dough can be refrigerated overnight).
- When the dough is done refrigerating, remove it from the refrigerator. Allow it to warm just a bit if chilled longer than 30 minutes (a few minutes will do). When it is soft enough to roll, place the dough crust on a lightly floured surface. (I used lightly floured parchment paper that I turned after a few rolls, I put the corner of the parchment paper between my leg and the counter to keep it from moving.)
- Roll from the center outward, one piece at a time. It should roll out to be about 13 inches round. If the crust cracks, gently push it back together, dipping your finger in water to smooth it out.
- Lay your pie pan upside down on the dough to see if it is rolled out enough for the pan. Using a pizza cutter or knife, cut the dough in a circle a few inches away from the pie pan. Discard the dough or cut cute little shapes to bake on the pie or separate.
- Lightly grease your pie dish with cooking spray.
- You now have a big circle of dough. Fold the dough in half to make a half circle, then in half again. Place this in your prepared pie dish.
- If making a single crust pie that has a filling that needs to bake like pumpkin or custard then using a sharp knife “dot” the bottom of the crust in a few spots, not slits but just tiny holes. Fill with your filling and bake per pie instructions.
Notes
- Nutrition: Calories: 1297kcal | Carbohydrates: 119g | Protein: 17g | Fat: 84g | Saturated Fat: 43g | Polyunsaturated Fat: 10g | Monounsaturated Fat: 25g | Trans Fat: 6g | Cholesterol: 151mg | Sodium: 1468mg | Potassium: 184mg | Fiber: 4g | Sugar: 0.5g | Vitamin A: 1749IU | Calcium: 43mg | Iron: 7mg


Leave a Reply