My First Kitchen Mess
I first made these for my grandson, Leo. He called them “dough snakes.” I still laugh at that. He was so proud of tying the knots. His little fingers worked so hard.
Some of our knots came out a bit lopsided. That is perfectly okay. It just means they have more character. The best food is always made with happy hands. What was the first thing you remember cooking?
Why This Recipe Matters
This recipe is more than just a snack. It is about sharing a moment. You get to work with your hands and create something. That feels good.
It also makes the whole house smell wonderful. Doesn’t that smell amazing? That smell is a kind of welcome. It tells everyone that something good is coming. This matters because it builds happy memories.
Let’s Talk Flavor
The magic is in the butter mixture. You mix melted butter with garlic and cheese. It soaks right into the dough. Every bite is soft and cheesy.
Fun fact: The Italian seasoning isn’t just one herb. It is usually a mix! Often it has oregano, basil, and thyme. This makes the flavor deep and cozy. Which herb do you like the most?
The Joy of Simple Ingredients
You do not need fancy things to make magic. A simple tube of biscuits can become a masterpiece. I love recipes that are not fussy. They leave room for fun.
Using what you have is a smart way to cook. It saves money and time. This is a great lesson for life, too. Do you have a favorite “simple” recipe?
Time to Get Baking
Preheat your oven to 350 degrees. The warmth is like a hug for your dough. Then, pop open that biscuit can. That sound always makes me jump! It is part of the fun.
Roll your dough into snakes and tie them in knots. Do not worry if they are not perfect. Spoon that glorious garlic butter over each one. Then just wait for the golden magic to happen.
Ingredients:
| Ingredient | Amount | Notes |
|---|---|---|
| refrigerated flaky biscuits | 1 (16.3-ounce) can | Pillsbury Grands Original Flaky Layers – 8 in a tube |
| unsalted butter, melted | 1/4 cup | |
| garlic powder | 1/2 teaspoon | or 1 clove garlic, minced |
| grated Parmesan | 3 tablespoons | |
| Italian seasoning | 1/2 teaspoon | |
| salt | 1/4 teaspoon |
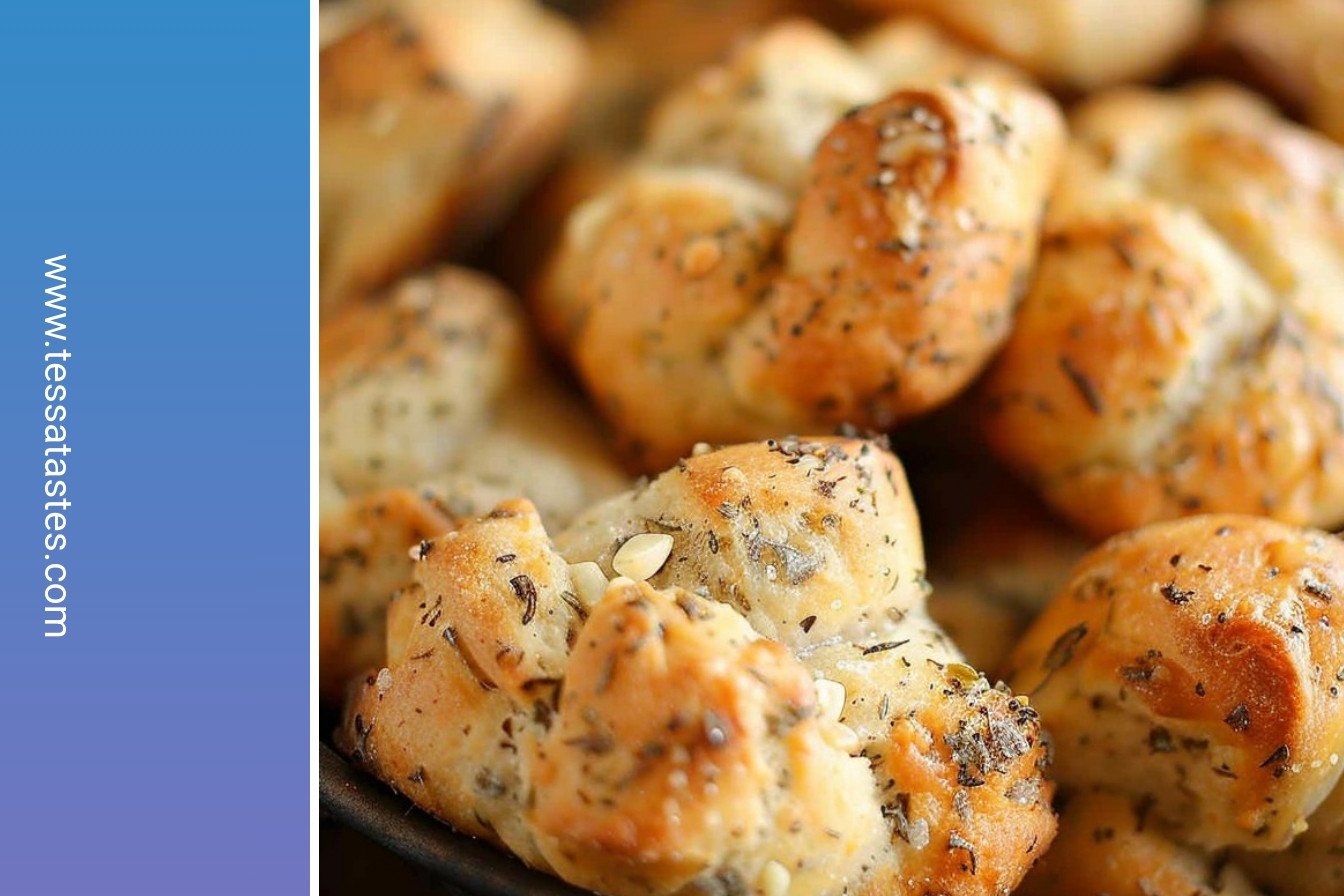
My Cheesy Garlic Pull-Aparts
Oh, these little knots of bread are pure magic. They remind me of my grandson, Leo. He calls them “cheesy clouds.” He would eat the whole tray if I let him. The smell of garlic and butter fills the whole house. It feels so cozy and happy. I love how easy they are to make, too. You just need a few simple things. Let’s get our hands a little doughy, shall we?
Step 1
First, get your oven nice and warm. Set it to 350°F. Then grab a baking sheet and give it a quick spray. Now for the fun part. Pop open that tube of biscuits. I still jump a little when it happens! Separate the biscuits and roll each one. You want a little dough snake, about the length of your hand.
Step 2
Next, we make the knots. Just tie each dough snake into a simple knot. Don’t worry if it’s not perfect. My first ones always looked a bit funny. Then pinch the ends together at the bottom. This keeps them from coming undone. Place each little knot on your baking sheet. They look so cute already, don’t they?
Step 3
Now for the best part, the garlic butter. Melt your butter in a small bowl. Stir in the garlic powder, Parmesan, Italian seasoning, and salt. Doesn’t that smell amazing? Spoon this glorious mixture all over each knot. Get them good and coated. (A hard-learned tip: Use the spoon to catch drips. This keeps your oven clean!).
Step 4
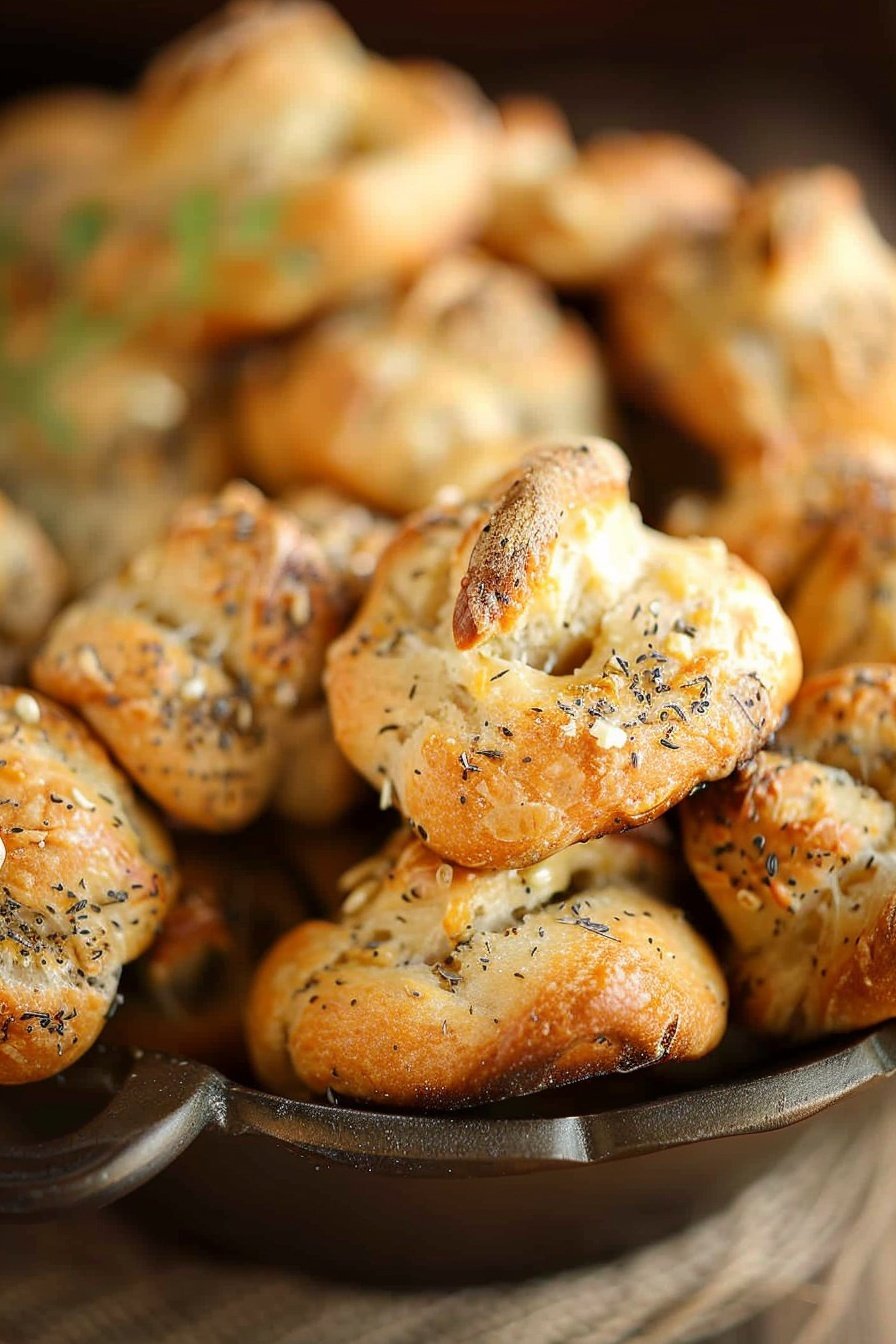
Finally, bake them for about 15 minutes. Watch for a beautiful golden brown color. You’ll know they’re done. Let them cool for just a minute before you pull them apart. The cheese will be all bubbly and perfect. What’s your favorite cozy smell from the kitchen? Share below!
| Cook Time | 15 minutes |
| Total Time | 25 minutes |
| Yield | 8 servings |
| Category | Appetizer, Side Dish |
Three Tasty Twists to Try
Once you master the basic recipe, you can play around. I love adding little changes. It makes the recipe feel new again. Here are three of my favorite twists. They are all so simple and delicious.
Pizza Party
Mix a spoonful of tomato paste into the butter. Add some chopped pepperoni on top before baking.
Everything Bagel
Swap the Italian seasoning for everything bagel seasoning. It gives a wonderful crunch.
Herb Garden
Use fresh, chopped parsley and chives from the garden. The flavor is so bright and fresh.
Which one would you try first? Comment below!
What to Serve With Your Pull-Aparts
These cheesy knots are wonderful with so many things. We often have them with a big, cozy bowl of tomato soup. They are perfect for dipping. They also go great with a simple green salad for dinner. Or just enjoy them all on their own for a snack. I won’t tell!
For a drink, a cold glass of milk is my grandson’s pick. For the grown-ups, a crisp white wine is lovely. It cuts through the rich, cheesy flavor nicely. Which would you choose tonight?

Keeping Your Pull-Aparts Perfect
Let’s talk about keeping these cheesy knots tasty for later. They are best eaten warm from the oven, but you can store them in the fridge for up to three days.
I once made a double batch for my grandson’s visit. We reheated the leftovers the next day, and they were still so delicious and soft.
To reheat, just warm them in a 300°F oven for about 10 minutes. This keeps them from getting soggy. You can also freeze the unbaked knots on a tray.
Once frozen, put them in a bag. Then bake from frozen, adding a few extra minutes. This matters because a good snack should be ready anytime.
Batch cooking saves you time on a busy day. Have you ever tried storing it this way? Share below!
Simple Fixes for Common Knot Problems
Sometimes, our cooking doesn’t go as planned. That’s okay. Here are some easy fixes for common troubles.
If your knots are dry, you might have baked them too long. I remember when I got distracted by the phone; my first batch came out a little too brown. Just watch the clock closely.
If the butter drips off, your knots might be too cold. Let the dough sit out for ten minutes first. This helps the flavor stick to the dough. Good flavor is what makes food special.
If the knots are dense, you might have rolled the dough too tight. Be gentle when you tie them. This matters because it builds your cooking confidence. Which of these problems have you run into before?
Your Pull-Apart Questions, Answered
Q: Can I make these gluten-free?
A: Yes! Just use a can of gluten-free biscuit dough. The method is the same.
Q: Can I make them ahead?
A: You can tie the knots the night before. Keep them covered in the fridge.
Q: What if I don’t have Italian seasoning?
A: Use a pinch of dried oregano or basil instead. It will still taste wonderful.
Q: Can I double the recipe?
A: Of course. Just use two baking sheets so the knots have room to grow.
Q: Any extra tips?
A: For extra flavor, add a little chopped parsley after baking. Fun fact: The knot shape makes them fun to pull apart! Which tip will you try first?
From My Kitchen to Yours
I hope you love making these cheesy garlic pull-aparts. They always make my kitchen smell like happy memories. I love sharing these simple recipes with you.
It brings me so much joy to see you in the kitchen. I would be thrilled to see your creations. Have you tried this recipe? Tag us on Pinterest!
Happy cooking!
—Tessa Hammond.
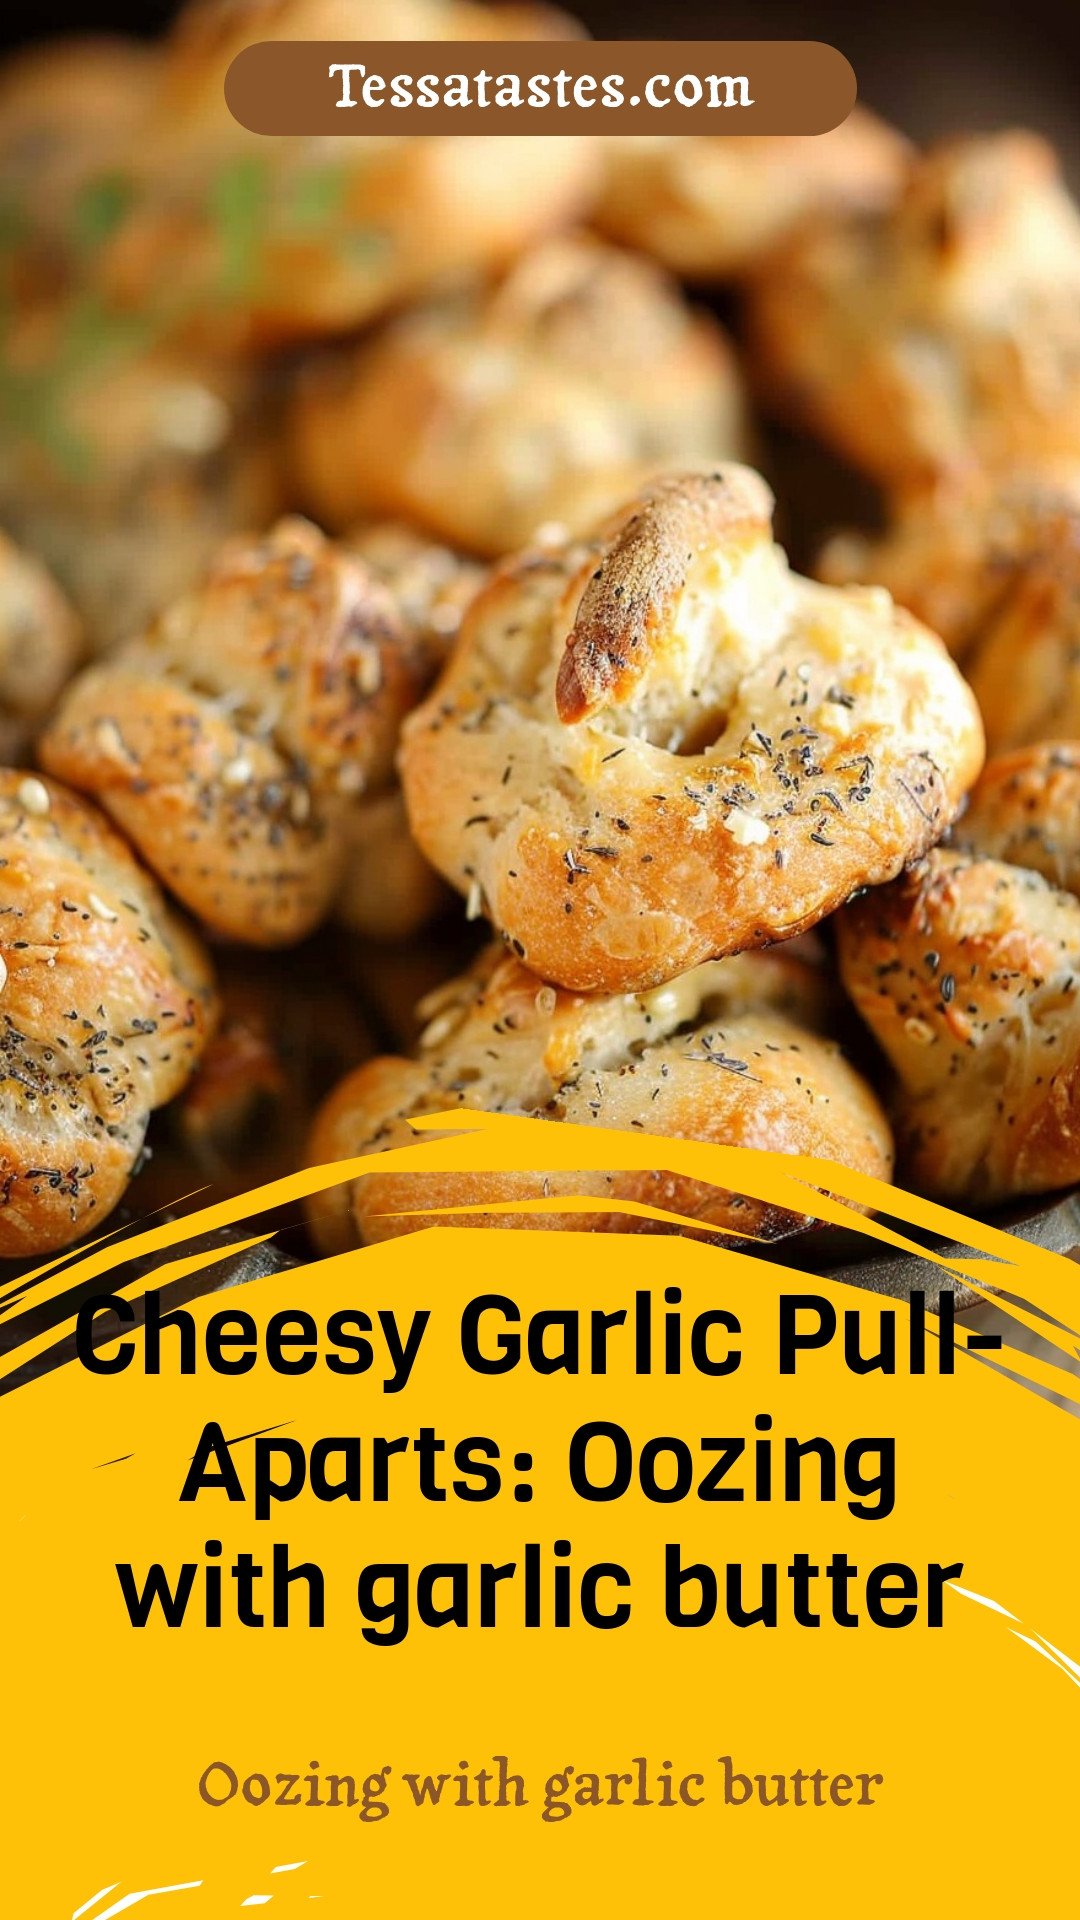
Cheesy Garlic Pull-Aparts: Oozing with garlic butter: Oozing with garlic butter
Description
Ooey-gooey Cheesy Garlic Pull-Aparts are the ultimate shareable appetizer. This easy recipe is pure, buttery, garlicky bliss in every bite.
Ingredients
Instructions
- Preheat the oven to 350°F and lightly spray a baking sheet with nonstick cooking spray. Pop open your biscuits and separate them. Stretch and roll each biscuit in your hands until you have a snake of dough about 10 to 12 inches long.
- Tie each piece in a knot and then pinch the two tails together at the bottom. Place on the prepared baking sheet.
- In a small bowl, combine the butter, garlic powder, Parmesan, Italian seasoning, and salt. Mix well. Spoon the mixture evenly over each of the knots. Bake for about 15 minutes or until golden brown.
Notes
- Oozing with garlic butter


Leave a Reply