The Secret in the Butter
This cookie recipe is my old friend. I have made it for fifty years. The secret is the butter. Use real butter, and let it get soft. Cream it with the sugar until it is pale and fluffy.
This step cannot be rushed. I think it is the heart of the cookie. It makes them tender and rich. Doesn’t that smell amazing already? What is your favorite smell in the kitchen?
A Little Patience Goes a Long Way
Now, you must chill the dough. This is the hard part. You will want to bake them right away. But trust me, wait. Chilling the dough makes it easier to roll.
I once tried to skip this step. The dough was a sticky mess. My reindeer cookie cutter got stuck. I still laugh at that. Letting dough rest matters. It gives the flour time to relax.
Time for Shapes and Stories
Rolling out the dough is my favorite part. Use a floured surface so it does not stick. Do not roll it too thin. You want a nice, sturdy cookie.
This is where the magic happens. Every shape has a little story. A star for a wish. A bell for a song. What is the first cookie shape you always cut? I always start with a simple circle.
A Hot, Fast Bake
Your oven must be nice and hot. Four hundred degrees is just right. These cookies bake very fast. Watch them closely for just six to eight minutes.
You want them set, but not brown. The edges should stay pale. Fun fact: A hot oven makes the cookies hold their shape perfectly. This matters for pretty cookies. It keeps your designs sharp.
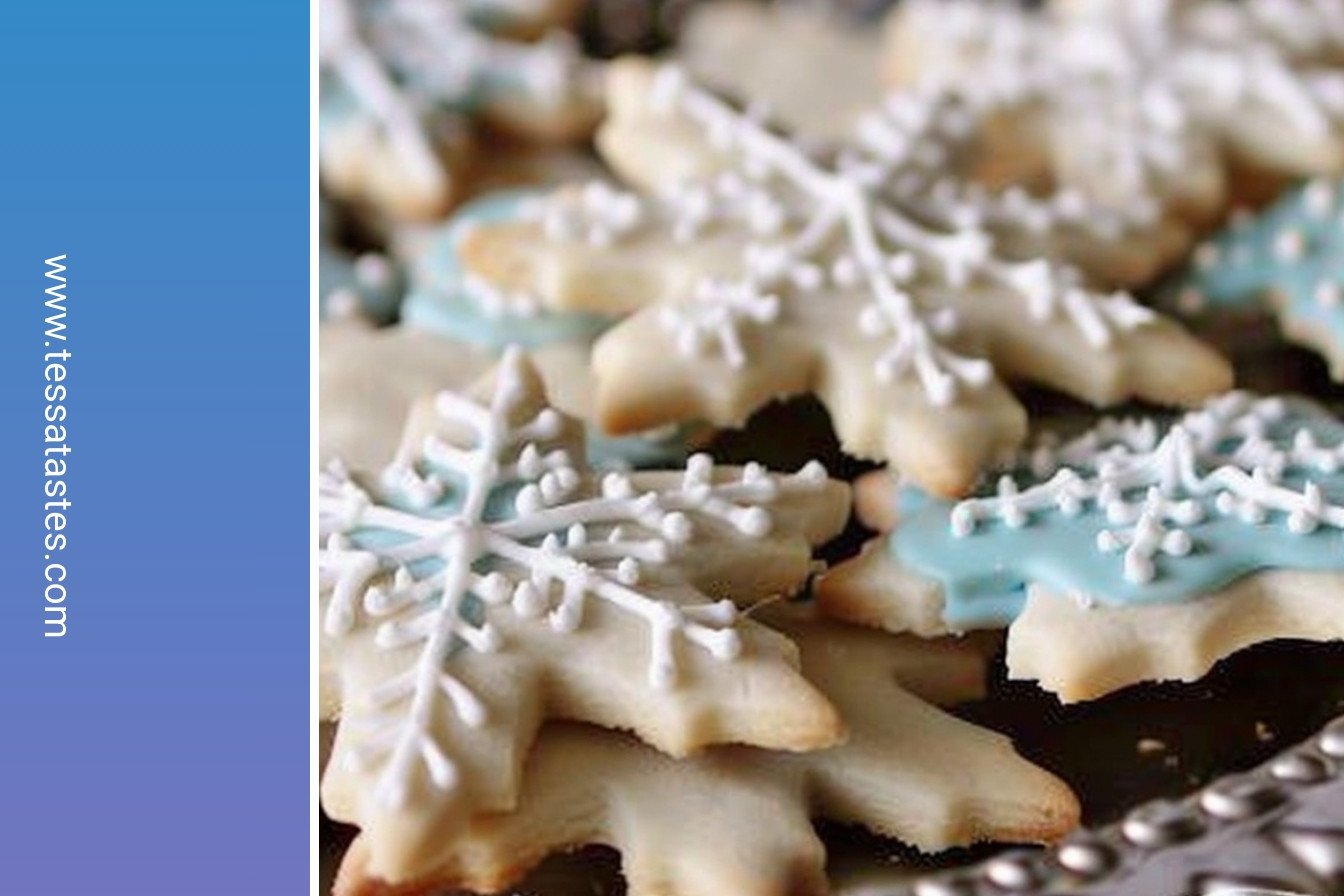
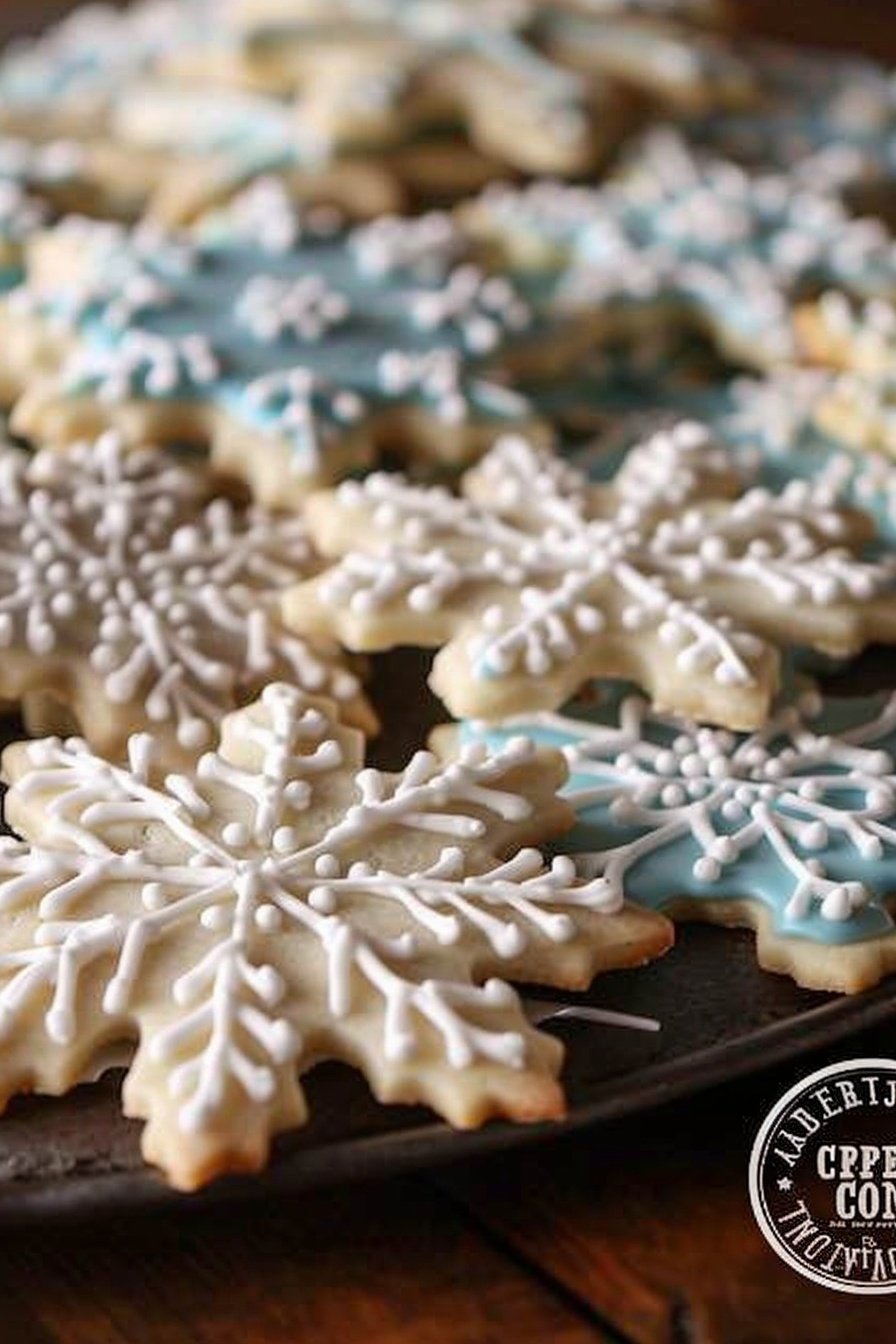
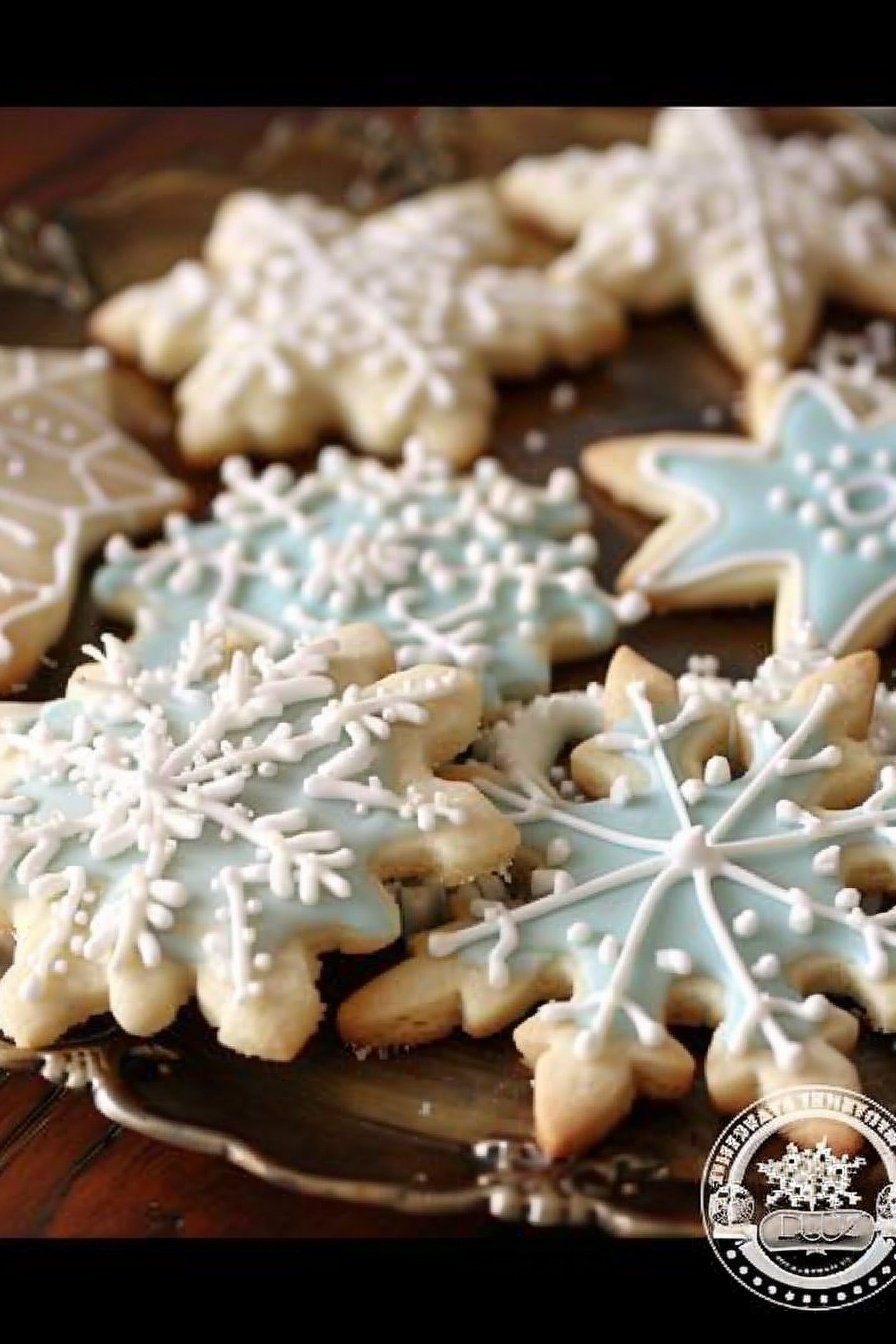
Your Blank Canvas
Let the cookies cool completely. This is important. If you ice a warm cookie, the icing will melt. Then you have a puddle, not a decoration.
Now they are your blank canvas. You can make them simple or fancy. This is where you can be an artist. Making food beautiful matters. It is a gift of love. Will you try a new icing color this year?
Ingredients:
| Ingredient | Amount | Notes |
|---|---|---|
| butter | 2 cups | room temperature |
| sugar | 2 cups | |
| eggs | 2 | |
| vanilla extract | 1 teaspoon | |
| almond extract | 1 teaspoon | |
| salt | 1 teaspoon | |
| all-purpose flour | 6 cups |
My Favorite Cut-Out Cookie Secrets
I have been making these cookies since my own children were small. The dough is soft and sweet. It feels like holding a handful of happy memories.
Let’s get our hands dusty with flour. I will walk you through it. Making these is just as fun as eating them, I promise.
Step 1: First, mix the soft butter and sugar together. Keep mixing until it looks pale and fluffy. Then crack in the eggs and add the vanilla and almond. That almond smell takes me right back to my grandma’s kitchen.
Step 2: Now, add your flour a little bit at a time. The dough will get thick and sturdy. (A hard-learned tip: if you add all the flour at once, it poofs right out of the bowl!). Once it’s mixed, wrap it up and let it take a long nap in the fridge.
Step 3: When you are ready, roll the dough out on a floured counter. Don’t roll it too thin. Use your favorite cookie cutters to press out shapes. My grandson always picks the star. I still laugh at that.
Step 4: Slide them into a hot oven. Watch them closely. You want them to be just set, not brown at the edges. They will look soft but they firm up as they cool. Do you like soft or crispy cookies? Share below!
Cook Time: 6–8 minutes per batch
Total Time: 1 hour 25 minutes
Yield: About 4 dozen cookies
Category: Dessert, Cookies
Let’s Get Creative With Your Cookies
This recipe is like a blank canvas. You can paint it with so many fun flavors. Here are a few ideas I love to play with.
Lemon Sunshine: Swap the almond extract for lemon. It makes the whole kitchen smell like a sunny day.
Cinnamon Spice: Add a spoonful of cinnamon to the flour. It gives the cookies a warm, cozy hug.
Sparkling Sugar: Before baking, sprinkle the shapes with colorful sugar. They will twinkle on your plate.
These are just a start. Which one would you try first? Comment below!
The Perfect Way to Serve Them Up
A pretty plate makes everything taste better. I like to stack these cookies high on my old china platter. Doesn’t that look lovely?
For a real treat, serve them with a cold glass of milk. That is the classic way. Or try a cup of hot cocoa with a candy cane stirrer. For the grown-ups, a sweet dessert wine pairs beautifully.
You could even crush a few over vanilla ice cream. It is a little bit of magic. Which would you choose tonight?
Keeping Your Cookie Dough Happy
This dough is best when it is cold. Wrap it tightly in plastic wrap. You can keep it in the fridge for three days.
For a future treat, freeze the dough. Roll it into a log first. This makes slicing cookies so easy later.
I once forgot to wrap my dough well. It picked up smells from my fridge. We learned that lesson the hard way!
Batch cooking saves you time for fun decorating. You can also freeze the baked, undecorated cookies. This matters because it makes holidays less stressful.
Have you ever tried storing it this way? Share below!
Cookie Troubles and Easy Fixes
Is your dough too sticky? Just add a little more flour. I remember when my dough stuck to everything. A bit more flour fixed it right up.
Do your cookies spread and lose their shape? Your dough is probably too warm. Chilling the dough is the secret. This matters because sharp shapes make your cookies look beautiful.
Are they tough instead of tender? You might be over-mixing the flour. Mix just until the flour disappears. This matters for a soft, delicate bite.
Which of these problems have you run into before?
Your Cookie Questions Answered
Q: Can I make these gluten-free? A: Yes! Use your favorite gluten-free flour blend. The results are wonderful.
Q: How far ahead can I make them? A: The dough is best made one day ahead. This lets the flavors get cozy.
Q: What if I don’t have almond extract? A: Just use more vanilla extract. It will still taste great.
Q: Can I make a smaller batch? A: Of course! Just cut all the ingredients in half.
Q: Any special tips? A: A fun fact: a cold baking sheet helps cookies keep their shape.
Which tip will you try first?
From My Kitchen to Yours
I hope you love making these cookies. They have filled my kitchen with joy for years. I would love to see your creations.
Please share a picture of your decorated cookies. It makes me so happy to see your baking art.
Have you tried this recipe? Tag us on Pinterest!
Happy cooking!
—Tessa Hammond.
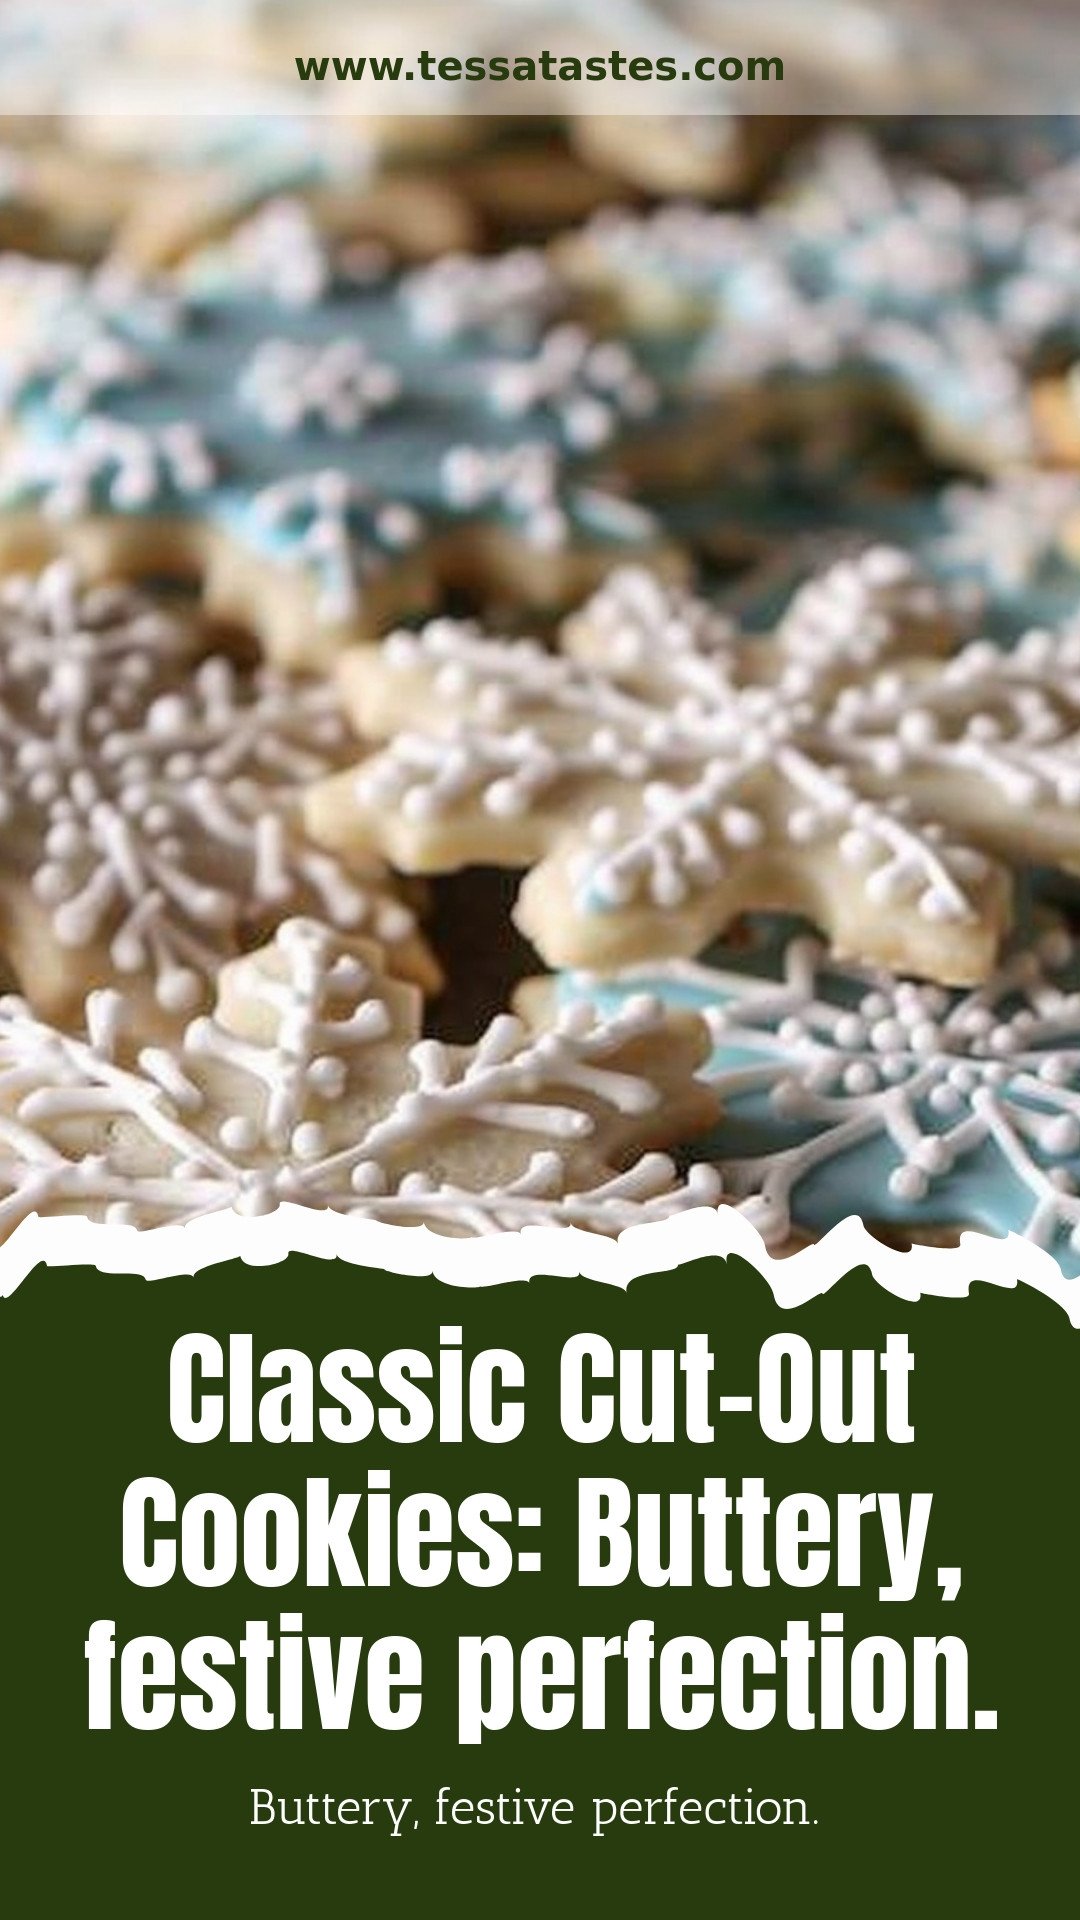
Classic Cut-Out Cookies
Description
Buttery, classic cut-out cookies are the perfect festive holiday treat! Easy to decorate and so delicious, these cookies are a must-bake for Christmas.
Ingredients
Instructions
- In a large bowl, cream butter and sugar together until smooth. Add eggs, extracts, and salt, mix well. Add the flour gradually, stirring well. Cover or wrap dough and chill for at least an hour, but preferably overnight.
- Preheat oven to 400°F.
- Divide dough into quarters and work with one quarter at a time, keeping the other refrigerated. Roll out on floured surface to about a 1/4 thickness. Cut into shapes with your favorite cookie cutters. Transfer cut-outs to a cool cookie sheet lined with parchment paper or a silicone baking mat.
- Bake 6 to 8 minutes, or until set but not browned. Cool and decorate with royal icing.
Notes
- Buttery, festive perfection.


Leave a Reply