My First Kitchen Mess
I first made these bells years ago. My grandson wanted to help. We ended up with chocolate from our elbows to our ears. I still laugh at that.
It was such a happy mess. The kitchen smelled sweet and cheerful. That is why I love this recipe so much. It makes a memory, not just a treat.
Let’s Get Our Hands Dirty
Start by crushing those Oreos. You can put them in a bag and roll them. It is very fun. Then mix them with the soft cream cheese.
You will get a thick, dark dough. Roll it into little balls. Your hands will get a bit messy. That is part of the fun, I think.
The Magic of the Coating
Now, we melt the red candy. Doesn’t that smell amazing? Dip each ball carefully. The red coat turns them into something special.
Let them harden on the wax paper. This part takes a little patience. But it is worth the wait. You are making the base of your holiday bell.
Adding the Final Touches
Next comes the black belt and yellow buckle. This is where they come to life. My buckle is always a little wobbly. It gives them character.
*Fun fact*: The first Oreo cookie was sold in 1912. That’s over a hundred years of cookie joy! What is your favorite way to eat an Oreo? Twisted apart or all at once?
Why This All Matters
This is more than a recipe. It is a way to connect. You are making something with your own two hands. That feeling is so important.
Sharing food you made yourself is a gift. It says “I care about you.” Have you ever cooked with a grandparent or a friend? What did you make together?
Your Turn in the Kitchen
I hope you try these little bells. They are a joy to make and share. The best part is seeing people smile when they taste one.
What is your favorite holiday treat to bake? Tell me all about it. I love hearing your family traditions.
Ingredients:
| Ingredient | Amount | Notes |
|---|---|---|
| Cream cheese | 1 (8-ounce) block | Softened |
| OREO Cookies | 36 cookies | Finely crushed |
| Wilton Candy Melts | 1 (12-ounce) package | Red |
| Wilton Candy Melts | 1 (12-ounce) package | Black |
| Wilton Candy Melts | 1 (12-ounce) package | Yellow |
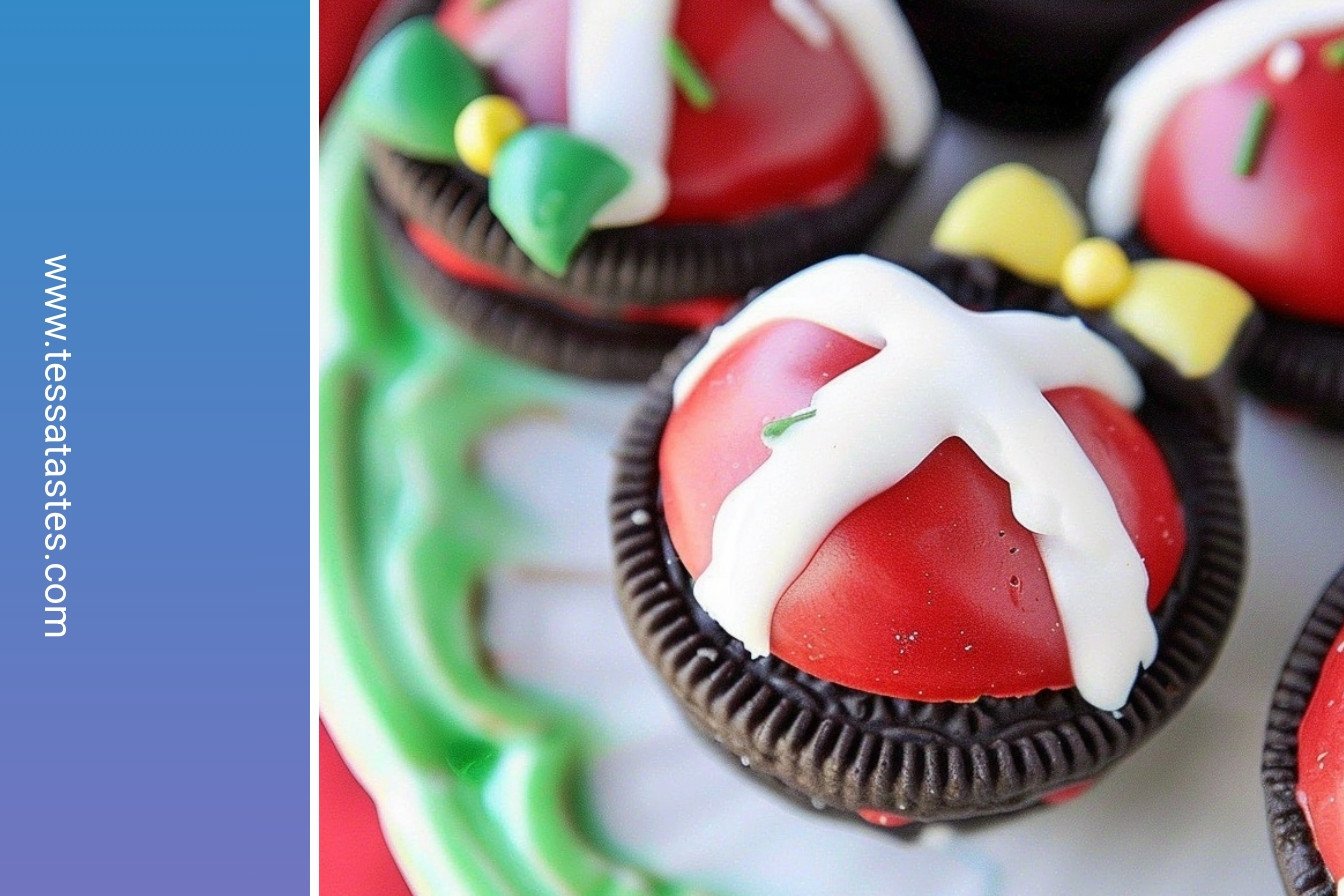
Making Our Holiday Oreo Bell Treats
Oh, these little treats bring back such happy memories. My grandson calls them Santa’s Belly Buttons. I still laugh at that. They look just like tiny jingle bells. The best part is how simple they are to make. You just need some Oreos and a bit of cream cheese. Doesn’t that sound fun?
Step 1: First, let’s make our dough. Crush those Oreos until they look like dark soil. Mix them with the soft cream cheese. It will become a thick, chocolaty dough. (A hard-learned tip: Let the cream cheese get really soft first. It makes mixing so much easier!) Roll the dough into little balls. Pop them in the freezer for a bit. This helps them stay round.
Step 2: Now for the red coat. Melt the red candy melts carefully. I always think they smell like sweet cherries. Dip each frozen ball into the red chocolate. Use a fork to lift them out. This lets the extra chocolate drip off. Place them back on the wax paper. Now we wait for the red shell to get hard and shiny.
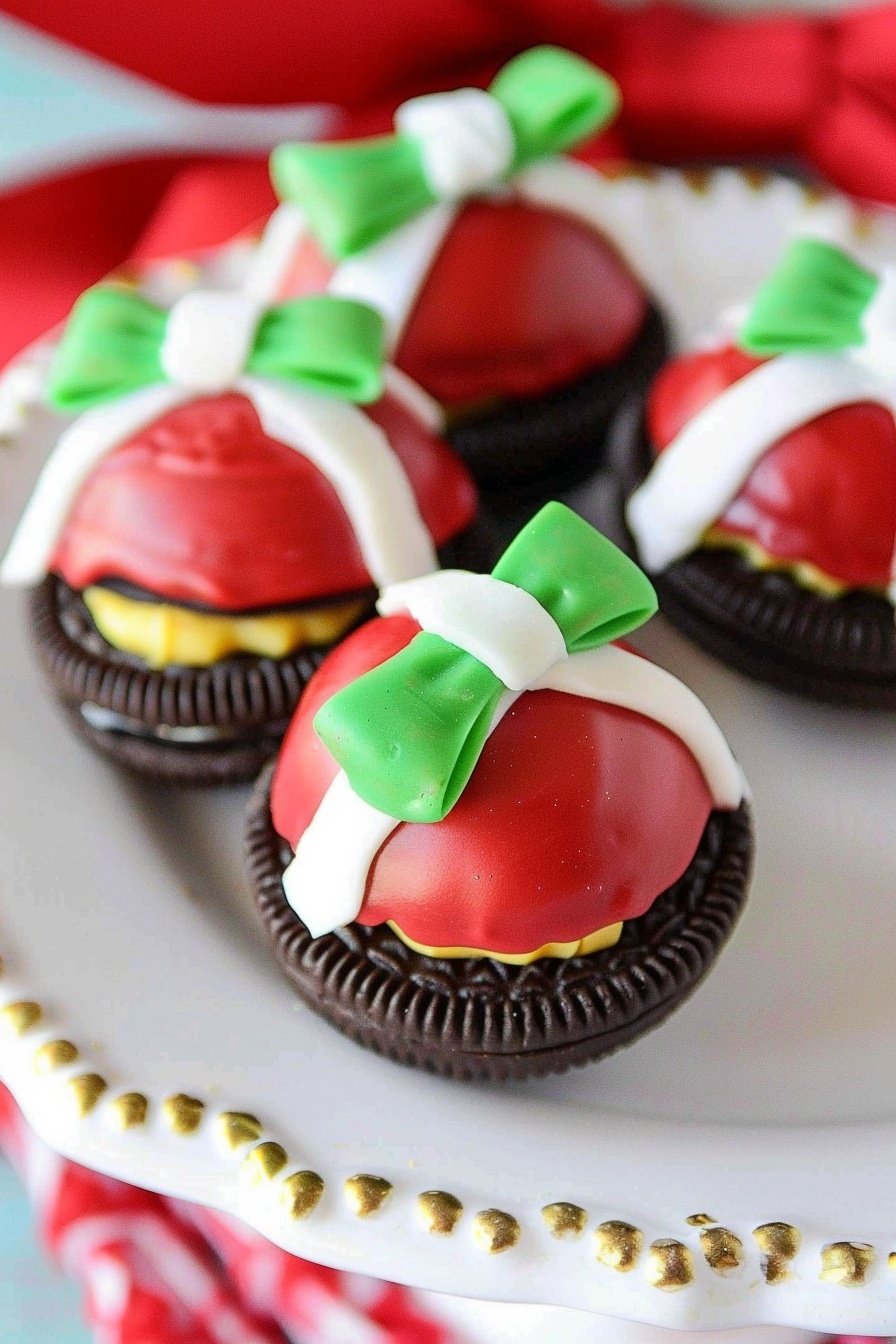
Step 3: Time for the belt! Melt some of the black candy. Put it in a little bag and snip the corner. You are the artist now. Pipe a thick black belt around the middle of each bell. It’s okay if they are not perfect. My first ones were a little wobbly. It gives them character!
Step 4: Last, we add the golden buckle. Melt the yellow candy just like the black. Use another little bag to draw a small square on the belt. It’s the final touch that makes them magical. Let everything harden completely. Do you think the yellow buckle looks more like gold or sunshine? Share below! Keep your finished bells in the fridge until it’s time to eat.
Prep Time: 1 hour
Total Time: 1 hour
Yield: 48 treats
Category: Dessert, Holiday
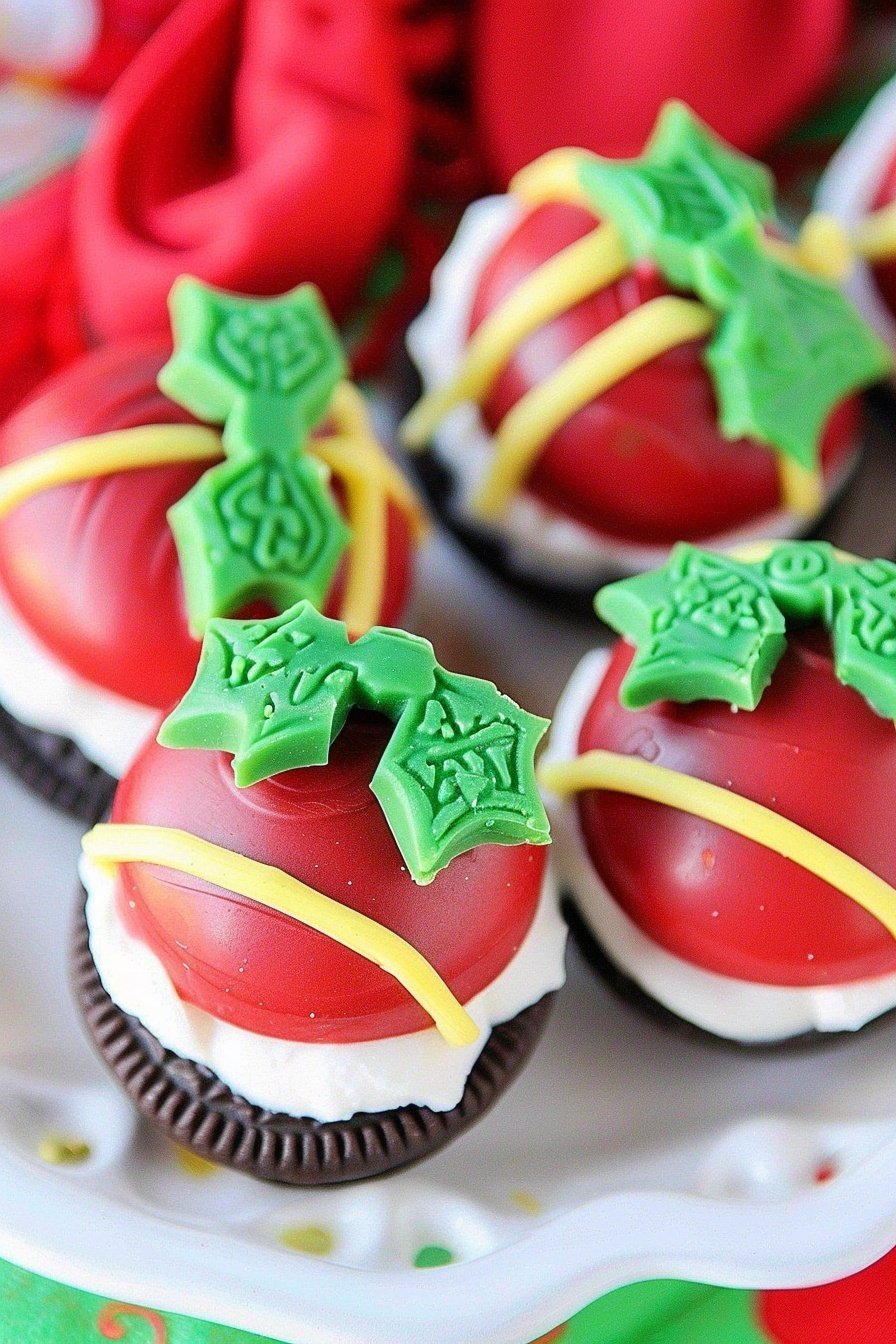
Fun Twists on Our Bell Treats
Once you know the basics, you can play around. I love changing things up for different holidays. It makes the kitchen feel so festive. Here are a few ideas I’ve tried over the years. They are all simple and delicious.
Peppermint Bells: Use peppermint Oreos for the dough. The filling is already pink and white!
Golden Orange Bells: Use orange candy melts for the coating. They look perfect for a Halloween party.
Spring Pastels: Use light pink, blue, or yellow candy melts. They become lovely Easter eggs.
Which one would you try first? Comment below!
Serving Your Sweet Creations
Presentation is part of the fun. I like to arrange these bells on a fancy plate. They shine so brightly. You could also put each one in a tiny white paper cup. It makes them look like treasures from a candy shop.
For a drink, a cold glass of milk is the classic choice. It just goes with Oreos. For the grown-ups, a little cup of coffee with cream is wonderful. The bitter coffee tastes so good with the sweet chocolate. Which would you choose tonight?
Keeping Your Holiday Bells Jolly
These little bells are best kept cold. Store them in a sealed container in the fridge. They will stay happy for up to five days. You can also freeze them for a month. Just layer them between wax paper in a freezer box.
I love making a big batch for the season. It saves so much time during busy weeks. My grandson once ate three straight from the freezer. He said they were like tiny ice cream cookies.
Let them sit out for a few minutes before serving. This makes the chocolate coating less hard. Planning ahead makes holiday fun easier. You can enjoy the party instead of just cooking for it. Have you ever tried storing it this way? Share below!
Fixing Little Kitchen Hiccups
Is your cream cheese too cold? It will not mix well with the crumbs. Let it sit on the counter for an hour first. I remember my first time, I was too impatient. The dough was so lumpy.
Is your melted candy coating too thick? Add a tiny bit of coconut oil. This will make it smooth and easy to dip. A smooth coating looks beautiful and tastes great. Getting it right builds your cooking confidence.
Are your balls falling apart when you dip them? Make sure you freeze them for the full ten minutes. A firm, cold ball is much easier to handle. This simple step makes the whole process fun. Which of these problems have you run into before?
Your Quick Questions, Answered
Q: Can I make these gluten-free? A: Yes! Just use your favorite gluten-free chocolate sandwich cookies.
Q: How far ahead can I make them? A: You can make them two days before your party. Keep them chilled.
Q: What can I use instead of candy melts? A: Almond bark or good melting chocolate will work just fine.
Q: Can I make a smaller batch? A: Of course. Just use half of all the ingredients. It works perfectly.
Q: Any other decoration ideas? A: You could use little white sprinkles for a fuzzy hat trim. *The first Oreo cookie was sold in 1912.* Which tip will you try first?
Sharing the Sweet Memories
I hope you have as much fun making these as I do. Cooking is about making sweet memories with loved ones. Every messy kitchen is filled with love and laughter.
I would love to see your beautiful creations. Your kitchen adventures make me so happy. Have you tried this recipe? Tag us on Pinterest! Let’s fill the internet with festive cheer.
Happy cooking! —Tessa Hammond.
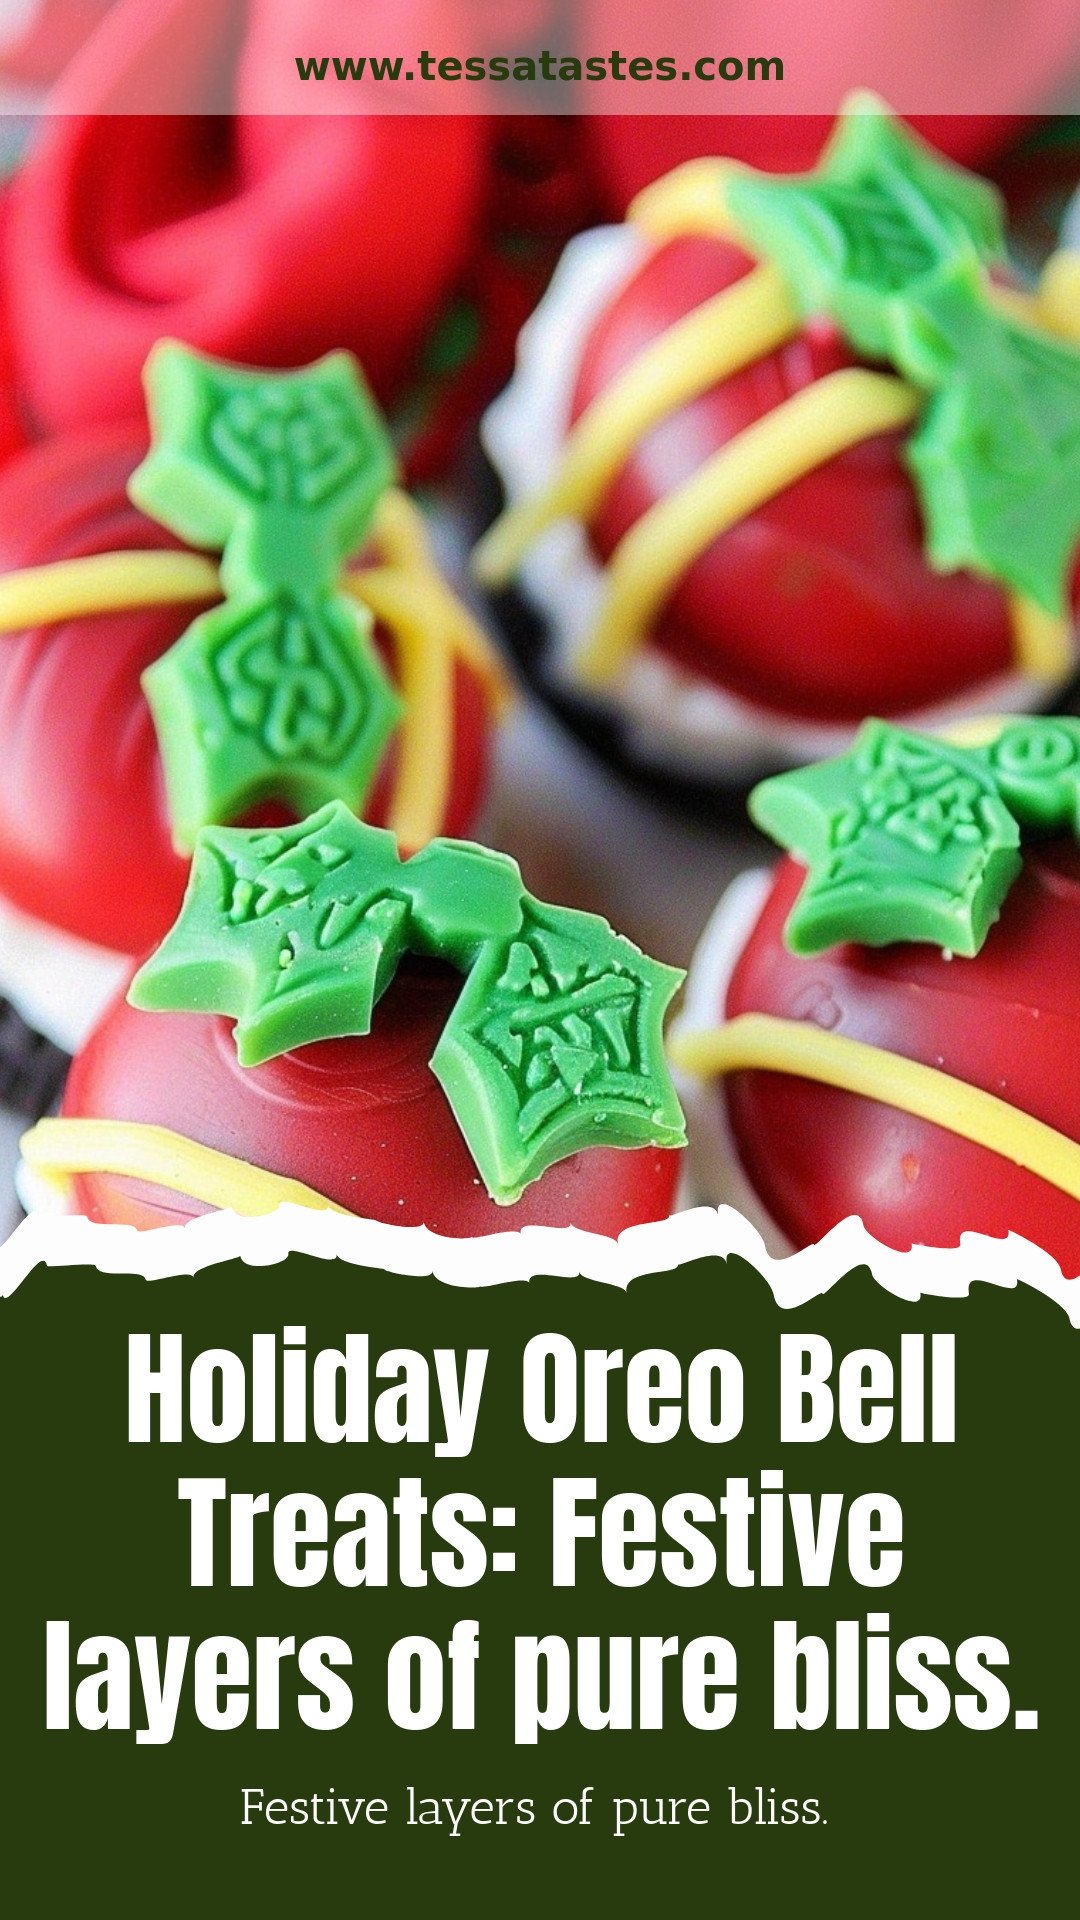
Holiday Oreo Bell Treats: Festive layers of pure bliss.: Festive layers of pure bliss.
Description
Whip up these adorable Holiday Oreo Bell Treats! Layers of pure bliss make a festive no-bake dessert that’s perfect for Christmas parties & edible gifts.
Ingredients
Instructions
- In a large bowl, combine the cookie crumbs and the cream cheese. Mix until a thick dough forms and all the cream cheese has been incorporated. Next, roll the dough into 48 (1-inch) balls and place them on a wax paper-lined baking sheet. Freeze for 10 minutes.
- Following the directions on the package, melt the red Candy Melts in the microwave. Carefully coat each of the balls in the melted chocolate and place them back on the wax paper-lined baking sheet. Allow the coating to harden.
- To make the Santa decorations, melt about 1/2 of the package of black Candy Melts according to the package directions. Pour the melted chocolate into a disposable piping back or a zip top bag and carefully snip off a small part of one corner. Use the bag to pipe a wide belt across the cookie ball. Allow it to harden.
- Next, melt about 1/4 of the package of yellow Candy Melts according to the package directions. Pour the melted chocolate into another disposable piping bag or a zip top back and carefully snip off a small part of one corner. Use the yellow to carefully draw the buckle on the belt. Allow to harden. Store in the refrigerator.
Notes
- Store in the refrigerator.


Leave a Reply