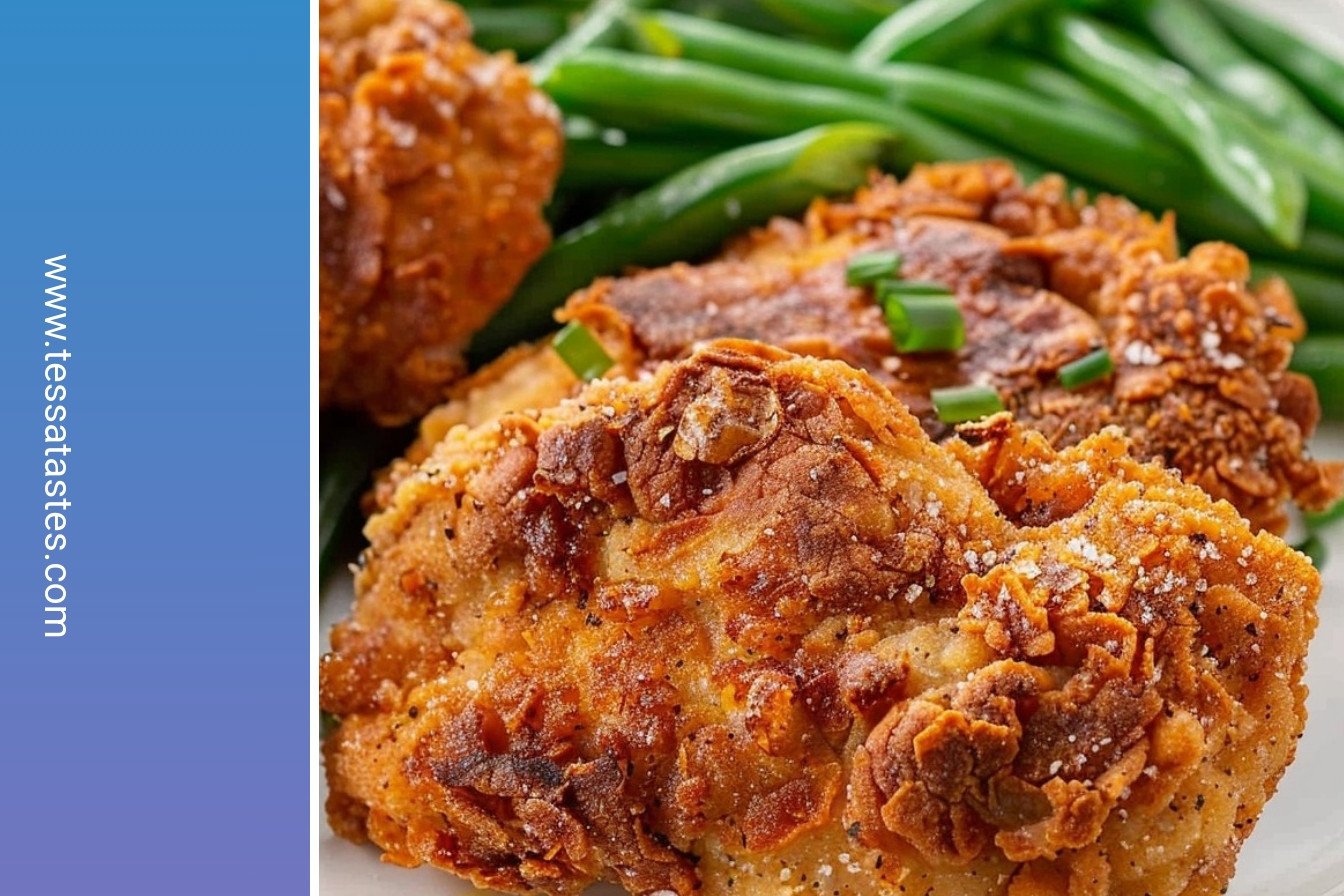
The Secret to a Golden Crust
My grandson calls these my “crispy clouds.” I still laugh at that. The secret is a double dip in the flour. First flour, then egg, then flour again. This makes the crust extra crunchy and lovely.
It might seem like a small step. But it makes all the difference. A good crust holds in all the juicy flavor. What is your favorite crispy food? Is it chicken, or maybe something else?
A Little Pounding Goes a Long Way
Do not skip the pounding step. It is my favorite part for letting out a tough day. You place the chop between some paper and give it a few whacks. You want it about half an inch thick.
This matters because a thin chop cooks fast and even. No one gets a burnt outside and a raw inside. *Fun fact*: Pounding meat makes it more tender. It helps break down the tough parts.
The Sizzle is the Best Sound
Heating the oil just right is key. You want it nice and hot, around 375 degrees. When you lay that chop in the pan, it should sizzle. Doesn’t that smell amazing?
I remember my first time frying. I was so nervous about the hot oil. My mom told me, “Listen for the happy sizzle, Tessa.” That sound means you are doing it right. Do you get nervous cooking with hot oil too?
Why We Double Dip
That double-dip method is not just for crunch. It creates a seal around the meat. This keeps all the natural juices locked inside. Every bite stays moist and delicious.
This matters for more than just taste. Cooking should be an act of care. Making a meal that is cooked through and juicy shows you care. It is a simple way to say “I love you” without any words.
Your Turn at the Stove
Now it is your turn to try. Do not worry about making a mess. Good cooking is often a little messy. The result is so worth it.
What will you serve with your golden cutlets? Maybe some applesauce or simple mashed potatoes. Tell me what your perfect side dish would be. I am always looking for new ideas.
Ingredients:
| Ingredient | Amount | Notes |
|---|---|---|
| all-purpose flour | 1 cup | |
| coarse sea salt | 1 tsp | |
| coarse black pepper | ½ tsp | |
| paprika | ½ tsp | |
| garlic powder | ¼ tsp | |
| onion powder | ¼ tsp | |
| eggs | 2 | |
| boneless pork chops | 4 to 6 | |
| vegetable oil | 1 cup | For frying |
Golden Crusted Cutlets: A Little Story and How-To
My grandson calls these “happiness on a plate.” I have to agree. That first crunchy bite is pure joy. It reminds me of my own grandma’s kitchen. She taught me this recipe on a sunny afternoon.
We would make these cutlets for special Sunday dinners. The whole house would smell amazing. I still laugh at how we’d fight over the crispiest one. Now, I want to share that joy with you. Let’s get our hands a little messy.
Step 1: The Dry Mix and The Glue
Grab a shallow bowl for your dry things. Whisk the flour, salt, pepper, and those colorful spices together. This mix gives the cutlets their golden coat and flavor. In another bowl, beat your eggs until they are smooth and yellow. They are the glue that holds everything on.
Step 2: Prepare the Pork Chops
Now, let’s get those pork chops ready. Place them between two sheets of plastic wrap. Gently pound them with a heavy pan or a meat mallet. We want them about half an inch thick. This makes them tender and helps them cook fast and even.
Step 3: Heat the Oil
Pour your oil into a heavy skillet. Heat it over medium-high heat. You want the oil to be nice and hot. (A hard-learned tip: drop a tiny pinch of flour in the oil. If it sizzles right away, you’re ready to go!). This gives you that perfect crispy crust.
Step 4: The Coating Process
Time for the fun part! Dip a chop in the flour. Then dunk it in the egg. Let the extra drip off. Finally, give it one last coat in the flour. This double-dip is the secret to a super crunchy crust. Doesn’t that already look good?
Step 5: Frying to Perfection
Carefully lay the chop in the hot oil. It should sizzle happily. Fry for about 3 minutes per side. They should be a beautiful golden brown. How do you know when they are perfectly done? Share below! Let them rest on a paper bag to soak up extra grease.
Cook Time: 15 minutes
Total Time: 25 minutes
Yield: 4-6 servings
Category: Dinner, Comfort Food
Three Tasty Twists to Try
This recipe is like a favorite story. You can tell it a little differently each time. Feel free to play with the flavors. Here are a few ideas I love.
Italian Night
Add dried oregano and a sprinkle of parmesan cheese to the flour. It tastes like a sunny day in Rome.
A Little Kick
Mix a pinch of cayenne pepper into your flour. It gives the cutlets a warm, happy spice that builds slowly.
Herb Garden
Stir in some dried parsley and a little thyme. It makes the kitchen smell like a summer garden.
Which one would you try first? Comment below!
My Favorite Ways to Serve Them
A perfect cutlet needs good friends on the plate. My family loves them with creamy mashed potatoes. The gravy soaks into the crust so nicely. A simple apple sauce is also wonderful. Its sweet tang is a perfect match for the savory pork.
For a lighter meal, I serve them on a bed of crisp greens. A squeeze of lemon over the top makes everything pop. It cuts through the richness beautifully. A side of buttered corn or green beans is always a hit, too.
What to drink? A cold glass of apple cider is my go-to. For the grown-ups, a pale ale pairs wonderfully. Its bitterness balances the crispy, salty cutlet. Which would you choose tonight?

Keeping Your Cutlets Crispy
Let’s talk about storing these golden cutlets. They are best eaten right away. But you can keep them for later.
Let them cool completely first. Then place them in a container in the fridge. They will stay good for three days.
You can also freeze them for a month. I wrap each one in foil. Then I put them all in a big bag.
I once reheated one in the microwave. It got soggy. Now I use my toaster oven to keep them crispy.
Reheat them in an oven at 375 degrees. This brings back the crunch. Batch cooking saves you time on a busy night.
This matters because a good meal should be easy any day of the week. Have you ever tried storing it this way? Share below!
Simple Fixes for Common Cutlet Troubles
Sometimes the coating falls off in the pan. This happens if the oil is not hot enough. Make sure the oil sizzles when you add a sprinkle of flour.
I remember when my cutlets burned on the outside. The inside was still raw. My heat was too high. Cooking at the right temperature cooks them through perfectly.
Your pan can get too crowded. Give each cutlet some space. This lets the hot air move around them. They will get crispy instead of steamy.
Getting the temperature right builds your cooking confidence. A perfect crust also locks in all the juicy flavor. Which of these problems have you run into before?
Your Cutlet Questions Answered
Q: Can I make this gluten-free? A: Yes! Just use your favorite gluten-free flour blend. It works just the same.
Q: Can I prepare them ahead of time? A: You can coat them and keep them in the fridge. Fry them just before you eat.
Q: What if I don’t have paprika? A: No problem. A little more black pepper adds a nice kick.
Q: Can I make a smaller batch? A: Of course. Just use half of all the ingredients. It turns out great.
Q: Any extra tips? A: Let them rest on a rack after frying. This keeps the bottom extra crispy. *Fun fact: This trick works for cookies too!* Which tip will you try first?
From My Kitchen to Yours
I hope you love making these cutlets. They always make my kitchen smell wonderful. I feel happy knowing you are cooking too.
I would love to see your beautiful results. Share a picture of your golden dinner. Have you tried this recipe? Tag us on Pinterest!
Happy cooking!
—Tessa Hammond.

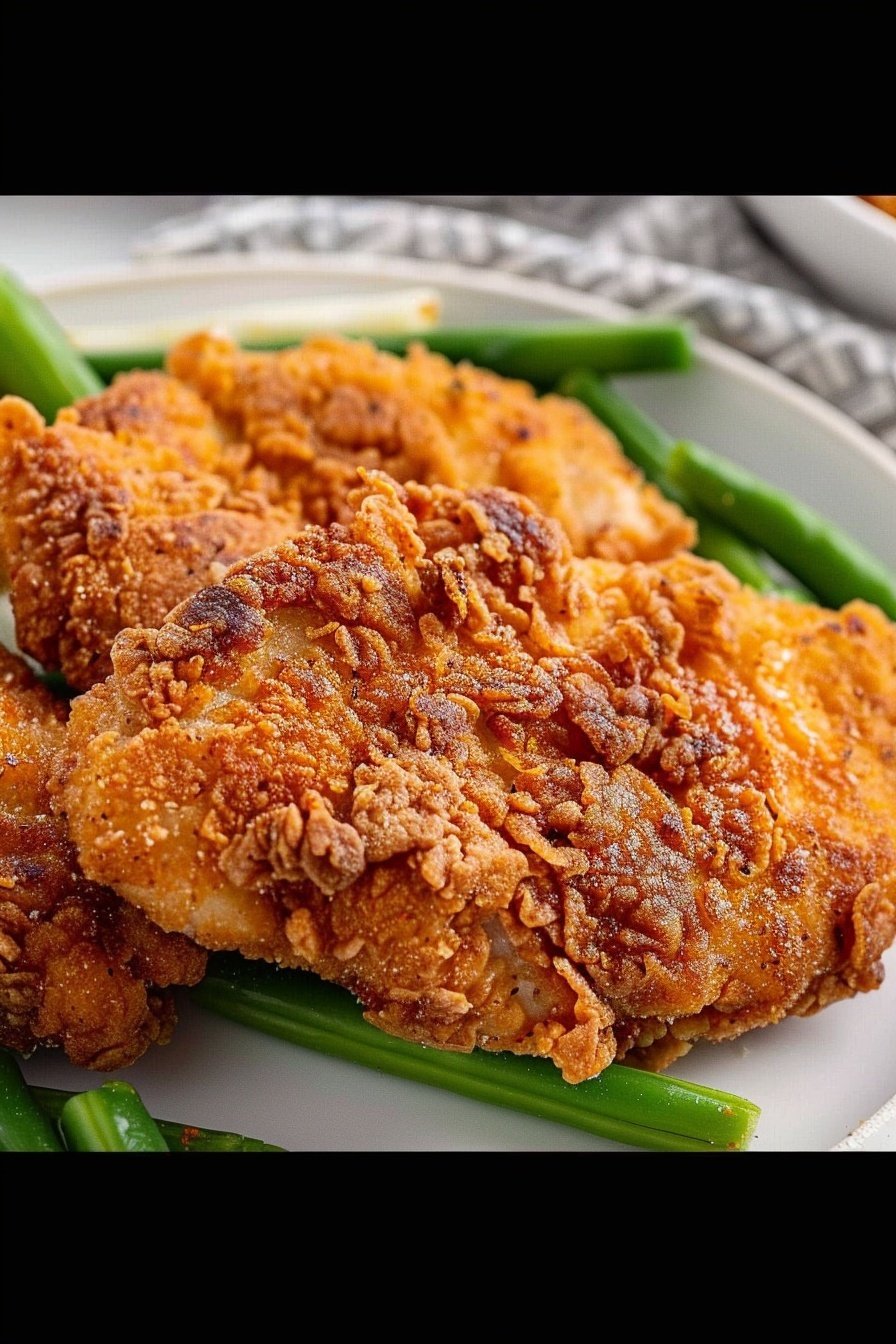
Golden Crusted Cutlets: Crispy, juicy, pure bliss.
Description
The ultimate comfort food recipe that’s surprisingly easy to make and guaranteed to be a family favorite.
Ingredients
Instructions
- Whisk together flour, salt, pepper, paprika, garlic powder, and onion powder in a shallow bowl.
- Beat eggs in a separate shallow bowl.
- Place pork chops between two sheets of plastic wrap or parchment paper and pound with a meat mallet to thin them to about ½ to ¾ inch thick.
- Heat oil about ¾ inch deep over medium-high in a cast iron skillet. Heat oil to 375°F.
- Dip each pork chop in the flour mixture, coating both sides. Then dunk each side into the beaten eggs and back into the flour mixture.
- Carefully drop pork chop into heated oil and fry on both sides until cooked through (Cooking for about 3 minutes on one side, flip, and then about 2 minutes on the other side, making sure no pink juices remain). The pork chops should reach an internal temperature of 165°F. Maintain an oil temperature between 350°F and 375°F for best results.
- Place cooked pork chops on paper towels or brown paper bags to soak up excess oil.
- Continue dredging (dipping in flour, egg, flour mixtures) the remaining pork chops and cooking, taking care not to overcrowd the pan.
- Serve immediately.
Notes
- Nutrition per serving: Calories: 459kcal | Carbohydrates: 12g | Protein: 21g | Fat: 36g | Saturated Fat: 7g | Polyunsaturated Fat: 17g | Monounsaturated Fat: 10g | Trans Fat: 0.3g | Cholesterol: 99mg | Sodium: 353mg | Potassium: 329mg | Fiber: 1g | Sugar: 0.1g | Vitamin A: 127IU | Vitamin C: 0.02mg | Calcium: 26mg | Iron: 2mg


Leave a Reply