My Kitchen, Full of Laughs
My grandson came up with this recipe. He loves tacos. He also loves my cheesy pasta shells.
One day he asked, “Grandma, can we put the taco inside the shell?” I still laugh at that. It was such a smart idea. It’s now our favorite meal to make together.
Let’s Get Everything Ready
First, get your big pot of water boiling for the shells. They need to get nice and soft. While that happens, we’ll start on the filling.
Brown the beef with the onion and garlic in a pan. Doesn’t that smell amazing? It’s the start of every good meal. This matters because taking your time here makes everything taste better.
The Fun Part: Mixing It Up
Now for the magic. Stir in that taco seasoning, water, and salsa. Watch the colors mix together. It turns a beautiful, spicy red.
*Fun fact: The word “salsa” just means “sauce” in Spanish.* See? You learn something new in the kitchen every day. What’s your favorite brand of salsa to use? I’d love to know.
Filling Those Cozy Shells
Time to fill those jumbo shells. Be careful, they’re a little warm. I use a small spoon to put the meat inside.
Line them all up in your baking dish. They look like little boats ready for a cheesy sea. This part is my favorite. It feels like putting a puzzle together.
The Big Cheesy Finish
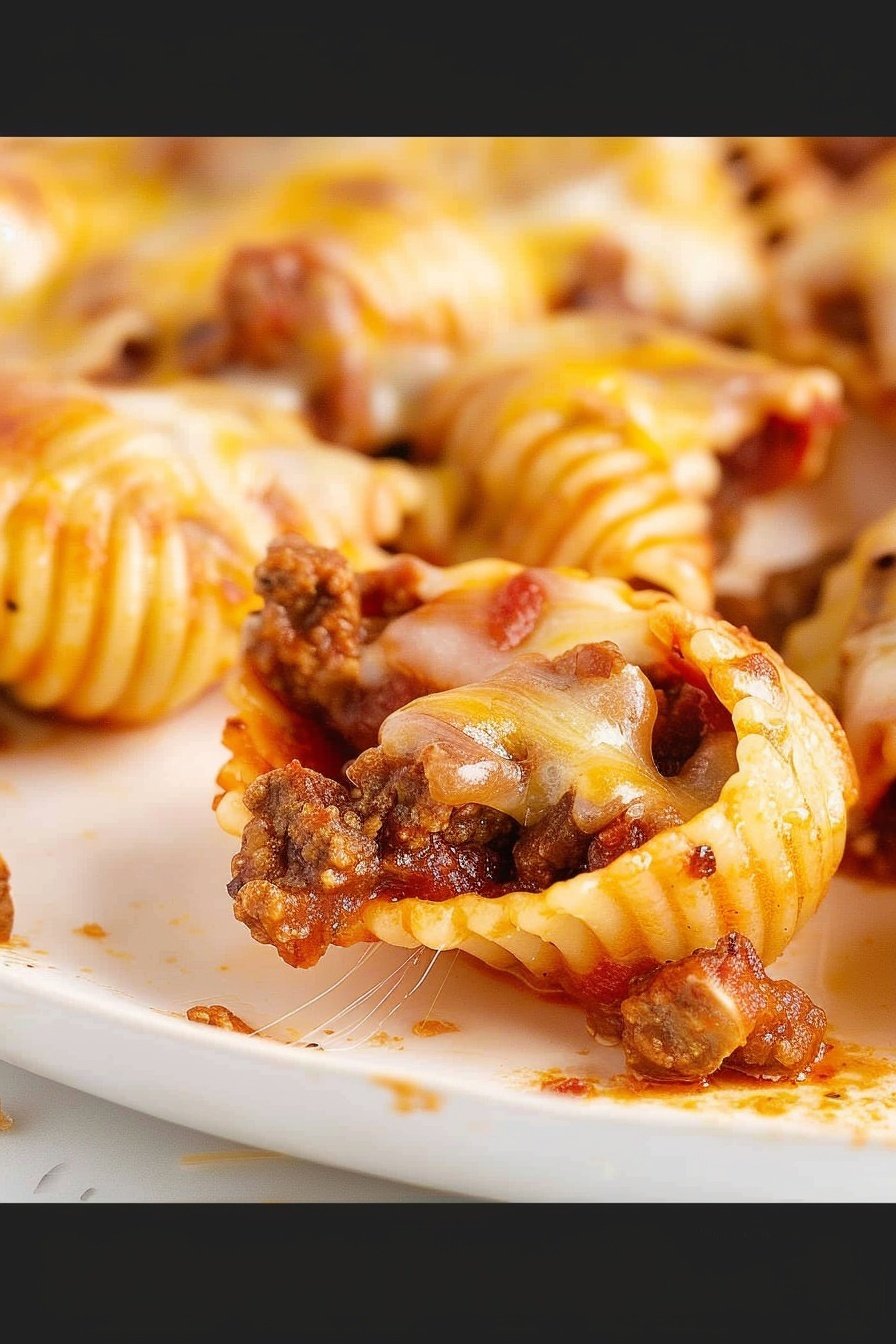
After they bake covered, it’s cheese time! Sprinkle that Colby jack all over the top. Let it go back in the oven until it’s all melted and bubbly.
Let it rest for five minutes before you serve. I know, it’s hard to wait! But this matters. It lets all the flavors settle in just right. Do you like to add any extra toppings like taco sauce?
Why We Cook Together
This recipe is more than just food. It’s about sharing time with people you love. My grandson taught me that.
We talk and laugh while we cook. It makes the meal taste even better. What’s a meal that makes you think of someone you love? Share your story with me.
Ingredients:
| Ingredient | Amount | Notes |
|---|---|---|
| Jumbo shells | 24 | cooked according to package directions |
| Lean ground beef | 2 pounds | |
| Sweet yellow onion, finely diced | 1 cup | |
| Fresh minced garlic | 1 tablespoon | |
| Mild taco seasoning | 2 ounces | |
| Water | ¾ cup | |
| Mild salsa | 16 ounces | your favorite brand |
| Shredded Colby jack cheese | 2½ cups | |
| Taco sauce | optional garnish |
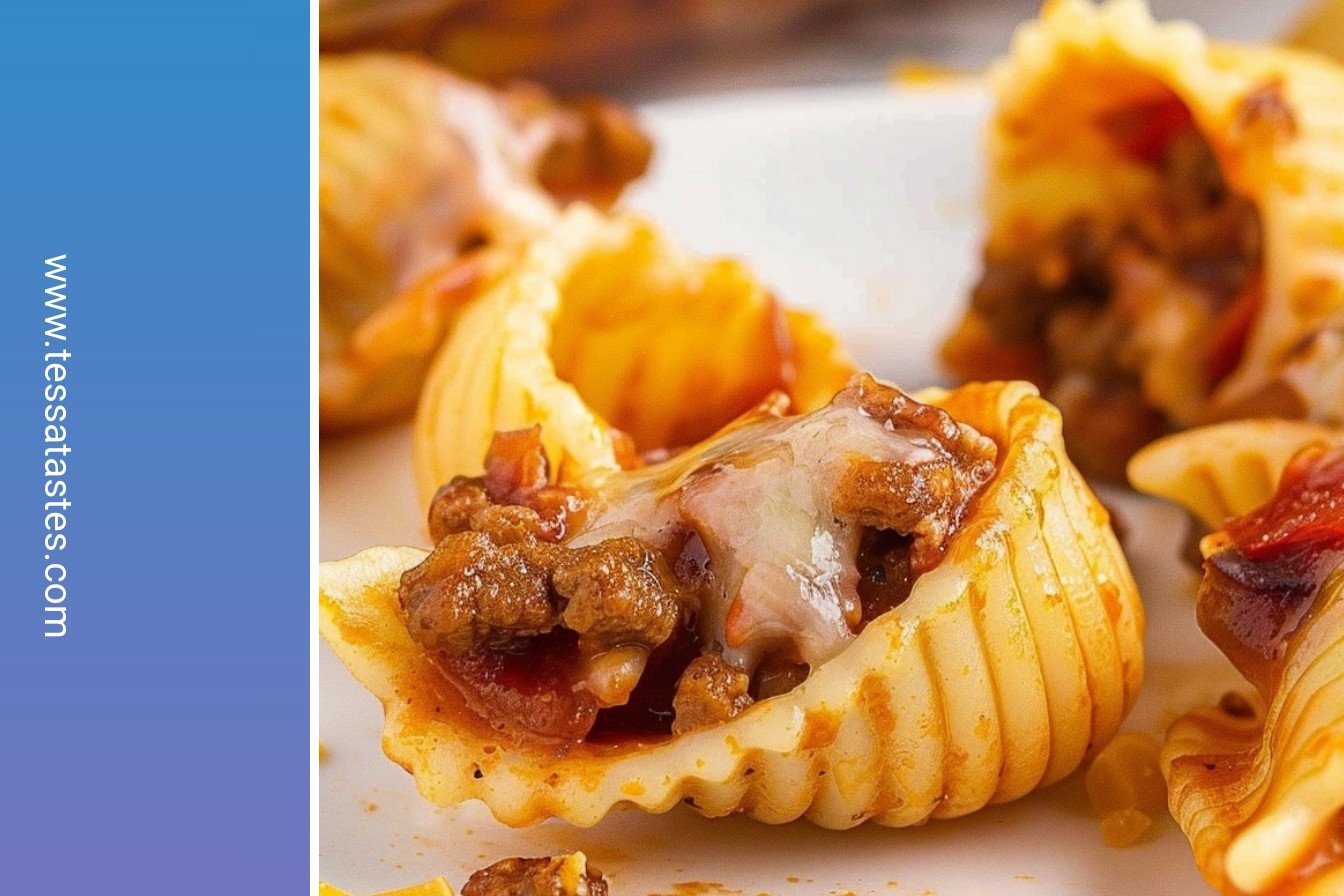
Taco Pasta Shells: A Fun Family Favorite
Hello, my dear! It’s Tessa. Let’s make my Taco Pasta Shells today. This recipe is a real crowd-pleaser. It mixes taco night with cozy pasta. My grandkids request this every single time they visit. The cheesy, spicy smell fills the whole house. Doesn’t that sound wonderful?
We will stuff jumbo pasta shells with a yummy beef filling. Then we will bake them until the cheese is bubbly. It is easier than it looks, I promise. I still laugh at the first time I made these. I was so worried they would fall apart. But they held up perfectly!
Step 1: First, cook those big pasta shells. Just follow the directions on the box. When they are done, drain them and set them aside. Be gentle so they do not tear. (A hard-learned tip: stir them gently while cooking. This stops them from sticking together in one big clump!).
Step 2: Now, heat your oven to 375°F. Grab a 9×13 baking dish. Give it a light spray with cooking spray. This little step makes clean-up so much easier later. I always do this first thing. It feels so organized.
Step 3: Let’s cook the beef! Put the beef, onion, and garlic in a big pan. Cook it on medium-high heat. You want the beef to turn brown with no pink left. Remember to stir it often. If you see a lot of grease, just drain it off.
Step 4: Turn the heat down to medium-low. Now, add the taco seasoning, water, and your favorite salsa. Stir it all up until it is mixed well. Let it simmer for a few minutes. The smell is just amazing at this point. It reminds me of summer parties.
Step 5: Time to fill the shells! Carefully spoon the meat into each shell. I use about three tablespoons per shell. Then, line them up in your baking dish. You will have a few extra shells, and that is just fine. Do you have a favorite brand of salsa for cooking? Share below!
Step 6: Cover the whole dish tightly with aluminum foil. Pop it in the oven for 20 minutes. This heats everything through nicely. The waiting is the hardest part, isn’t it?
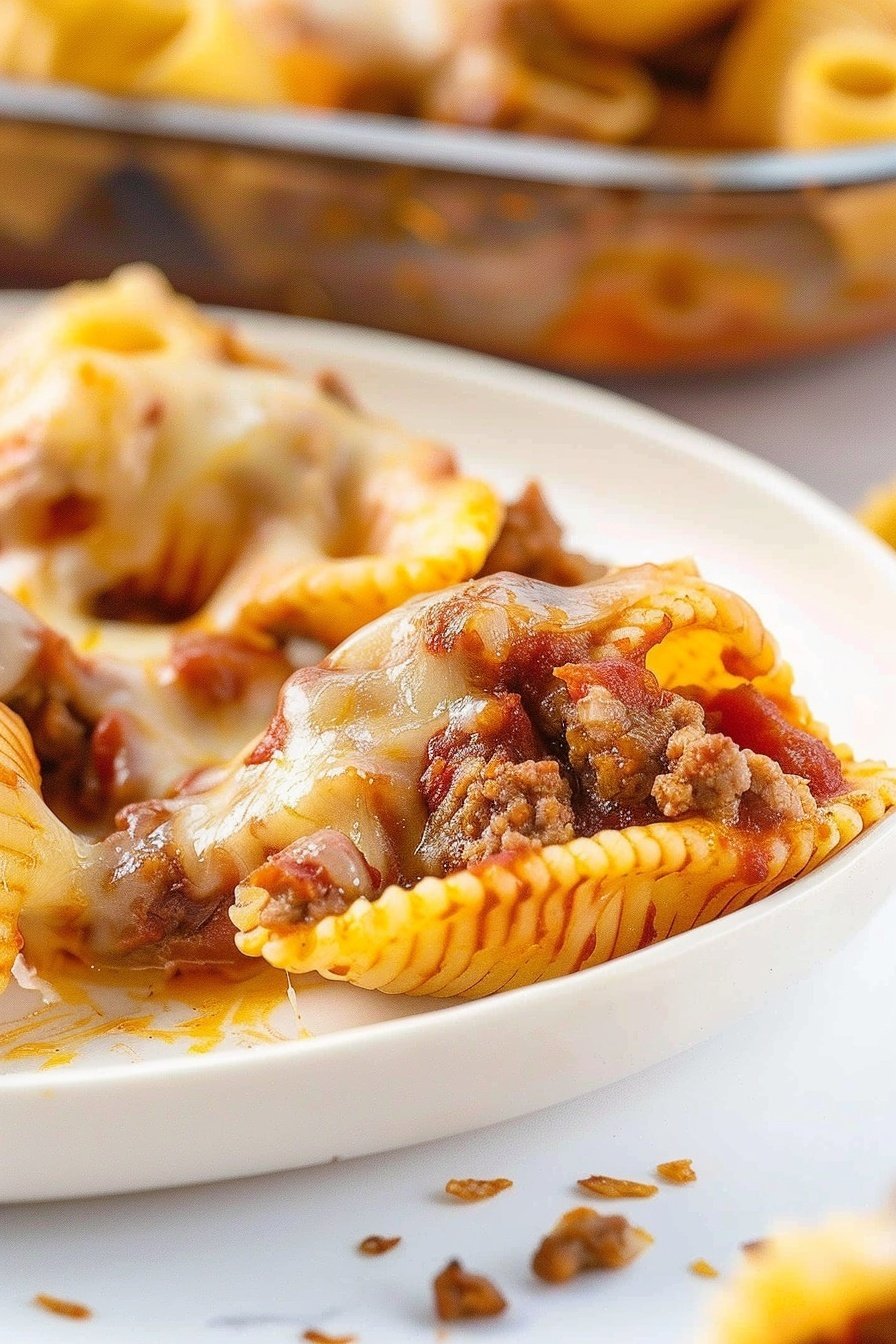
Step 7: Take the pan out and remove the foil. Sprinkle all that beautiful cheese over the top. Put it back in the oven, uncovered, for 10 more minutes. You want the cheese melted and bubbly. Let it rest for 5 minutes before serving. This helps the shells set.
Cook Time: 30 minutes
Total Time: 1 hour
Yield: About 20 shells
Category: Dinner
Three Fun Twists to Try
This recipe is wonderful as it is. But you can also change it up. It is fun to get creative in the kitchen. Here are a few ideas my family loves.
Make it a Fiesta: Add a can of drained black beans and corn to the beef mixture. It adds such a nice color and texture.
Go Meatless: Use a plant-based ground “beef” instead. Or try cooked lentils. It is just as hearty and delicious.
Spice it Up: Use hot taco seasoning and a spicy salsa. Top it with sliced jalapeños for an extra kick.
Which one would you try first? Comment below!
How to Serve Your Taco Shells
Now, what to serve with these cheesy delights? A simple side salad is always perfect. The cool lettuce is great with the warm shells. A big dollop of cool sour cream on top is a must for me. You could also add a side of Spanish rice.
For a drink, a chilled glass of limeade is so refreshing. The tartness cuts through the richness. For the grown-ups, a light Mexican beer pairs wonderfully. It just feels like a celebration. Which would you choose tonight?
Keeping Your Taco Pasta Shells Tasty
Let’s talk about keeping these shells delicious for later. You can store them in the fridge for three days. Just cover the dish tightly.
For the freezer, let the filled shells cool completely. I place them on a baking sheet first. This stops them from sticking together.
Once frozen, I pop them into a freezer bag. I learned this the hard way. I once had a big, cheesy clump that was impossible to separate!
To reheat, bake from frozen at 375°F. Add 10-15 minutes to the cooking time. This makes the cheese bubbly and perfect again.
Batch cooking like this saves so much time. It means a good meal is always close by. That matters on busy days.
Have you ever tried storing it this way? Share below!
Simple Fixes for Common Kitchen Hiccups
Sometimes our cooking doesn’t go as planned. That is perfectly okay. Here are some easy fixes.
First, your shells might tear while cooking. Just cook a few extra shells. This gives you backups for any broken ones.
Second, the meat mixture can be too watery. Let it simmer a bit longer. I remember when my first batch was soupy. A little extra cooking time fixed it.
Third, the cheese might not melt evenly. Shred your own cheese from a block. The bagged kind has stuff to keep it from sticking.
Getting these small things right builds your confidence. It also makes the flavors so much better. That is a win for everyone.
Which of these problems have you run into before?
Your Taco Pasta Shell Questions, Answered
Q: Can I make this gluten-free?
A: Yes! Use your favorite gluten-free jumbo pasta shells. They work just as well.
Q: Can I prepare it ahead of time?
A: Absolutely. Assemble the whole dish the night before. Keep it covered in the fridge until baking.
Q: What if I don’t have Colby jack cheese?
A: A mix of cheddar and Monterey Jack is a great swap. Use what you love.
Q: Can I make a smaller batch?
A: Of course. Just cut all the ingredients in half. Use an 8×8 inch baking dish.
Q: Is the taco sauce necessary?
A: Not at all. It is a fun, optional topping. A dollop of sour cream is nice too.
Fun fact: The first known pasta shell was made in Italy over 500 years ago!
Which tip will you try first?
From My Kitchen to Yours
I hope you love making these Taco Pasta Shells. They are always a hit with my grandkids.
It brings me so much joy to share my kitchen stories with you. I would love to see your creations.
Please share a picture of your finished dish. It makes my whole week to see them.
Have you tried this recipe? Tag us on Pinterest!
Happy cooking!
—Tessa Hammond.

Taco Pasta Shells: Cheesy, Spicy, Savory Perfection
Description
Cheesy taco pasta shells are the ultimate comfort food! This easy, family-friendly recipe is packed with spicy, savory flavor and always a crowd-pleaser.
Ingredients
Instructions
- Cook your pasta shells per the package directions and set aside.
- Preheat the oven to 375°F. Lightly spray a 9×13 baking dish with nonstick spray. Set it aside.
- Add the ground beef, onion and garlic to a 3 to 4 quart saucepan. Cook uncovered, over medium-high heat for 5 to 7 minutes, stirring often, until the ground beef is browned and not longer pink. If there is an excess of grease, drain it off.
- Lower the heat to medium-low, add the taco seasoning packets, water and the container of salsa. Stir until well combined. Simmer for 3 to 5 minutes, stirring often.
- Carefully spoon 3 tablespoons of the meat mixture into the cooked shells and place in the prepared baking dish. Line the filled shells 5 across and 4 down. You will have a couple of extra empty shells leftover.
- Cover with aluminum foil and bake for 20 minutes.
- Remove from the oven and evenly sprinkle the shredded cheese over the stuffed shells. Return the pan, uncovered, to the oven and continue to bake for 10 minutes. Allow the pan to rest for 5 minutes before garnishing with the taco sauce before serving.
Notes
- Nutrition per serving: Calories: 178kcal | Carbohydrates: 12g | Protein: 15g | Fat: 8g | Saturated Fat: 4g | Polyunsaturated Fat: 0.3g | Monounsaturated Fat: 3g | Trans Fat: 0.2g | Cholesterol: 44mg | Sodium: 509mg | Potassium: 271mg | Fiber: 1g | Sugar: 2g | Vitamin A: 539IU | Vitamin C: 2mg | Calcium: 128mg | Iron: 2mg


Leave a Reply