A Treat for Your Best Friend
I love making treats for my dog, Barney. His tail wags so hard when he smells peanut butter. Making his snacks myself just feels right.
I know every single thing that goes into them. That matters to me. It means no weird chemicals or surprises. Just good, simple food for a good friend.
My Kitchen Helper
Barney likes to “help” in the kitchen. He sits and watches every move I make. I think he hopes I will drop something.
One time, I turned my back for one second. He stole a whole scoop of peanut butter! I still laugh at that. His nose is a powerful guide.
Let’s Make Some Dough
Grab your big bowl. Put everything in it. The peanut butter, molasses, milk, flour, and baking powder. Mix it all up until it becomes a dough.
It will be thick and a little sticky. That is perfect. Doesn’t that smell amazing? Your dog probably thinks so too.
Cutting Out the Fun
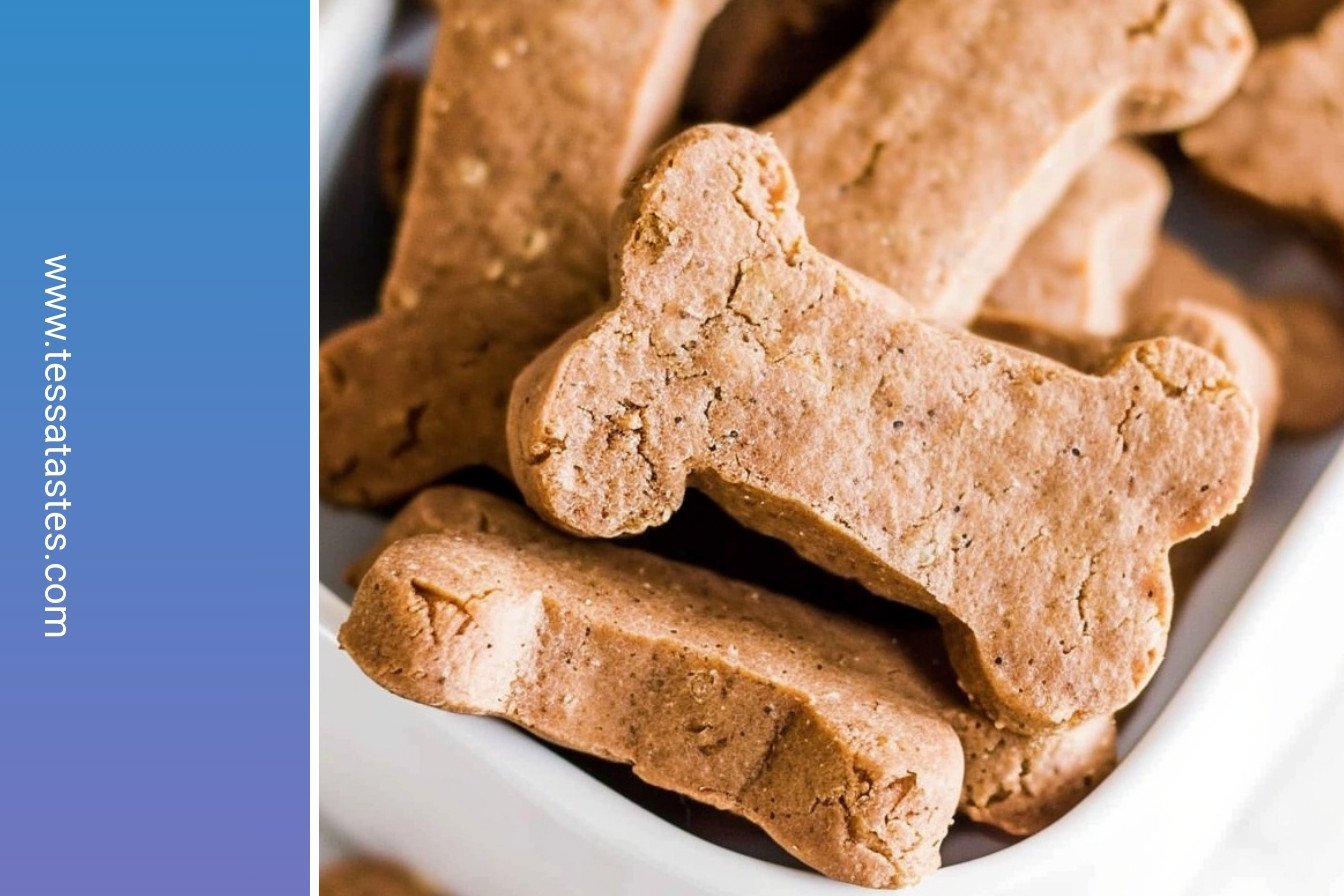
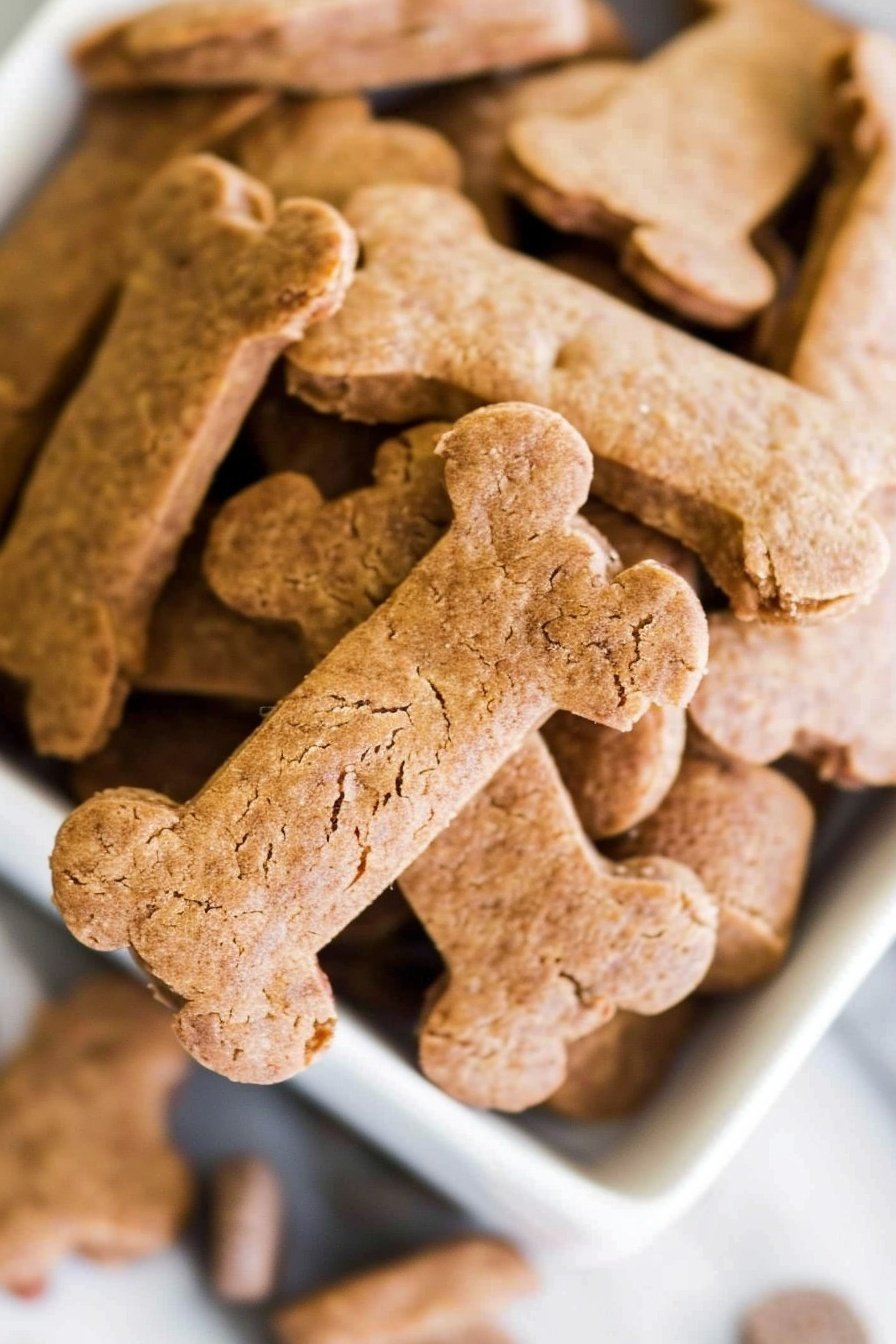
Now for the fun part. Roll the dough out flat. Then use a cookie cutter to make shapes. I use a little bone-shaped cutter.
But a glass or a circle cutter works great too. Fun fact: The first dog biscuits were made in England in the 1860s. Who knew?
A Little Love in Every Bite
Pop those treats in the oven. Soon, your whole house will smell wonderful. Baking for your pet is a small act of love.
It shows you care about their health and happiness. That is why this matters. It is more than a snack. It is a message.
Your Turn to Share
Did your dog go crazy for these treats? I would love to hear about it. What is your pet’s favorite homemade snack?
Tell me, what shape did you cut your biscuits into? Share a picture if you can. I bet they look wonderful.

Ingredients:
| Ingredient | Amount | Notes |
|---|---|---|
| smooth peanut butter | 1 cup | |
| molasses | 1 tbsp | |
| milk | 1 cup | |
| whole wheat flour | 2 cups | |
| baking powder | 1 tbsp |
DIY Dog Snacks: Homemade Pup-Peroni Pleasure
My old dog, Buster, always knew when I was baking. He would sit right by the oven. His tail would thump on the floor. Making treats for him was one of my favorite things. It made the whole house smell like warm peanut butter.
You can make these easy biscuits for your pup. They are so much better than store-bought. You know every single ingredient that goes inside. Let’s get our hands a little dusty with flour, shall we?
- Step 1: First, turn your oven on to 350 degrees. This lets it get nice and hot. It will be ready for our biscuits by the time we finish. I always do this first thing. It’s a good habit to have in the kitchen.
- Step 2: Now, get out a big mixing bowl. Put everything in it. That’s the peanut butter, molasses, milk, flour, and baking powder. It’s a simple list, isn’t it? I love recipes that don’t need a million things.
- Step 3: Blend everything on low with your mixer. Watch the magic happen. It will turn into a soft, doughy ball. (A hard-learned tip: If the dough seems too sticky, add just a sprinkle more flour). Doesn’t that smell amazing already?
- Step 4: Place your dough between two sheets of parchment paper. This is my favorite trick. Now, get your rolling pin. Roll it out until it’s about a quarter-inch thick. That’s just right for a crunchy treat.
- Step 5: Time to cut out the shapes! I use a little bone-shaped cookie cutter. Buster always got so excited seeing those. You can use a glass if you don’t have a cutter. What shape do you think your dog would love most? Share below!
- Step 6: Pop them in the oven for about 17 minutes. You will know they are done when they are firm. Let them cool completely. A warm treat isn’t good for a puppy’s tummy. I still laugh at how Buster would wait so patiently.
Cook Time: 17 minutes
Total Time: 27 minutes
Yield: About 40 treats
Category: Pet Treats
Three Tasty Twists for Your Treats
Once you master the basic recipe, you can have some fun. I like to change it up sometimes. It keeps my new pup, Daisy, on her toes. Here are a few simple ideas for you to try.
- The Cheesy Delight: Add a half cup of shredded cheddar cheese to the dough. Most dogs go crazy for cheese. It makes the treats extra special.
- The Apple Crunch: Mix in a half cup of finely grated apple. It adds a little sweetness and moisture. Perfect for a autumn day.
- The Savory Surprise: Stir in a tablespoon of dried parsley. It can help keep their breath a bit fresher. A nice little bonus!
Which one would you try first? Comment below! I love hearing about your own kitchen creations.
Serving Up the Snacks
These treats are perfect all on their own. But I think presentation is part of the fun. It shows your pet how much you care. Here is how I like to serve them.
I put a few in a special little jar by the back door. That way, Daisy gets one after her walk. You can also crumble one over their regular dinner. It makes mealtime a real celebration.
For you, I suggest a tall glass of iced tea with lemon. Or a crisp lager beer if it’s that kind of evening. Sit back and watch your happy dog. Which would you choose tonight?
Keeping Your Pup’s Treats Fresh
These biscuits will keep well in a cookie jar. They stay fresh for about a week. For longer storage, I use my freezer. I place them in a freezer bag. They last for months this way.
I once made a huge batch for my grandson’s new puppy. We stored most in the freezer. It was so nice to have treats ready for months. This is why batch cooking matters. It saves you time later.
You can double the recipe easily. Just use a bigger bowl. Your future self will thank you on a busy day. Have you ever tried storing treats this way? Share below!
Simple Fixes for Happy Baking
Is your dough too sticky? Just add a little more flour. I remember my first batch was a sticky mess. A bit more flour made it perfect. This matters because good dough is easier to roll.
Do your biscuits seem too hard? Try baking them for less time. Oven temperatures can vary a lot. No peanut butter? You can use plain pumpkin puree instead.
Getting the flavor right is important. Your dog will love you for it. Which of these problems have you run into before?
Your Dog Treat Questions, Answered
Q: Can I make these gluten-free?
A: Yes! Use oat flour or a gluten-free blend. It works just as well.
Q: Can I make the dough ahead?
A: Absolutely. Wrap it tightly and refrigerate overnight.
Q: What can I use instead of molasses?
A: A tablespoon of honey is a fine swap.
Q: Can I make a smaller batch?
A: Of course. Just cut all the ingredients in half.
Q: Any fun extra tips?
A: A fun fact: You can add a sprinkle of cinnamon. Most dogs love the smell. Which tip will you try first?
Happy Baking from My Kitchen to Yours
I hope your furry friend loves these treats. Making them is an act of love. Seeing a dog’s tail wag is the best reward.
I would love to see your creations. Have you tried this recipe? Tag us on Pinterest! Share a picture of your happy pup.
Happy cooking!
—Tessa Hammond.
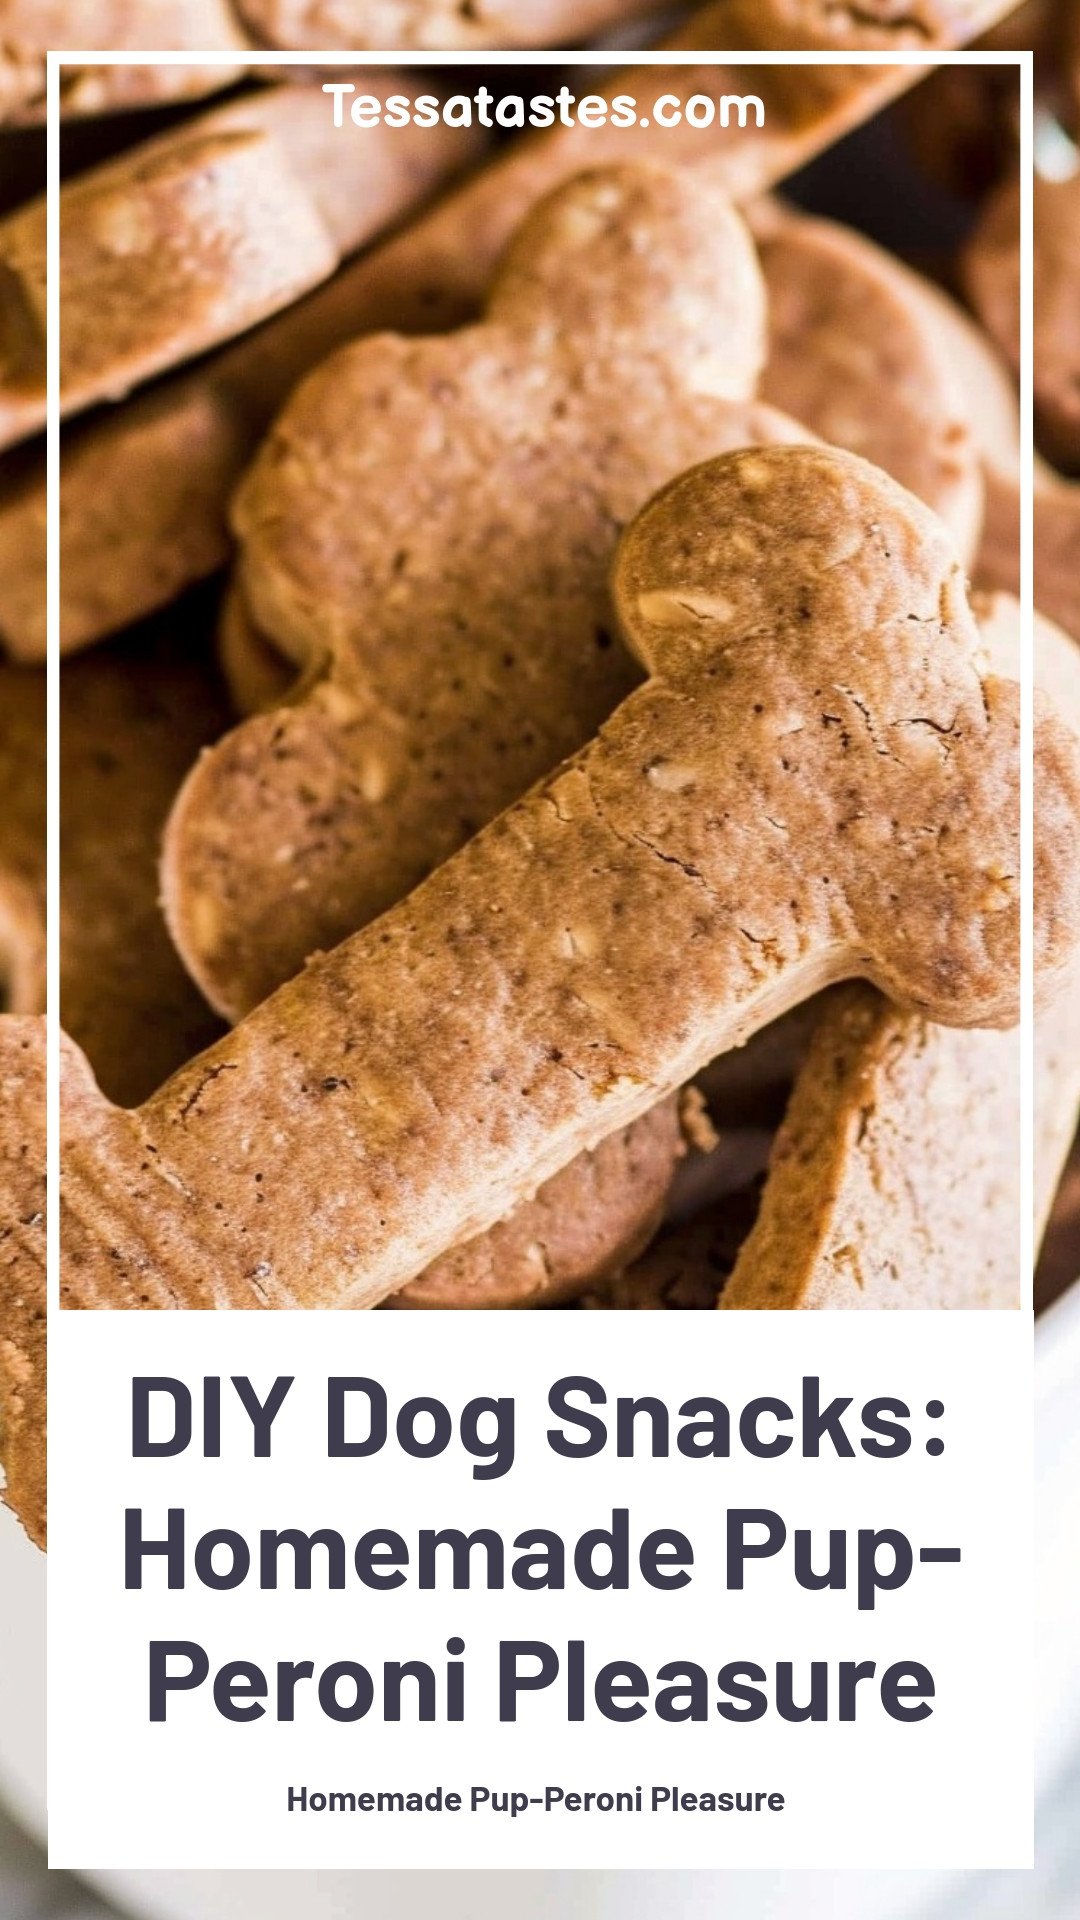
Homemade Pup-Peroni Pleasure
Description
Whip up healthy, homemade Pup-Peroni for your dog! A simple, tasty DIY dog treat recipe that’s better than store-bought. Easy, natural, and rewarding to make.
Ingredients
Instructions
- Preheat oven to 350 degrees.
- Add all ingredients to a mixing bowl.
- Blend on low in a mixer until well blended. The mixture should form a dough-like texture.
- Put dough between two sheets parchment paper.
- Roll to approximately ¼ inch in thickness.
- Use a cookie cutter or glass to cut out biscuits.
- TIP: We used a darling bone-shaped cookie cutter for our puppy treats. But you can use a traditional circle cookie cutter or a glass.
- Bake for approximately 17 minutes.
Notes
- Nutrition per serving: Calories: 64kcal | Carbohydrates: 7g | Protein: 2g | Fat: 4g | Saturated Fat: 1g | Polyunsaturated Fat: 1g | Monounsaturated Fat: 2g | Cholesterol: 1mg | Sodium: 31mg | Potassium: 105mg | Fiber: 1g | Sugar: 1g | Vitamin A: 10IU | Calcium: 27mg | Iron: 0.4mg


Leave a Reply