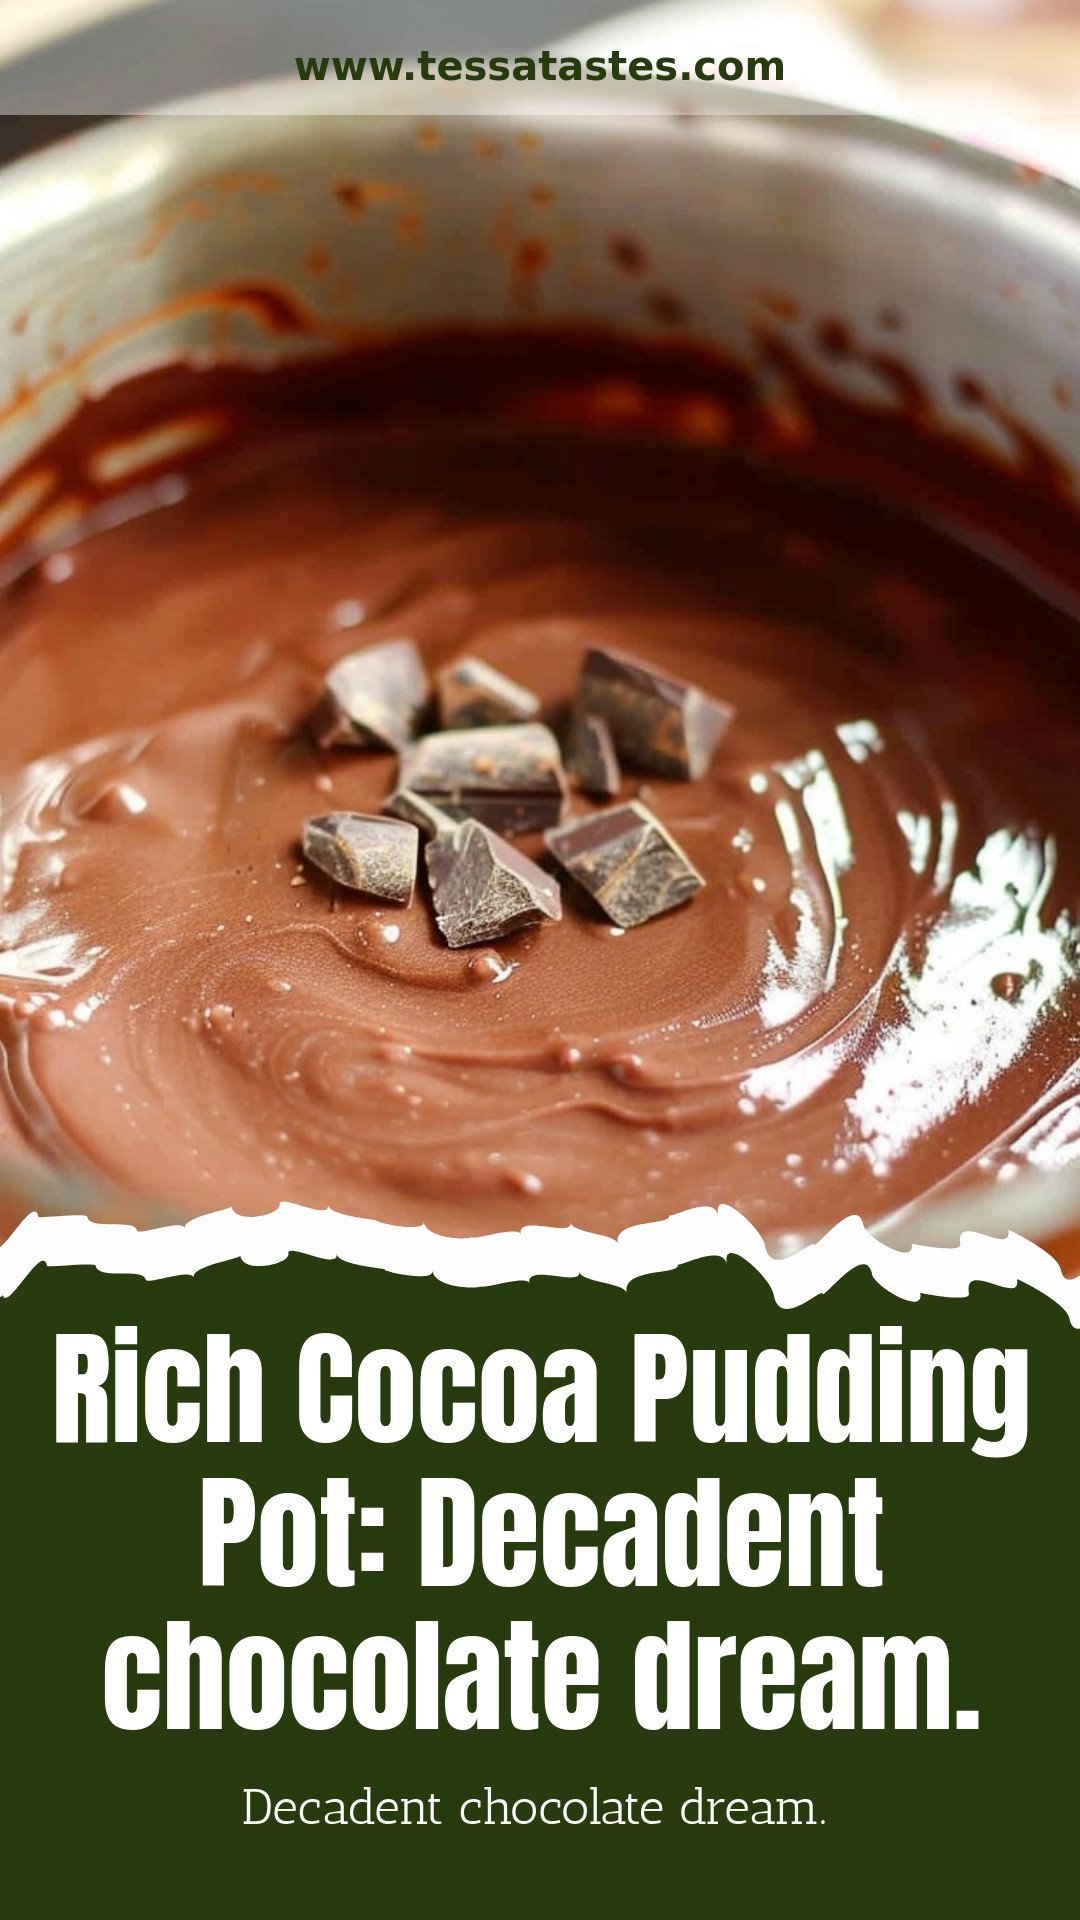
A Chocolate Dream in a Bowl
Hello, my dear. Come sit with me. Today we are making a chocolate dream. It is my Rich Cocoa Pudding Pot. This pudding is so smooth and rich. It feels like a warm hug for your tummy.
I love making this on a quiet afternoon. The whole house fills with a sweet, chocolatey smell. Doesn’t that smell amazing? It makes everything feel cozy. This is my go-to treat when someone needs a little cheer.
A Little Story From My Kitchen
I once made this for my grandson. He was having a bad day. His face was so sad. But when he tasted the first spoonful, he smiled. His whole mood changed. I still laugh at that.
It showed me something important. A simple homemade pudding can turn a day around. That is why this matters. Food made with love is a powerful thing. It is a little bit of magic.
Let’s Get Mixing
First, grab a medium saucepan. Whisk your sugars, cocoa, and cornstarch together. Get all those little lumps out. It will look like dark, dusty sand. Then you add the egg yolks and a splash of milk.
Stir it into a thick, dark paste. This is the secret to a smooth pudding. No one likes a lumpy pudding! What is your favorite part of mixing ingredients together? I love watching everything come together.
The Magic on the Stove
Now, put the pot on medium heat. Slowly whisk in the rest of the milk. You must stir and stir. Do not walk away! This is the part where the magic happens. The liquid will slowly get thick.
It takes about ten minutes. You will see the first big bubble pop. That is your sign it is done. Fun fact: The cornstarch needs that heat to thicken properly. It is like a little science experiment in your pot!
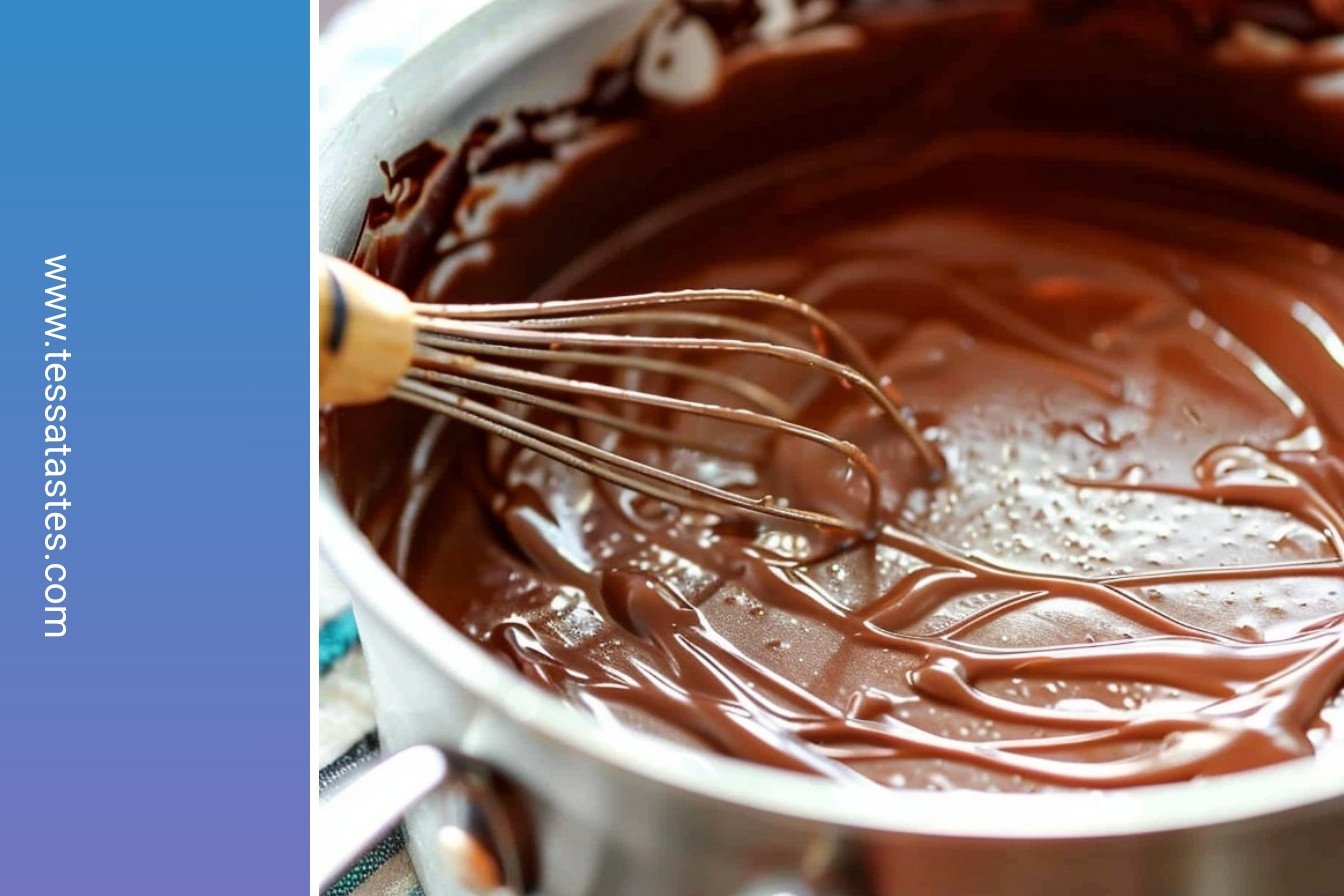
The Final, Cozy Touches
Take the pot off the heat. Stir in the butter and vanilla. Watch the butter melt into shiny swirls. The vanilla smell is just wonderful. This makes the pudding extra rich and silky.
Now, pour it into a bowl. Press plastic wrap right on top of the warm pudding. This stops a rubbery skin from forming. I know some people love the skin, but I do not! Do you like the pudding skin, or do you take it off?
Why This Simple Pudding Matters
This recipe does not need fancy tools. It uses simple ingredients you probably have. That is why this matters. It shows you can make something wonderful from simple things. You do not need a lot of money or stuff.
Making food from scratch is a gift. It is a gift for yourself and for others. It connects us to our home and our hearts. What is a simple recipe that makes you feel happy and cozy? I would love for you to share it with me.
Ingredients:
| Ingredient | Amount | Notes |
|---|---|---|
| Sugar | 1/4 cup | |
| Light brown sugar | 1/4 cup | firmly packed |
| Unsweetened cocoa powder | 1/4 cup | |
| Cornstarch | 2 tablespoons | |
| Salt | dash | |
| Large egg yolks | 2 | |
| Whole milk | 2 cups | |
| Unsalted butter | 2 tablespoons | |
| Vanilla extract | 1 teaspoon |
A Chocolate Dream in a Bowl
Let me tell you about my Rich Cocoa Pudding Pot. It is pure comfort. This recipe is my go-to for a happy heart. It reminds me of making pudding with my own grandma. Her kitchen always smelled like sweet chocolate.
It feels like a warm hug from the inside. The best part is how simple it is. You probably have most of the ingredients right now. Let’s make a little magic together, shall we? I promise it will be worth it.
Ingredients
- 1/2 cup granulated sugar
- 1/3 cup unsweetened cocoa powder
- 3 tablespoons cornstarch
- 1/4 teaspoon salt
- 3 large egg yolks
- 2 cups whole milk
- 2 tablespoons unsalted butter
- 1 teaspoon vanilla extract
Instructions
Step 1: Grab a medium saucepan. Whisk your sugars, cocoa, cornstarch, and salt together. Get all those little lumps out. Now, add the egg yolks and a splash of the milk. Stir it into a thick, dark paste. It will look very chocolaty already. I love this part.
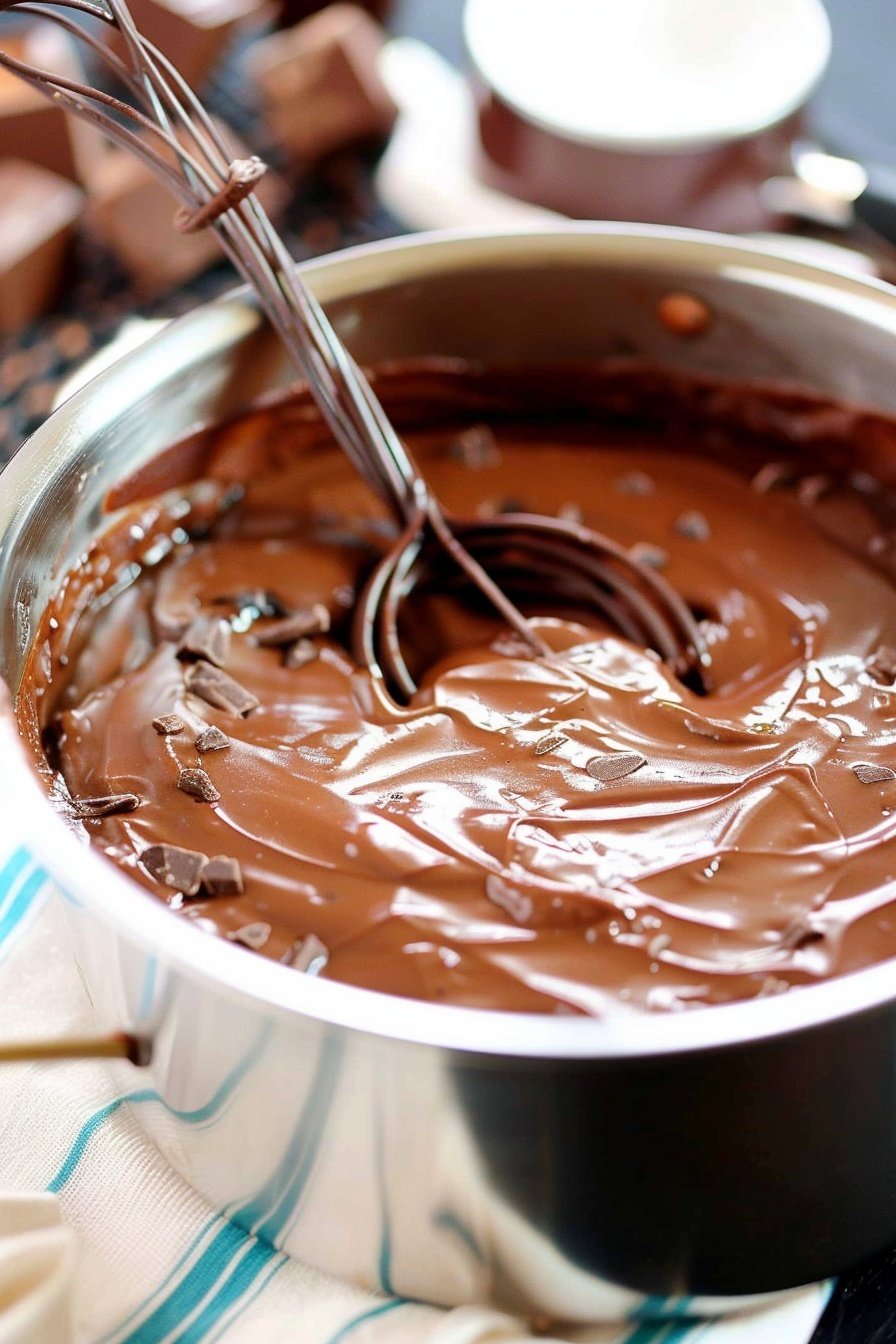
Step 2: Put the saucepan on the stove over medium heat. Slowly whisk in the rest of the milk. Now you must stir and stir. Do not stop for about ten minutes. (A hard-learned tip: If you stop stirring, the bottom might scorch. We do not want that!).
You will see it get thick and glorious. Doesn’t that smell amazing? It is ready when it coats the back of your spoon. What’s the key to a smooth, lump-free pudding? Share below!
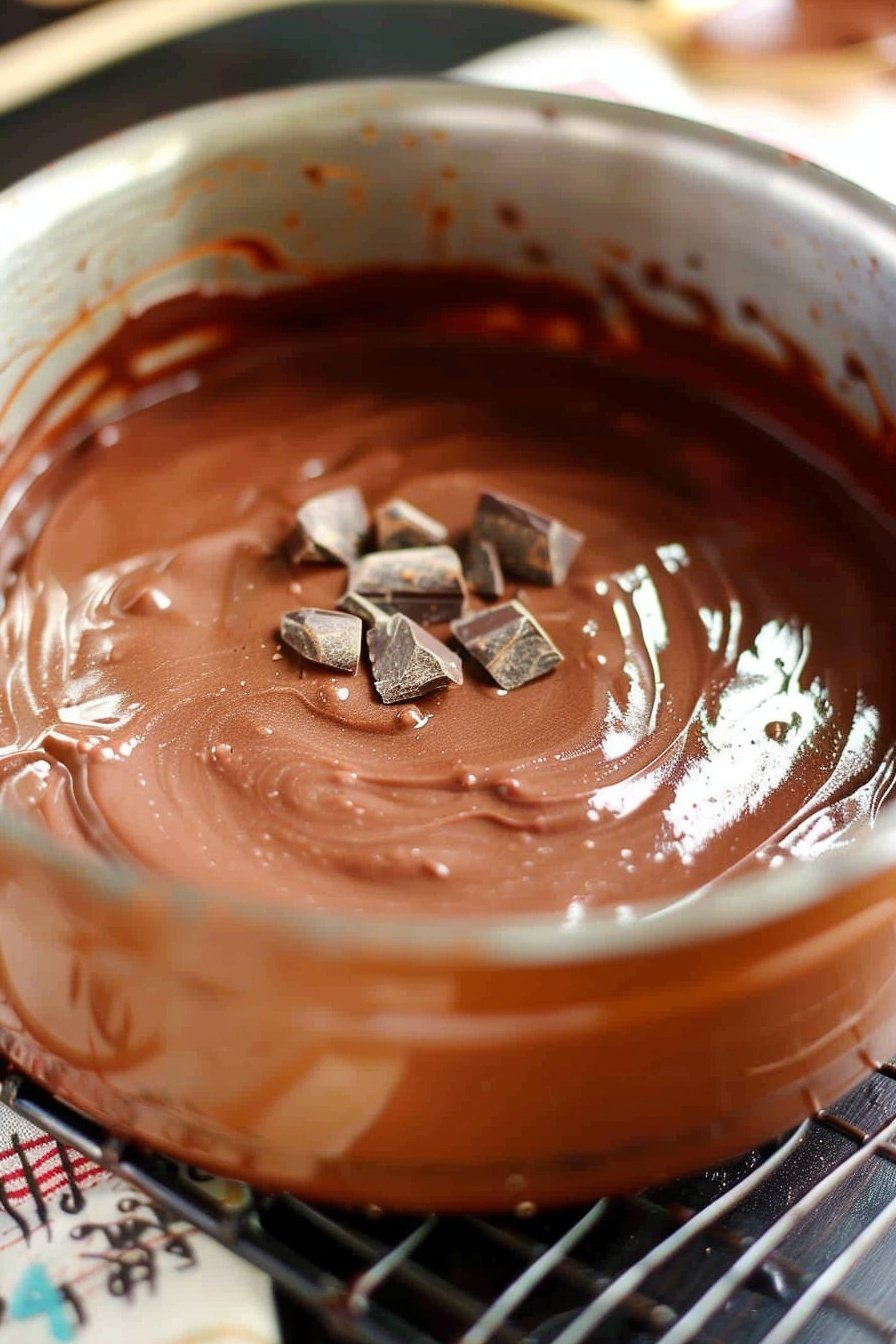
Step 3: Take the pot off the heat. Plop in the butter and vanilla. Watch the butter melt into shiny pools. Stir it all in until it is smooth and shiny. This makes it extra rich. I still laugh at how I used to forget the vanilla.
Step 4: Pour your pudding into a nice bowl. Now, press a piece of plastic wrap right on the surface. This stops a skin from forming. Some people love the skin, but I do not! Pop the lid on and let it chill for hours. The waiting is the hardest part.
Cook Time: 10 minutes
Total Time: 4 hours 15 minutes
Yield: 4 servings
Category: Dessert, Pudding
Let’s Get Creative with Your Pudding
This pudding is a wonderful blank canvas. You can dress it up so many ways. I love trying new little twists. It keeps things fun in the kitchen. Here are a few of my favorite ideas to get you started.
- Cookie Crunch: Stir in crushed peppermint sticks or sandwich cookies right before chilling.
- Peanut Butter Swirl: Drop little spoonfuls of peanut butter on top and swirl with a knife.
- Orange Zest Zing: Add a teaspoon of orange zest with the vanilla. It is a surprisingly lovely pair.
Which one would you try first? Comment below!
Serving Your Sweet Masterpiece
Now, how will you enjoy your creation? I love serving it in my little fancy glasses. It makes a simple pudding feel so special. A dollop of whipped cream on top is a must for me. You could also add some fresh raspberries for a tart little bite.
What to drink with this chocolate dream? For a cozy night, a glass of cold milk is perfect. For the grown-ups, a small glass of ruby port is just lovely. It sips like a warm berry hug. Which would you choose tonight?
Keeping Your Chocolate Dream Creamy
This pudding is best served cold from the fridge. It will keep for about three days. Make sure the plastic wrap touches the pudding’s surface. This stops a rubbery skin from forming on top.
You can freeze this pudding for a sweet treat later. Pour it into a freezer-safe container. I once forgot a batch in my freezer for a month. It was a wonderful surprise on a busy day!
Thaw it slowly in the refrigerator overnight. Stir it well before you serve it. Batch cooking means a happy dessert is always waiting. It saves you time on busy weeknights. Have you ever tried storing it this way? Share below!
Pudding Problems? Easy Fixes Right Here
Is your pudding too thin? You might not have cooked it long enough. Keep stirring over the heat until it thickly coats your spoon. This patience gives you that perfect, creamy texture.
Lumpy pudding is no fun at all. I remember when my first batch had tiny lumps. Whisk your dry ingredients very well before adding the milk. A smooth start means a smooth finish. Getting the texture right builds your cooking confidence.
A burnt taste means the heat was too high. Always use medium heat and stir constantly. This careful cooking protects the rich chocolate flavor. Good flavor makes all your effort worthwhile. Which of these problems have you run into before?
Your Pudding Questions, Answered
Q: Is this pudding gluten-free? A: Yes, it is! Cornstarch is used instead of flour.
Q: Can I make it ahead? A: Absolutely. It needs at least four hours in the fridge to set.
Q: What if I don’t have brown sugar? A: Just use all white sugar. The flavor will be a little less rich.
Q: Can I double the recipe? A: You can! Use a bigger saucepan so it doesn’t bubble over.
Q: Any fun extras? A: A tiny pinch of cinnamon adds a warm, cozy note. Fun fact: Adding a pinch of salt to sweet things makes the chocolate taste even stronger! Which tip will you try first?
From My Kitchen to Yours
I hope this recipe becomes a favorite in your home. It is a simple joy to make something so delicious. I love hearing about your cooking adventures.
Please share your beautiful pudding pots with me. I would be so delighted to see them. Have you tried this recipe? Tag us on Pinterest! Your photos always make my day.
Happy cooking! —Tessa Hammond.
Rich Cocoa Pudding Pot
Description
Indulge in pure bliss with this Rich Cocoa Pudding Pot. This decadent, creamy chocolate dessert is an easy, no-bake treat perfect for satisfying your sweet cravings.
Ingredients
Instructions
- In a medium saucepan, whisk together the sugar, brown sugar, cocoa powder, salt, and cornstarch until no lumps remain. Add the egg yolks and about 1/3 cup of the milk, and stir to create a thick, smooth, paste.
- Place the saucepan over medium heat, and gradually whisk in the remaining milk. Cook, stirring constantly, until thick and smooth – 5 to 10 minutes. Be cautious not to scorch the pudding.
- Remove from the heat and add the butter and vanilla. Stir until melted.
- Pour into a bowl with a lid and place a sheet of plastic wrap directly on the top of the pudding to prevent a skin from developing. Place the lid on the bowl and store in the refrigerator for at least 4 hours to allow it to thicken more. Served chilled.


Leave a Reply