The Cheese That Started It All
My love for grilled cheese began with my grandpa. He used just one kind of cheese: the orange cheddar from the store. He said it was all you needed. I still laugh at that.
His sandwich was simple and good, but I wanted to try more. That matters because food is about adventure. You can always start simple and add your own twist later. What was your first grilled cheese like? I would love to hear your story.
Why Three Cheeses?
One cheese is fine, but three is a party. Cheddar gives a sharp, familiar taste. Gouda is creamy and smooth. Havarti is so soft it almost melts just looking at it.
Together, they make something special. The mix creates the perfect gooey pull. This matters because each cheese brings its own gift to the sandwich. It’s like friends working together. Fun fact: Gouda is named after a city in the Netherlands!
The Secret Is in the Sizzle
Do not rush the toast. This is the big lesson. Use medium-low heat. Let the pan get warm slowly. You will hear a gentle sizzle when the bread goes down.
That sound means it’s working. The bread turns golden and crisp, and the cheese has time to become perfectly melted. Doesn’t that smell amazing? If you rush, the bread burns before the cheese melts. Patience makes the best sandwich.
A Little Press Goes a Long Way
After you flip the sandwich, press down lightly with your spatula for a few seconds. I like to think of it as giving the sandwich a little hug.
This helps the bread stick to the melting cheese and makes everything come together. Do you press your grilled cheese? It’s a small step that makes a big difference.
The Perfect Cut
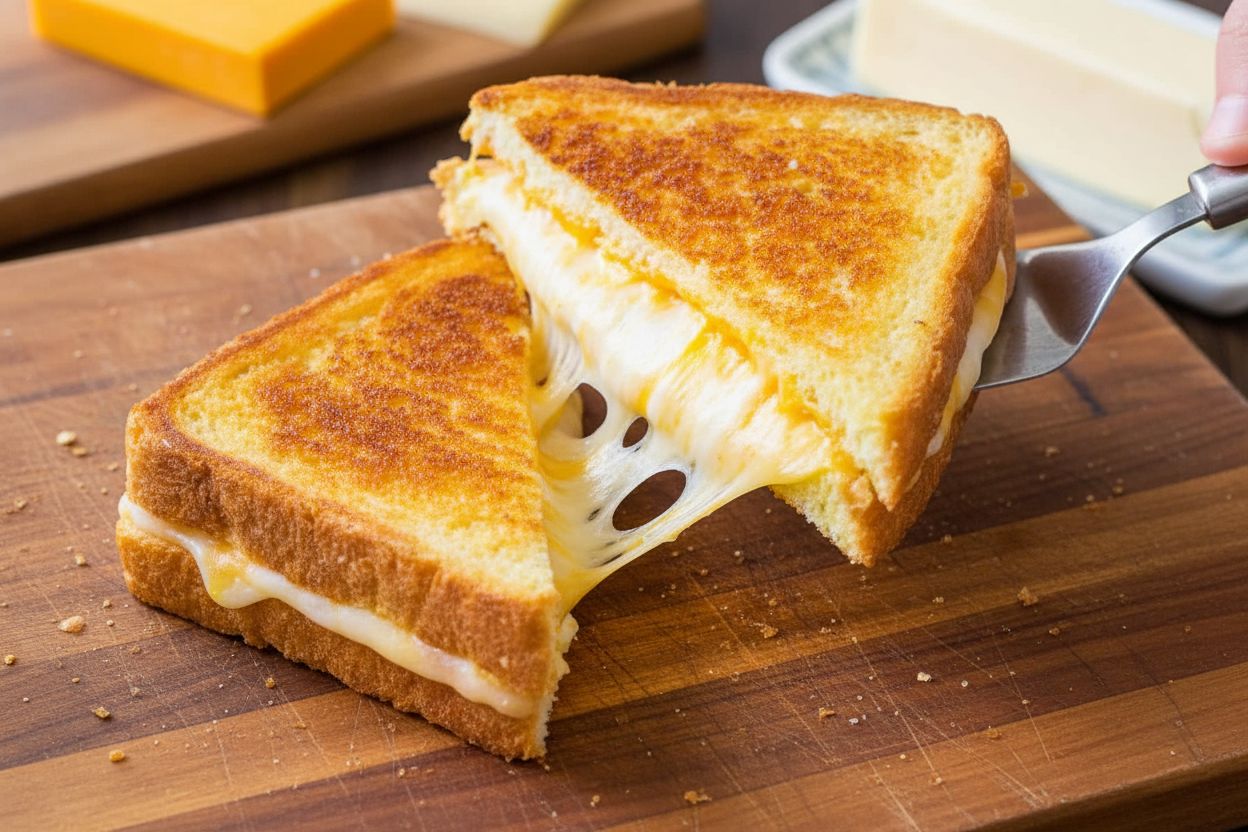
Take the sandwich off the heat and let it sit for just a minute. Then, cut it in half diagonally. Why? The triangle shape is just more fun to eat.
More importantly, you get to see inside. You see all that beautiful, melted cheese. It’s the reward for your work. That first peek matters. It turns food into a happy moment. Which do you prefer, triangles or rectangles?
Ingredients:
| Ingredient | Amount | Notes |
|---|---|---|
| Texas toast, thick sliced sandwich bread, or sourdough bread | 8 slices | |
| Unsalted butter | 4 Tbsp | |
| Medium cheddar cheese | 4 slices | |
| Gouda cheese | 4 slices | |
| Havarti cheese | 4 slices |
The Secret to the Best Grilled Cheese
Hello, my dear! It’s Tessa. Let’s make a grilled cheese. This is my favorite way. It uses three cheeses. They melt together so beautifully. Doesn’t that sound wonderful?
I learned this from my friend Marie. We made these every Tuesday. I still laugh at that. Our kids would run in from playing. They knew what was for lunch. The smell would bring them right home.
Now, let’s get your sandwich going. Remember, low and slow is the key. You want that cheese to get all gooey. And the bread should be a perfect golden brown. Ready? Here are the steps.
- Step 1: Butter your bread. Use half a tablespoon per slice. Do just one side. That’s the outside of your sandwich. It will get so crisp. (A hard-learned tip: Soften your butter first. It spreads easily. This keeps your bread from tearing.)
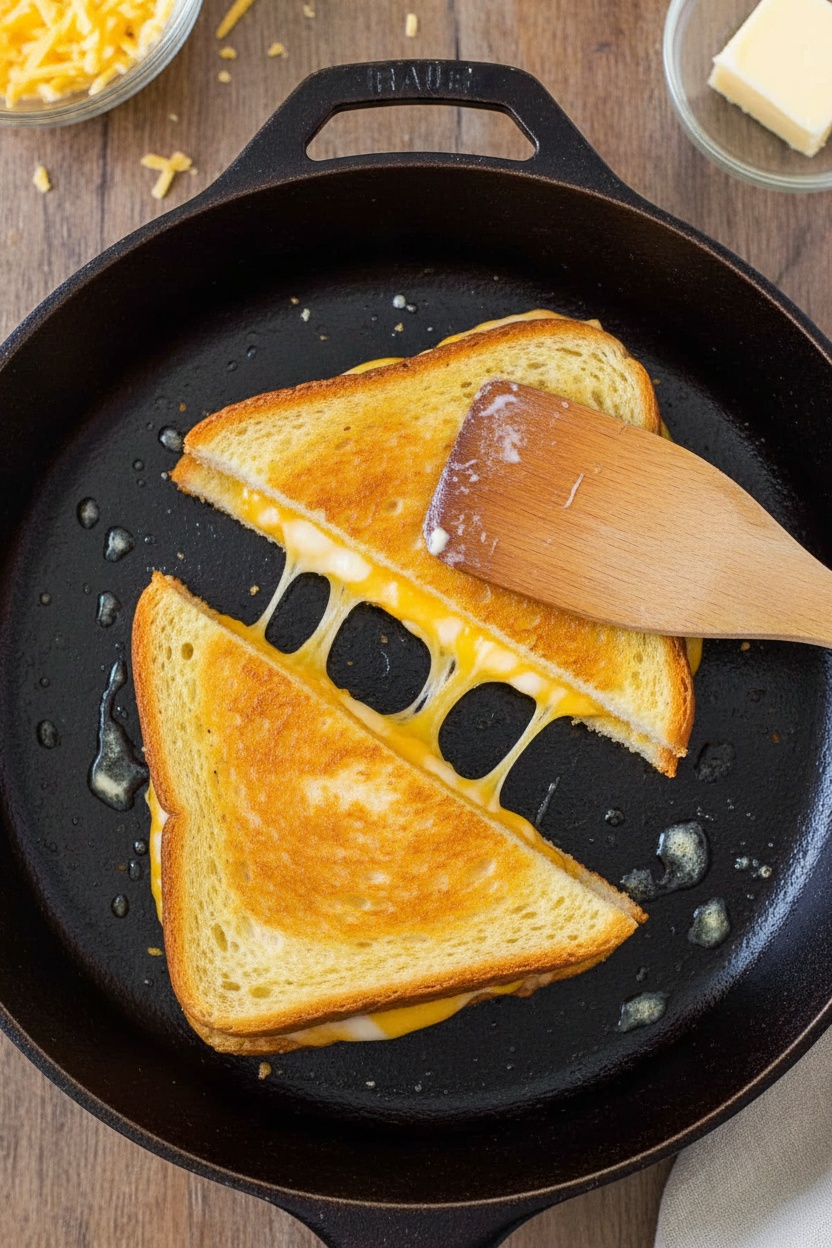
- Step 2: Warm your pan. Use medium-low heat. Place two slices in, butter-side down. Listen for that gentle sizzle. That’s the perfect sound. Now, stack your cheeses on one slice. Cheddar, then Havarti, then Gouda. A triple cheese dream!
- Step 3: Watch the bread. When it’s golden, close the sandwich. The crisp sides should face out. Now, the magic happens. Press down lightly with your spatula. This helps everything stick together. Do you like your bread lighter or darker? Share below!
- Step 4: Flip it carefully. Cook the other side. It should take about five minutes total. You will see the cheese peeking out. It will be melted and glorious. Then, take it out and cut it in half. That diagonal cut just tastes better, I think.
Cook Time: 5-6 minutes per sandwich
Total Time: 15 minutes
Yield: 4 sandwiches
Category: Lunch, Comfort Food
Three Fun Twists to Try
This recipe is your friend. You can play with it! Here are three ideas I love. They make a simple sandwich feel new.
- The Garden Twist: Add thin slices of apple or pear. A little spinach is nice too. It adds a sweet, fresh crunch.
- The Zesty Kick: Spread a tiny bit of pesto inside. Or use a pepper jack cheese. It gives you a lovely little spice.
- The Cozy Classic: Add two slices of crispy bacon inside. A spoonful of tomato soup for dipping. Perfect for a rainy day.
Which one would you try first? Comment below!
Serving It Up Just Right
This sandwich is a full meal. But it loves company. I always serve it with a little salad. Something simple with a tangy dressing. It cuts through the rich cheese. A bowl of tomato soup is the classic friend. It’s a hug in a bowl.
For drinks, I have two choices. A cold glass of lemonade is so refreshing. For the grown-ups, a crisp cider is lovely. It tastes like fall anytime.
Which would you choose tonight? The soup or the salad? I can never quite decide myself.
Keeping Your Grilled Cheese Happy
Let’s talk about saving your sandwich for later. You can keep a cooked grilled cheese in the fridge. Wrap it tightly in foil. It will be good for two days.
You can also freeze it. Let the sandwich cool completely first. Then wrap it in plastic wrap and foil. It will keep for one month. I once froze a whole batch for my grandkids’ visits.
Reheating is key. Use your oven or toaster oven. Heat it at 350 degrees until warm. This keeps the bread crisp. The microwave makes it soggy.
Batch cooking saves busy weeknights. Make four sandwiches at once. Wrap and freeze them individually. Now you have a quick, hot lunch anytime. This matters because good food should be easy.
Have you ever tried storing it this way? Share below!
Grilled Cheese Troubleshooting
Sometimes the bread burns before the cheese melts. The heat is too high. Always use medium-low. This gives the cheese time to get gooey.
The cheese might not stick to the bread. Press down lightly with your spatula. Do this after you flip the sandwich. I remember when my cheese once slid right out!
Your sandwich may be too greasy. Use just half a tablespoon of butter per slice. Softened butter spreads thinner than melted. This matters for a perfect golden crust.
Fixing these small issues builds your confidence. You learn how your stove works. You also get a much tastier sandwich every single time.
Which of these problems have you run into before?
Your Grilled Cheese Questions
Q: Can I make this gluten-free?
A: Yes! Use your favorite gluten-free bread. Just check that the slices are sturdy.
Q: Can I make the sandwiches ahead?
A: You can assemble them cold. Wrap in plastic and refrigerate for a few hours. Then cook when ready.
Q: What are easy cheese swaps?
A: Use what you have. Monterey Jack or Swiss work great. A single cheese type is fine too.
Q: How do I make just one sandwich?
A: Simply divide the recipe by four. Use one slice of each cheese and two bread slices.
Q: Any optional tips?
A: A tiny bit of mayonnaise on the outside adds crispness. Fun fact: My grandson taught me that trick!
Which tip will you try first?
From My Kitchen to Yours
I hope you love this cozy recipe. It is simple but so special. Food is about sharing warmth and stories.
I would love to see your creations. Did you use a different cheese? Did it turn out golden and perfect?
Have you tried this recipe? Tag us on Pinterest! You can find me at @TessasKitchen. Share your photos with our community.
Happy cooking!
—Tessa Hammond.
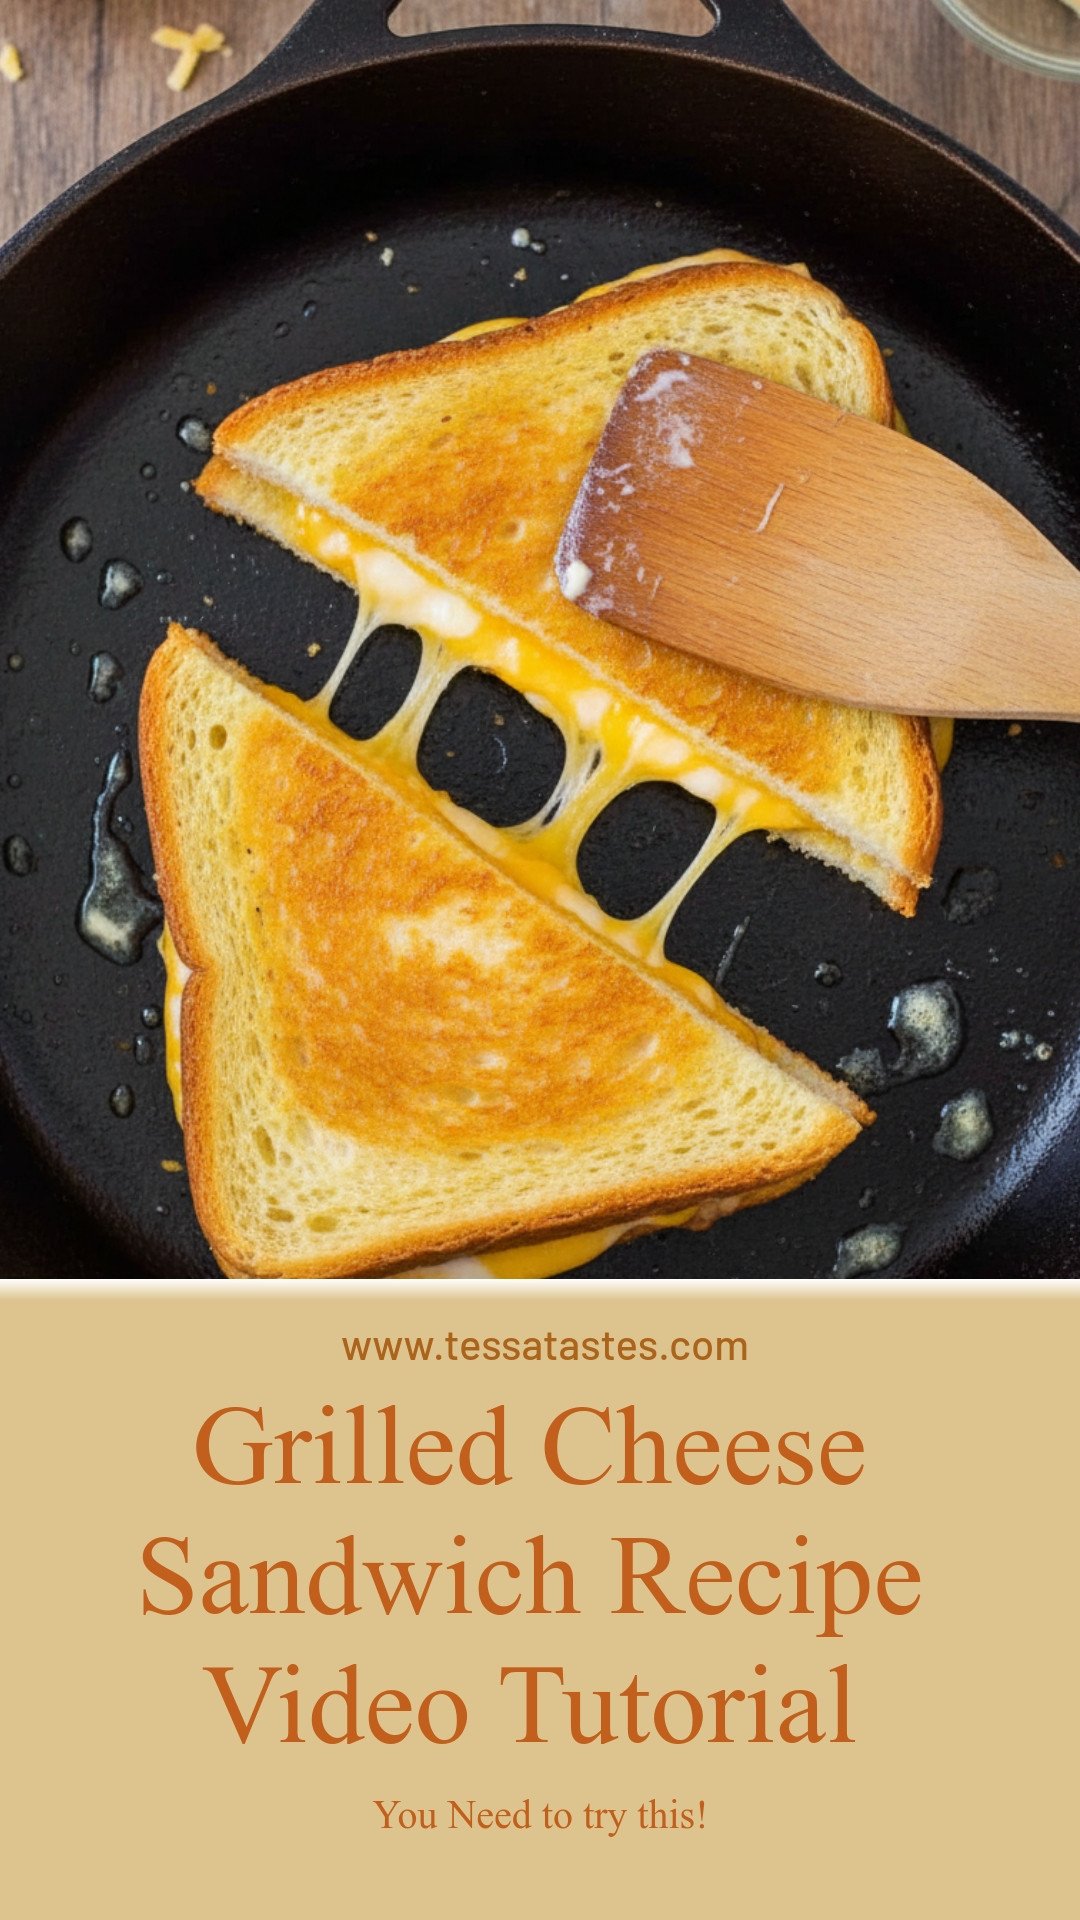
Grilled Cheese Sandwich Recipe Video Tutorial
Description
A perfectly golden, crispy grilled cheese sandwich with a triple-cheese blend of cheddar, Gouda, and Havarti for maximum melt and flavor.
Ingredients
Instructions
- Spread 1/2 Tbsp of butter on one side of each slice of bread.
- Set a cast iron skillet or heavy non-stick pan over medium/low heat. If using a griddle, it should be at 275˚F. Place 2 slices of bread in the skillet with the butter side down.
- Stack cheeses on one piece of toast: cheddar, havarti, then gouda. Once the bread is golden brown, close the sandwich with the crisp sides on the outside.
- Continue cooking until the bread is a rich golden brown, flipping once and press down lightly to help the bread stick to the cheese. Total cooking time should be 5-6 minutes. Keep the heat on medium-low for the bread to toast slowly, giving your cheese a chance to fully melt and adhere to the bread.
- Once you see the cheese has melted and breads are browned, remove to a plate and cut in half diagonally to serve. Repeat with the next sandwich.
Notes
- For best results, use room temperature cheese and low, slow heat to ensure the cheese melts completely before the bread burns. The nutrition information is per serving.


Leave a Reply