My First Pop Tart Fiasco
Let me tell you about my first try. I was so excited. I used a whole jar of cherry jam.
I did not poke holes in the top crust. Big mistake! The jam bubbled out everywhere. My oven looked like a crime scene. I still laugh at that. It taught me to follow the steps.
Why We Make Them From Scratch
Store-bought ones are fine. But homemade? They are a hug in pastry form. You control the sugar. You pick the jam.
This matters. You know every ingredient going into your family. That feels good. *Fun fact: The first pop tart flavor was brown sugar cinnamon!* What’s your favorite jam flavor? Tell me in the comments.
The Joy of Getting Messy
Your hands will get sticky. Flour will dust your shirt. This is part of the fun! Do not worry about perfect rectangles.
My grandkids’ lopsided tarts are my favorite. They made them. That is what counts. The messy kitchen means memories are being made. That is the real recipe.
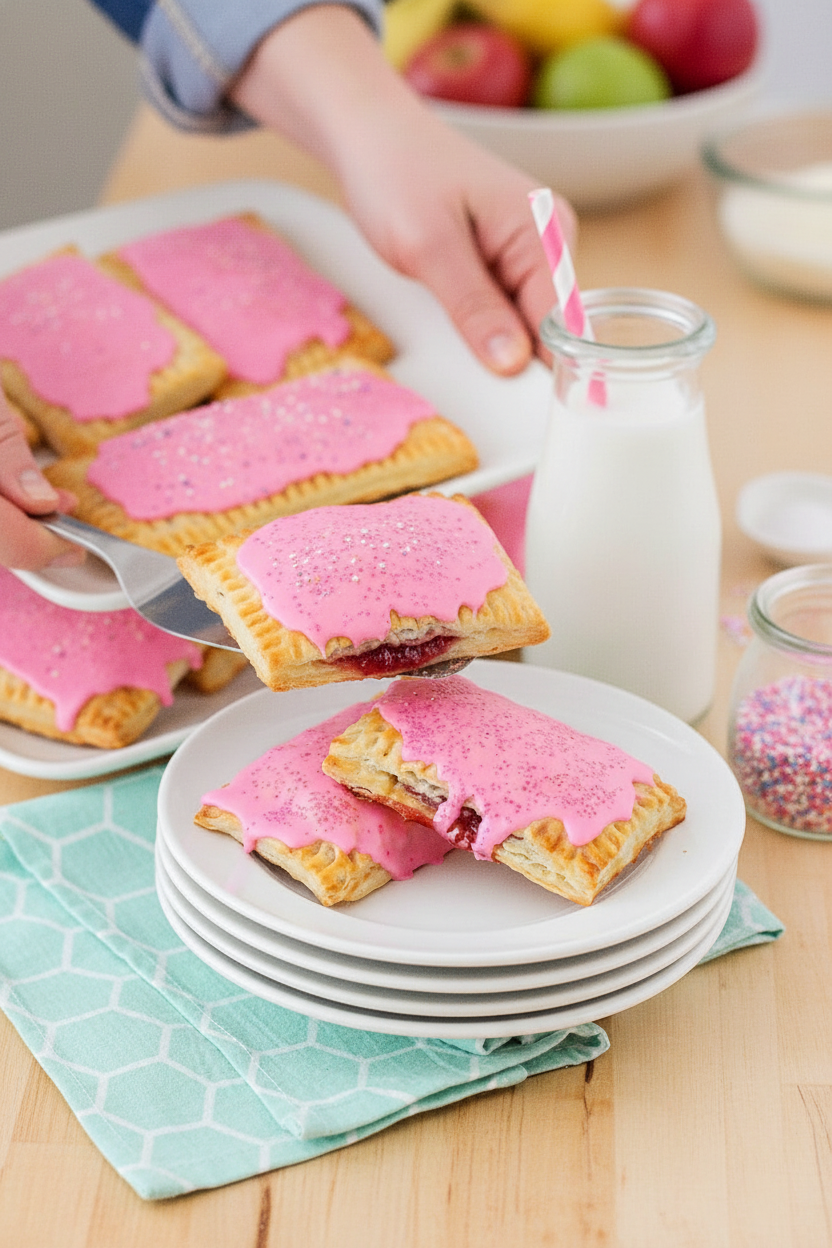
The Simple Glaze Magic
Mix the powdered sugar and milk. Doesn’t that smell amazing? Add one drop of food coloring. Pink? Blue? You choose.
Drizzle it on the cooled tarts. Now, the sprinkles! This is the best part. Let everyone decorate their own. Would you pick rainbow sprinkles or chocolate ones?
Sharing Warm From the Oven
Let them cool a bit. But not too much. That first warm bite is special. The jam is soft. The crust is flaky.
This matters. Sharing food you made creates connection. It says, “I thought of you.” Did you try this recipe? Share a picture of your pop tarts with me. I would love to see them.
Ingredients:
| Ingredient | Amount | Notes |
|---|---|---|
| all-purpose flour | 2 cups | For the pastry dough |
| salt | 1 tsp | For the pastry dough |
| butter | 1 cup | Cold, for the pastry dough |
| buttermilk | 1/2 cup | For the pastry dough |
| fruit preserves | 1/2 cup | Filling, any flavor |
| egg | 1 | For egg wash |
| milk | 2 tbsp | For egg wash |
| powdered sugar | 1 cup | For the glaze |
| half & half or milk | 2 tbsp | For the glaze |
| food coloring | 1 drop | Optional, for the glaze |
| sprinkles | of choice | For decoration |
My Homemade Pop Tarts: A Little Pocket of Joy
Hello, my dear. Come sit at the table. Let’s make something fun today. We’re making homemade pop tarts. I know the store-bought kind. These are so much better. They are flaky and filled with real fruit. My grandson calls them “grandma’s magic pockets.” I still laugh at that.
Making the dough is simple. You just need cold butter and buttermilk. The buttermilk makes the crust so tender. We’ll roll it out nice and thin. Then we cut it into little rectangles. Don’t worry about them being perfect. Mine never are! That’s part of the charm.
Now, let’s walk through the steps together. It’s like putting together a little pastry puzzle. I’ll tell you a story as we go. I once used my grandson’s toy rolling pin. It worked just fine in a pinch! Here is what you do.
Step-by-Step Instructions
Step 1: Prepare
First, heat your oven to 350 degrees. Get two baking sheets ready. Line them with parchment paper. This stops the tarts from sticking. In a small bowl, mix one egg with two tablespoons of milk. We’ll use this later. It makes the tops shiny and golden.
Step 2: Shape the Dough
Roll your dough out on a floured counter. Roll it about as thick as two coins. Cut it into rectangles. Mine are about the size of a playing card. Place half of them on your baking sheets. Brush them lightly with the egg wash. This helps seal in the jam.
Step 3: Add the Filling
Now for the fun part—the filling! Spoon some fruit preserves onto each piece. Keep it in the center. I love mixed berry.
Take the other dough pieces. Poke little holes in them with a fork. This lets the steam out.
Step 4: Assemble
Place the holey piece over the jammy piece. Press the edges together with a fork. Crimp it all the way around. See? It looks like a little stuffed envelope. Some jam might sneak out. That’s okay. It just means they’re homemade. Brush the tops with more egg wash.
Step 5: Bake & Glaze
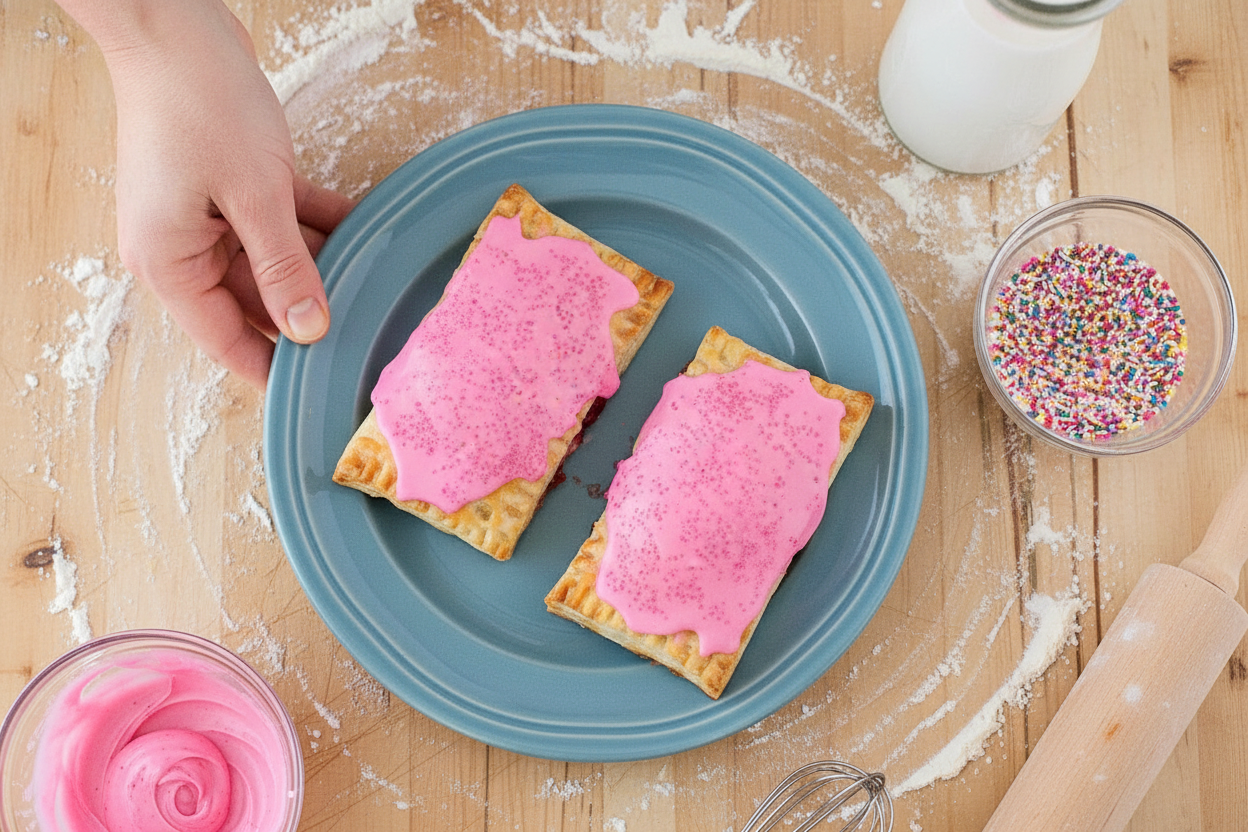
Bake them for about 20 minutes. Watch them turn a beautiful golden brown. Doesn’t that smell amazing? Let them cool completely. Then we make the glaze. Just mix powdered sugar with a little milk. Add a drop of food coloring if you like. Drizzle it on and add sprinkles right away.
Three Tasty Twists to Try
You don’t have to stop with berry jam. Oh no. You can fill these with so many things. Here are a few of my favorite ideas. They are all simple and delicious.
Brown Sugar Cinnamon
Mix brown sugar, cinnamon, and a tiny bit of flour. It tastes like a cozy hug.
Peanut Butter & Jelly
A small spoon of peanut butter, then a dot of grape jelly. A classic combo.
Lemon Curd & Poppyseed
Use jarred lemon curd for filling. Add poppyseeds to the glaze. It’s bright and cheerful.
Serving Them Up With Style
These are wonderful all on their own. But you can make them extra special. For a weekend treat, try this. Warm a pop tart slightly. Place it on a pretty plate. Add a dollop of whipped cream on the side. A few fresh berries look lovely, too.
What to drink with them? For a cozy morning, I love a cold glass of milk. It’s the perfect partner. For the grown-ups, a hot cup of coffee with cream is just right. The bitter coffee balances the sweet pastry.
Keeping Your Pop Tarts Fresh
Let’s talk about keeping these treats tasty. Once cooled, store them in a sealed container. They will stay fresh on the counter for two days. For longer storage, I use my freezer.
Place the unglazed pop tarts in a single layer on a tray. Freeze them solid for one hour. Then, you can stack them in a freezer bag. This stops them from sticking together. I once forgot this step and had a big, sticky block!
To reheat, just use your toaster. Pop a frozen one straight in. Bake it until warm and flaky. This brings back that just-made magic. Batch cooking matters because it saves time. You can have a homemade breakfast ready in minutes. Have you ever tried storing it this way? Share below!
Easy Fixes for Common Troubles
Sometimes, baking can have little hiccups. First, if your filling leaks, you used too much. Just use a small spoonful in the center. I remember when my first batch oozed everywhere. It was messy but still delicious!
Second, if the crust is tough, you worked the dough too much. Handle it gently, just until it comes together. This matters for a tender, flaky crust. Third, if the glaze is too thin, add more powdered sugar. If it’s too thick, add a tiny bit more milk.
Getting these right builds your kitchen confidence. It also makes your food taste so much better. Which of these problems have you run into before?
Your Pop Tart Questions, Answered
Q: Can I make these gluten-free? A: Yes! Use your favorite gluten-free flour blend. The results will be just as good.
Q: Can I make them ahead? A: Absolutely. Assemble and freeze them before baking. Bake from frozen, adding a few extra minutes.
Q: What can I use instead of buttermilk? A: Mix 1/2 cup milk with 1/2 tablespoon lemon juice. Let it sit for five minutes before using.
Q: Can I double the recipe? A: You sure can. It’s perfect for a big family or a party.
Q: Are sprinkles required? A: Never! But they are a joyful little extra. *Fun fact: The first pop tarts had no frosting or sprinkles at all!* Which tip will you try first?
From My Kitchen to Yours
I hope you have fun making these. The best part is sharing them with someone you love. I still make them for my grandkids when they visit.
I would love to see your creations. Show me your colorful, sprinkle-covered masterpieces. Have you tried this recipe? Tag us on Pinterest! Your pictures make my day.
Happy cooking!
—Tessa Hammond.
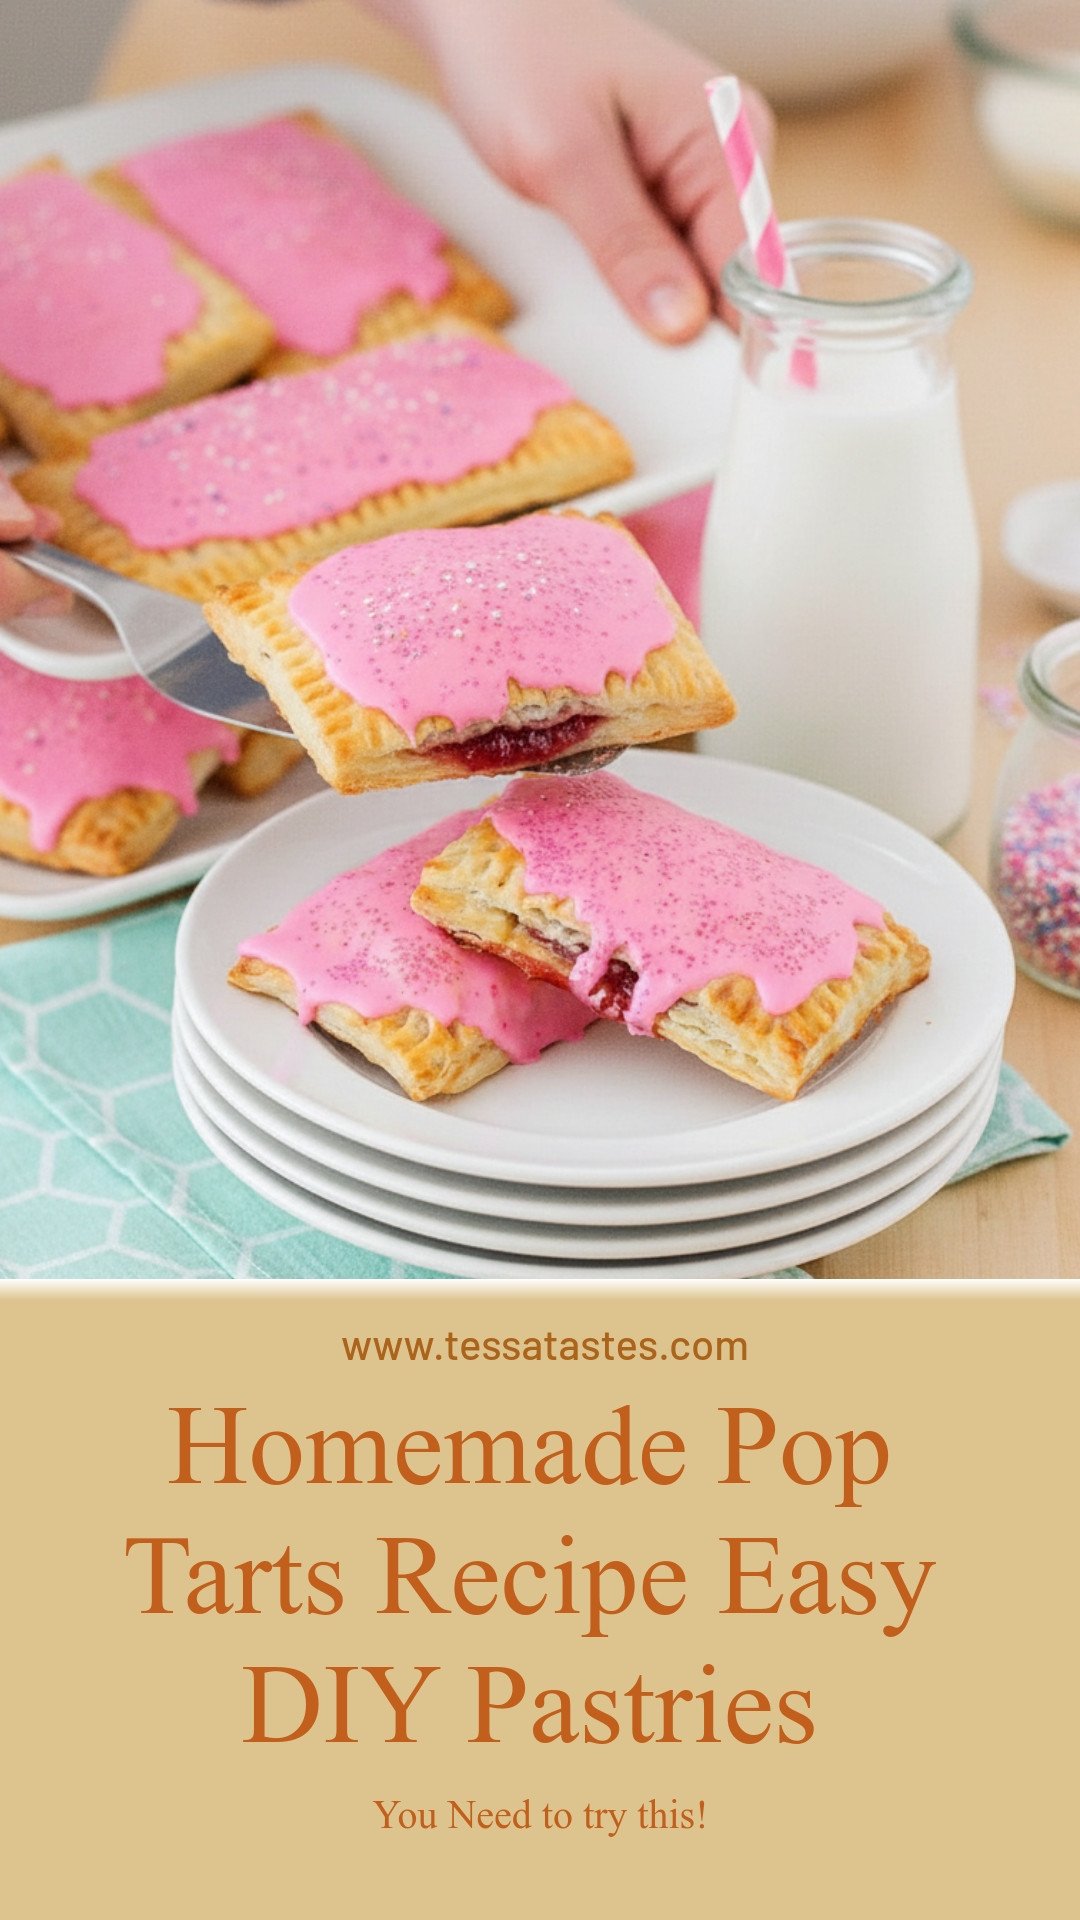
Homemade Pop Tarts Recipe Easy DIY Pastries
Description
Make your own delicious, flaky, and fun Homemade Pop Tarts with this easy recipe. Fill them with your favorite fruit preserves and top with a sweet glaze and sprinkles.
Ingredients
Instructions
- Preheat the oven to 350°F (175°C). Line two baking sheets with parchment paper or a silicone mat and set aside. Whisk the egg and 2 tbsp milk together in a small bowl to make an egg wash.
- Make the crust: In a bowl, combine flour and salt. Cut in the butter until mixture resembles coarse crumbs. Stir in buttermilk until a dough forms. Roll the dough out to about 1/8 inch thick, then cut it into rectangles (about 3×4 inches). Place half of the rectangles onto the prepared baking sheets and brush with the egg wash.
- Add the filling: Spoon about 1 tablespoon of fruit preserves onto the center of each dough rectangle on the baking sheets. Keep the filling in the center. Using a chopstick or skewer, poke holes in the remaining dough rectangles (these will be the tops) to allow steam to escape.
- Assemble: Place the top dough pieces (with holes) over the filling. Crimp the edges firmly with the tines of a fork to seal.
- Bake: Brush the tops of the pop tarts with the remaining egg wash. Bake for 20-25 minutes, or until golden brown. Allow to cool completely on a wire rack.
- Make the glaze: While the pop tarts cool, whisk together the powdered sugar, half & half (or milk), and food coloring until smooth. Drizzle or spread the glaze over the cooled pop tarts and immediately add sprinkles.
Notes
- You can use any flavor of fruit preserves, jam, or even Nutella for the filling. Ensure the pop tarts are completely cool before glazing to prevent the glaze from melting.


Leave a Reply