The Secret in the Dough
Let me tell you a secret. The best buns have mashed potatoes in them. It sounds funny, I know. My own grandma taught me this. She said it makes the dough soft and keeps it that way.
The potatoes make the buns wonderfully tender. They stay soft for days. This matters because nobody likes a dry bun. Does your family have a secret baking ingredient? I would love to hear it.
A Sticky Situation
Now for the fun part. We make the sticky topping first. You melt butter with brown sugar and honey. Add a dash of cinnamon. Doesn’t that smell amazing? You pour this right into the pans.
Then you sprinkle a whole cup of walnuts on top. The nuts get all toasty and sweet in the oven. This sticky layer is what makes them special. It soaks into the warm buns later. Fun fact: This “topping-first” method is called an upside-down cake technique!
Rolling Up Memories
Punching down the risen dough is my favorite step. It feels so soft. I roll it out into a big rectangle. Then I brush it with melted butter and cinnamon sugar.
Rolling it up tight is key. You have to pinch the seam shut. I still laugh at that. My first try, I didn’t pinch it. The roll unspooled in the pan like a ribbon! What’s your funniest kitchen mistake? We all have them.
Why We Wait
After you cut the rolls, you place them in the pans. Then you cover them with a towel. You walk away for thirty minutes. This second rise is so important.
It lets the dough relax and puff up again. This matters because it gives you a light, fluffy bun. If you skip it, the buns will be dense. Good things come to those who wait. Do you find it hard to wait for treats to bake?
The Sweet Reward
When they come out of the oven, act fast. Turn the whole pan over onto a plate. Do it right away. The hot, sticky topping will drip over every bun.
Pull one apart while it’s warm. The smell fills your whole kitchen. Sharing these buns makes any morning feel like a celebration. That matters most. Food is love you can taste. Tell me, what recipe makes you think of someone you love?
Ingredients:
| Ingredient | Amount | Notes |
|---|---|---|
| Active dry yeast | 2 packages | For the dough |
| Warm water | 1 1/2 cups | For the dough |
| Plain mashed potatoes | 1 cup | For the dough |
| Sugar | 1/2 cup | For the dough |
| Butter, softened | 1/2 cup | For the dough |
| Large eggs | 2 | For the dough |
| Salt | 2 tsp | For the dough |
| All-purpose flour | 6-6 1/2 cups | For the dough |
| Butter | 1/4 cup | For the topping |
| Brown sugar, packed | 1 cup | For the topping |
| Honey | 1 cup | For the topping |
| Cinnamon | 1 tsp | For the topping |
| Chopped walnuts | 1 cup | For the topping |
| Sugar | 1/2 cup | For the filling |
| Cinnamon | 2 tsp | For the filling |
| Butter, melted | 2 tbsp | For the filling |
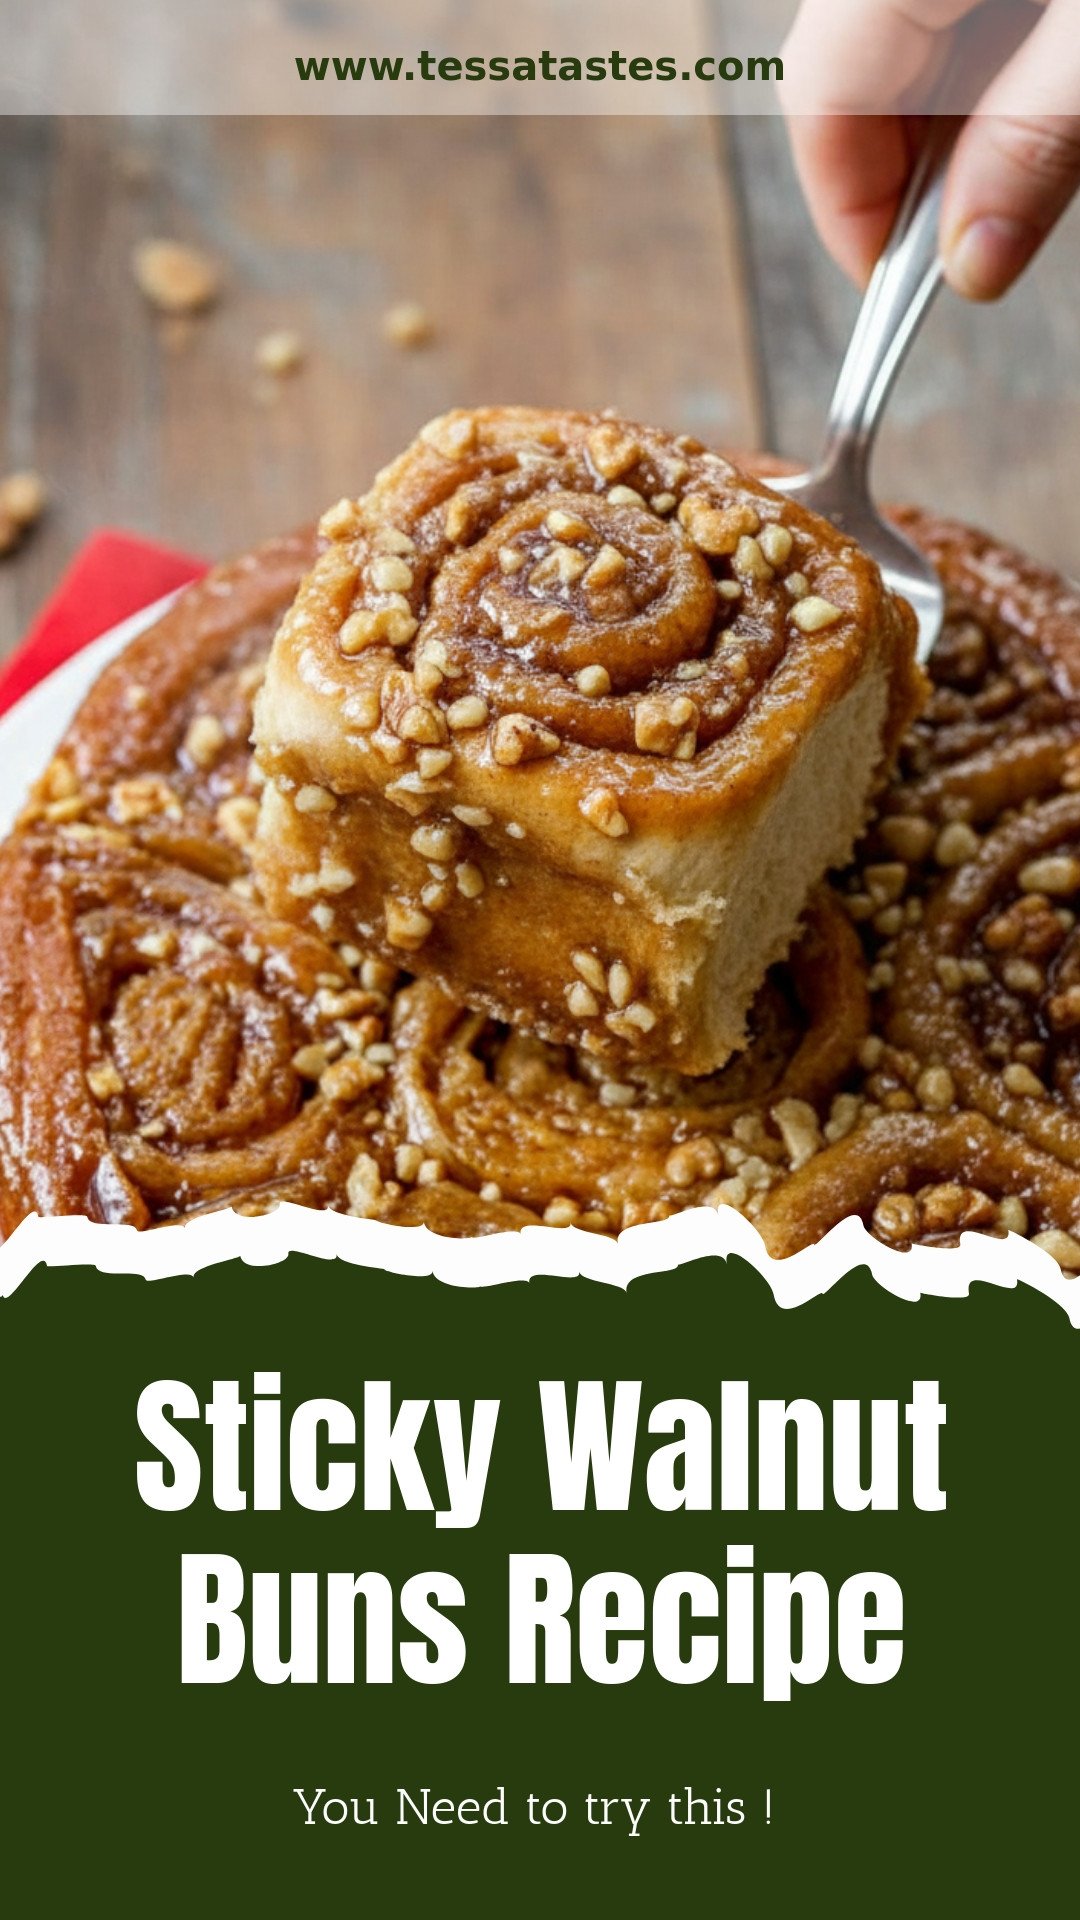
My Sticky Walnut Buns: A Sweet Kitchen Hug
Hello, my dear! Come sit a spell. Let’s talk about my sticky walnut buns. They are pure comfort food. I learned this recipe from my own grandma. The secret is in the mashed potatoes. Doesn’t that sound funny? It makes the dough so soft and tender. I still laugh at that. It’s a wonderful trick.
We’ll make the dough first. It’s a lovely, squishy project. Just follow these simple steps with me. I promise it’s not hard. The best part is the smell while they bake. It fills your whole house with love. Let’s begin our baking adventure together.
Step 1: Activate the Yeast
Get your yeast ready. Put it in a small bowl with the warm water. Let it sit for a few minutes. It will get foamy and happy. In a big bowl, mix the mashed potatoes, sugar, and soft butter. Add the eggs, salt, and that foamy yeast. Stir in two cups of flour until it’s smooth.
Step 2: Knead the Dough
Now, add more flour, a cup at a time. Stop when the dough isn’t too sticky. It should feel soft like a baby’s cheek. Dump it onto a floured counter. Now for the fun part! Knead it by pushing and folding for 6-8 minutes. This is your workout! You’ll know it’s done when it’s smooth and springy. (A hard-learned tip: Your hands are the best tool. Don’t be afraid to get messy!)
Step 3: First Rise
Put your dough ball in a greased bowl. Turn it so it gets greasy all over. Cover the bowl with plastic wrap. Find a warm, cozy spot for it to rest. Let it rise for about an hour. It will grow to twice its size! This always feels like magic to me. What makes dough rise? Share below!
Step 4: Make the Topping
While it rests, make the sticky topping. Melt butter in a pan. Stir in brown sugar, honey, and cinnamon. Doesn’t that smell amazing? Pour this evenly into three greased round pans. Sprinkle the chopped walnuts over the top. This will become the glorious, sticky crown.
Step 5: Shape the Buns
Punch the dough down! Give it a gentle fist. It will sigh and deflate. Divide it in half on your floured counter. Roll one half into a big rectangle. Brush it with melted butter. Sprinkle your cinnamon-sugar mix all over. Roll it up tight, like a sleeping bag. Pinch the seam shut. Slice it into 12 pieces.
Step 6: Second Rise and Bake
Place your slices, cut-side down, into your prepared pans. Do eight buns per pan. Cover them with a clean kitchen towel. Let them rise again for 30 minutes. They will get nice and puffy. Now, heat your oven to 350°F. Bake them for 30-35 minutes. They will turn a beautiful golden brown.
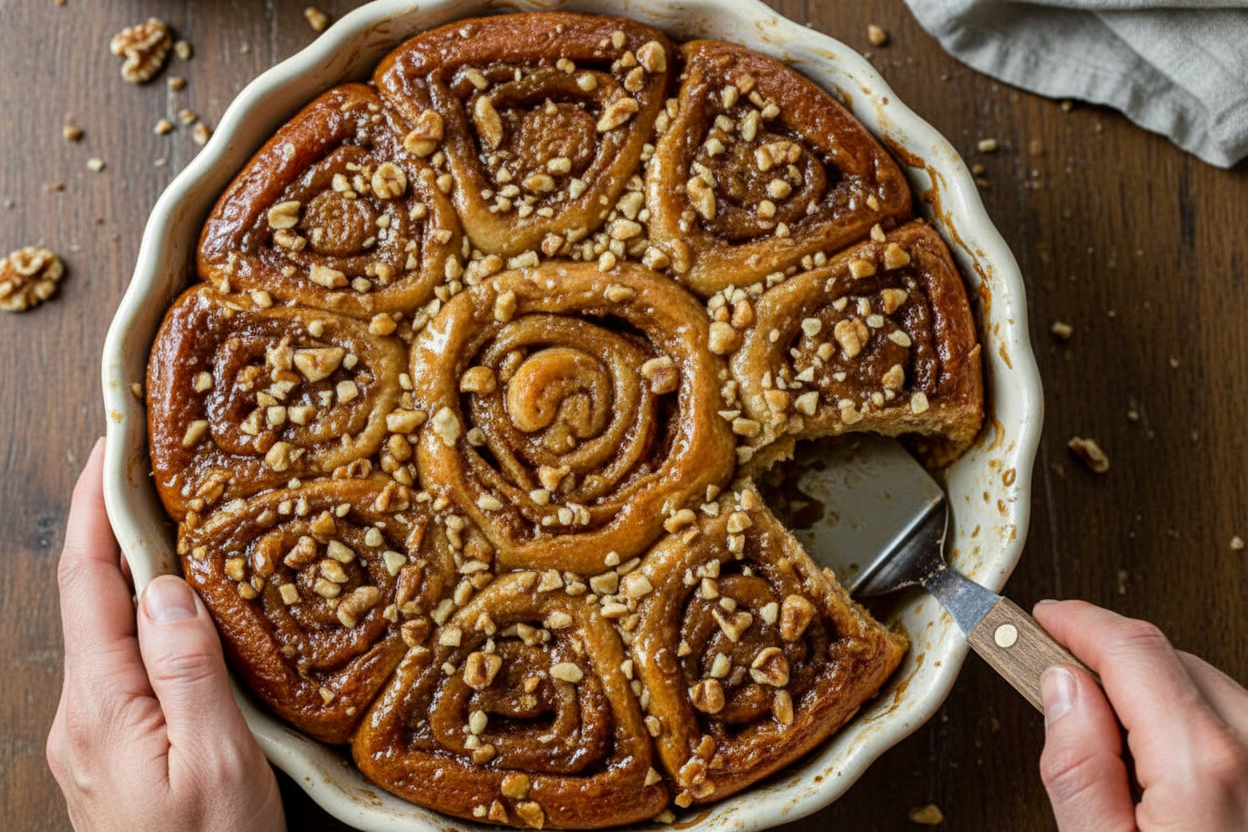
Step 7: The Grand Flip
This is the most important step! As soon as the buns come out of the oven, flip the pan over onto a plate. Do it carefully, but do it fast. All that glorious, sticky topping will drip down over the buns. Let them cool just a little. Then serve them warm. The first bite is pure heaven.
Cook Time: About 2 hours (includes rising)
Total Time: 2 hours 30 minutes
Yield: 24 buns
Category: Baking, Breakfast, Dessert
Three Fun Twists to Try
Once you master the classic, try a little twist! It’s how recipes become your own. Here are three of my favorite ideas. They are all simple and delicious.
- Apple Pie Buns: Add finely chopped apples to the filling. A pinch of nutmeg is nice, too.
- Salty-Sweet Pretzel Buns: Swap the walnuts for salted pretzel pieces. The mix of sweet and salty is wonderful.
- Orange Sunshine Buns: Add a teaspoon of orange zest to the dough. Use pecans instead of walnuts.
Which one would you try first? Comment below!
Serving Them Up Right
These buns are a star all by themselves. But I love making a little event of it. For a special breakfast, add some crispy bacon on the side. The salty crunch is perfect. For dessert, a small scoop of vanilla ice cream melts beautifully on a warm bun. It’s divine.
What to drink? A big glass of cold milk is the classic choice. It cuts the sweetness just right. For the grown-ups, a hot cup of strong black coffee is my pick. It balances the rich, sticky flavors perfectly. Which would you choose tonight?

Keeping Your Buns Fresh and Sticky
These buns are best fresh and warm. But life is busy. You can keep them for later. Let them cool completely first. Then store them in a sealed container. They will last two days on the counter.
For longer storage, freeze them. Wrap each bun tightly in plastic wrap. Then pop them all in a freezer bag. They will keep for a month. I once froze a whole batch for my grandson’s visit. He was so happy to find them!
To reheat, warm frozen buns in the oven. Use 300 degrees for about 15 minutes. This brings back their soft, sticky magic. Batch cooking like this saves time and creates sweet moments. It means you always have a treat ready for surprise guests. Have you ever tried storing it this way? Share below!
Fixing Common Bun Troubles
Sometimes baking doesn’t go as planned. That’s okay. Here are easy fixes. First, if your dough won’t rise, check your yeast. The water must be warm, not hot. Hot water will kill the yeast. I remember when I used boiling water by mistake. My dough just sat there like a lump!
Second, if the buns are dry, you may have used too much flour. Measure your flour carefully. Spoon it into the cup and level it off. This matters because perfect dough is soft and a bit sticky. It makes your buns light and fluffy.
Third, if your topping is too hard, you cooked it too long. Just melt the butter, sugar, and honey together. Do not let it boil. This matters for that perfect, gooey pull-apart texture. Solving these little problems builds your cooking confidence. Which of these problems have you run into before?
Your Quick Bun Questions, Answered
Q: Can I make these gluten-free? A: Yes. Use a good gluten-free flour blend made for baking.
Q: Can I make the dough ahead? A: Absolutely. After the first rise, punch it down. Keep it covered in the fridge overnight.
Q: What if I don’t have walnuts? A: Use pecans instead. Or leave nuts out for a plain sticky bun.
Q: Can I make a smaller batch? A: Sure. Just cut all the ingredients in half. It works perfectly.
Q: Any special tip? A: Use leftover mashed potatoes. *Fun fact: The potatoes make the buns incredibly soft and keep them fresh longer.* Which tip will you try first?
From My Kitchen to Yours
I hope you love making these buns. The smell in your kitchen will be wonderful. It is a smell of home and happiness. I would love to see your creations. Sharing food connects us all.
Please show me your beautiful, sticky buns. Have you tried this recipe? Tag us on Pinterest! You can find me at @TessasKitchenNook. I always look at your photos. They make my day.
Happy cooking!
—Tessa Hammond.
Sticky Walnut Buns Recipe
Description
These sweet, sticky buns are packed with cinnamon flavor and topped with a honey-walnut glaze for a perfect homemade treat.
Ingredients
Dough
Topping
Filling
Instructions
- Dissolve yeast in a small bowl with warm water. In a large bowl, combine and beat mashed potatoes, sugar, butter, eggs, salt, yeast mixture and 2 cups flour, until smooth. Stir in enough remaining flour to form a soft dough.
- On a floured surface knead dough for about 6-8 minutes, until smooth and elastic. Turn in a greased bowl, so all sides are coated. Cover with plastic wrap and let rise in a warm place for about an hour, until dough has doubled in size.
- Melt butter in a small saucepan. Stir in brown sugar, honey and cinnamon. Spread mixture evenly among three greased 9″ round baking pans. Sprinkle with walnuts.
- Mix sugar and cinnamon in a small bowl, set aside. Punch down and divide dough in half on a lightly floured surface. Roll one portion into an 18×12-in. rectangle. Brush with one tablespoon melted butter and sprinkle with half of your sugar mixture.
- Starting with a long side, roll up jelly-roll style and pinch seam to seal. Cut into 12 slices. Repeat steps with remaining dough, butter and sugar mixture. Cut side down, place eight slices in each pan. Cover with kitchen towels let rise about 30 minutes, or until doubled in size.
- Bake at 350 for 30-35 minutes or until golden brown. Immediately remove rolls from pan onto a serving plate. Serve warm.
Notes
- For best results, serve the buns warm. The mashed potatoes in the dough create an incredibly soft and tender texture.


Leave a Reply