My Favorite Party Trick
A charcuterie board is my favorite party trick. It looks fancy but is so simple. You are just gathering tasty things you love. It is like edible art you can eat.
I love making them for any occasion. A big game day or a quiet Tuesday both count. The best part is there are no real rules. What is your favorite thing to snack on? I would love to know.
Start With a Good Foundation
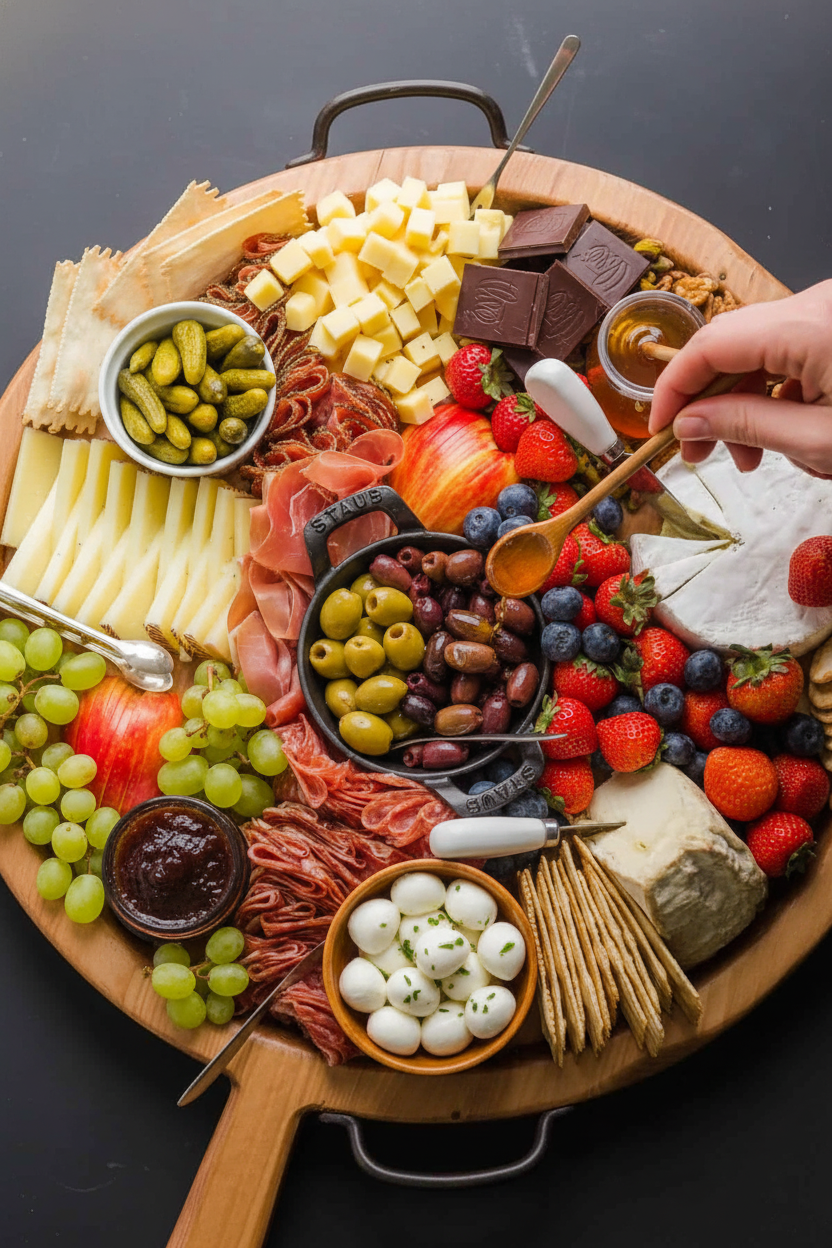
Let’s start with the cheese and meats. Place them on the board first. Cut a few wedges in the brie so guests feel invited to take some. I still laugh at that. Once, I forgot to cut into it and no one touched it all night!
Fold the meats into little rolls or waves. This makes them easy to grab. It also makes your board look pretty and full. Why does this matter? A little care makes people feel welcome. It says, “I made this just for you.”
Add Your Bright and Tangy Bits
Next, add your pickles and olives. Put them in small bowls so their juice does not run everywhere. I love the pop of green they add. Doesn’t that smell amazing? The tangy vinegar smell wakes up your appetite.
Then, add your fruits and spreads. Place honey right next to the brie. The sweet and creamy combo is magic. Fun fact: pairing sweet honey with salty cheese is a tradition thousands of years old. Try it. You will understand why.
The Little Extras Make It Special
Now for the fun extras. Scatter some nuts and dark chocolate pieces. Tuck them near the soft cheeses. The crunch and sweetness are perfect surprises.
Why does this matter? Different textures keep every bite interesting. A creamy cheese, a crunchy nut, then a sweet berry. It is a party in your mouth. Do you prefer pecans, walnuts, or pistachios? I am a pecan girl myself.
Finishing Touches
Finally, fill any empty spots with crackers and toasts. You can pile them right on the board. Or put them in a basket nearby. I like to make my own toasts from a baguette. A quick brush of oil and a bake makes them golden.
The most important step? Step back and look at your creation. See any big gaps? Tuck in a few more grapes. Then, call everyone over. The best boards are shared with good people. What occasion will you make your first board for?
Ingredients:
| Ingredient | Amount | Notes |
|---|---|---|
| brie cheese | 8 oz | |
| manchego cheese | 6 oz | cut into thin slices |
| triple cream cheese (Bourgogne) | 8 oz | |
| fresh mozzarella balls | 12 oz | marinated |
| Vermont white cheddar | 8 oz | diced |
| salami | 8 oz | |
| prosciutto | 2 oz | |
| dried coppa, or chorizo | 2 oz | |
| stuffed olives, or pitted green olives | 1/3 cup | |
| kalamata olives | 1/3 cup | pitted |
| baby dill pickles (or Gerkins) | 1 cup | |
| grapes | 2 cups | cut into sections |
| strawberries or figs | 2 cups | |
| blueberries | 1 cup | |
| apple or pear | 1 | |
| honey | 1/4 cup | |
| fruit spread | 1/4 cup | we love fig and strawberry |
| pecans, walnuts, or pistachios | 1 cup | or a variety of nuts |
| dark chocolate bar | 3 oz | broken into bite-sized pieces |
| water crackers | 4 oz | |
| artisan crackers | 4 oz | |
| baguette | 1 | sliced into toasts (brushed with olive oil and baked at 400˚F for 6-8 minutes) |
How to Build Your First Beautiful Board
Hello, my dear. Let’s build a snack board together. Think of it like a tasty puzzle. Every piece has its perfect spot. I still laugh at my first board. I put the pickles right next to the chocolate. What a funny mistake that was. We will do much better. Just follow these simple steps.
Step 1: Start with your cheeses. Place them on your board or platter. Cut a few wedges from the brie. This tells guests it’s okay to start eating. Slice the hard manchego and dice the cheddar. Doesn’t that look pretty already? Hard-learned tip: Let cheese sit out for 30 minutes before serving. It tastes so much better when it’s not cold!
Step 2: Next, add the meats. Fold your salami into little fans or rolls. Drape the prosciutto in loose piles. This makes it easy for little hands to grab. I like to tuck meat near the cheeses. It creates little neighborhoods of flavor on your board.
Step 3: Now for the pickles and olives. Put these in small bowls or ramekins. This keeps their juices from running everywhere. Place them on the board first. You can see how much space you have left.
Step 4: Fill in the spaces with fruit and nuts. Rinse berries and pat them dry. Slice apples just before serving so they don’t brown. Tuck grapes and nuts into any empty spots. The colors make the whole board sing. I always add dark chocolate pieces, too. They are a happy surprise.
Step 5: Finally, add your crackers and toasts. You can pile them in gaps. Or put them in a bowl beside the board. This keeps them from getting soggy. Now, step back and look at your creation. It is a masterpiece of sharing. Call everyone to the table.
Three Fun Twists to Try
The best part? You can change it up every time. Here are three of my favorite ideas. They make a board fit any friend or any season. Try one this weekend.
The Picnic Board: Use all sturdy foods. Think cubed cheeses, whole grain crackers, and whole apples. Perfect for packing and taking to the park.
The Sweet Breakfast Board: Swap meats for yogurt cups. Use nuts, fresh berries, honey, and mini muffins. Everyone can build their perfect bite.
The “Everything Orange” Board: Pick cheddar, orange slices, apricots, and sweet potato crackers. Add some salami for color. It’s so cheerful on a gray day.
Serving It Up Just Right
Place your board in the middle of the table. It brings everyone together. For a bigger party, I use a large cutting board as my base. It feels rustic and homey. Add small spoons to the honey and jam bowls. It keeps fingers clean.
What to drink? A crisp apple cider is wonderful for all ages. For the grown-ups, a glass of chilled rosé wine pairs beautifully. It tastes like a celebration.
Keeping Your Board Beautiful for Later
Let’s talk about saving your lovely board. First, take everything off. Store cheeses and meats in separate airtight containers. They keep for 3-4 days.
Nuts and crackers go in their own jars. This keeps them crispy. I once left everything on the board overnight. The crackers got so soggy!
Fresh fruit should be stored separately too. Wash and dry berries well. This prevents a mushy mess.
Why does this matter? Good storage saves food and money. It also means tasty snacks are ready anytime. Have you ever tried storing it this way? Share below!
Simple Fixes for Common Snack Board Hiccups
Is your cheese too hard to slice? Let it sit out first. Room temperature cheese cuts like butter. I remember trying to slice cold cheddar. It just crumbled everywhere!
Are your crackers getting soft? Put them in a bowl beside the board. This keeps them away from juicy fruits. It makes a big difference.
Worried about things tasting bland? Pair each item with a friend. Try apple with cheddar. Eat brie with a dab of honey. Fun fact: Salty meats like prosciutto taste sweeter next to fresh fruit like figs.
Why does this matter? Easy fixes build your confidence. Good pairings make every bite a happy surprise. Which of these problems have you run into before?
Your Quick Charcuterie Questions Answered
Q: Can I make this gluten-free? A: Yes! Use gluten-free crackers. Check labels on cured meats too.
Q: How far ahead can I assemble it? A: Add meats, cheeses, and pickles an hour before. Add fruit and crackers right before serving.
Q: What are easy ingredient swaps? A: Use any nuts you have. Swap figs for strawberries. Try pepper jelly instead of honey.
Q: How do I make a smaller board? A: Pick just two cheeses, one meat, two fruits, and one cracker.
Q: Is the chocolate really necessary? A: No, but it’s a wonderful treat. A little dark chocolate with cheese is magic. Which tip will you try first?
Share Your Kitchen Creations With Me
I hope you have fun building your board. It is about sharing and joy. Use what you love and have on hand.
I would love to see what you create. Your board will be wonderful because you made it. Please share a picture of your masterpiece.
Have you tried this recipe? Tag us on Pinterest! I always look for your photos. Thank you for cooking with me today.
Happy cooking!
—Tessa Hammond.
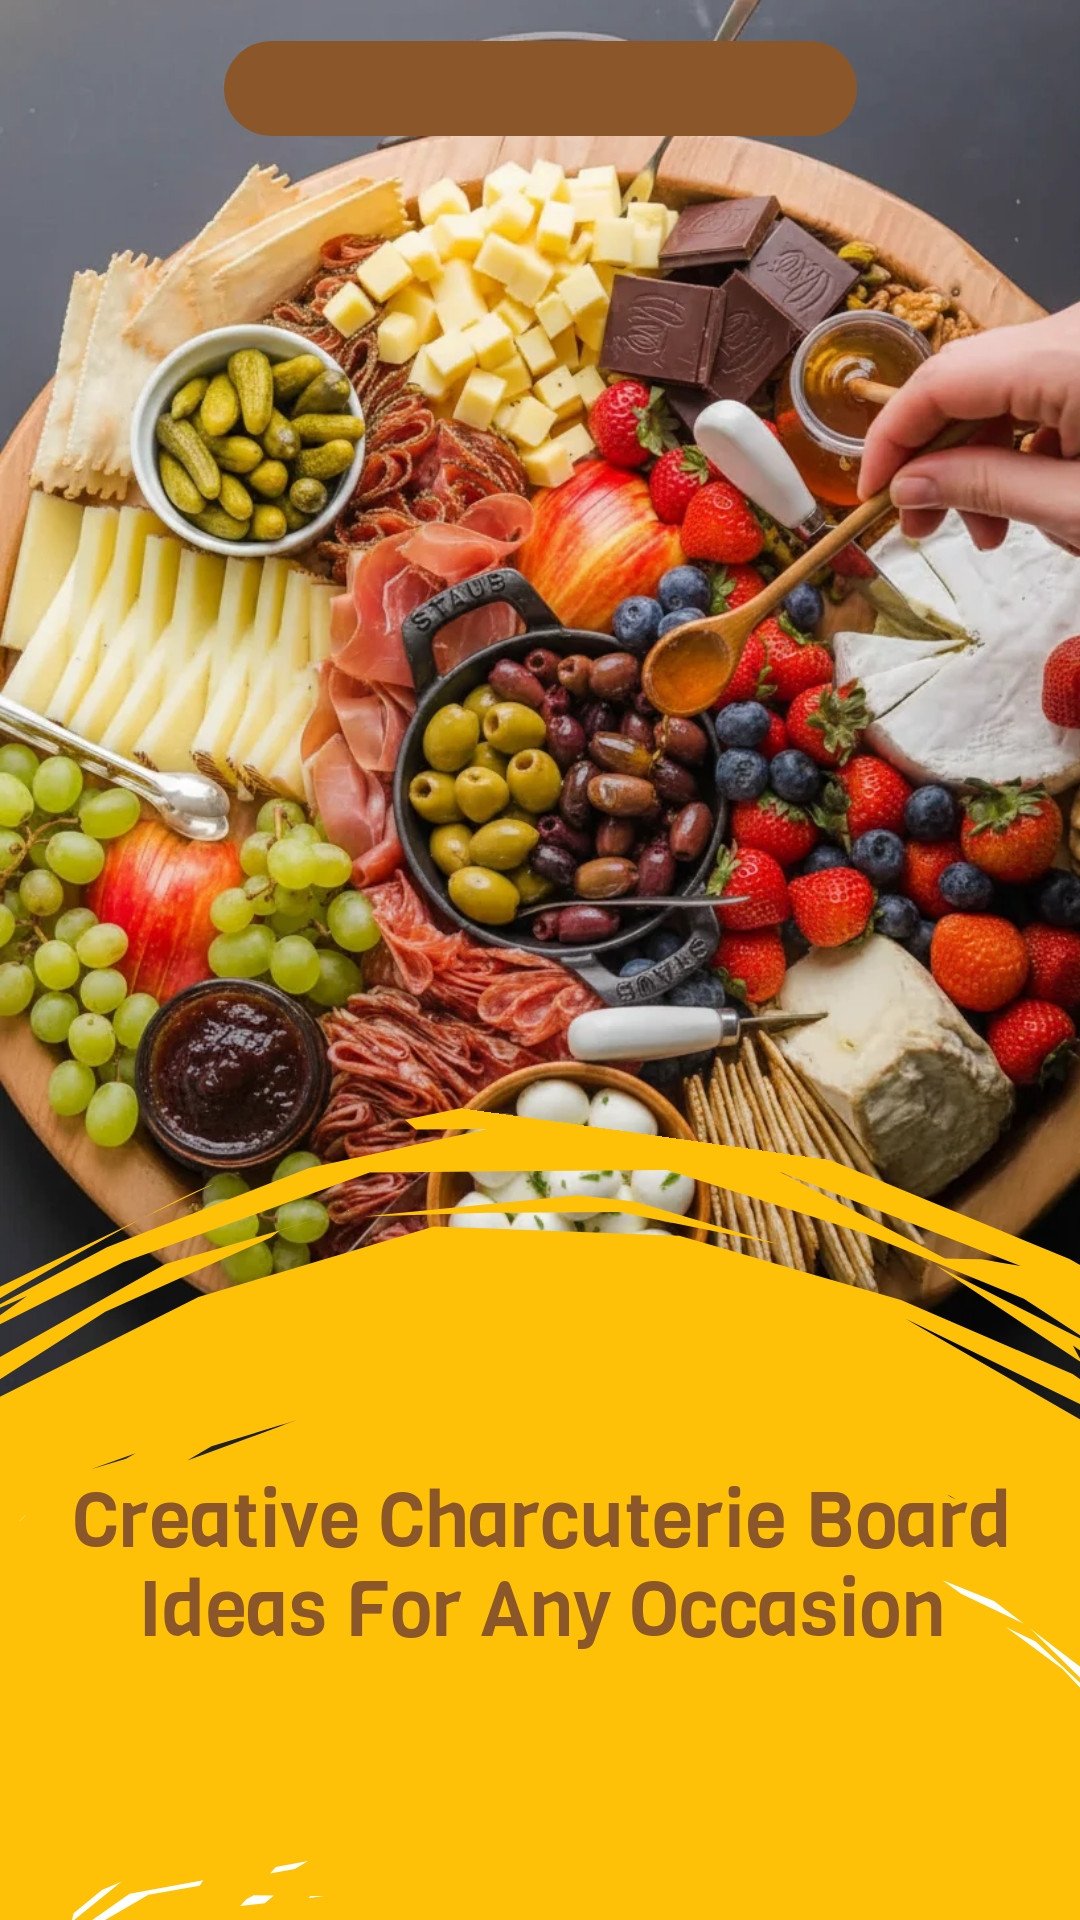
Creative Charcuterie Board Ideas For Any Occasion
Description
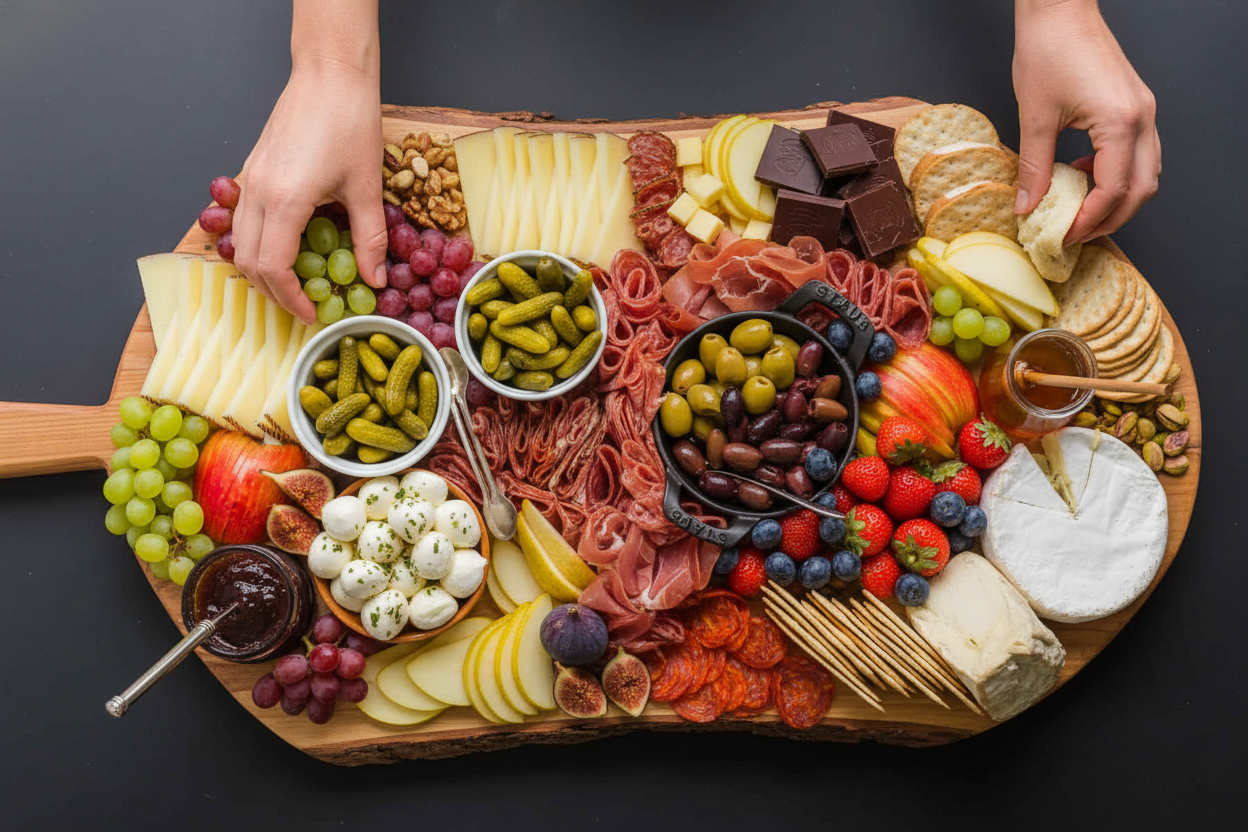
A beautiful and versatile charcuterie board perfect for any gathering, featuring a curated selection of cheeses, meats, fruits, and accompaniments.
Ingredients
Instructions
- Arrange the cheeses around the serving board. Pre-slice hard cheeses so they serve easier and cut a few wedges out of the brie to encourage guests to dig in.
- Fold the meats in a variety of patterns. Watch the video to see how to fold meat for a charcuterie board.
- Place anything that requires a dish such as pickles and olives next so you can gauge your space.
- Place condiments next to cheeses they pair well with (i.e. honey next to brie). Keep condiments in separate jars and ramekins to keep the board clean.
- Pre-cut grapes and pre-slice apples, rinse, and pat dry berries. Arrange fruit next to cheeses they pair well with.
- Place pecans or walnuts and pistachios next to brie or soft cheeses. Also add chocolate which is delicious with cheese.
- Arrange crackers and toasts in remaining spaces or place them on a separate shallow bowl for serving.
Notes
- Nutrition information is not provided in the text.


Leave a Reply