My First Pita Surprise
I remember my first time making pita. I was so nervous. I peeked in the oven and saw them puff up like little pillows. I still laugh at that. It felt like magic.
That magic is why we start with yeast. You mix it with warm water and a pinch of sugar. Watch it get foamy. This means it’s alive and ready to help our bread. Doesn’t that smell amazing? This matters because happy yeast makes soft, puffy bread.
Talk to Your Dough
Next, we mix in the flour and salt. The dough will feel shaggy and sticky. That’s okay. Now, knead it for five minutes. Push it, fold it, turn it. Use your hands to feel it change.
It goes from sticky to smooth and soft. This is my favorite part. You are helping the dough get strong. Strong dough can trap air and puff up later. What’s your favorite part of baking? Is it mixing, kneading, or tasting?
The Patient Wait
Now, let the dough rest in an oily bowl. Cover it up. Find a warm spot for it. I use the top of my fridge. Wait until it doubles in size. This takes about an hour.
This waiting matters. It lets the flavors develop. It makes the bread lighter. Fun fact: This rise is called “proofing.” It proves the yeast is working. Use this time to clean up. Or just sit and enjoy the quiet.
Shape with a Gentle Touch
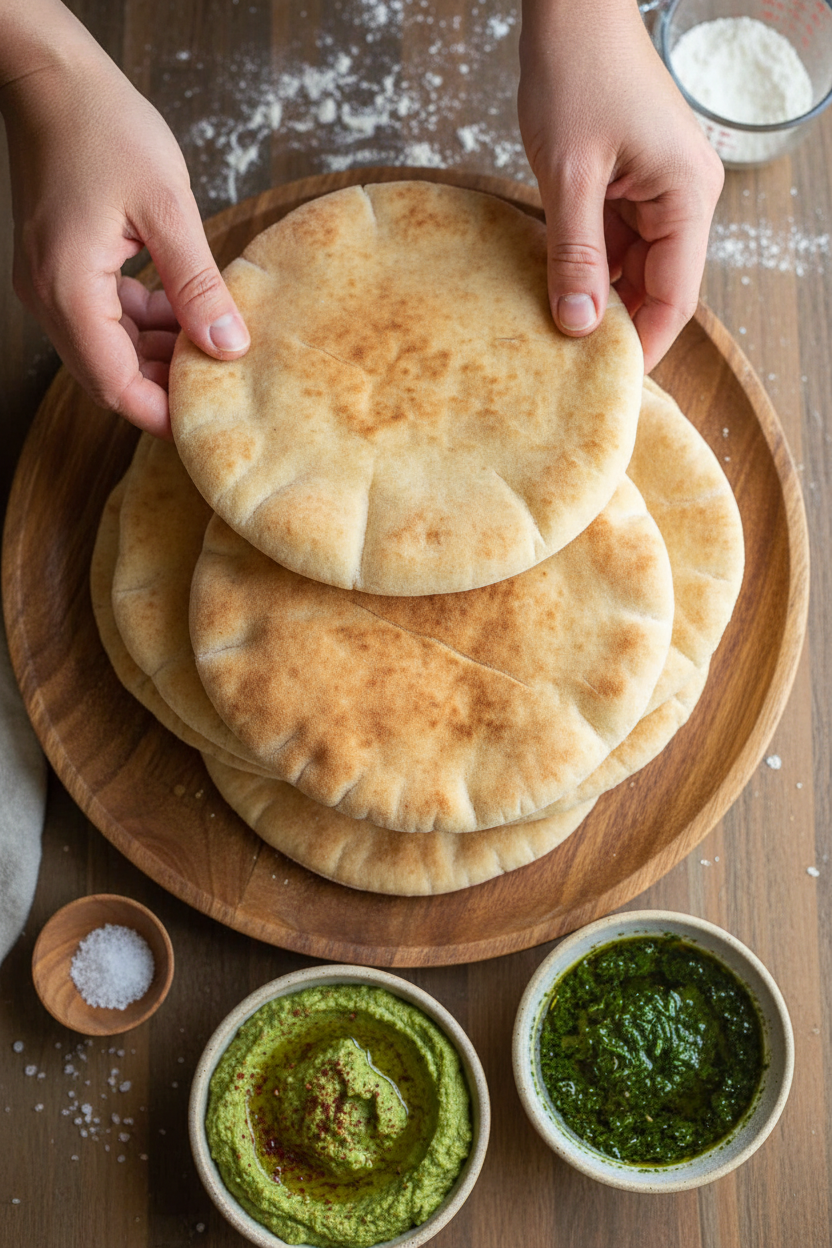
After the rise, punch the dough down. Gently. Divide it into eight balls. Roll each ball on the counter to smooth it. Cover them with a damp towel for 15 minutes.
This short rest relaxes the dough. Then you can roll it out thin without it snapping back. Roll each piece into a thin, seven-inch circle. Do you prefer round pitas or a more rustic, free-form shape? There’s no wrong answer here.
The Big Puff
Now for the magic trick! Heat your oven very hot. A baking stone or sheet works best. Slide your rolled dough onto the hot surface. In just two minutes, they will puff up!
You can also cook them in a hot skillet on the stove. Watch for bubbles, then flip. They puff up there, too. It’s so fun to see. What will you fill your warm pita with? I love egg salad or just a drizzle of honey.
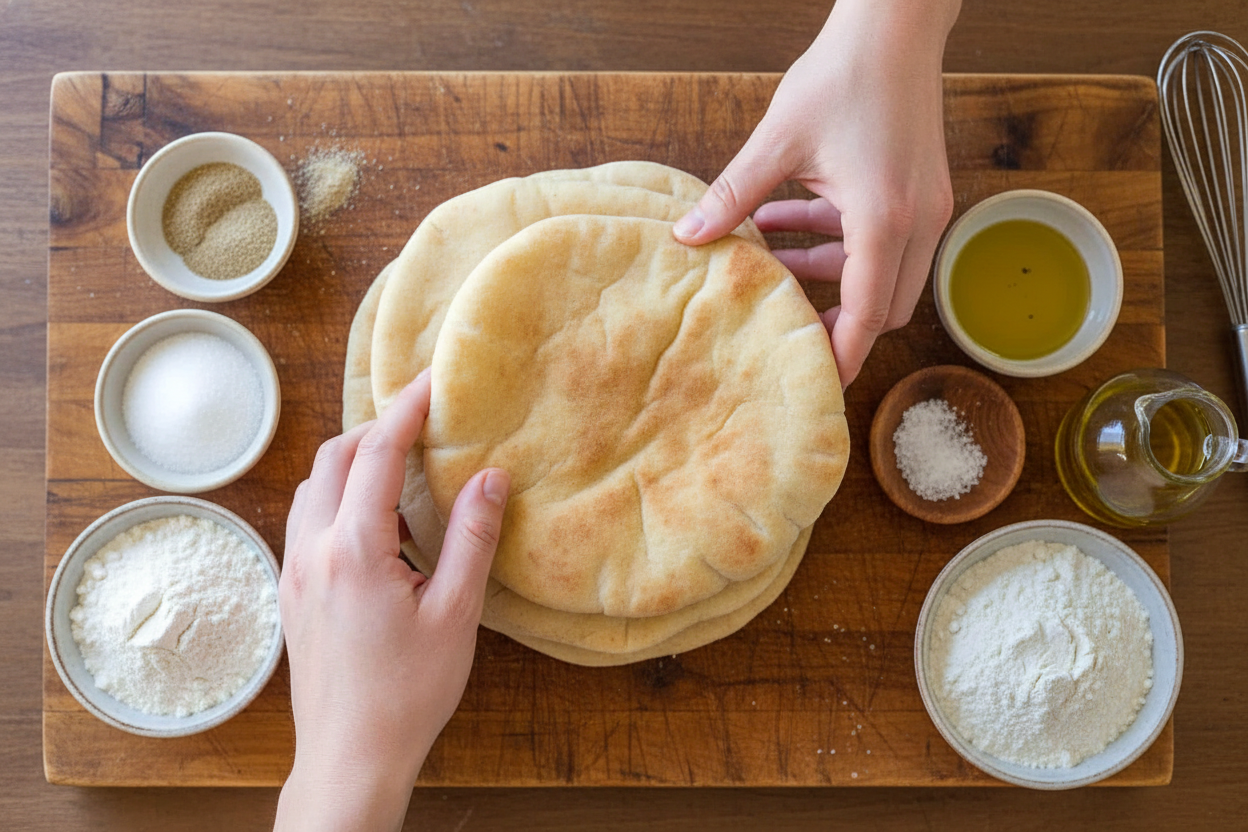
Ingredients:
| Ingredient | Amount | Notes |
|---|---|---|
| Warm water | 1 cup | |
| Instant yeast | 2 1/4 tsp (1 packet) | |
| Sugar | 1/2 tsp | |
| Whole wheat flour | 1/4 cup | |
| Extra virgin olive oil | 2 Tbsp + 1 tsp | 1 tsp is for oiling the bowl |
| All-purpose flour | 2 1/2 cups | plus more for dusting |
| Fine sea salt | 1 1/2 tsp |
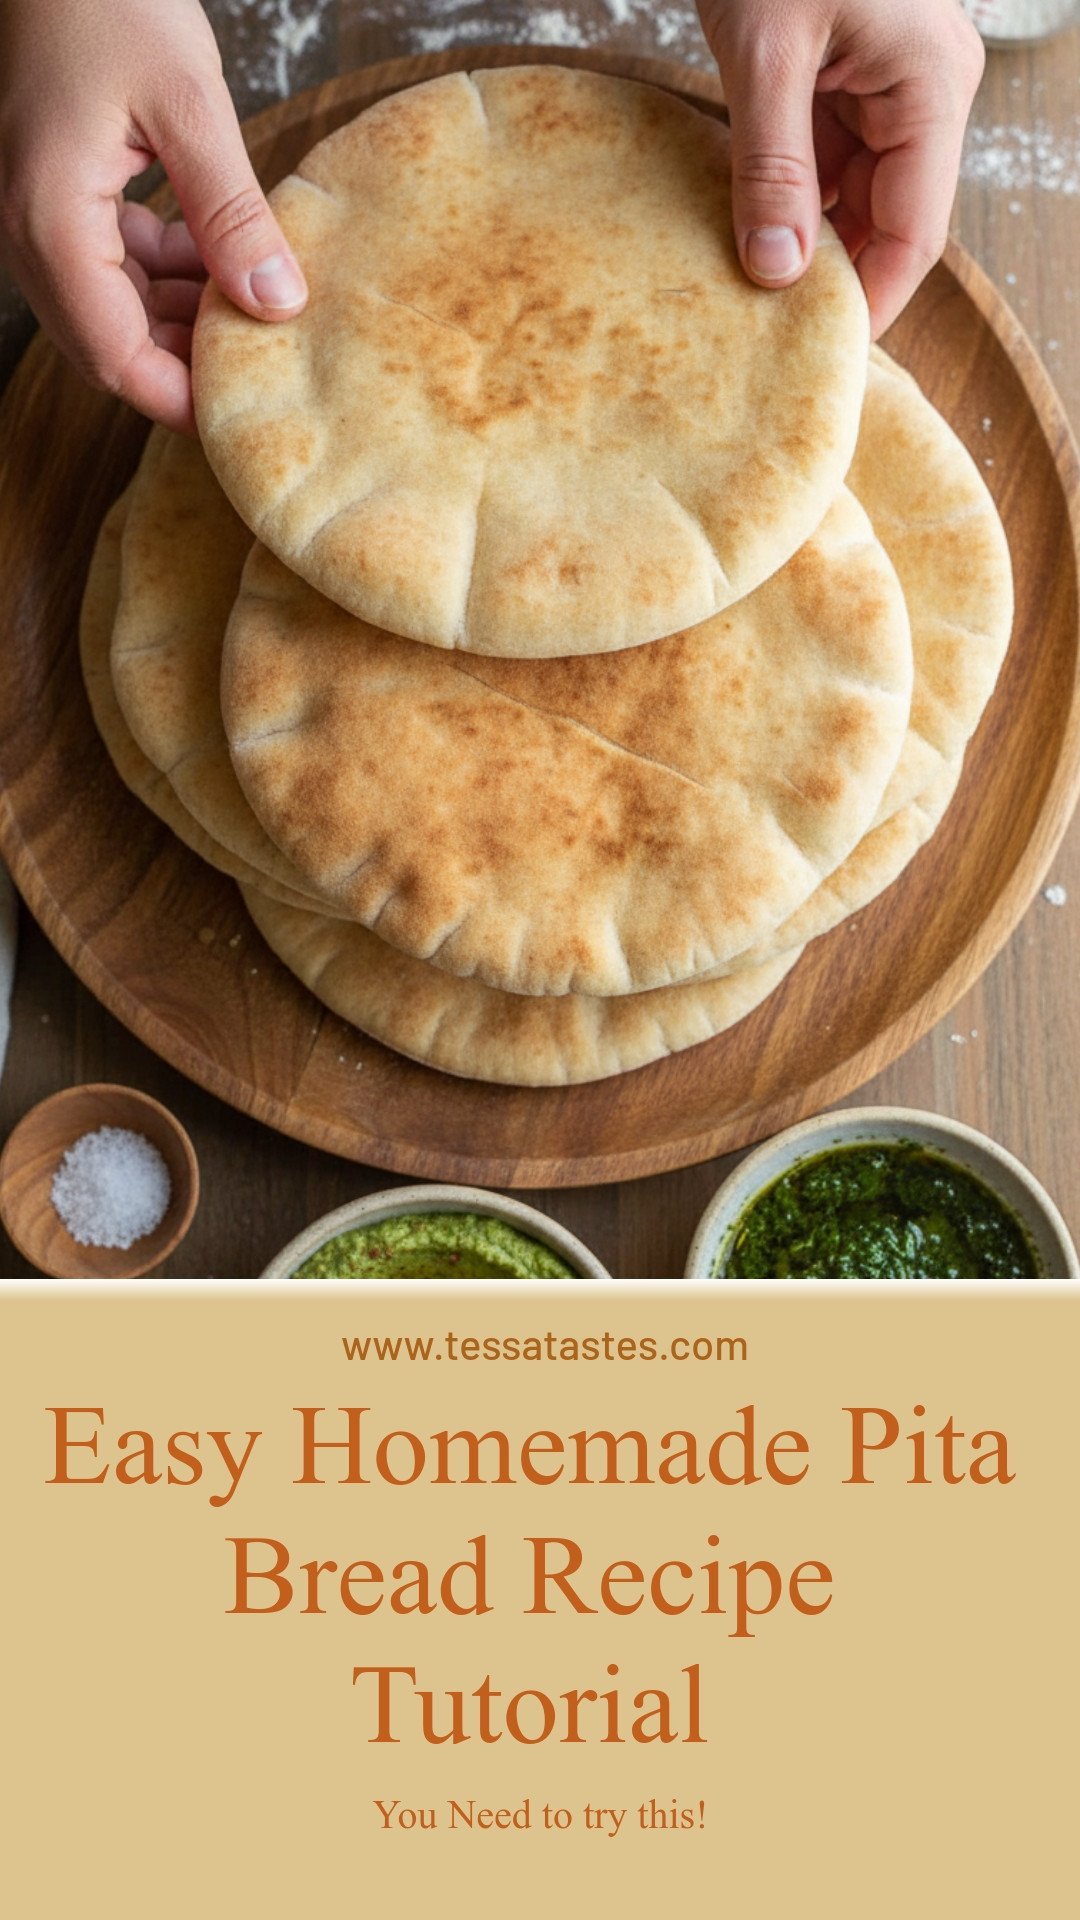
My Kitchen Magic: Pita That Puffs Up Like a Pillow
Hello, dear! Let’s make some pita bread. I love watching these little disks puff up. It feels like magic every single time. My grandkids call them “pocket pillows.” Isn’t that sweet? The secret is in the yeast. It’s a sleepy little thing that wakes up with warm water and sugar. Seeing it get all foamy always makes me smile. It means our bread will be soft and happy. (Hard-learned tip: If your water is too hot, it will hurt the yeast. It should feel like a warm bath, not a hot one.)
Now, let’s get our hands dusty with flour. Here is how we make the dough.
- Step 1: Mix the warm water, sugar, and yeast in a big bowl. Add that bit of whole wheat flour. Give it a good whisk. Now, walk away for 15 minutes. When you come back, it should look puffy and foamy. Doesn’t that smell amazing? That’s your yeast saying hello.
- Step 2: Pour in the olive oil, all-purpose flour, and salt. Stir with a wooden spoon. It will look shaggy and messy. That’s perfect! I still laugh at the mess I made the first time. I thought I ruined it.
- Step 3: Dump the dough onto a clean counter. Knead it for 5 minutes. Push, fold, and turn. It might stick to your hands at first. That’s okay. Just keep going. The dough will become soft and smooth. You’ll feel the change in your hands.
- Step 4: Wash your bowl and rub it with a teaspoon of oil. Place your dough ball inside. Turn it to coat it in oil. Cover the bowl tightly with plastic wrap. Let it sit in a warm spot. It needs to grow to double its size. This takes about 45 minutes to 90 minutes. What do you think the yeast is eating to grow so big? Share below!
- Step 5: Punch the dough down! This is the fun part. Divide it into 8 equal pieces. Roll each into a smooth ball with your hand. Cover them with a damp towel. Let them rest for 15 minutes. This relaxes the dough so it’s easier to roll.
- Step 6: Roll each ball into a thin, 7-inch circle. Use plenty of flour so it doesn’t stick. Move the dough as you roll. Keep the rolled disks under that damp towel. Let them rest 10 more minutes before baking. This helps them puff up beautifully.
- Step 7: Bake them on a very hot pizza stone for about 2 minutes. Watch them blow up like little balloons! It’s the best sight. Or, cook them in a hot, oiled skillet for a minute on each side. They will puff there, too. Transfer them to a rack and cover with a dry towel. This keeps them soft.
Cook Time: 20–25 minutes
Total Time: About 2 hours
Yield: 8 pitas
Category: Bread, Side
Three Fun Twists for Your Pita Pocket
Once you master the basic pita, try a little twist! It’s like dressing up a good friend. Here are my favorite ways to play.
- Herb Garden Pita: Add two tablespoons of chopped fresh herbs to the dough. Think rosemary or dill. It makes the bread smell like a summer garden.
- Everything-Spice Pita: Before baking, brush the disks with water. Sprinkle on everything bagel seasoning. It adds a delicious, crunchy bite.
- Sweet Cinnamon Pita: Mix a teaspoon of cinnamon into the dough. Roll them out with a tiny sprinkle of sugar. Perfect for dipping in yogurt.
Which one would you try first? Comment below!
The Perfect Plate: Serving Your Homemade Pita
Warm pita bread is a welcome guest at any table. Tear it and dip it into creamy hummus or baba ganoush. Stuff it with crunchy veggies and grilled chicken for a full meal. I also love it simply brushed with good olive oil and a pinch of salt. So good!
For a drink, a glass of chilled, crisp white wine pairs wonderfully. For a non-alcoholic treat, try sparkling lemonade with a sprig of mint. Both are so refreshing. Which would you choose tonight?
Keeping Your Pita Bread Perfect
Fresh pita is best eaten the same day. But you can save it for later. Let the bread cool completely first. Then store it in a plastic bag at room temperature for two days.
For longer storage, freeze them. I stack mine with parchment paper between each one. Then I put them in a freezer bag. This way, they don’t stick together. You can grab just one when you need it.
To reheat, use a toaster or a warm oven. A dry skillet works great too. I once microwaved a pita and it got tough. Now I always use dry heat to keep it soft.
Making a double batch is a smart idea. It saves you time next week. Having homemade bread ready feels like a gift to your future self. Have you ever tried storing it this way? Share below!
Pita Problems and Simple Fixes
Sometimes pitas don’t puff up. This is the most common worry. Your oven or skillet must be very hot. I remember when my first batch stayed flat. My oven wasn’t hot enough yet.
The dough can also be too dry or too wet. If it’s dry, the bread will be tough. If it’s too wet, it’s hard to roll out. Add water or flour one spoon at a time. Getting the dough right matters for soft, chewy bread.
Rolling the disks too thick can also stop the puff. They should be less than a quarter-inch thick. Roll them evenly for the best result. This simple step gives you that perfect pocket for fillings. Which of these problems have you run into before?
Your Pita Bread Questions, Answered
Q: Can I make this gluten-free?
A: You can try a 1-to-1 gluten-free flour blend. The texture might be a bit different.
Q: Can I make the dough ahead?
A: Yes. Let it rise in the fridge overnight. This actually improves the flavor.
Q: What if I don’t have whole wheat flour?
A: Just use all-purpose flour instead. The recipe will still work perfectly.
Q: Can I make a smaller batch?
A: Absolutely. Just cut all the ingredients in half. You will get four lovely pitas.
Q: Any optional tips?
A: Brush baked pitas with a little melted butter. It adds a lovely flavor and softness. Which tip will you try first?
From My Kitchen to Yours
I hope you love making this bread. There is nothing like the smell of baking pita. It fills the whole house with warmth.
Fun fact: The big puff happens because steam gets trapped inside the hot dough!
I would love to see your creations. Sharing food connects us all. Have you tried this recipe? Tag us on Pinterest! I’ll be looking for your photos.
Happy cooking!
—Tessa Hammond.
Easy Homemade Pita Bread Recipe Tutorial
Description
Learn how to make soft, fluffy, and perfectly pocketed pita bread at home with this simple step-by-step tutorial.
Ingredients
Instructions
- Proof yeast – In a large mixing bowl, combine warm water, sugar, yeast, and 1/4 cup whole wheat flour. Whisk to combine, then set aside for 15 minutes until puffy and foamy on top.
- Add olive oil, 2 1/2 cups flour, and salt, and stir together with a wooden spoon until shaggy.
- Knead – Turn out onto a clean, smooth surface and knead vigorously for 5 minutes. The dough should feel sticky to your hands but will get less sticky as you knead and should not be sticking to the counter. If the dough is too sticky to knead, sprinkle with a little more flour and continue kneading. Dough should be soft and tacky to the touch.
- Proof dough – Wash and dry the mixing bowl and grease the inside of the bowl with 1 tsp olive oil inside the bowl. Add the dough and turn to coat in oil. Cover the bowl tightly with plastic wrap and place in a warm (100˚F) place for 45 minutes, or at room temperature for about 90 minutes until doubled in volume.
- If baking in the oven: Once dough has doubled, preheat oven to 500˚F with a baking stone or baking sheet on the bottom rack position. You need to let the stone heat up for at least 20 minutes, or the pita won’t puff properly.
- Divide dough -Punch dough down and transfer dough to a clean surface, and divide into 8 even pieces. Cup your hand around each dough ball and roll until you no longer see a dimple or seam underneath. Cover balls with a damp kitchen towel and rest for 15 minutes for the gluten to relax and make it easier to roll them out.
- Roll dough – Place a dough ball onto a surface generously dusted and press gently into a disk with your fingertips to disperse bubbles. Roll dough balls to 7” wide and less than 1/4” thick. Move the disk several times while rolling to ensure it doesn’t stick to the counter. Keep rolled disks covered with a damp towel so they don’t dry out. Do not stack pitas. Let the disks rest 10 minutes before baking, and they will puff better.
- Bake – Place 2-3 pieces of dough on the preheated pizza stone and bake at 500˚F for 2 to 2 1/2 minutes or until puffed. Remove from oven and transfer to a rack for 5 minutes, then cover with a dry towel to keep the pitas from drying out.
- Stovetop Instructions: Preheat cast iron skillet over medium/high heat and brush lightly with olive oil. Lay pita on the hot skillet for 30 seconds. Once you see bubbling, flip the pitta and cook for 1 minute – it will puff, then flip and cook another minute.
Notes
- For best results, ensure your water is warm (about 110°F) to activate the yeast properly. Keep rolled pita disks covered to prevent drying. Pitas are best served warm.


Leave a Reply