The Secret is in Your Fingers
Let’s talk about pie crust. Many folks find it scary. I did too, long ago. My first crust was tough as leather. I still laugh at that.
The secret is simple. Keep everything cold. Use your fingertips to feel the dough. It should just hold together. This matters because a tender crust makes any filling sing.
A Little Story About Butter
My grandson once used soft butter. His dough turned into soup. We had to start over. He learned a good lesson that day.
Cold butter is the hero. When it melts in the oven, it creates steam. That steam makes little flaky pockets.
Why the Mess is Good
Your dough will look messy. That is perfect. Do not try to make it smooth. Just press it into a disk.
Overworking makes the crust tough. A shaggy dough means a tender bite. This matters for every pie, sweet or savory. What’s your favorite pie to make? Is it sweet apple or maybe a chicken pot pie?
The Magic of Waiting
Now, wrap your dough disks. Pop them in the fridge. Wait one whole hour. This is the hardest part.
But the wait does two things. It chills the butter again. It lets the flour relax. Your crust will roll out like a dream. Doesn’t that smell amazing? I love the cold, buttery scent.
Your Turn to Share
This recipe is your foundation. You can use it for anything. A fruit galette, a quiche, even little hand pies.
I promise it gets easier. My hands know the feel now. Yours will too. What kitchen task used to scare you? Has baking a pie crust ever been on your list? Tell me your story.
Ingredients:
| Ingredient | Amount | Notes |
|---|---|---|
| all-purpose flour | 2 1/2 cups | plus more to dust |
| granulated sugar | 1/2 Tbsp | |
| sea salt | 1/2 tsp | |
| COLD unsalted butter | 1/2 lb (2 sticks) | diced into 1/4″ pieces |
| ice water | 7 Tbsp | 7 to 8 Tbsp as needed |
My No-Fuss Pie Crust Secret
Hello, my dear! Come sit. Let’s talk about pie crust. Many folks get nervous. I did too, as a young bride. My first crust was tough as an old boot! But then my neighbor Millie shared her secret. Keep everything cold. That’s the magic. Doesn’t that sound simple? I still laugh at that old boot memory. Now, this recipe is my favorite. It works every single time. Let’s make some magic together.
Step 1: Grab your food processor. Put the flour, sugar, and salt inside. Give it a few quick pulses to mix. It sounds like a little thunderstorm! You can also use a pastry blender. I use my hands sometimes, just to feel the flour. Hard-learned tip: If you use your hands, work fast so the butter stays cold!
Step 2: Now, add your cold, diced butter. Pulse it again. Stop when it looks like coarse crumbs. You should still see little pea-sized bits of butter. This makes the crust flaky. Isn’t that wonderful? The mixture will feel dry. That is perfectly fine. Trust me on this.
Step 3: Time for the ice water. Pour in seven tablespoons. Pulse just until little moist clumps form. Pinch some dough between your fingers. Does it stick together? Good! If it’s still crumbly, add a tiny bit more water. Be careful not to add too much. A sticky dough is hard to roll. What’s the key to flaky layers: warm butter or cold butter? Share below!
Step 4: Dump the dough onto your counter. Gently gather it into a rough ball. Do not knead it! We are not making bread. Just bring it together. Divide the ball in half. Flatten each half into a disk. Wrap them in plastic wrap. The fridge is their next home for one hour. Patience makes perfect crust.
Three Fun Twists to Try
This crust is a wonderful blank canvas. You can play with it! Here are three of my favorite little twists. They make every pie feel special. I love changing it with the seasons.
Sweet & Nutty: Add two tablespoons of finely chopped pecans to the flour. It gives a lovely crunch.
Herb Garden: Mix one teaspoon of dried rosemary into the dough. Perfect for a savory chicken pot pie.
Citrus Zing: Add the zest of one lemon or orange. It makes a fruit pie taste even sunnier.
Which one would you try first? Comment below!
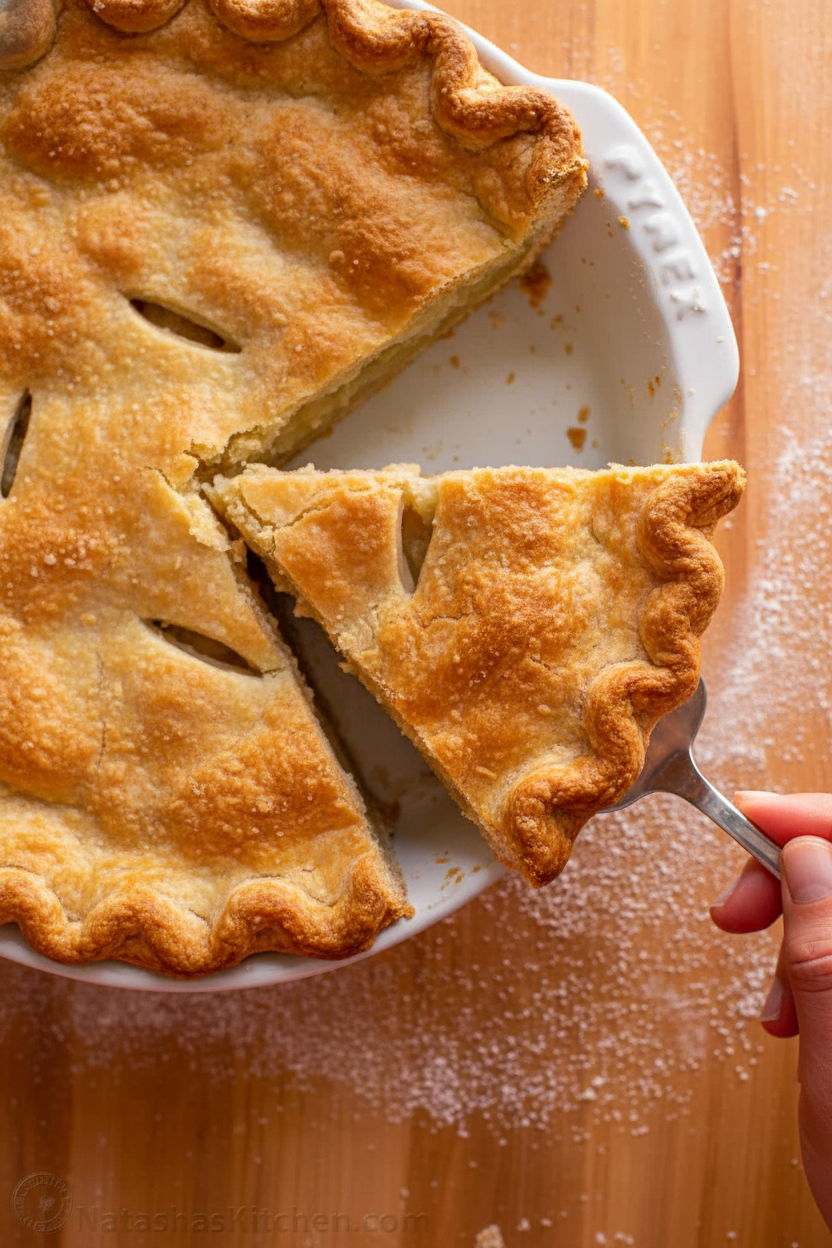
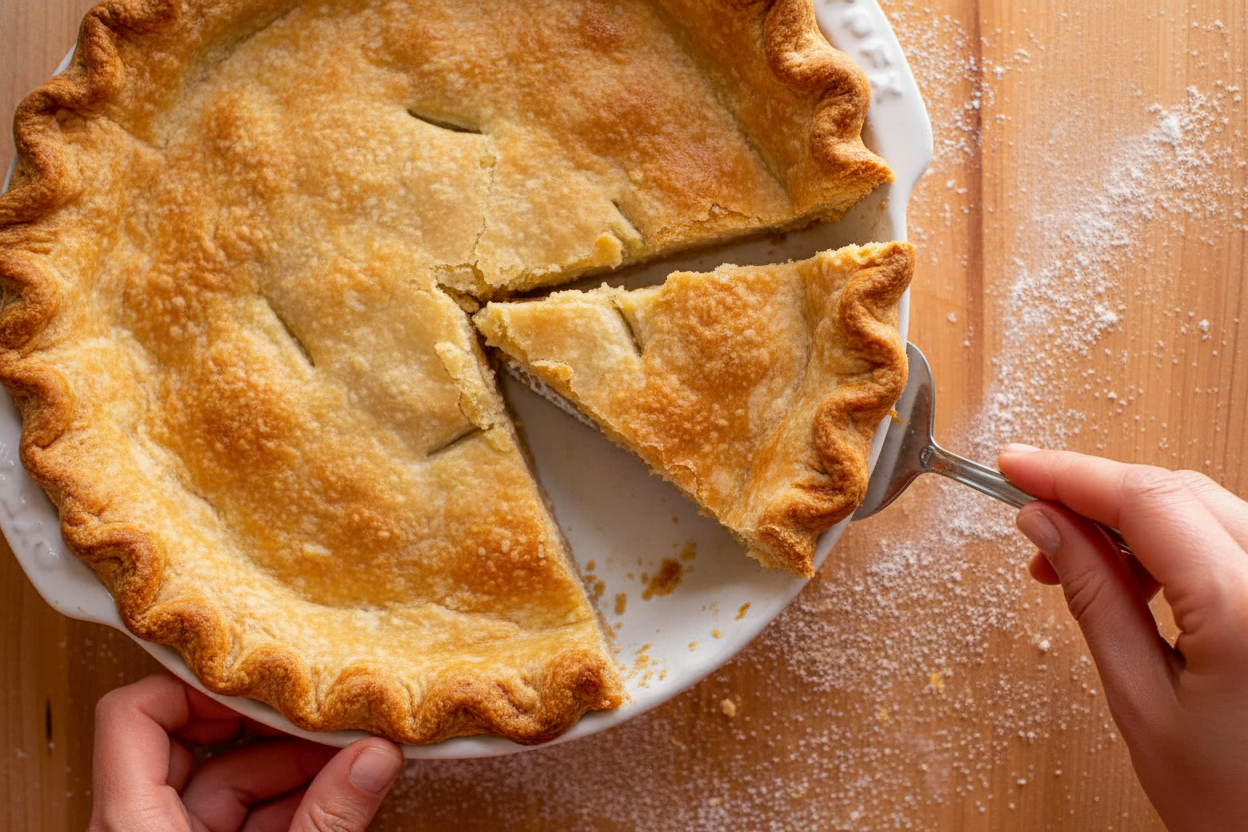
Serving It Up Right
Picture your beautiful pie, fresh from the oven. The smell is amazing! For a fruit pie, I love a scoop of vanilla ice cream. It melts into the slices so nicely. For a savory pie, a simple green salad on the side is perfect. It balances the meal. For drinks, a cold glass of milk is my classic choice. My husband always prefers a cup of hot tea with his slice.
If you’re having a grown-up dinner, a sweet Riesling wine pairs beautifully with apple pie. Or a crisp cider for everyone. So many choices! Which would you choose tonight?
Keeping Your Pie Crust Perfect
Let’s talk about keeping your crust lovely. First, wrap your dough disks in plastic. They can stay in the fridge for three days. For longer storage, freeze them for up to three months.
Thaw frozen dough overnight in the fridge. I once baked a frozen crust straight from the freezer. It was a bit tough! Thawing gives the butter time to relax. This makes rolling much easier.
You can also pre-bake your crust and freeze it. This is a great batch-cook trick. Having a ready crust makes dessert a snap. It matters because it saves your future self time. Have you ever tried storing it this way? Share below!
Fixing Common Pie Crust Troubles
Is your dough too crumbly? You likely need a touch more water. Add just one teaspoon at a time. I remember when my dough fell apart. A little more water fixed it right up.
Is your dough too sticky? You may have added too much water. Dust it lightly with flour. Also, your butter might have been too warm. Cold butter makes flaky layers. This matters for a tender bite.
Is your crust shrinking in the pan? You probably stretched the dough while fitting it. Always lift and gently press it in. Letting the dough chill first also helps. This builds your confidence for a beautiful pie. Which of these problems have you run into before?
Your Pie Crust Questions, Answered
Q: Can I make this gluten-free? A: Yes! Use a good gluten-free flour blend. Add an extra tablespoon of water.
Q: How far ahead can I make the dough? A: You can make it up to three days ahead. Keep it wrapped tightly in the fridge.
Q: Can I use salted butter? A: You can. Just leave out the extra salt in the recipe.
Q: Can I double the recipe? A: Absolutely. It’s perfect for making four crusts to freeze for later.
Q: Any secret tips? A: A fun fact: using vodka instead of some water makes crust extra tender! Which tip will you try first?
From My Kitchen to Yours
I hope this recipe becomes a friend in your kitchen. It has been in mine for many years. Nothing beats the smell of a baking pie.
I would love to see what you create. Your beautiful pies make my heart smile. Please share your kitchen victories with me. Have you tried this recipe? Tag us on Pinterest!
Happy cooking!
—Tessa Hammond.

Easy Pie Crust Recipe with Video Tutorial
Description
A simple, flaky, and buttery homemade pie crust recipe with a helpful video tutorial. Perfect for sweet and savory pies.
Ingredients
Instructions
- Place flour, sugar and salt into the bowl of a food processor and pulse a few times to combine. You can also use a pastry blender to make the dough.
- Add cold diced butter and pulse the mixture until coarse crumbs form with some pea-sized pieces then stop mixing. Mixture should remain dry and powdery.
- Add 7 Tbsp ice water and pulse just until moist clumps or small balls form. Press a piece of dough between your finger tips and if the dough sticks together, you have added enough water. If not, add more water a teaspoon full at a time. Be careful not to add too much water or overmix as this can make the dough sticky and difficult to roll out.
- Transfer dough to a clean work surface, and gather dough together into a ball (it should not be smooth and DO NOT knead the dough). Divide dough in half and flatten to form 2 disks. Cover with plastic wrap and refrigerate 1 hour before using in recipes that call for pie crust.
Notes
- Nutrition Per Serving (1/12th of crust): Calories: 232, Total Fat: 15g, Saturated Fat: 9g, Cholesterol: 40mg, Sodium: 99mg, Potassium: 32mg, Total Carbohydrates: 20g, Protein: 2g, Vitamin A: 470IU, Calcium: 8mg, Iron: 1.2mg


Leave a Reply