My First Sourdough Rolls
I remember my first batch of these rolls. They were a bit lopsided. I still laugh at that. But they tasted like warm, buttery clouds. That is the magic of sourdough.
It adds a special flavor you just can’t buy. Making them teaches you patience. Good things take time. That’s a lesson for baking and for life. What was your first baking project that made you proud?
Why The Starter Matters
That sourdough starter is like a friend. You must feed it and care for it. In return, it makes your bread rise. It also gives it that wonderful tangy taste.
Using it instead of regular yeast is important. It creates a stronger dough. This matters because it makes the rolls chewy and soft inside. *Fun fact: your sourdough starter is full of wild yeast from the air in your own kitchen!*
The Secret to Soft Rolls
Letting the dough rest is the big secret. That first 30-minute rest relaxes the gluten. Think of it like a short nap for the dough. Then the long overnight rise is where the flavor grows.
This slow proofing matters. It makes the rolls easier to digest. Your tummy will thank you. Have you ever tried a slow-rise bread before? Did you notice a difference?
Shaping With Love
Shaping the rolls is my favorite part. You take each piece and gently cup your hand around it. Roll it on the counter in a circle. This seals the bottom and makes a nice tight ball.
It feels wonderful in your hands. Doesn’t that smell amazing? The dough is alive and yeasty. Placing them close together in the pan is key. They will rise up and become best friends in the oven.
The Best Part: Butter
Always, always brush them with butter when they come out. The hot rolls will soak it right up. This gives them a gorgeous shine. It also makes the tops incredibly soft.
That final touch turns them from good to great. Serving warm bread is an act of love. It brings everyone to the table. Do you have a special “finishing touch” you add to your baked goods? I’d love to hear it.
Ingredients:
| Ingredient | Amount | Notes |
|---|---|---|
| Unsalted butter, melted | 2 Tbsp | plus more to brush the pan |
| Whole milk | 1 cup | room temperature |
| Granulated sugar | 2 Tbsp | |
| Fine sea salt | 1 tsp | |
| Bread flour or all-purpose flour | 3 cups | |
| Active sourdough starter | ½ cup | |
| Salted butter | 1 tsp | to brush over baked rolls |
My Cozy Sourdough Dinner Rolls
Hello, dear! Come sit. Let’s make my favorite sourdough rolls. They are soft, with a lovely tang. I’ve been making them for years. My grandson calls them “hug bread.” Isn’t that sweet? We’ll use your bubbly starter. It gives the rolls their special flavor. This recipe takes time, but not much work. It’s a slow, gentle process. Perfect for a lazy afternoon. The smell in your kitchen will be wonderful. I promise.
Step 1: Wake Up the Ingredients
First, let’s wake up our ingredients. Mix the milk, melted butter, sugar, and salt. Stir until the sugar dissolves. It should feel just warm, not hot. We want our starter to be happy. (A hard-learned tip: If the milk is too hot, it will hurt the starter. Test it on your wrist like baby’s milk!).
Step 2: Mix and Autolyse
Now, add the flour and your active starter. Mix it all together. It will look shaggy. That’s just fine. Cover the bowl with a damp towel. Let it rest for 30 minutes. This little nap relaxes the dough. It makes kneading easier later. I use this time to tidy up.
Step 3: Knead and Bulk Ferment
Time to knead! Use your mixer or your hands. Knead for about 10 minutes. You want a smooth, soft dough. It should feel like a baby’s cheek. Put it in a buttered bowl. Cover it again. Now, we walk away. Let it sit on the counter overnight. It will grow slowly. Why do we let it sit so long? Share below!
Step 4: Shape the Rolls
Good morning! See how puffy it is? Gently divide it into 12 pieces. Shape each into a tight ball. Cup your hand and roll it on the counter. This seals the bottom. It makes a perfect round roll. I still laugh at my first lopsided batch!
Step 5: Proof and Bake
Place the balls in a buttered dish. Cover them. Let them rise again for a few hours. They should double in size. Preheat your oven. Bake them until they’re golden brown. Doesn’t that smell amazing? Brush them with butter right away. That gives them a gorgeous, shiny top.
| Cook Time: | 30 minutes |
| Total Time: | 12-16 hours (mostly hands-off) |
| Yield: | 12 rolls |
| Category: | Bread, Side Dish |
Three Fun Twists to Try
Once you master the basic roll, get playful! Here are three easy twists my family loves. They make any meal feel special.
- Herb & Garlic: Add a teaspoon of dried rosemary and two minced garlic cloves to the dough. So savory!
- Honey Wheat: Swap one cup of bread flour for whole wheat flour. Use honey instead of sugar. It tastes like sunshine.
- Everything Roll: After brushing with butter, sprinkle the hot tops with “everything bagel” seasoning. Crunchy and perfect.
Which one would you try first? Comment below!
Serving Them Up Right
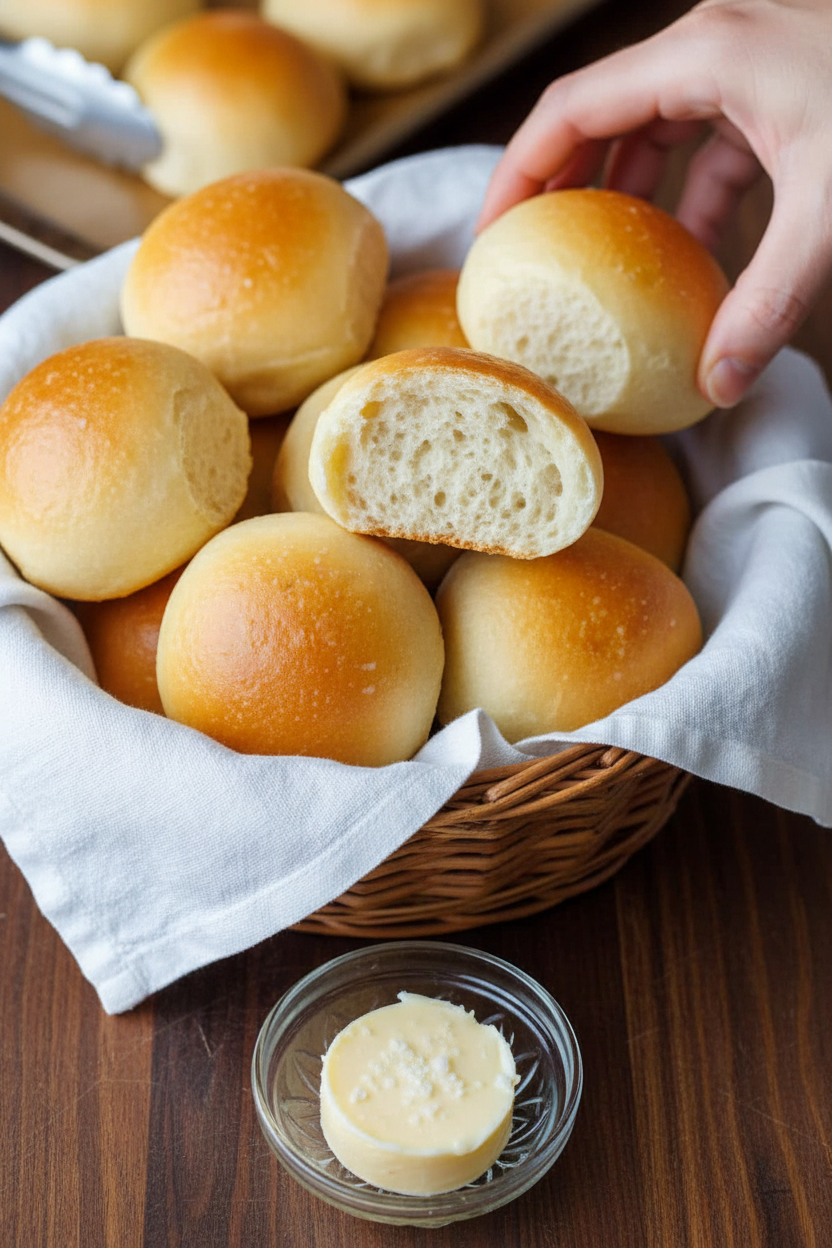
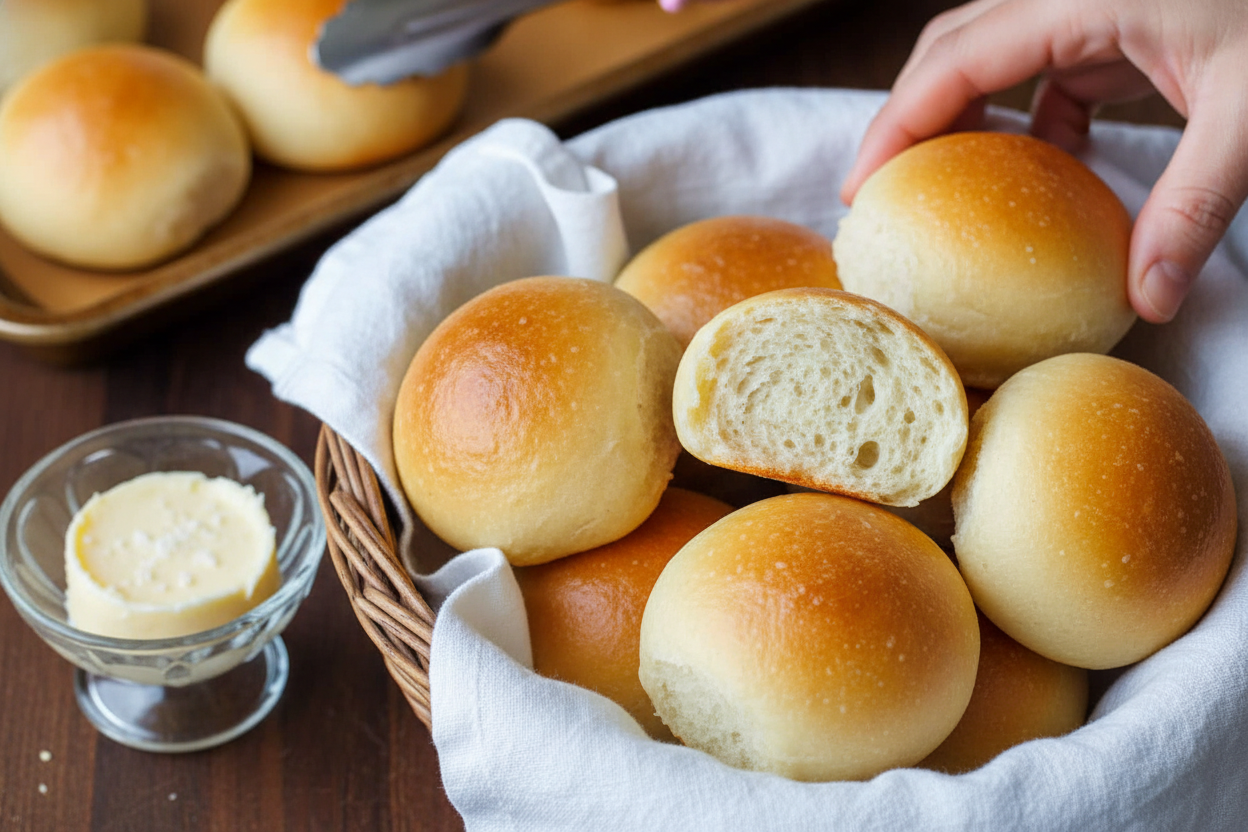
These rolls are the star of the table. Serve them warm from the oven. They are dreamy with a big pat of salted butter. They’re perfect for sopping up soup or stew gravy. For a holiday, I put them in a pretty basket lined with a cloth napkin. It feels so homey.
What to drink? For a cozy dinner, I love a cold glass of apple cider. It’s sweet and tangy. For the grown-ups, a pale ale pairs beautifully. It echoes the sourdough’s flavor. Which would you choose tonight?
Keeping Your Rolls Soft and Ready
Let’s talk about keeping these rolls lovely. First, let them cool completely. Then, store them in a bread bag at room temperature for two days. For longer life, freeze them! Wrap each roll tightly in plastic wrap. Pop them all into a freezer bag.
I once froze a whole batch for my grandson’s visit. He reheated one straight from the freezer. He said it tasted just-baked! To reheat, wrap a frozen roll in foil. Warm it in a 350°F oven for 15 minutes. This keeps the inside soft and steamy.
Batch cooking matters for busy families. Having homemade rolls ready is a small joy. It turns a simple soup into a special meal. Have you ever tried storing it this way? Share below!
Simple Fixes for Common Roll Troubles
Sometimes our baking needs a little help. Here are three common issues. First, dense rolls often mean your starter wasn’t active. Feed it 4-6 hours before you bake. It should be bubbly and float in water.
Second, dry rolls happen if you over-flour the dough. I remember when my dough stuck to my hands. I added too much flour. The rolls were like little stones! Measure flour carefully. A sticky dough is often a soft, fluffy dough.
Third, pale tops mean they need more heat. Always bake in the top third of your oven. This gives them a beautiful golden color. Fixing these small things builds your confidence. It also makes your food taste so much better. Which of these problems have you run into before?
Your Quick Sourdough Roll Questions
Q: Can I make these gluten-free? A: I do not recommend it. Sourdough needs gluten’s structure to rise properly.
Q: How can I make them ahead? A: After shaping, cover the pan and refrigerate overnight. Let them warm up for an hour before baking.
Q: What if I don’t have bread flour? A: All-purpose flour works just fine here. Your rolls will still be wonderful.
Q: Can I double the recipe? A: Yes, you can! Just use a very large bowl for mixing. Your stand mixer will thank you.
Q: Any optional tips? A: Try brushing them with garlic butter after baking. Fun fact: the steam from hot rolls helps melt the butter right in. Which tip will you try first?
From My Kitchen to Yours
I hope you love making these rolls. Sharing food is one of life’s sweetest gifts. There is nothing like breaking bread with people you love.
I would be so delighted to see your creations. Please share your baking stories with me. Have you tried this recipe? Tag us on Pinterest! You can find me at @TessasKitchenNook.
Happy cooking! —Tessa Hammond.

Sourdough Dinner Rolls Recipe Video Tutorial
Description
Learn to make soft, fluffy sourdough dinner rolls with this easy recipe and video tutorial. Perfect for any meal.
Ingredients
Instructions
- Make the Dough – In the bowl of a stand mixer or a large mixing bowl, add milk, butter, sugar, and salt, and stir together to dissolve the sugar.
- Knead the Dough – Add the flour and active sourdough starter and mix together with the paddle attachment or a firm spatula until well combined. Cover with a damp kitchen towel and rest for 30 minutes to allow the gluten to relax. Knead on speed 2 with the dough hook attachment for 10-12 minutes until you have a smooth, soft dough (or knead by hand for 8-10 minutes).
- First Proofing – Bulk Fermentation: transfer dough to a buttered mixing bowl, cover the dough with a damp kitchen towel and leave it on the counter overnight, 8-12 hours.* It should rise to nearly double in size.
- Form the Rolls – Divide the dough into 12 equal pieces (approximately 65g each) with a bench scraper or knife, and shape them into balls by pinching the sides together. Then, gently cup your hand around each ball and roll it over a clean, smooth work surface to tighten the outside of the rolls (this seals the seam on the bottom and gives the rolls better spring in the oven).
- Second Proofing – Place the rolls into a buttered 9×13 glass baking dish, cover with a damp tea towel, and proof until about doubled, about 2 hours in a warm place (80-90°F), or about 3-4 hours at room temperature, depending on the temperature of your room. You can make them ahead at this point – see make-ahead option below*.
- Bake – Preheat the oven to 375°F. Bake in the top third of the oven (this gives the tops better color) of a preheated oven for 25-30 minutes or until the tops are golden brown and the internal temp is 190°F. Brush the hot rolls with melted butter when they come out of the oven and serve.
Notes
- *Total time includes active prep and cook time but not the overnight proofing. For make-ahead option, after the second proofing, cover the shaped rolls tightly and refrigerate for up to 24 hours. Let them sit at room temperature for 1 hour before baking.


Leave a Reply