My First Red Velvet Surprise
I made my first red velvet cake in 1972. I was so nervous. I thought the red color would taste funny.
It didn’t taste funny at all. It was soft, sweet, and a little tangy. The first bite made me smile. I still laugh at that worry. What’s a food you thought would taste weird, but loved?
Why We Mix Just Right
This cake has a special trick. We use both butter and oil. Butter gives us lovely flavor. Oil makes the cake super moist and soft.
This matters because texture is everything. A good cake should feel tender in your mouth. Also, we mix the vinegar into the buttermilk. It makes the buttermilk even more tangy. That tangy taste is the secret. It balances all the sweetness perfectly.
The Magic of That Red Color
That bright red color is pure joy. It makes any day feel like a celebration. Doesn’t that smell amazing when it bakes? The cocoa and vanilla come alive.
Fun fact: Long ago, the red color came from a chemical reaction! The cocoa and acidic buttermilk used to turn the cake reddish-brown. Now we use a little food coloring for that bright pop. Do you like bright colored foods, or do you prefer natural colors?
A Lesson in Patience
My biggest tip is to wait. Let the cakes cool completely. I know it’s hard. You want to frost it right away.
If you frost a warm cake, the frosting will melt. It will slide right off. This matters because good things take a little time. Use the waiting time to make your cream cheese frosting. Taste it with a clean spoon. That’s the cook’s reward.
Your Cake, Your Story
This cake is a blank page. You can make it your own. Maybe add sprinkles on top. Or put berries between the layers.
The most important part is sharing it. Food tastes better with friends. Who will you share your first red velvet cake with? Tell me your plan. I love hearing your stories.
Ingredients:
| Ingredient | Amount | Notes |
|---|---|---|
| all-purpose flour | 2 1/2 cups | plus more to dust the pans |
| unsweetened cocoa powder | 2 Tbsp | |
| baking soda | 1 tsp | |
| salt | 1/2 tsp | |
| unsalted butter | 1/2 cup | room temperature, plus more to grease pans |
| granulated sugar | 1 1/2 cups | |
| vanilla extract | 2 tsp | |
| large eggs | 2 | room temp |
| light olive oil or vegetable oil | 3/4 cup | |
| low-fat buttermilk | 1 cup | room temp |
| white distilled vinegar | 1 tsp | |
| red gel food coloring | 1/2 tsp | |
| Cream Cheese Frosting | 1 Recipe | comprised of: cream cheese, butter, powdered sugar, vanilla, salt |
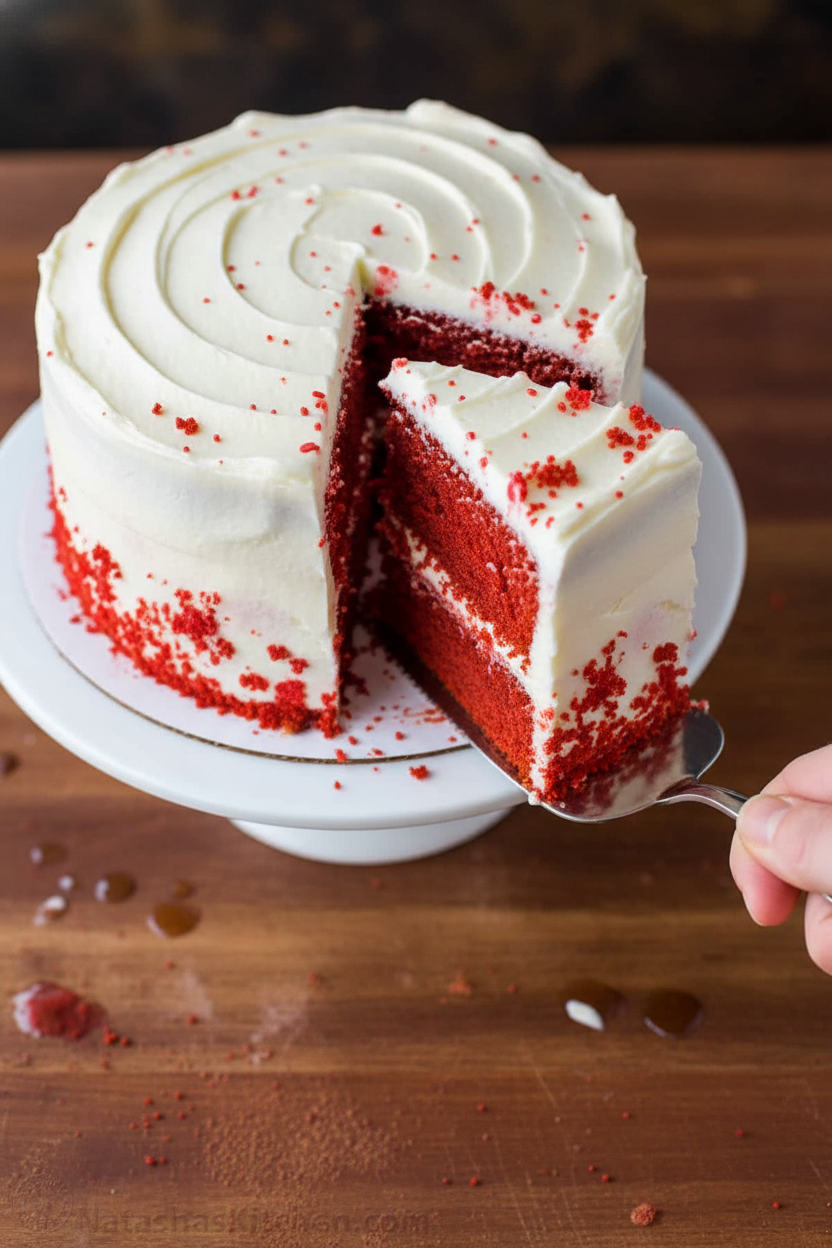
My Famous Red Velvet Cake
Hello, my dear! Let’s bake my famous red velvet cake. This recipe is a family treasure. My own grandma taught it to me. I still think of her every time I make it. The kitchen fills with a sweet, cozy smell. Doesn’t that sound wonderful? We’ll take it nice and slow. I’ll share all my little secrets with you. Just follow these simple steps.
Step 1: Prepare Your Pans
First, get your oven ready. Heat it to 350 degrees. Now, take two round cake pans. Grease them well with soft butter. Then, dust them with a little flour. Tap out any extra. This keeps the cake from sticking. (My hard-learned tip: Do this now. A stuck cake is a sad cake!).
Step 2: Mix the Dry Ingredients
Let’s mix the dry things. Get a big bowl. Put in your flour, cocoa, baking soda, and salt. Give it a good stir with a spoon. Then, sift it all together. This makes the cake so light and fluffy. I love watching the fine powder fall. It looks like a chocolate snowstorm.
Step 3: Cream Butter and Sugar
Now, for the sweet part. Beat the soft butter and sugar together. Use your electric mixer. Mix for a few minutes. It will look pale and powdery. Then, add the eggs, one at a time. Mix well after each one. Pour in the vanilla. That smell is just heaven. Finally, slowly add the oil while mixing.
Step 4: Combine Wet and Dry
Here’s the magic step. Stir the vinegar into your buttermilk. It will look a bit funny. That’s okay! Pour it into your butter mixture. Mix it all together. Now, add all the flour mixture at once. Mix just until you see no white streaks. Don’t overmix! Why do we add vinegar? Share below!
Step 5: Add the Red Color
Time for the red color! Add your red gel food coloring. I use about half a teaspoon. You can add more if you like. Mix it just until the color is even. Scrape the bowl’s sides. Look at that beautiful, bright red batter! It always makes me smile.
Step 6: Bake and Cool
Pour the batter into your prepared pans. Try to make them even. Bake for 30 minutes. A toothpick should come out clean. Let the cakes cool in the pans for 20 minutes. Then, flip them onto a wire rack. Let them cool completely. Only then can you frost them! Patience is key.
| Cook Time: | 30 minutes |
| Total Time: | About 1 hour 30 minutes (plus cooling) |
| Yield: | One beautiful 2-layer cake |
| Category: | Dessert, Baking |
Three Fun Twists to Try
This cake is perfect as is. But sometimes, it’s fun to play! Here are three simple twists. They add a little surprise. My grandkids love them.
- Confetti Surprise: Fold a handful of rainbow sprinkles into the batter. It’s a party inside!
- Orange Zest Glow: Add the zest of one orange to the batter. It smells like sunshine.
- Chocolate Chip Hideaway: Mix in half a cup of mini chocolate chips. A sweet treasure in every bite.
Which one would you try first? Comment below!
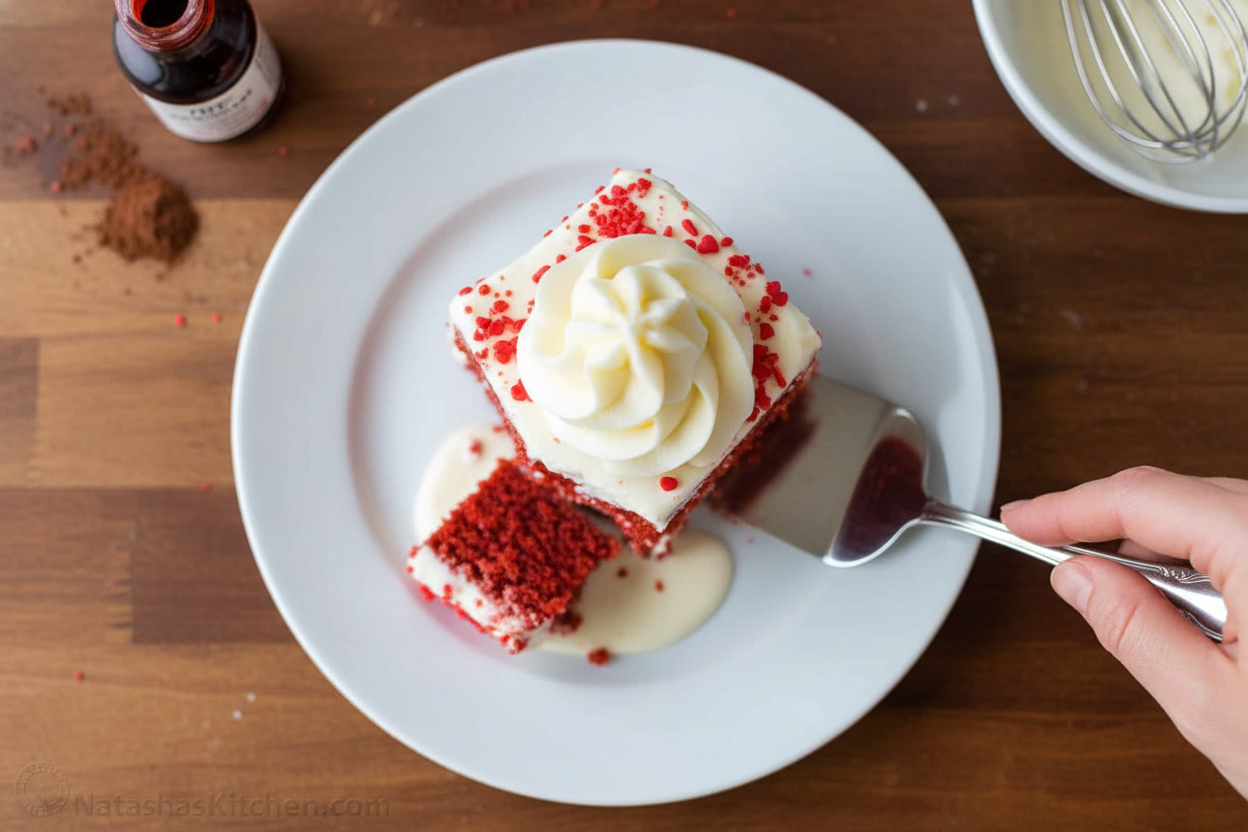
Serving It Up Just Right
A slice of this cake is a celebration. For a special touch, add a dollop of whipped cream on the side. A few fresh raspberries look pretty, too. Or, sprinkle some cake crumbs on top of the frosting. I still laugh at how my grandson licks the plate clean.
What to drink? A cold glass of milk is always the best friend to cake. For the grown-ups, a little glass of sweet cream sherry is lovely. It sips like a dessert itself. Which would you choose tonight?
Keeping Your Red Velvet Cake Happy
Let’s talk about storing this beautiful cake. First, always frost it after it cools completely. A warm cake will melt your frosting. Keep it covered in the fridge for up to five days.
You can freeze the unfrosted cake layers, too. I wrap each one tightly in plastic wrap. Then I add a layer of foil. They keep for about three months. Thaw them overnight in your fridge.
I once tried freezing a whole frosted cake. It was a mess! The frosting got sticky. Now I only freeze the layers. Batch cooking the layers saves so much time for a last-minute treat.
This matters because good food should never go to waste. A little planning means sweet surprises are always ready. Have you ever tried storing it this way? Share below!
Common Cake Hiccups and How to Fix Them
Is your cake dry? You may have over-mixed the batter. Mix just until you see no more flour streaks. Over-mixing makes the cake tough.
Is your color not red enough? Liquid food coloring can change the batter’s texture. I always use gel coloring. It gives a deep, rich red without extra liquid.
Does your cake stick to the pan? I remember when my first cake came out in pieces. Greasing and flouring the pan is a simple but vital step. Never skip it.
Fixing these issues builds your confidence. You learn what each step does. It also makes sure your cake is moist and looks stunning. Which of these problems have you run into before?
Your Red Velvet Questions, Answered
Q: Can I make this gluten-free? A: Yes! Use a good gluten-free flour blend. Make sure it has xanthan gum in it.
Q: Can I make it ahead? A: Absolutely. Bake the layers up to two days early. Wrap them well and keep them at room temperature.
Q: What if I don’t have buttermilk? A: No problem. Put one tablespoon of vinegar in a cup. Fill the rest with regular milk. Let it sit for five minutes.
Q: Can I make cupcakes? A: You sure can. This batter makes about 24 cupcakes. Bake them for 18-20 minutes instead.
Q: Any optional tips? A: A fun fact: the vinegar reacts with the baking soda. This makes the cake extra tender and soft. Which tip will you try first?
From My Kitchen to Yours
I hope you love making this cake as much as I do. It is a special recipe for celebrations. Or just for a happy Tuesday!
I would love to see your creation. Sharing food is how we share joy. Your version might give someone else a great idea.
Have you tried this recipe? Tag us on Pinterest! You can find me at @TessasKitchen. I look at every single photo. Thank you for baking with me today.
Happy cooking!
—Tessa Hammond.
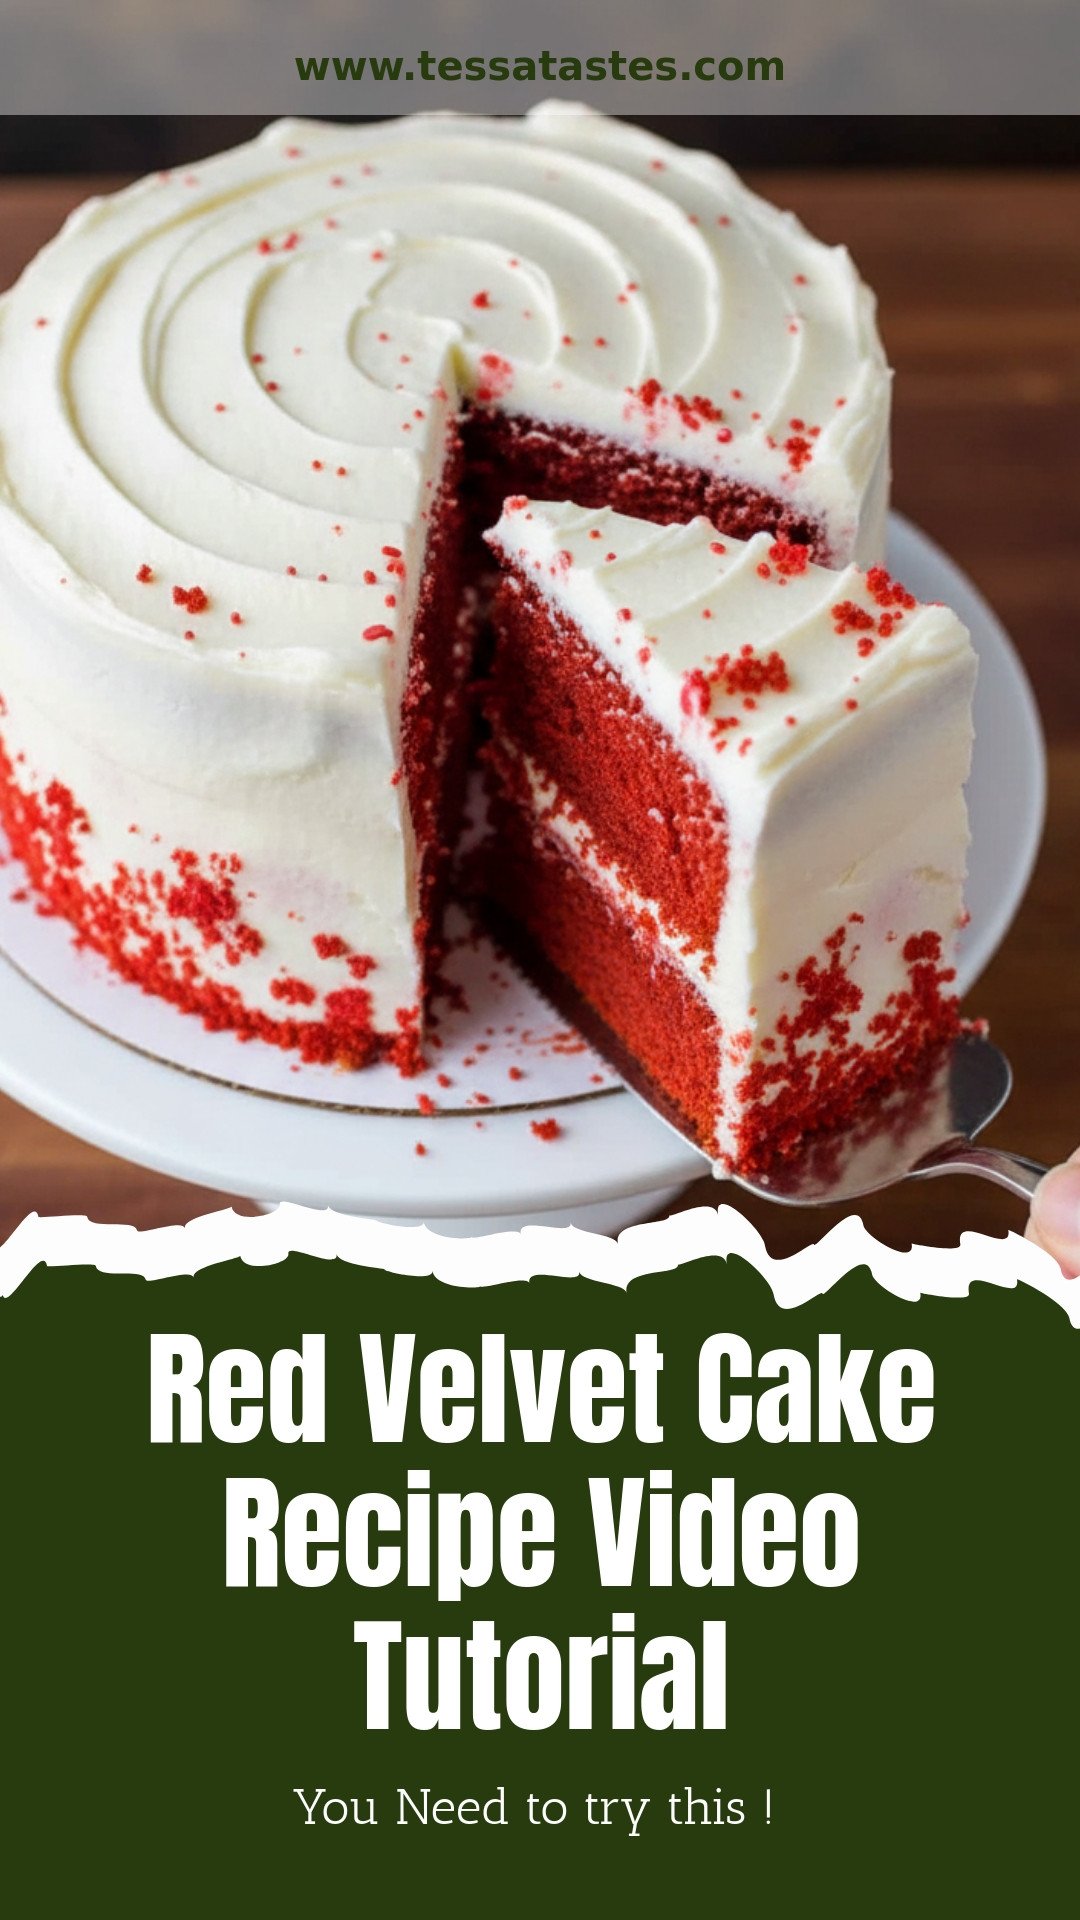
Red Velvet Cake Recipe Video Tutorial
Description
A classic, moist, and vibrant red velvet cake with a tangy cream cheese frosting. Perfect for celebrations.
Ingredients
Instructions
- Preheat oven to 350°F with racks in the center. Grease two 9-inch cake pans with butter and dust with flour, tapping out the excess.
- Stir then sift together 2 1/2 cups flour, 2 Tbsp cocoa powder, 1 tsp baking soda, and 1/2 tsp salt.
- In a bowl with an electric mixer, beat together 1/2 cup softened butter and 1 1/2 cups sugar for a few minutes until sugar is moistened and the mixture looks powdery like snow.
- Mix in two eggs, adding them one at a time, and beating well to incorporate between each addition. Beat in 2 tsp vanilla extract until blended.
- With the mixer on, gradually add 3/4 cup oil and mix on medium speed until well incorporated.
- Stir 1 tsp vinegar into your 1 cup buttermilk, then mix it into the batter on medium speed until incorporated.
- Add flour mixture all at once and mix on medium speed just until well blended and no streaks of flour remain, scraping down the bowl as needed.
- Add 1/2 tsp red gel food coloring (add more to reach the desired color) and mix just until blended, scraping down the bowl as needed.
- Divide batter evenly between prepared 9-inch pans and bake at 350°F for 30 minutes.
- Let rest in cake pans for 20 minutes then invert onto a wire cooling rack and let cool completely to room temperature before assembling with Cream Cheese Frosting.
Notes
- Full nutrition information is not provided in the text. The recipe card indicates a ‘Full Nutrition Label’ link is present, but the specific data is not extracted in the provided content.


Leave a Reply