My First Cherry Pie
I made my first cherry pie when I was about your age. My grandma showed me. I was so nervous. I thought the lattice top was magic.
She just laughed. She said, Tessa, it’s just folding and unfolding. She was right. It’s like a simple paper weave. Anyone can do it. That’s why this matters. Cooking isn’t about being perfect. It’s about trying.
Why Cherries Are Special
Pitting cherries is a bit messy. Your fingers will get red. But that’s part of the fun. You are working with real fruit. Doesn’t that smell amazing?
Using fresh cherries matters. You taste the summer in every bite. The flavor is bright and happy. Canned filling can’t give you that. Fun fact: There are over 1,000 types of cherries in the world!
The Secret is in the Bowl
Mixing the filling is easy. Just toss it all together. The cornstarch is the quiet hero. It thickens all those sweet cherry juices in the oven.
That vanilla and pinch of salt? They are the flavor boosters. They make the cherries taste even more like cherries. I still laugh at that. A tiny pinch does so much work. Do you have a favorite spice or extract you love to add to fruit?
Weaving Your Pie Top
Don’t be scared of the lattice. My grandma’s trick works. Just fold back every other strip. Lay down a new strip. Then fold them back. It’s like a little dance with dough.
The egg wash is your magic paint. It makes the crust shiny and golden. It tells everyone this pie was made with care. Are you a fan of a classic lattice, or do you like a solid top crust with pretty cut-outs?
The Best Part: Waiting
This is the hardest step. You must let the pie cool. I know, it’s torture! The filling needs time to set. If you cut it too soon, it will run everywhere.
But the wait is worth it. You get a perfect slice. The crust is crisp. The cherries are tender. It’s a lesson in patience. What’s the hardest part of waiting for a treat to be ready in your house?
Ingredients:
| Ingredient | Amount | Notes |
|---|---|---|
| Refrigerated pie crusts | 2 | |
| Fresh sweet cherries, pitted | 2 pounds | |
| Corn starch | 1/4 cup | |
| Granulated sugar | 3/4 cup | |
| Vanilla extract | 1 teaspoon | |
| Salt | 1 pinch | |
| Egg yolk | 1 | |
| Water | 1 tablespoon | For egg wash |
My Easy Cherry Pie, Just Like Summer Used to Taste
Hello, my dear. Come sit at the counter. Let’s bake a cherry pie. It reminds me of my old tree. Its branches were perfect for climbing. The fruit was always so sweet and bright. This recipe is just as sweet and simple. We’ll use fresh cherries and a little love. Doesn’t that sound lovely?
You’ll need two pie crusts from the fridge. Don’t worry, I use them too. Pit two pounds of sweet cherries. Your fingers will get wonderfully sticky. I still laugh at that. Now, let’s begin. Preheat your oven to 400°F. It needs to be nice and hot for us.
Step 1: Grab a big bowl. Put your pitted cherries inside. Add the sugar, corn starch, vanilla, and a tiny pinch of salt. Mix it all gently. You want every cherry to get a little coat. It will look glossy and sweet. This is the magic filling. Step 2: Press one crust into your pie dish. Be gentle but firm. Make sure it fits into all the corners. Now, pour that beautiful cherry filling right in. Spread it evenly. See how the red jewels shine? I think that’s the prettiest part. Step 3: Now for the fun top. Roll out the second crust. Cut it into long, one-inch strips. We’ll make a lattice. Lay half the strips going one way. Fold every other one back, then lay a new strip across. Fold them down. It’s like weaving a tasty blanket. (My hard-learned tip: work quickly so the dough stays cool.) Step 4: Trim the extra dough from the edges. Pinch the top and bottom crusts together to seal. This keeps all the sweet juice inside. In a little cup, mix the egg yolk with water. Brush this wash over the top crust. It will make our pie glow golden brown. Step 5: Bake your pie for about an hour. The smell will fill your whole house. It’s done when the filling bubbles and the crust is golden. This is important: let it cool almost completely. This lets the filling set. What’s your favorite summer fruit memory? Share below! Then you can slice a perfect piece. Cook Time: 55–60 minutesTotal Time: About 1 hour 30 minutes
Yield: 8 generous slices
Category: Dessert, Pie
Three Sweet Twists for Your Next Pie
Once you know the basics, you can play. I love adding little surprises. It makes baking feel like an adventure. Here are three ideas I’ve tried over the years. They each make the pie feel new again.
Chocolate Chip Cherry: Stir a handful of dark chocolate chips into the filling. They melt into little pockets of joy. Almond Sparkle: Add a half teaspoon of almond extract with the vanilla. Sprinkle sliced almonds on top with the sugar. Berry Best Friends: Replace one pound of cherries with blueberries or raspberries. The flavor becomes a beautiful, tangy mix.Each one brings a different smile to my table. Which one would you try first? Comment below!
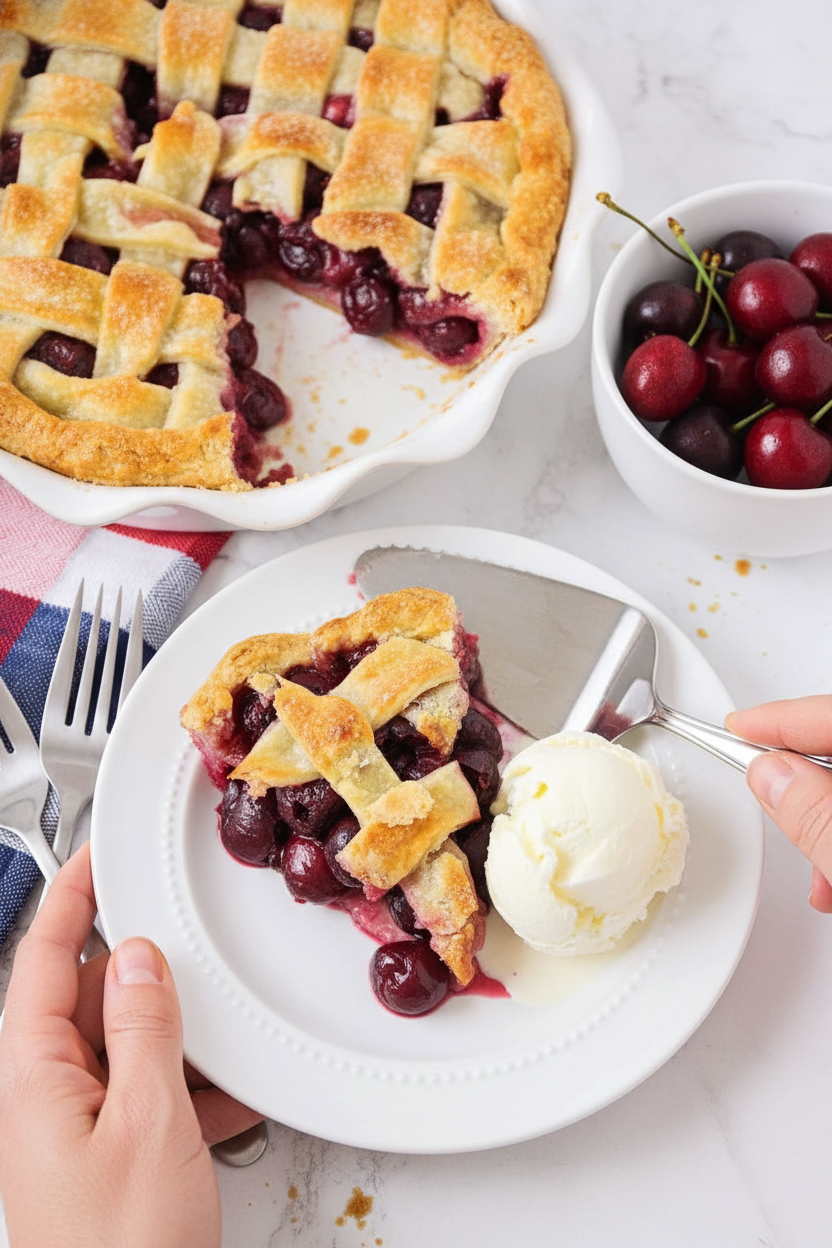
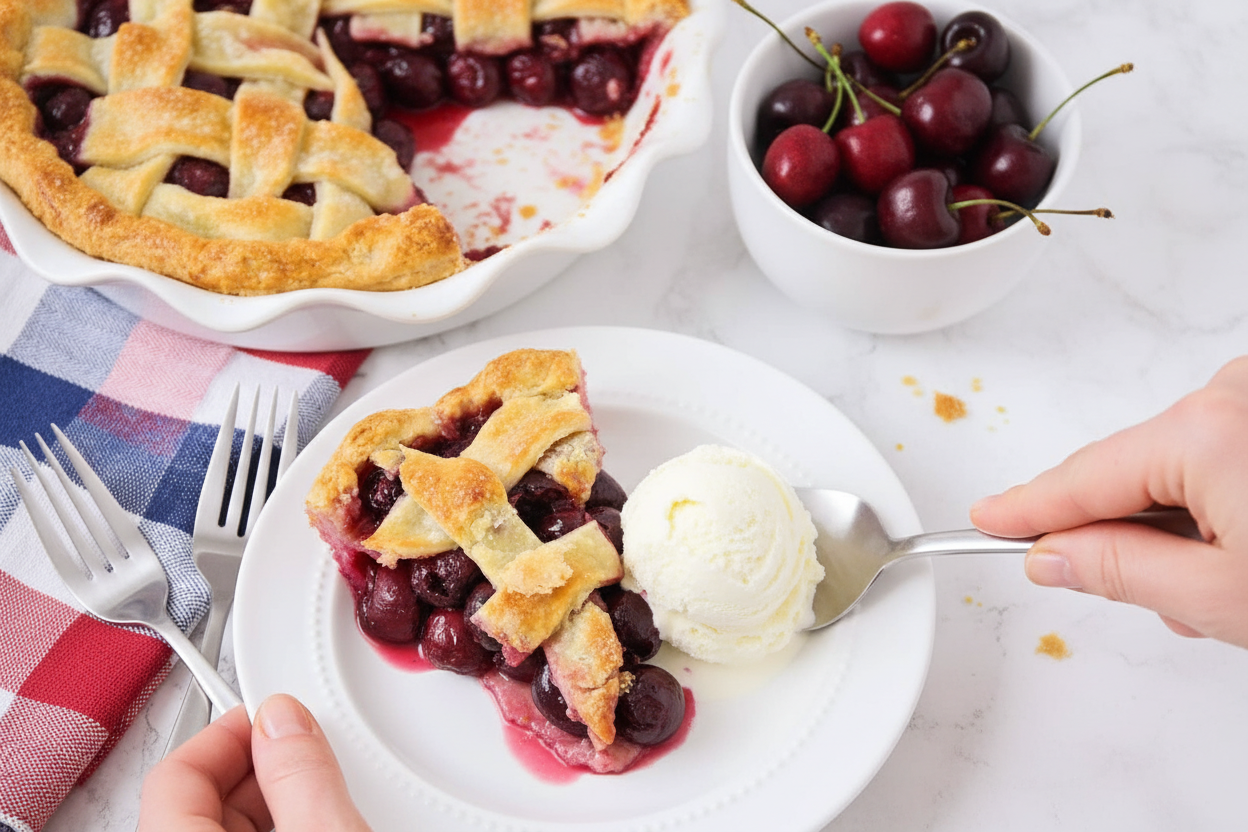
The Perfect Slice: Serving Your Masterpiece
A warm pie needs just the right companions. It’s like choosing friends for a picnic. I always think about what will make the moment special. Here is how I like to serve it.
Place a slice on a pretty plate. Add a scoop of vanilla ice cream. Watch it melt into the lattice holes. A dollop of fresh whipped cream is also wonderful. For a fancy touch, dust it with powdered sugar. Doesn’t that look amazing?
For drinks, I have two choices. A glass of cold milk is my grandson’s favorite. For the grown-ups, a small glass of sweet dessert wine pairs beautifully. It sips like liquid sunshine. Which would you choose tonight?
Storing Your Cherry Pie for Later
Let’s talk about keeping your pie tasty. A baked, cooled pie lasts two days on the counter. Cover it loosely with foil. For longer storage, the fridge is your friend. It will keep for up to four days there.
You can also freeze a baked pie. Let it cool completely first. Wrap it tightly in plastic, then foil. It will be good for three months. Thaw it overnight in the fridge before serving.
I once reheated a slice in the microwave. The crust got soggy. Now I use the oven. Warm slices at 350°F for 10 minutes. This keeps the crust crisp.
Batch cooking matters for busy families. Make two pies at once. Bake one today, freeze one for later. A ready-made dessert saves the day. Have you ever tried storing it this way? Share below!
Fixing Common Cherry Pie Problems
First, a runny filling is common. The key is the cornstarch. Make sure your cherries are not too juicy. If they are, add one extra tablespoon of cornstarch. This helps the filling set nicely.
Second, a soggy bottom crust can happen. I remember when this spoiled my first pie. Always preheat your oven fully. Place your pie dish on a lower rack. The direct heat crisps the bottom.
Third, the lattice crust can be tricky. Just go slow. It’s like weaving a simple basket. Fixing these issues builds your cooking confidence. A perfect pie also tastes so much better. Which of these problems have you run into before?
Your Cherry Pie Questions, Answered
Q: Can I make this gluten-free? A: Yes! Use your favorite gluten-free pie crust from the store. The filling is naturally gluten-free.
Q: Can I make it ahead? A: Absolutely. Assemble the pie the night before. Keep it covered in the fridge. Bake it fresh in the morning.
Q: What if I don’t have fresh cherries? A: Frozen cherries work great. Thaw and drain them well first. No need to adjust the sugar.
Q: Can I make a smaller pie? A: You can. Just cut all the ingredients in half. Use a smaller pie dish.
Q: Any optional tips? A: Add a pinch of almond extract with the vanilla. Fun fact: This trick makes the cherry flavor pop! Which tip will you try first?
From My Kitchen to Yours
I hope you love making this pie. It is a recipe full of sweet memories. Share it with someone you love. I would be so happy to see your creation.
Please share a photo of your beautiful lattice work. Your kitchen stories make my day. Have you tried this recipe? Tag us on Pinterest! I can’t wait to see.
Happy cooking!
—Tessa Hammond.

Easy Homemade Cherry Pie Recipe
Description
A classic and delicious homemade cherry pie with a flaky crust and sweet-tart filling.
Ingredients
Instructions
- Preheat the oven to 400°F.
- In a medium bowl, mix the cherries, cornstarch, sugar, vanilla, and salt until the cherries are coated with the cornstarch mixture.
- Gently press the bottom pie crust into a 9-inch pie dish, making sure that it is pressed against the edges and bottom with no gaps or air bubbles. Pour the cherry mixture into the bottom crust.
- Roll out the top crust and cut into one-inch wide strips using a pizza cutter or a sharp knife. Lay half of the strips across the pie, spacing about ¼ inch apart. Fold every other strip back on itself, then lay one of the remaining strips across the middle of the pie, perpendicular to the previous strips.
- Fold the strips back down over the new strip, Repeat, alternating which strips are folded back on themselves, until the top of the pie is covered in a lattice pattern.
- Cut off the excess crust using a sharp knife. Pinch the bottom crust and top crust together to seal.
- In a small bowl, whisk the egg yolk and water. Brush the egg wash over the top of the pie, and sprinkle with additional sugar if desired.
- Bake for 55-60 minutes or until the filling is bubbling hard and the pie crust is golden brown. Let cool to nearly room temperature before slicing and serving.
Notes
- For a shiny, golden crust, the egg wash is key. Letting the pie cool is crucial for the filling to set properly.


Leave a Reply