The Magic of Browned Butter
Let me tell you about browned butter. It is simple magic. You just cook butter until it turns a golden color. It gets a warm, nutty smell. Doesn’t that smell amazing? It makes everything taste deeper.
I learned this trick years ago. I almost burned a batch. I was so worried! But it turned out perfect. I still laugh at that. This matters because that one step changes everything. It turns a simple cookie into something special.
Mixing Up Memories
Making the dough is my favorite part. You mix the browned butter with the sugars. It becomes so creamy. Then you add the eggs and vanilla. The kitchen fills with a sweet, warm scent.
Here is a fun fact for you: letting the dough rest is key. It lets the flour drink up the wet ingredients. This matters. It gives you a cookie that is chewy in the middle and crisp on the edges. Do you prefer chewy or crispy cookies?
The Chocolate Dip Secret
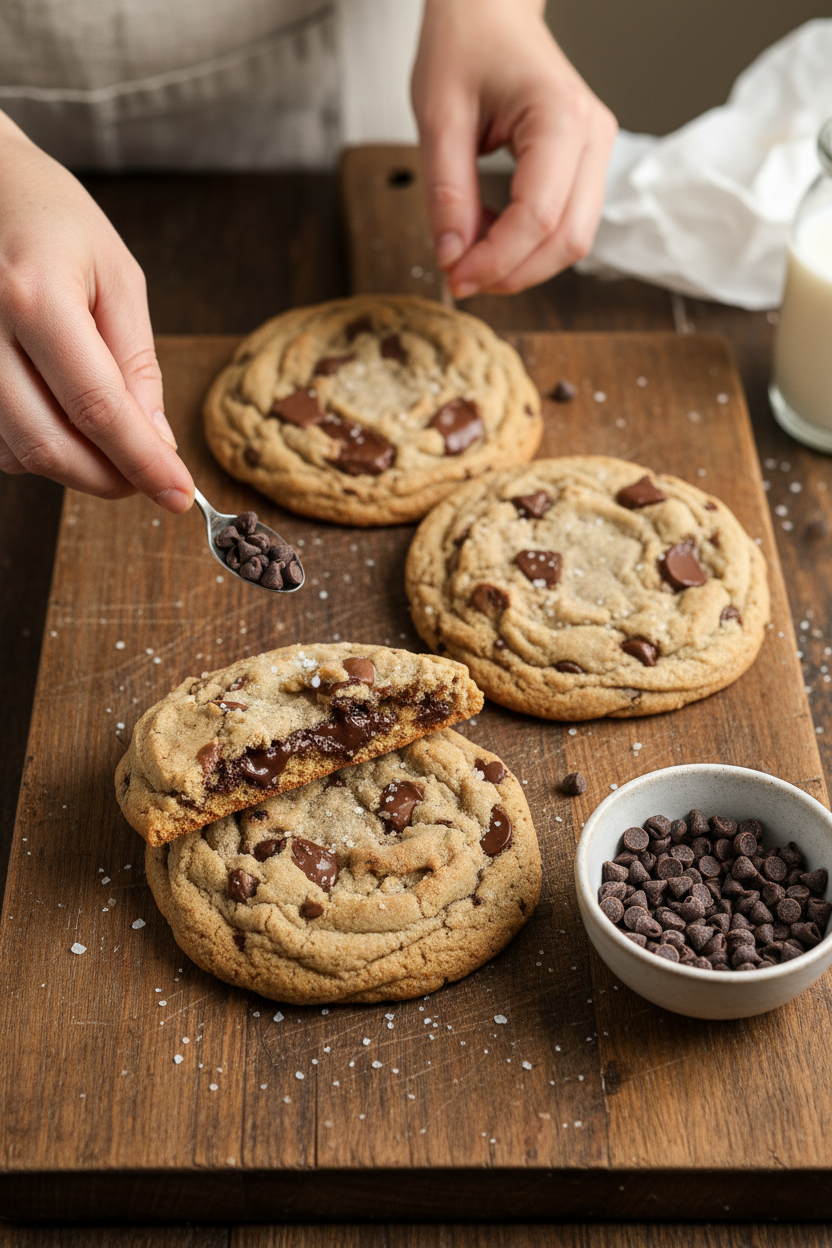
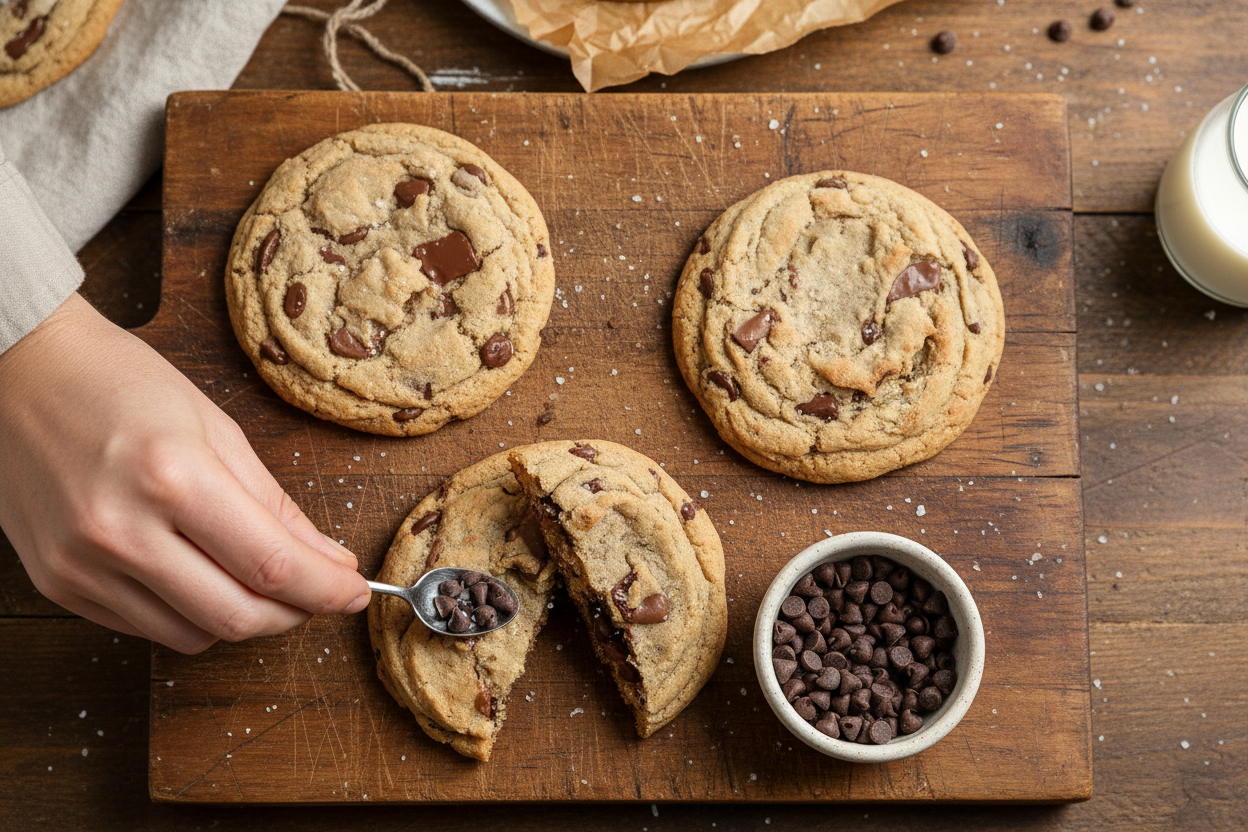
Now for the fancy part. Dipping! We melt dark chocolate. Then we spread it on the cookie bottoms. It is like giving them a chocolate coat. You must let them set in the fridge.
My grandson calls them his “fancy boots.” It always makes me smile. Using a mix of chocolates in the dough is my tip. It gives you little surprises in every bite. What is your favorite kind of chocolate to bake with?
Warm From the Oven
Watching them bake is pure joy. They puff up and then sink a little. The edges turn a perfect gold. You must let them rest on the pan. It is hard to wait! But it helps them set.
That first warm cookie is heaven. The browned butter flavor really comes through. Then you get the cool, crisp chocolate on the bottom. It is the best of both worlds. Share a picture if you make them. I would love to see your batch!
Why We Bake
These cookies are more than a treat. They are a little project of love. The steps are simple. But together, they make magic. Baking teaches us patience. Good things take a little time.
It also makes your home smell wonderful. It brings people into the kitchen. That is the real goal. To share something made with care. What is your favorite thing to bake for someone you love?
Ingredients:
| Ingredient | Amount | Notes |
|---|---|---|
| Gluten-free flour or all-purpose flour | 2 ¼ cups | |
| Baking soda | 1 tsp | |
| Kosher salt | 1 tsp | |
| Light brown sugar | ¾ cup | packed |
| Granulated sugar | ⅓ cup | |
| Unsalted butter | 1 cup | browned |
| Vanilla extract | 2 ½ tsp | |
| Eggs | 2 | |
| Chocolate chips | 1 ½ cups | mix of dark and milk recommended |
| Dark chocolate | 2 cups | for dipping |
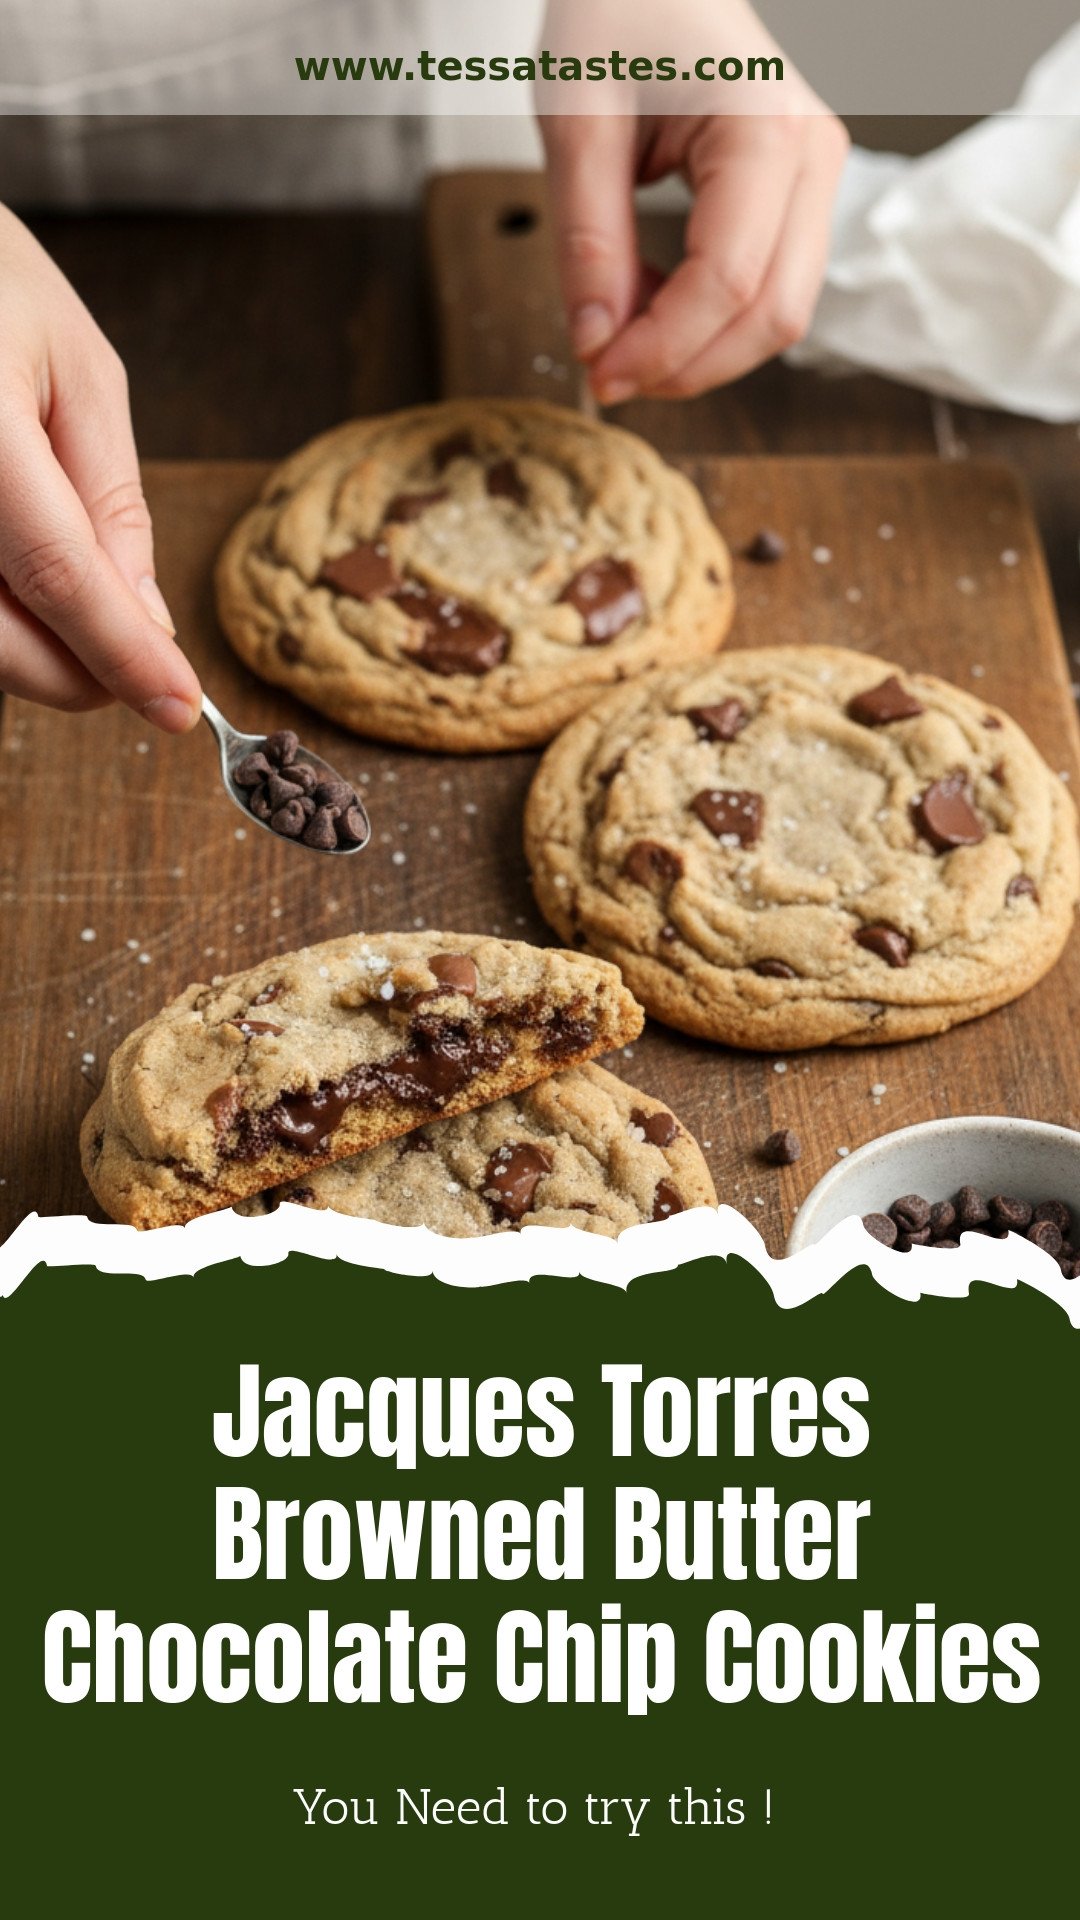
My Fancy Browned Butter Cookies
Hello, my dear! Come sit at the counter. Let’s make my special cookies. They have a secret. We brown the butter first. It makes them taste like warm, nutty toffee. I learned this trick years ago. Doesn’t that smell amazing? My grandson calls them “fancy cookies.” I still laugh at that. But they are a bit fancy, especially when we dip them. Ready? Let’s begin.
Step 1: First, we brown the butter. Put your butter in a small pot. Cook it on medium-low heat. Watch it melt and bubble. It will start to smell wonderful. Little brown bits will form at the bottom. This takes about 10 minutes. (Hard-learned tip: Use a light-colored pot so you can see the color change!) Pour it into a bowl to cool. We don’t want to cook the eggs with hot butter.
Step 2: Now, mix the wet things. Put the cooled butter in a big bowl. Add both sugars. Mix for three whole minutes. It gets creamy and smooth. Then add the eggs, one at a time. Mix in the vanilla. That vanilla smell is pure happiness. I always take a deep breath here.
Step 3: Time for the dry team. Stir in the flour, baking soda, and salt. Mix until you see no more white powder. Then, fold in your chocolate chips. I like to use dark and milk chocolate together. It’s the perfect mix. Do you like more chips or more cookie in your bite? Share below!
Step 4: Patience is key. Let the dough sit on the counter for 30 minutes. This helps the cookies not spread too thin. I use this time to clean up. Or have a cup of tea. Preheat your oven to 350°F now. Line your baking sheets with parchment paper.
Step 5: Let’s bake! Scoop the dough into little balls. Place them two inches apart. They need space to grow. Bake for 9 to 11 minutes. The edges will be golden. The centers will look soft and a bit sunken. That’s perfect. Let them rest on the sheet for 5 minutes. Then move them to a rack to cool completely.
Step 6: The fancy dip! Melt the dark chocolate. Use a spatula to spread it on the bottom of each cool cookie. Place them chocolate-side up on parchment paper. Then, into the fridge they go for 30 minutes. This sets the chocolate with a nice snap. The waiting is the hardest part, I know.
Cook Time: 9–11 minutes per batch
Total Time: About 1 hour 30 minutes
Yield: About 2 dozen cookies
Category: Dessert, Cookies
Three Fun Twists to Try
These cookies are wonderful as they are. But sometimes, it’s fun to play. Here are three ideas for next time. They make the kitchen smell even better.
The Sea Salt Sparkle: Right after dipping, sprinkle a tiny bit of flaky sea salt on the wet chocolate. It’s sweet and salty.
The Nutty Crunch: Fold in a half cup of chopped toasted pecans or walnuts with the chocolate chips. So cozy.
The Orange Zest Surprise: Add the zest of one orange to the butter and sugar mix. It’s like a sunny little secret.
Which one would you try first? Comment below!
Serving Them Up Right
These cookies deserve a nice presentation. They are a treat! For a simple dessert, stack three on a small plate. You could add a few fresh raspberries on the side. The red looks so pretty against the dark chocolate. For a real party, place one cookie on a saucer with a tiny glass of cold milk. It makes everyone smile.
What to drink? A cold glass of whole milk is the classic choice. It always is. For the grown-ups, a small glass of tawny port wine is lovely. It sips like liquid raisins. It goes so well with the browned butter. Which would you choose tonight?
Keeping Your Cookies Happy
Let’s talk about keeping these cookies delicious. First, cool them completely. Then, store them in a tin at room temperature. They will stay soft for about five days.
You can freeze the baked cookies, too. Just wrap them tightly. They thaw perfectly in an hour. I once froze a whole batch for my grandson’s visit.
You can also freeze the dough balls. This is my favorite batch-cook trick. Pop a few in the oven anytime. Fresh cookies in minutes!
This matters because good food should last. It saves time and reduces waste. Have you ever tried storing it this way? Share below!
Cookie Troubles? Easy Fixes!
Sometimes cookies spread too thin. Your butter was probably too warm. Chill your dough for thirty minutes first. This helps them keep their shape.
Cookies can turn out cakey or dry. This often means too much flour. Spoon your flour into the cup. Then level it off with a knife.
The chocolate dip might not set. Your melted chocolate could be too thin. Let it cool a little before dipping. I remember when my first batch was a drippy mess!
Fixing small issues builds your confidence. It also makes your treats taste just right. Which of these problems have you run into before?
Your Quick Cookie Questions
Q: Can I make these gluten-free? A: Yes! Use a 1-to-1 gluten-free flour blend. It works perfectly in this recipe.
Q: How far ahead can I make the dough? A: You can make it two days ahead. Keep it covered in the fridge.
Q: What if I don’t have brown sugar? A: Use all white sugar. The cookies will be a little crisper but still good.
Q: Can I double the recipe? A: Absolutely! Just mix in a very large bowl. *Fun fact: browning the butter first is the secret to that rich, nutty flavor.*
Q: Is the chocolate dip optional? A: Of course! The cookies are wonderful plain, too. Which tip will you try first?
From My Kitchen to Yours
I hope you love making these cookies. I love thinking of families baking together. It creates the sweetest memories.
I would be so thrilled to see your creations. Please share a photo of your kitchen adventure. Have you tried this recipe? Tag us on Pinterest!
Thank you for spending time with me today. I hope your home is filled with wonderful smells. Happy cooking!
—Tessa Hammond.
Jacques Torres Browned Butter Chocolate Chip Cookies
Description
Indulge in these decadent chocolate chip cookies featuring nutty browned butter and a rich dark chocolate dip.
Ingredients
Instructions
- Brown the Butter: In a small stock pot over medium-low heat, cook butter for about 10 minutes until lightly golden brown. If using dairy-free butter, watch closely to avoid burning. Remove from heat and allow to cool slightly.
- Mix Wet Ingredients: In a large mixing bowl, combine browned butter with both sugars. Mix for 3 minutes until creamy. Add eggs one at a time, then mix in vanilla extract.
- Combine Dry Ingredients: Stir in flour, baking soda, and salt until fully combined. Fold in chocolate chips.
- Rest the Dough: Let the dough rest for 30 minutes at room temperature to allow it to set up.
- Bake the Cookies: Preheat oven to 350°F. Line 3 baking sheets with parchment paper. Scoop cookie dough into even-sized balls and place 2 inches apart. Bake for 9–11 minutes, or until edges are golden and centers are slightly sunken. Let cookies rest on the baking sheet for 5 minutes before transferring to a cooling rack.
- Dip in Chocolate: Once cooled, melt the dark chocolate. Use a spatula to spread melted chocolate over the bottom of each cookie. Place cookies chocolate-side up on a parchment-lined baking sheet. Refrigerate for 30 minutes to set.
Notes
- For best results, ensure the browned butter has cooled slightly before mixing with the sugars to avoid melting the sugar granules too much.


Leave a Reply