My First Buckwheat Mistake
I thought buckwheat was a kind of wheat. I was so wrong! My first batch of these crepes was a gray, sad lump. I almost gave up. But I learned something important. Mistakes are just lessons in an apron.
Buckwheat is actually a seed. It’s related to rhubarb! This matters because it’s naturally gluten-free. It has a lovely, nutty taste. It makes your kitchen smell like a cozy forest. Doesn’t that smell amazing?
Why These Crepes Are Special
These crepes are sturdy but tender. They hold your fillings without falling apart. That’s the magic of buckwheat. It has a quiet strength. I think food should be both strong and gentle.
They are also wonderfully forgiving. Your first crepe might not be perfect. Mine never are! The second one is always better. This matters because cooking should feel friendly, not scary. What’s your favorite thing to put inside a crepe? Sweet jam or savory cheese?
The Simple Dance of the Pan
Don’t be afraid of the swirling step. It’s a fun little dance. Lift the warm pan from the heat. Tilt it toward you. Pour a thin stream of batter. Now swirl your wrist in a circle.
The batter will spread into a lovely, thin circle. It sets quickly. That’s why you swirl fast! I still laugh at my first lopsided crepe. It looked like a map of a strange country. *Fun fact: In France, a lopsided first crepe is considered good luck!*
Fillings From My Kitchen
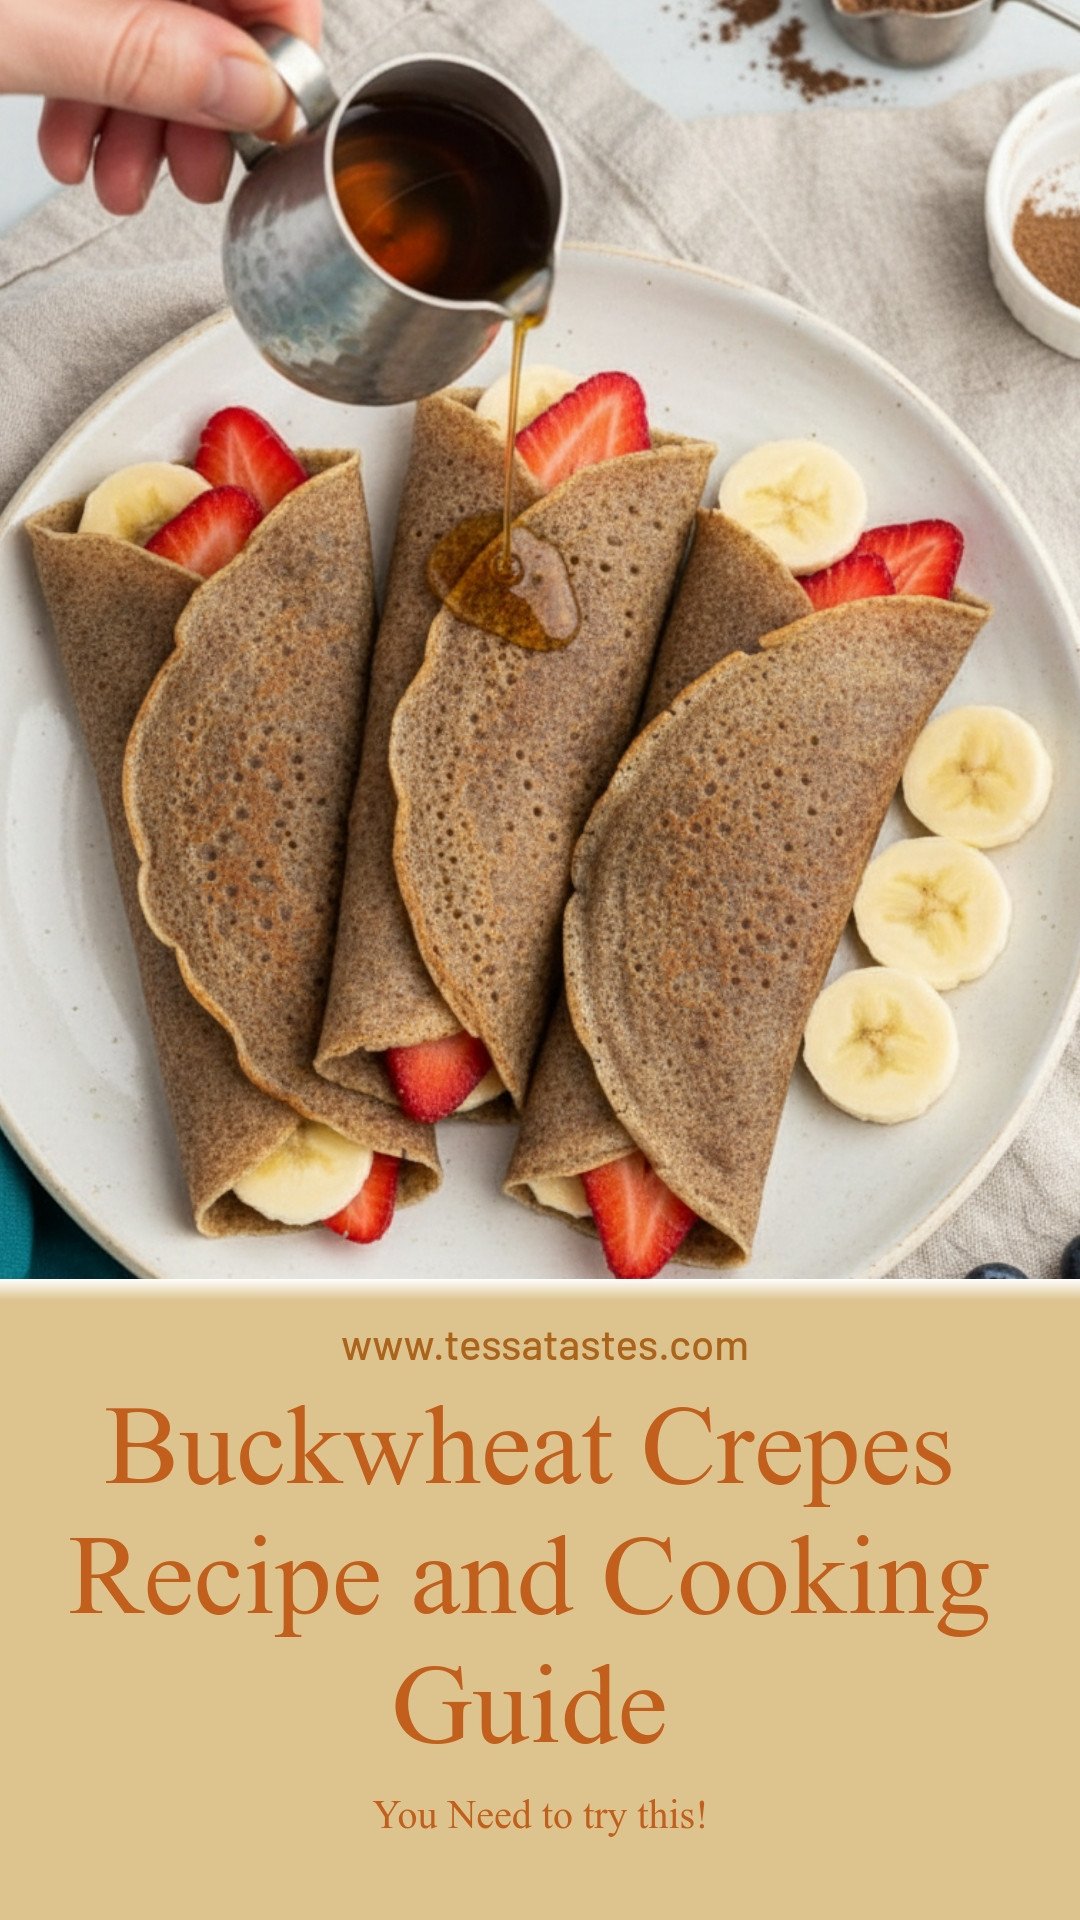
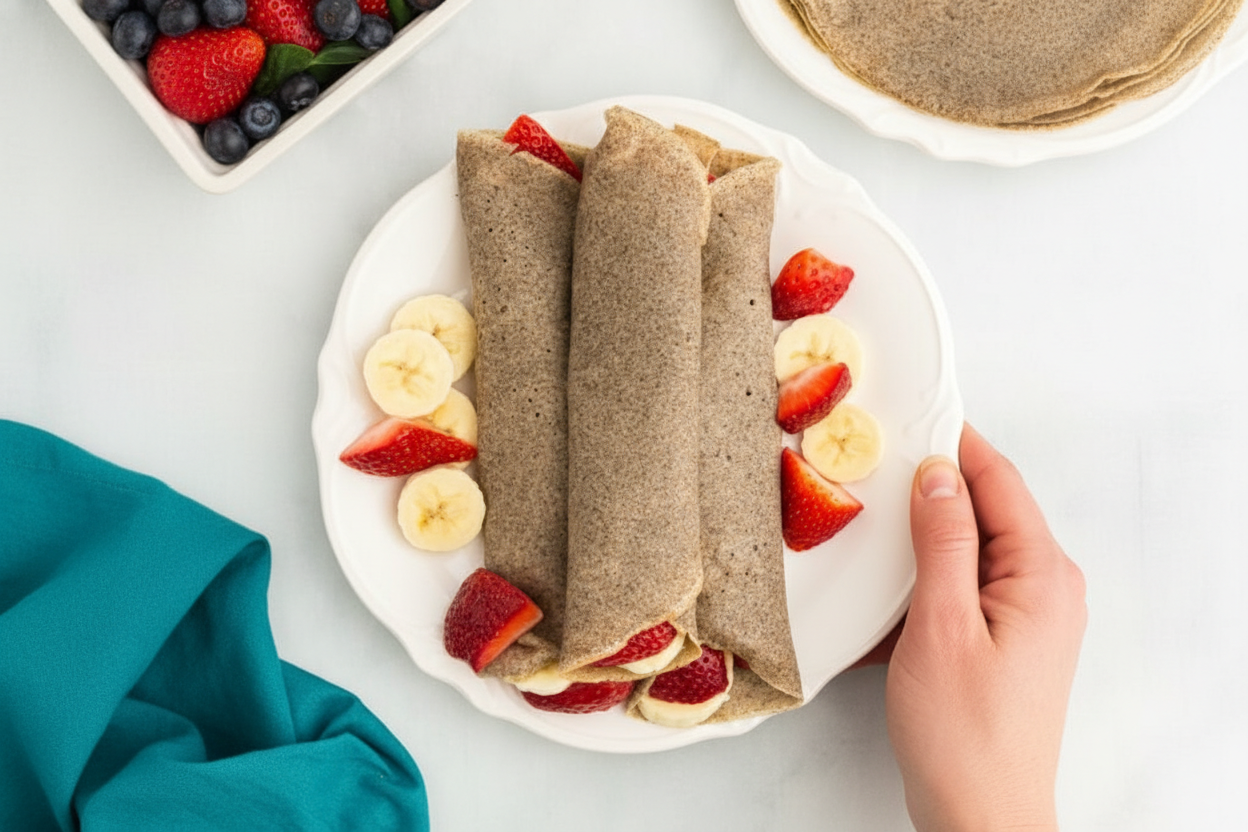
My favorite filling is simple. A sprinkle of sharp cheddar cheese. Then I fold the warm crepe over it. The cheese gets all melty inside. Sometimes I add a slice of ham. Perfect for lunch.
For a sweet treat, I love lemon and sugar. Just a squeeze of fresh lemon juice. Then a dusting of powdered sugar. It’s sunshine on a plate. What filling combo would you try first? Tell me your idea!
A Quiet Lesson in the Batter
Letting the batter rest is a secret. After you blend it, just walk away for 10 minutes. This lets the flour relax. It makes the crepes softer. Good things often need a little rest.
This is a small lesson for life, too. Rushing rarely makes things better. A little patience makes everything smoother. Do you have a food that taught you a little lesson like that?
Ingredients:
| Ingredient | Amount | Notes |
|---|---|---|
| milk | 2 cups | For dairy-free, use almond, oat, or soy milk. |
| buckwheat flour | 1 ¼ cups (185 grams) | |
| large eggs | 4 | |
| salt | ½ teaspoon | |
| non-stick cooking spray | as needed |
My Buckwheat Crepe Secret: A Batter That Never Fails
Hello, my dear. Come sit at the table. Let’s make some crepes. These are my favorite kind. They have a lovely, nutty taste from buckwheat flour. I learned this recipe from my friend Marie, long ago. We would make them every Sunday morning. I still laugh at that. Our first batch was a bit lumpy. But we figured it out together. Now I’ll share our secret with you. It’s all about a smooth batter and a hot pan. Doesn’t that smell amazing when it starts to cook?
Step 1: Grab your blender. Pour in the milk first. I use regular milk, but any kind works. Add the buckwheat flour, eggs, and salt. Put the lid on tight. Now blend it all up. Let it go for about thirty seconds. You want it to look like thin paint. (My hard-learned tip: Let the batter rest for 10 minutes if you can. It makes the crepes even better.)
Step 2: Heat your frying pan. Medium-high heat is just right. Get it nice and warm. Right before you cook, give it a quick spray. You’ll need to do this for every crepe. It keeps them from sticking. Think your pan is hot enough? A drop of water should sizzle and dance. What’s your test for a hot pan? Share below!
Step 3: Here’s the fun part. Lift the pan off the heat. Tilt it toward you. Pour about one-third cup of batter in. Now swirl the pan in a circle. Do it quickly. The batter will spread into a thin, round crepe. Place the pan back on the heat. Cook for just a minute or two. You’ll see the edges get dry and lift.
Step 4: Time to flip. Slide a thin spatula underneath. Be gentle. Give it a confident flip. It’s okay if it’s not perfect. Cook the other side for another minute. It should have little golden spots. Slide your beautiful crepe onto a plate. Then start the next one. Stack them up like a soft, warm blanket.
Cook Time: 20 minutes
Total Time: 30 minutes
Yield: About 8-10 crepes
Category: Breakfast, Brunch
Three Tasty Twists for Your Crepes
Now, the best part is filling them. You can keep it simple with jam. Or you can try one of these fun ideas. They make any meal feel special.
Sunshine Lemon: Spread with lemon curd. Add fresh blueberries. A little dusting of sugar on top.
Savory Herb: Mix chopped chives right into the batter. Fill with scrambled eggs and cheese.
Apple Pie: Sauté thin apple slices with cinnamon. Roll them up in a warm crepe. Drizzle with honey.
Which one would you try first? Comment below!
Serving Them Up Just Right
I love a pretty plate. For sweet crepes, a dollop of whipped cream is lovely. A few berries on the side add color. For savory ones, a simple green salad is perfect. It makes a complete meal. Now, what to drink? A glass of cold apple cider is so refreshing. For the grown-ups, a dry hard cider pairs wonderfully. It tastes like autumn in a glass.
Which would you choose tonight? A stack of sweet crepes with cider? Or a savory one with a salad? I can never decide. I often make both.

Keeping Your Crepes Happy for Later
Let’s talk about storing these lovely crepes. Cool them completely first. Stack them with a small piece of parchment paper between each one. This keeps them from sticking together.
You can put the stack in a sealed bag. They will keep in the fridge for three days. For the freezer, they last up to two months. I once forgot a batch in my freezer for weeks. They were still perfect when I found them!
To reheat, just warm a pan over medium heat. Place a crepe in for about 30 seconds per side. You can also microwave them for 20 seconds. Batch cooking like this saves so much time on busy mornings.
It means a special breakfast is always ready. Have you ever tried storing it this way? Share below!
Fixing Common Crepe Troubles
First, if your batter is too thick, add a splash more milk. The batter should pour like heavy cream. A thick batter makes heavy, doughy crepes. I remember when my first crepe was like a pancake!
Second, if the crepe sticks, your pan is not hot enough. Or you forgot the spray. Let the pan get properly hot before adding batter. This gives you that perfect, thin layer.
Third, if they tear when flipping, wait a bit longer. The edges should look dry and lift easily. Flipping too soon is a common mistake. Getting these steps right builds your cooking confidence.
It also makes the crepes tender and delicious. Which of these problems have you run into before?
Your Crepe Questions, Answered
Q: Are these crepes gluten-free? A: Yes! Buckwheat flour is naturally gluten-free. Just check your other ingredients.
Q: Can I make the batter ahead? A: Absolutely. Make it the night before. Keep it covered in the fridge.
Q: What can I use instead of eggs? A: Try a flax egg. Mix 1 tbsp ground flax with 3 tbsp water. Let it sit for 5 minutes.
Q: Can I double the recipe? A: You sure can. Just use a bigger bowl for mixing.
Q: Any special tip? A: Let the batter rest for 10 minutes. This helps the flour relax. *Fun fact: buckwheat isn’t wheat at all! It’s related to rhubarb.* Which tip will you try first?
From My Kitchen to Yours
I hope you love making these crepes as much as I do. They are so versatile. Fill them with jam, fruit, or even scrambled eggs.
I would love to see your creations. Sharing food connects us all. Have you tried this recipe? Tag us on Pinterest at @TessasKitchen!
Thank you for cooking with me today. I am so glad you are here. Happy cooking!
—Tessa Hammond.
Buckwheat Crepes: Buckwheat Crepes Recipe and Cooking Guide
Description
Master these versatile and delicious buckwheat crepes, perfect for sweet or savory fillings. A simple, gluten-free batter cooked to perfection.
Ingredients
Instructions
- Put all ingredients into a high-powered blender. Blend on high speed until smooth (about 30 seconds).
- Heat a 10” frying pan over medium-high heat or preheat a crepe maker. If using a crepe maker, skip down to the crepe maker steps.
- Frying Pan: Right before placing the batter into the frying pan, spray the frying pan with non-stick cooking spray. You’ll want to spray the frying pan between each crepe to prevent sticking.
- Lift the frying pan from the heat and turn it towards you. While tilted, start pouring in batter, rotating the frying pan while pouring so that the crepe batter evenly spreads into a thin circle about 8” in diameter. Rotate the pan quickly, as the batter will start cooking the moment it touches the hot frying pan. Use about 1/3 cup of batter per crepe.
- Place the frying pan back onto the heat and cook for 1 to 2 minutes (edges will be set and start to lift slightly.
- Using a silicone spatula, gently flip the crepe to cook on the other side (about 1 to 2 minutes until set).
- Crepe Maker: If using a crepe maker, follow the directions for your specific crepe maker. Using a crepe maker will create much thinner crepes. Crepes are usually pretty thin so this is the preferred method. With thin crepes, they will be more fragile so work carefully with a rubber spatula when removing crepes from the crepe maker.
- Place the cooked crepe on a plate and continue the steps above with the remaining batter.
- Serve crepes warm with your choice of filling.
Notes
- For best results, let the batter rest for 30 minutes before cooking to allow the flour to fully hydrate. Crepes can be made ahead and stored in the refrigerator for up to 3 days or frozen for up to 2 months.


Leave a Reply