A Sweet Memory
I first made this dessert for my grandson’s birthday. He loved pineapple. I wanted something cool and creamy. The look on his face was pure joy. I still smile thinking about it.
That’s why this matters. Food is more than eating. It’s about making happy memories with people you love. This dessert is a memory maker. Do you have a food that reminds you of a special day?
The Dreamy Layers
Let’s talk about building our dream. The crust is just crumbs and butter. Press it in tight. It gives a nice crunch. The freezer firms it up. That’s our strong foundation.
The middle layer is my favorite. You beat cream cheese and butter until fluffy. Doesn’t that smell amazing? Adding just a spoon of pineapple here is the secret. It keeps the layer firm but tasty. *Fun fact: letting your cream cheese get soft first makes it mix smooth, not lumpy!*
Why Draining Matters
Here’s a little story. Once, I was in a hurry. I didn’t drain the pineapple well. My creamy top turned into a soupy puddle. Oh, what a mess! I still laugh at that mistake.
So, press that pineapple in a strainer. Get all the juice out. This is the second “why this matters.” Good steps make a great dessert. Patience is a kitchen superpower. Do you prefer your desserts frozen or just cold from the fridge?
Putting It All Together
The top layer is easy. Gently fold pineapple into the Cool Whip. Be gentle so it stays fluffy. Spread it over the cream cheese like a soft cloud.
Sprinkle the last crumbs on top. Now, the hard part. You must wait. Let it chill for hours. This wait makes every layer set perfectly. It’s worth it. What’s the hardest part of baking for you—the waiting or the cleaning up?
A Taste of Sunshine
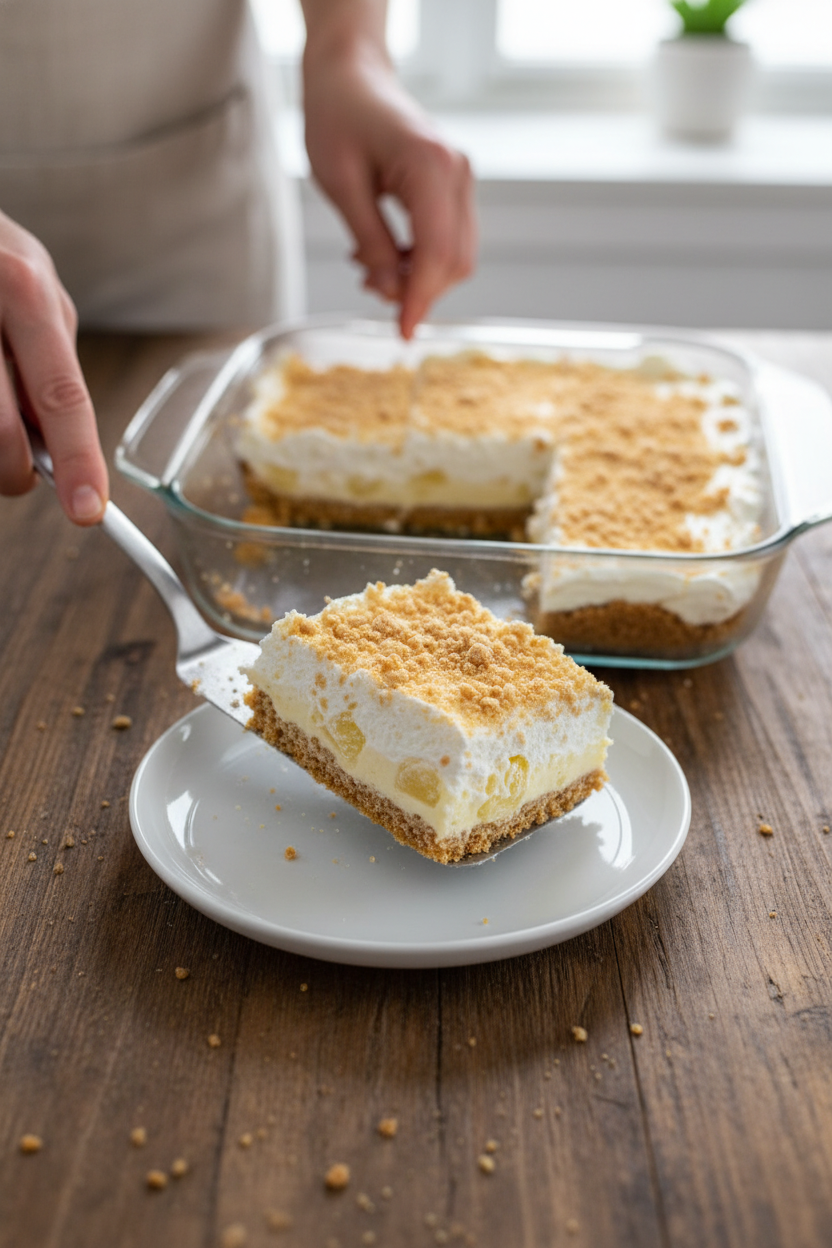
When you finally take a bite, you’ll understand. The crunchy crust. The smooth, rich middle. The light, fruity top. It’s like sunshine in a dish.
It’s sweet, tangy, and creamy all at once. Perfect for a hot day. Or any day that needs a little bright spot. I hope you make it for someone you love. Share your stories with me if you do.
Ingredients:
| Ingredient | Amount | Notes |
|---|---|---|
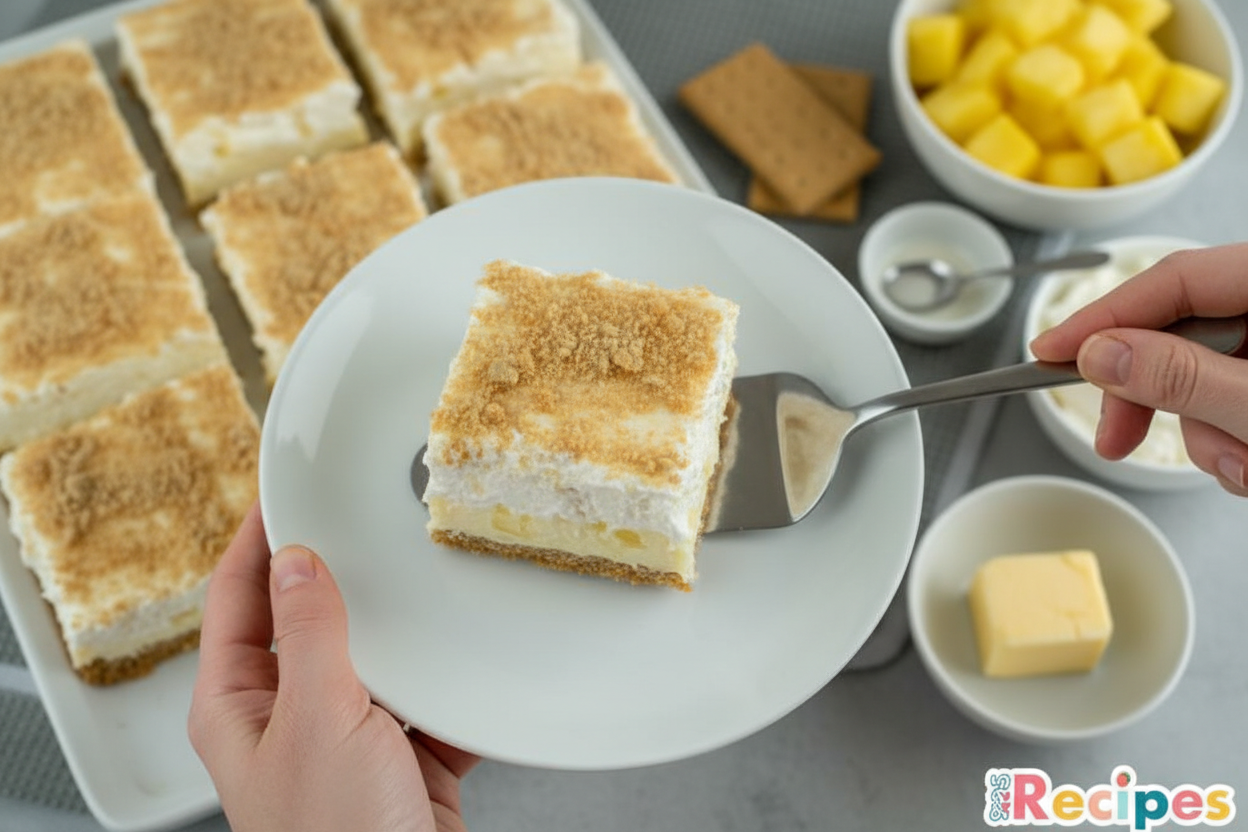
| crushed graham cookies | 2 ½ cups | divided, for the crust |
| melted butter | ½ cup | for the crust |
| unsalted butter, softened | ½ cup | room temperature (not melted), for creamy layers |
| cream cheese, softened | 4 oz | room temperature, for creamy layers |
| vanilla extract | 1 tsp | for creamy layers |
| powdered sugar | 2 ½ cups | for creamy layers |
| crushed pineapple, well drained | 20 oz | divided, for creamy layers |
| Cool Whip | 8 oz | fat free for a lighter version |
My Pineapple Dream Dessert Story
Hello, my dear! Let’s make something sweet today. This Pineapple Dream Dessert is a family favorite. My grandson calls it “sunshine in a pan.” I still laugh at that. It’s cool, creamy, and just a little bit crunchy. Doesn’t that sound lovely? We used to make it for every summer picnic. The best part is, you don’t even need to turn on the oven. Let’s get our bowls ready. I’ll share the story as we go.
Step 1: First, we make the crust. Crush those graham crackers until they look like sand. Mix them with the melted butter in a bowl. It should feel like wet sand at the beach. Press it firmly into your baking dish. Now, pop it in the freezer. This chills the crust so it stays crisp. (A hard-learned tip: Press it down with a cup for a smooth, even layer.)
Step 2: Time for the creamy middle. Beat the soft cream cheese and butter together. Add the vanilla. It should look fluffy and light. Now, slowly mix in the powdered sugar. One cup at a time keeps the cloud from poofing everywhere! Finally, stir in one big spoonful of pineapple. This little secret adds a burst of flavor. Spread this dreamy filling over the cold crust.
Step 3: Back into the freezer it goes. Just for a few minutes. This helps the layers stay separate. Now, let’s make the sunny top layer. Gently fold the rest of the pineapple into the Cool Whip. Be gentle, like you’re folding a fluffy blanket. Doesn’t that smell amazing? Spread it carefully over the cream cheese layer. It looks like a soft, white cloud already.
Step 4: Our final touch! Sprinkle the last of the crushed graham crackers on top. It gives a nice little crunch. Now, the hard part is waiting. You must let it chill in the fridge for hours. Overnight is even better. It lets all the flavors become friends. Quick quiz: What does my grandson call this dessert? Share below! Then, slice it up and serve. It’s pure happiness on a plate.
Cook Time: 4–6 hours (chilling)
Total Time: 4 hours 15 minutes
Yield: 12 servings
Category: Dessert, No-Bake
Dreamy Twists to Try
This recipe is like a good friend. It’s happy to change its outfit! Here are three fun ways to make it your own. I’ve tried them all. Each one brings a different smile.
Tropical Beach Day: Mix coconut flakes into the crust. Use mango chunks with the pineapple.
Berry Patch Picnic: Swap the pineapple for well-drained strawberries. Add a few to the top layer.
Chocolate Dream: Use chocolate graham crackers. Add mini chocolate chips to the cream cheese layer.
Which one would you try first? Comment below! I love reading your ideas.
Serving Your Sunshine
Presentation is part of the fun. For a party, I serve it in little glass cups. Layer the crust and fillings right in the cup. It looks so fancy! A mint leaf on top is a pretty green touch. You could also add a dollop of whipped cream. For a picnic, keep it simple in the pan. Everyone can grab a square.
What to drink? A cup of iced herbal tea is lovely. It’s sweet and cold. For the grown-ups, a little glass of sparkling Moscato wine pairs nicely. The bubbles cut through the cream. Which would you choose tonight? I think I’ll have the tea. It reminds me of summer evenings on the porch.
Keeping Your Pineapple Dream Perfect
This dessert loves the cold. The fridge is best for serving it soft. Keep it covered for up to three days.
The freezer is great for longer storage. I once made a double batch for a summer picnic. I froze one whole pan for a week. It was a lifesaver when guests dropped by!
You can serve it straight from the freezer for a firmer treat. No reheating is needed. Batch cooking like this saves future you time. It means you always have a sweet welcome ready. Have you ever tried storing it this way? Share below!
Simple Fixes for Common Hiccups
Is your crust too crumbly? You did not use enough butter. Add one more tablespoon, mix, and press again. A good crust matters. It gives every bite a nice, solid start.
Is the cream cheese layer lumpy? Your cream cheese was too cold. I remember when mine looked like cottage cheese! Let it soften on the counter for an hour. Smooth filling mixes better and tastes creamier.
Is the top layer watery? You did not drain the pineapple well enough. Press it in a strainer with a spoon. This step matters most. It keeps your dessert dreamy, not soggy. Which of these problems have you run into before?
Your Pineapple Dream Questions, Answered
Q: Can I make this gluten-free? A: Yes! Use gluten-free graham crackers for the crust. It works just the same.
Q: How far ahead can I make it? A: Make it the night before. The flavors get even better as they chill.
Q: What can I use instead of Cool Whip? A: You can use the same amount of whipped heavy cream. Just sweeten it a little.
Q: Can I make a smaller batch? A: Absolutely. Halve all the ingredients. Use an 8×8 inch pan.
Q: Any fun extra tips? A: Try toasting the leftover crumbs for the top. It adds a lovely crunch. Which tip will you try first?
My Kitchen Is Always Open
I hope this dessert brings a smile to your table. Food is about sharing joy and making memories. *Fun fact: The pineapple is a symbol of welcome and friendship.* That is why this dessert is so perfect for gatherings.
I would love to see your creation. Sharing our kitchen stories connects us all. Have you tried this recipe? Tag us on Pinterest! I cannot wait to see your version.
Happy cooking! —Tessa Hammond.

Pineapple Dream Dessert
Description
A delightful no-bake dessert with a graham cracker crust, a creamy pineapple-cheese layer, and a fluffy Cool Whip topping.
Ingredients
For the crust:
For the creamy layers:
Instructions
- Make the crust: mix 2 cups crushed graham crackers with ½ cup melted unsalted butter in a medium-sized bowl until well combined. Press this mixture into the bottom of a 9×13-inch baking dish. Place the baking dish in the freezer while you make the filling.
- Make the middle layer: using a hand-held or stand mixer, beat the softened cream cheese, butter, and vanilla extract until smooth and fluffy. Turn the mixer to low and add the powdered sugar, one cup at a time, until smooth. Using a rubber spatula, mix in one heaping tablespoon of crushed pineapple until well combined.
- Spread the cream cheese mixture evenly over the cookie crust. Return to the freezer.
- Make the top layer: place the Cool Whip in a large bowl and gently fold in the rest of the crushed pineapple until well combined. Spread this mixture evenly over the cream cheese mixture.
- Top with the remaining ½ cup crushed graham crackers and refrigerate for at least 4 hours or overnight. You can also serve this dessert frozen.
Notes
- Ensure the pineapple is very well drained to prevent a soggy crust. For best results, chill overnight before serving.


Leave a Reply