A Pie That Tells a Story
My grandson calls this my “hug in a pie dish.” I think he’s right. Making this chocolate pie feels like wrapping someone in a warm blanket. It’s simple, honest food. It asks for your patience, not your perfection.
I learned it from my own grandma. She’d make it on rainy afternoons. The whole kitchen would smell like sweet cocoa. I still smile thinking of her apron dusted with flour. What’s a food that makes you feel hugged? I’d love to know.
Why the Whisking Matters
Let’s talk about that saucepan. You must stir, stir, stir. It’s a quiet kind of work. Your arm might get a little tired. But this is where the magic happens.
The constant stirring stops lumps from forming. It also keeps the milk from burning on the bottom of the pan. This is the “why it matters” part. That care gives you a filling smooth as silk. It’s the difference between good and great.
The Secret Step with the Eggs
Now, about those egg yolks. Pouring hot mix right onto them would make sweet scrambled eggs. We don’t want that! So we warm them up slowly first.
You take a little hot chocolate and drizzle it in. You whisk like crazy the whole time. *Fun fact: This is called “tempering.” It’s just a fancy word for being gentle with your ingredients.* Then you mix it all back in the pot. It makes the pie set up nice and thick.
The Butter and Vanilla Finish
Once it’s off the heat, you stir in the butter and vanilla. Oh, doesn’t that smell amazing? The butter adds a rich shine. The vanilla makes the chocolate flavor sing.
This is my favorite part. The hard work is done. You’re just making it taste like love. Do you have a “finishing touch” you always add to recipes? Mine is always a little extra vanilla.
Let It Rest and Share It
You must let the pie chill. This is the final test of patience. It needs at least four hours in the cold. I know, it’s hard to wait!
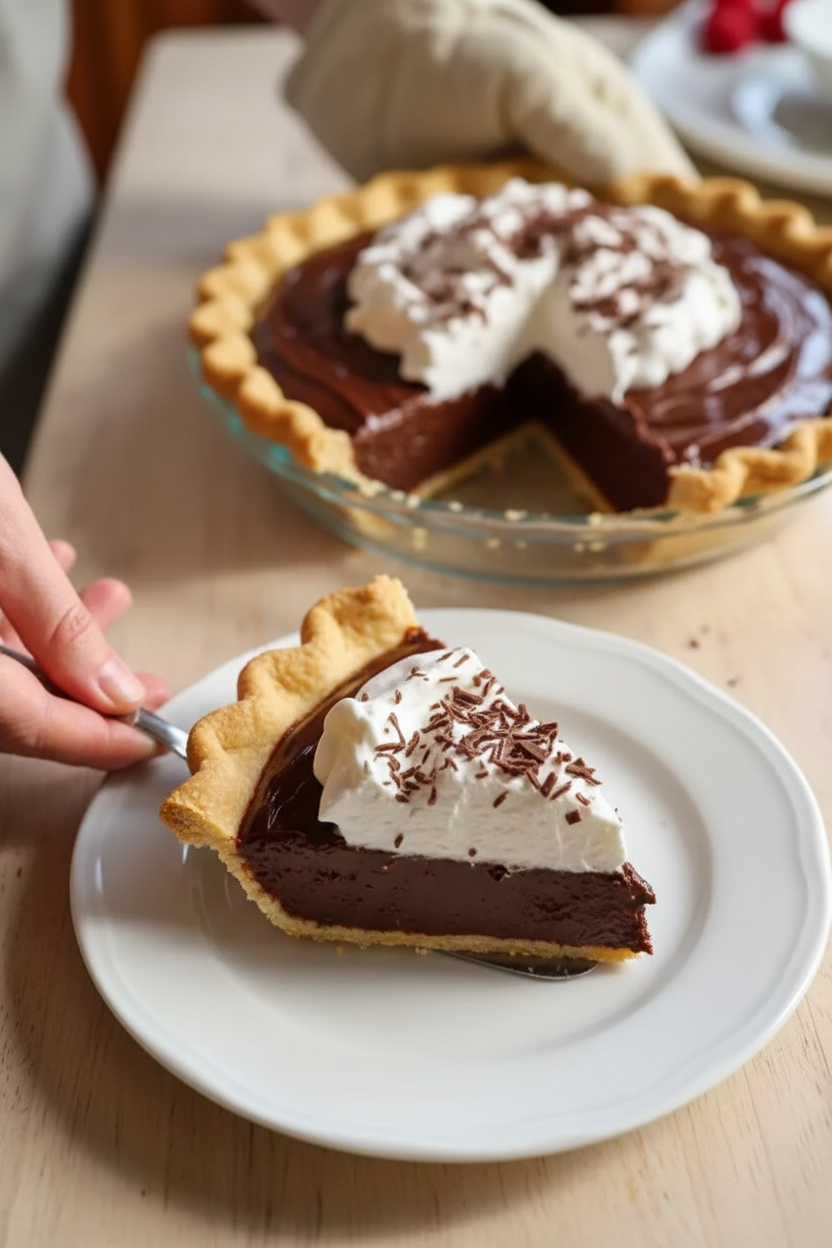
But this waiting matters, too. It lets the filling become firm and sliceable. Then, cut a big piece. Add some whipped cream. Share it with someone you care about. Food tastes better when it’s shared, don’t you think?
Ingredients:
| Ingredient | Amount | Notes |
|---|---|---|
| pre-baked 9-inch pie crust | 1 | store-bought or homemade |
| granulated sugar | 1 ½ cups | |
| unsweetened cocoa powder | ¼ cup | |
| all-purpose flour | ¼ cup | |
| salt | ¼ teaspoon | |
| whole milk | 3 cups | |
| egg yolks, beaten | 4 | |
| unsalted butter | 2 tablespoons | |
| vanilla extract | 1 ½ teaspoons |
My Grandmother’s Chocolate Pie Secret
Hello, dear. Pull up a chair. Let’s make my favorite chocolate pie. My own grandma taught me this recipe. It feels like a warm hug in a dish. We’ll make it together, step by step. It’s easier than you think. I still smile remembering her kitchen. Doesn’t that smell amazing already?
Step 1: Start with your pie crust. It should be baked and cool. A flaky crust is like a good foundation for a house. You can buy one or make your own. I use a store-bought one sometimes. No shame in that at all!
Step 2: Now, mix the dry things. Whisk sugar, cocoa, flour, and salt. Get them all friendly in the pan. This stops lumps later. My grandson calls it “making chocolate dirt.” I still laugh at that.
Step 3: Slowly whisk in the milk. Use medium heat. You must stir and stir. It feels like a long time. But soon, it will thicken. It looks like a thin pudding. (My hard-learned tip: Don’t walk away! It can burn on the bottom.)
Step 4: Time for the egg yolks. Beat them in a bowl. Scoop a little hot chocolate mix in. Whisk it fast! This warms the eggs slowly. Otherwise, you get sweet scrambled eggs. Nobody wants that.
Step 5: Pour that egg mix back into the pan. Keep cooking for a few minutes. Stir until it’s nice and thick. It should coat your spoon. What’s the key to a smooth filling? Share below!
Step 6: Turn off the heat. Stir in the butter and vanilla. The butter makes it shiny. The vanilla makes it sing. This is my favorite part. The whole kitchen smells like love.
Step 7: Pour it into your waiting crust. Smooth the top gently. Let it cool on the counter. Then it goes in the fridge. You must wait for it to set. Patience makes perfect pie.
Cook Time: 15 minutes
Total Time: 4 hours 30 minutes (plus chilling)
Yield: 8 slices
Category: Dessert, Pie
Three Fun Twists to Try
This pie is wonderful as is. But sometimes, it’s fun to play. Here are three ideas from my kitchen. They are all simple and tasty.
Cookie Crumb Crust: Use crushed chocolate cookies instead of pie crust. It’s extra chocolatey and crunchy.
Peanut Butter Swirl: Drop spoonfuls of peanut butter on the filling. Swirl it with a knife before chilling.
Minty Fresh: Add a drop of peppermint extract with the vanilla. It tastes like a cool holiday.
Which one would you try first? Comment below!
Serving It Up With Style
A slice of this pie is a treat alone. But a little extra makes it special. Try a big cloud of whipped cream on top. A sprinkle of sea salt is nice too. It makes the chocolate taste deeper.
What to drink with it? For grown-ups, a small glass of ruby port is lovely. It’s sweet and rich. For everyone, a cold glass of milk is the classic choice. It just belongs with chocolate pie.
Which would you choose tonight?
Keeping Your Chocolate Pie Perfect
This pie keeps beautifully in the fridge. Just cover it loosely with plastic wrap. It will stay fresh for about three days. You can also freeze the whole pie for later. Wrap it tightly in plastic and foil first. Thaw it overnight in the refrigerator before serving.
I do not recommend reheating a slice. This pie is meant to be served cold and creamy. I once tried warming a piece in the microwave. It became a soupy mess! Chilling it well is the secret to perfect slices.
Batch cooking the filling is a great idea. Make a double batch and freeze one for a busy week. Having a dessert ready in the freezer matters. It turns a regular Tuesday into a special treat. Have you ever tried storing it this way? Share below!
Simple Fixes for Common Hiccups
Is your filling too runny? You might not have cooked it long enough. Keep stirring over the heat until it thickens. I remember when my first pie was like chocolate soup. Patience is your best friend here.
Lumpy filling is another common issue. Whisk your dry ingredients very well before adding milk. This prevents little flour or cocoa lumps from forming. A smooth filling matters for that dreamy, silky texture we all love.
Does your crust get soggy? Let the filling cool a bit before pouring it in. A hot filling can make the bottom crust soft. This small step builds your cooking confidence. It ensures every bite is perfect. Which of these problems have you run into before?
Your Pie Questions, Answered
Q: Can I make this gluten-free?
A: Yes! Use a gluten-free pie crust. Swap the flour for a gluten-free blend.
Q: How far ahead can I make it?
A: Make it 1-2 days ahead. The chill time makes the flavor even better.
Q: What if I don’t have whole milk?
A: Any milk will work. But whole milk makes the filling extra rich and creamy.
Q: Can I double the recipe?
A: Absolutely. Use a larger pot. You can make two pies for a crowd.
Q: Any fun topping ideas?
A: Whipped cream is classic. Try a sprinkle of sea salt or crushed peppermint. Which tip will you try first?
From My Kitchen to Yours
I hope you love making this old-fashioned pie. It is a recipe full of sweet memories for me. I would love to see your creation. Sharing food connects us all.
*Fun fact: This type of pie is sometimes called “finger pie.” You stir it with one finger to test the thickness!*
Tell me all about your baking adventure. Have you tried this recipe? Tag us on Pinterest! I can’t wait to see your beautiful pies. Happy cooking!
—Tessa Hammond.
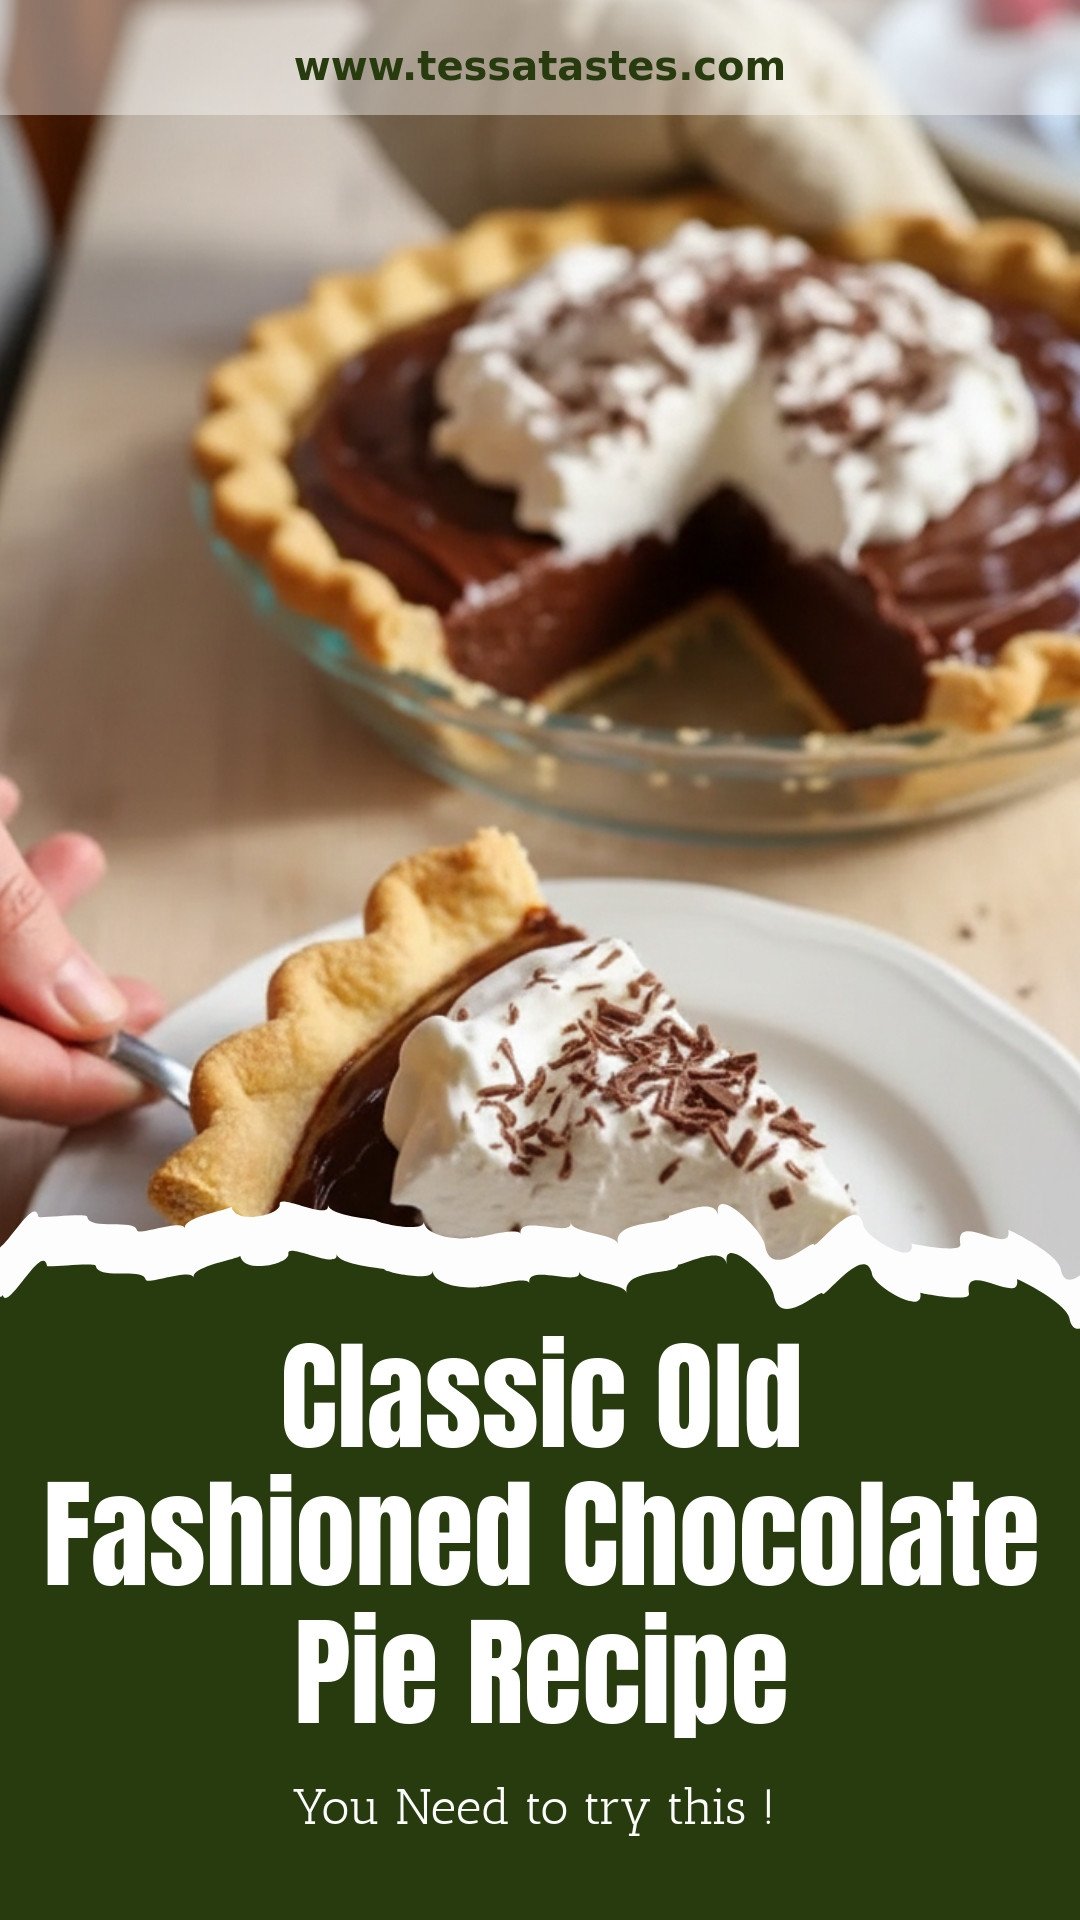
Classic Old Fashioned Chocolate Pie Recipe
Description
Making an Old Fashioned Chocolate Pie is as comforting as the pie itself. With just a saucepan, a whisk, and a bit of patience, you’ll be amazed at how easily this rich, decadent dessert comes together.
Ingredients
Instructions
- Prepare the Pie Crust: If using a homemade crust, blind bake it ahead of time and allow it to cool completely. You can also use a quality store-bought crust to save time.
- Combine Dry Ingredients: In a medium saucepan, whisk together the sugar, cocoa powder, flour, and salt until fully combined.
- Add Milk and Cook: Gradually whisk in the milk over medium heat. Stir constantly to prevent scorching. Cook until the mixture thickens to resemble a loose pudding.
- Temper the Egg Yolks: In a small bowl, beat the egg yolks. Slowly drizzle about ½ cup of the hot chocolate mixture into the yolks while whisking vigorously.
- Combine and Thicken Again: Pour the tempered yolks back into the saucepan. Continue cooking and stirring for another 2–3 minutes until the filling thickens into a pudding-like consistency.
- Finish with Butter and Vanilla: Remove the saucepan from heat and stir in the butter and vanilla.
- Pour and Chill: Pour the hot filling into the prepared pie crust. Smooth the top, let cool at room temperature, then refrigerate for at least 4 hours, or until fully set.
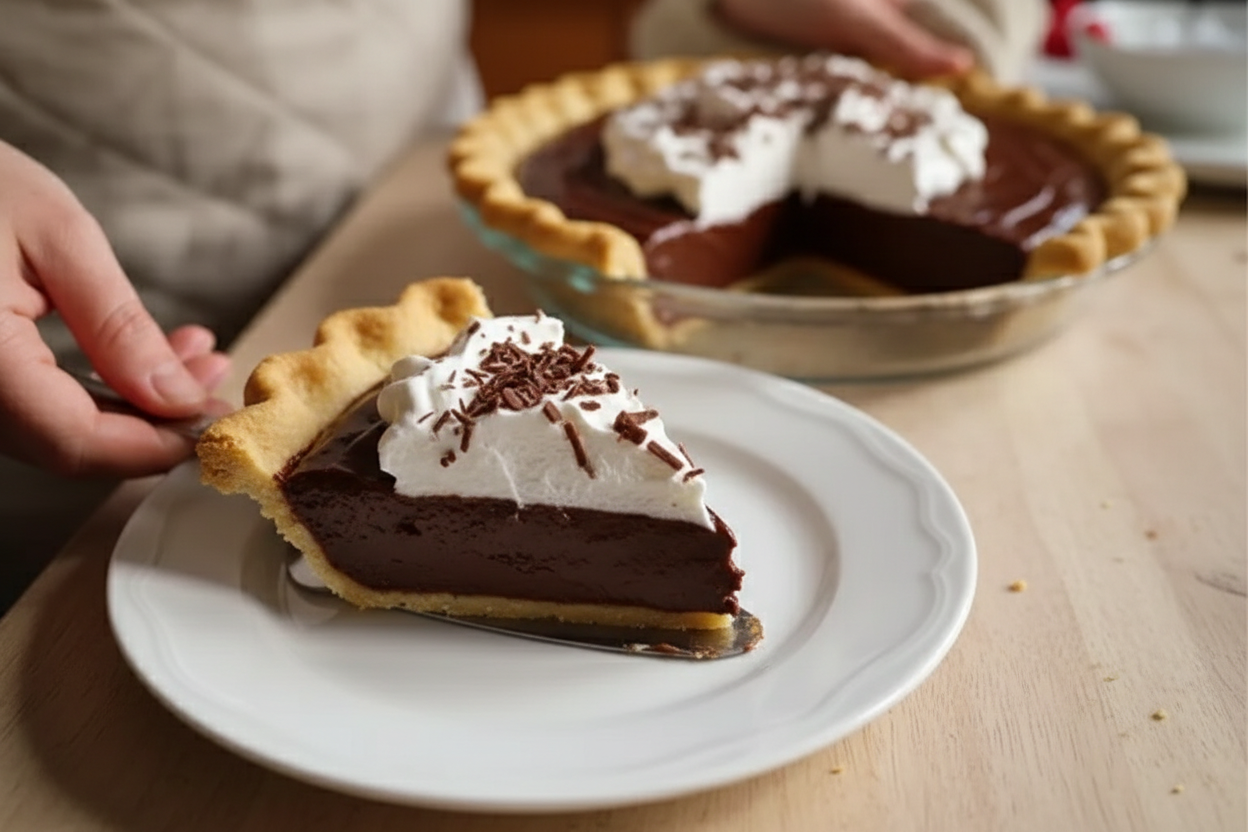
- Serve: Serve slices cold, with a dollop of whipped cream or a sprinkle of shaved chocolate.
Notes
- For added flavor, top with whipped cream or a sprinkle of shaved chocolate.


Leave a Reply