My Old Friend, The Cast Iron Skillet
I have had my cast iron skillet for years. It is my favorite pan. It makes everything taste like home. I think it holds memories in its black, shiny surface.
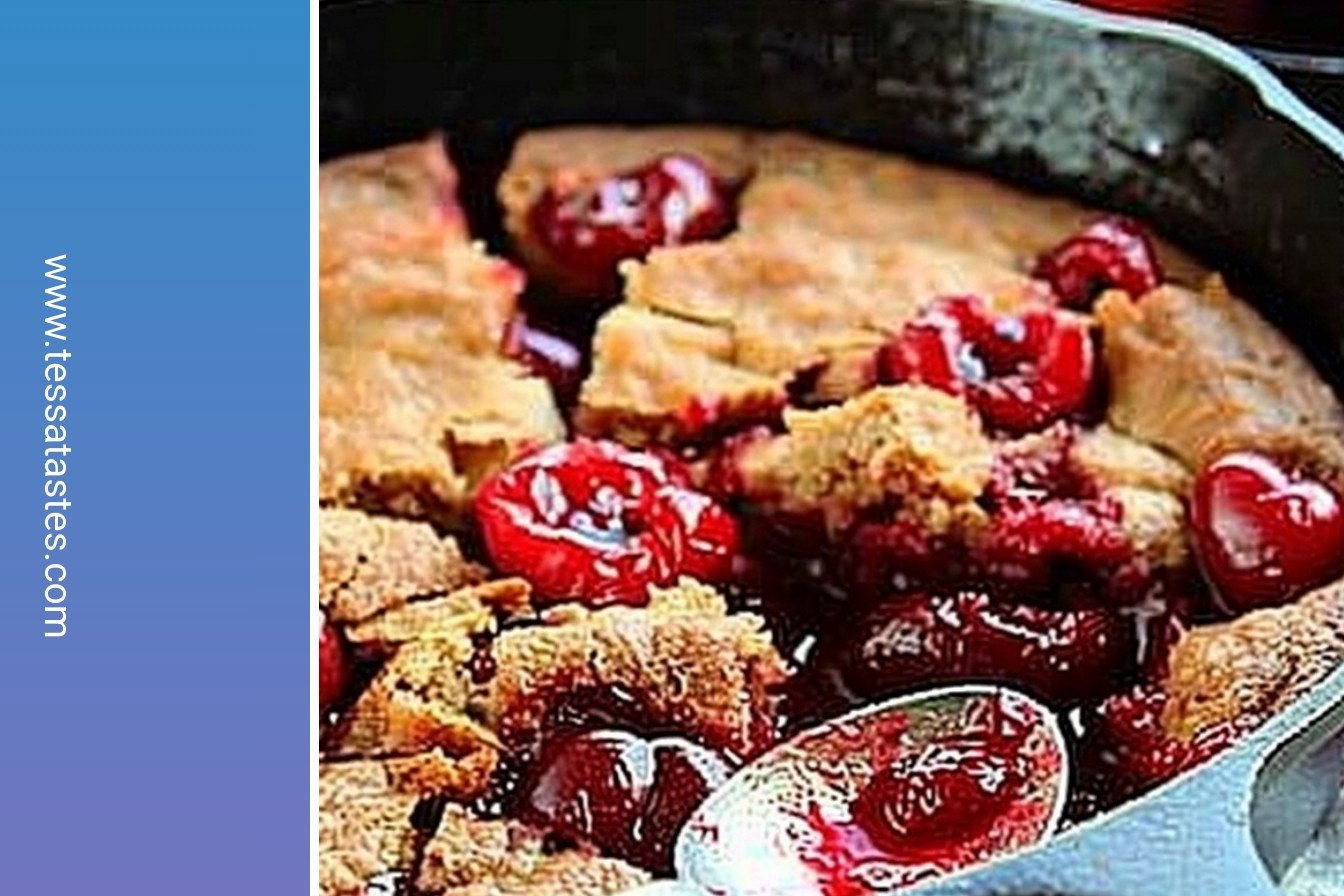
This pan is perfect for our cherry dessert. It gets hot and stays hot. This makes the topping so wonderfully crispy. Do you have a favorite pan you love to cook with? I would love to hear about it.
The Joy of a Simple Recipe
This dessert is so easy to make. You just layer a few things. There is no need to be a fancy baker. I love recipes that are kind to us.
You pour the cherries right from the can. Then you mix the cake mix with butter. It makes a thick, sweet batter. You drop it on top in big dollops. I still laugh at how messy my dollops look. But it always turns out perfectly.
Why This Dessert Feels Special
This matters because it brings people together. A warm dessert says you are welcome here. It is a simple way to show you care. That is a beautiful thing.
When this bakes, your whole house will smell amazing. The smell of warm cherries and cinnamon is pure happiness. It reminds me of my own grandma’s kitchen. What smell makes you think of home?
A Little Story About Cherries
When I was a girl, we had a cherry tree. My brother and I would try to pick them. We always ended up with more on our shirts than in the bucket. Our mother would just shake her head and smile.
That is why I use canned cherries now. They are just as good for this. Fun fact: A cherry tree can grow for over 100 years! Isn’t that something?
Let’s Talk About That Topping
The best part is the topping. The butter and cake mix bake together. They create a magical, crunchy crust. It sits on top of the soft, bubbling cherries.
This is why the cast iron is so important. It gives the bottom and sides a lovely crispness. This matters because texture makes food fun. You get soft, hot fruit and a crunchy topping all in one bite. Do you prefer your desserts crunchy or soft?
Ingredients:
| Ingredient | Amount | Notes |
|---|---|---|
| Cherry pie filling | 2 (21-ounce) cans | |
| Butter | 1/2 cup | melted |
| Jiffy Golden Yellow Cake Mix | 1 (9-ounce) box | |
| Ground cinnamon | 1 teaspoon |
Cast Iron Cherry Dessert: Warm Bubbling Bliss
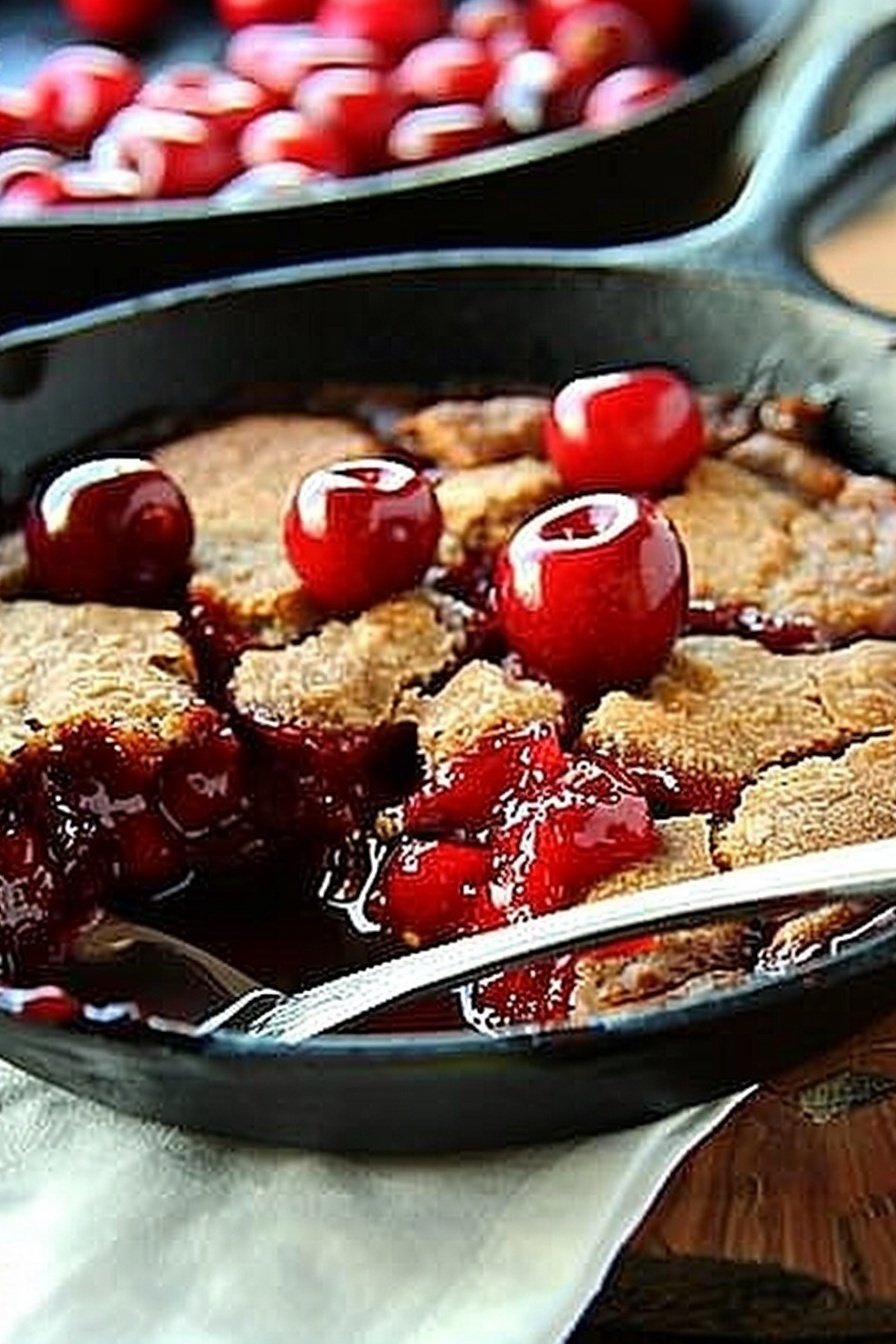
Oh, this dessert brings back such happy memories. My grandkids call it “cherry lava.” It’s so simple to make. You just let the oven do all the work. The smell that fills your kitchen is pure comfort. I think it smells like a warm hug.
Let’s get your skillet ready. This is where the magic happens. I still laugh at that time I used a glass dish. The crust didn’t get all crispy. A cast iron skillet is your best friend here. It makes the topping perfectly golden.
Step 1: Prepare the Filling
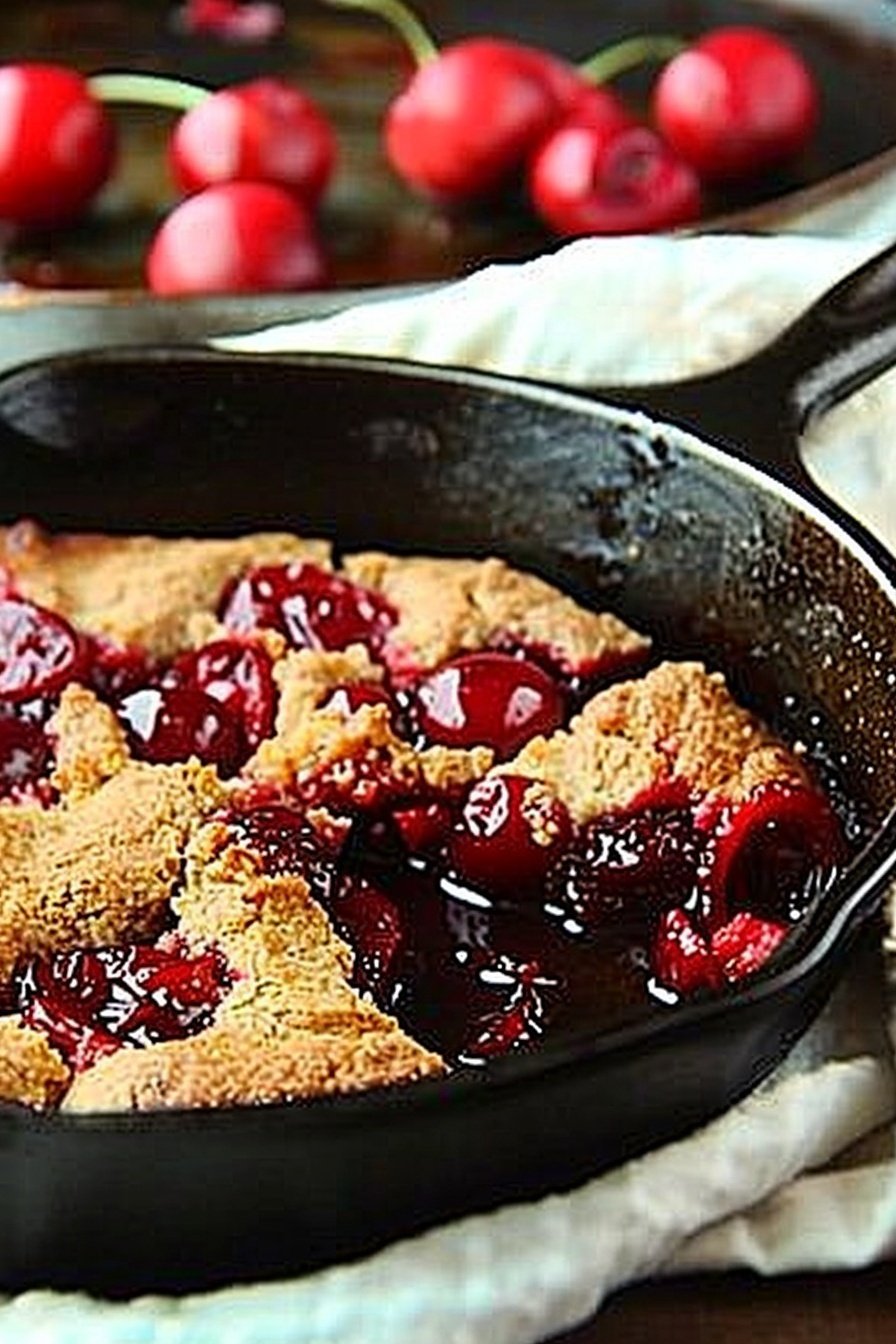
First, turn your oven on to 350 degrees. Grease your cast iron skillet lightly. I just use my fingers and a bit of butter. Now, pour both cans of cherry filling right into the skillet. Spread it out into one even, juicy layer.
Step 2: Make the Topping
Next, let’s make the topping. Melt your butter in a little bowl. In a bigger bowl, mix the cake mix and cinnamon. Pour that melted butter right over the top. Stir it until it looks like wet sand. It will be a bit lumpy, and that’s perfect.
Step 3: Assemble the Dessert
Now for the fun part. Drop spoonfuls of the batter on the cherries. Just plop them all over. Don’t try to spread it flat. The cherries will bubble up around the dough. (A hard-learned tip: Those gaps let the steam out so it doesn’t get soggy.)
Step 4: Bake and Serve
Carefully place the skillet in the hot oven. Bake it for about 50 to 60 minutes. You will know it’s done when the top is golden. The cherries will be bubbling along the edges. Doesn’t that smell amazing? Let it cool for just a bit before serving.
This dessert is best shared with people you love. What’s your favorite cozy dessert to share? Share below! The details for this recipe are simple. Cook Time: 50–60 minutes. Total Time: 1 hour 10 minutes. Yield: 8 servings. Category: Dessert.
Three Tasty Twists on Cherry Bliss
Once you master the basic recipe, you can play. I love adding little changes. It keeps things exciting. Here are a few of my favorite twists.
Nutty Crumble
Stir a handful of chopped almonds into the cake mix topping. It adds a wonderful little crunch. My neighbor gave me this idea.
Chocolate Cherry Dream
Sprinkle chocolate chips over the cherry filling before adding the dough. The melted chocolate is a happy surprise.
Summer Peach Switch
Use peach pie filling instead of cherry. Add a dash of nutmeg with the cinnamon. It tastes like sunshine.
These are so fun to try. Which one would you try first? Comment below!
Serving Your Cherry Dessert
Now, how should we eat this warm, bubbly treat? A bowl is your best bet. It holds all the goodness. I have a few serving ideas that make it extra special.
A big scoop of vanilla ice cream is a must. The cold ice cream melts into the warm cherries. You can also try a dollop of fresh whipped cream. For a pretty look, dust the top with powdered sugar. It looks like a light snow.
What should we drink with it? A cold glass of milk is my top pick. It is the perfect partner. For the grown-ups, a small glass of sweet dessert wine is lovely. It sips like honey. Which would you choose tonight?
Keeping Your Cherry Bliss
Let’s talk about keeping this dessert happy. It stores well in the fridge for three days. Just cover the skillet with foil. You can also freeze it for a cozy future treat. Cut it into slices first and wrap them tightly. To reheat, just warm a slice in the oven. This brings back that wonderful bubbly feeling.
I once made a double batch for a surprise visit from my grandkids. Having that second dessert ready in the freezer was a lifesaver. It meant more time for stories and less time in the kitchen. Batch cooking like this makes busy days feel simpler and sweeter.
Have you ever tried storing it this way? Share below!
Simple Fixes for Common Hiccups
Sometimes the topping can sink into the cherries. This happens if the batter is dropped in big blobs. Try dropping it in small spoonfuls instead. I remember when my first one came out with a soggy middle. The topping had all disappeared! Getting it right makes the texture perfect.
Another issue is a dry or crumbly topping. Do not stir the butter and cake mix too much. Just mix them until they are combined. A third problem is the bottom burning. Placing a baking sheet under your skillet can help. This protects it from direct heat.
These small fixes build your cooking confidence. They also make sure every bite is full of flavor. Which of these problems have you run into before?
Your Cherry Dessert Questions
Q: Can I make this gluten-free?
A: Yes! Just use a gluten-free yellow cake mix. It works just as well.
Q: Can I make it ahead of time?
A: Absolutely. You can assemble it a few hours before baking. Keep it in the fridge until it is oven time.
Q: What other fruit can I use?
A: Apple or blueberry pie filling are wonderful swaps. Fun fact: I first made this with apples from my own tree!
Q: Can I make a smaller portion?
A: You can easily cut the recipe in half. Use a smaller oven-safe dish.
Q: Any extra tips?
A: A scoop of vanilla ice cream on top is pure magic. Which tip will you try first?
Until Next Time, My Friend
I hope this recipe brings warmth to your kitchen. It is one of my favorite treats to share. The smell of it baking always makes my house feel like a home.
I would love to see your creation. It makes me so happy to see your baking adventures. Have you tried this recipe? Tag us on Pinterest! You can find me at Tessa’s Kitchen. I cannot wait to see your warm, cherry bliss.
Happy cooking!
—Tessa Hammond.
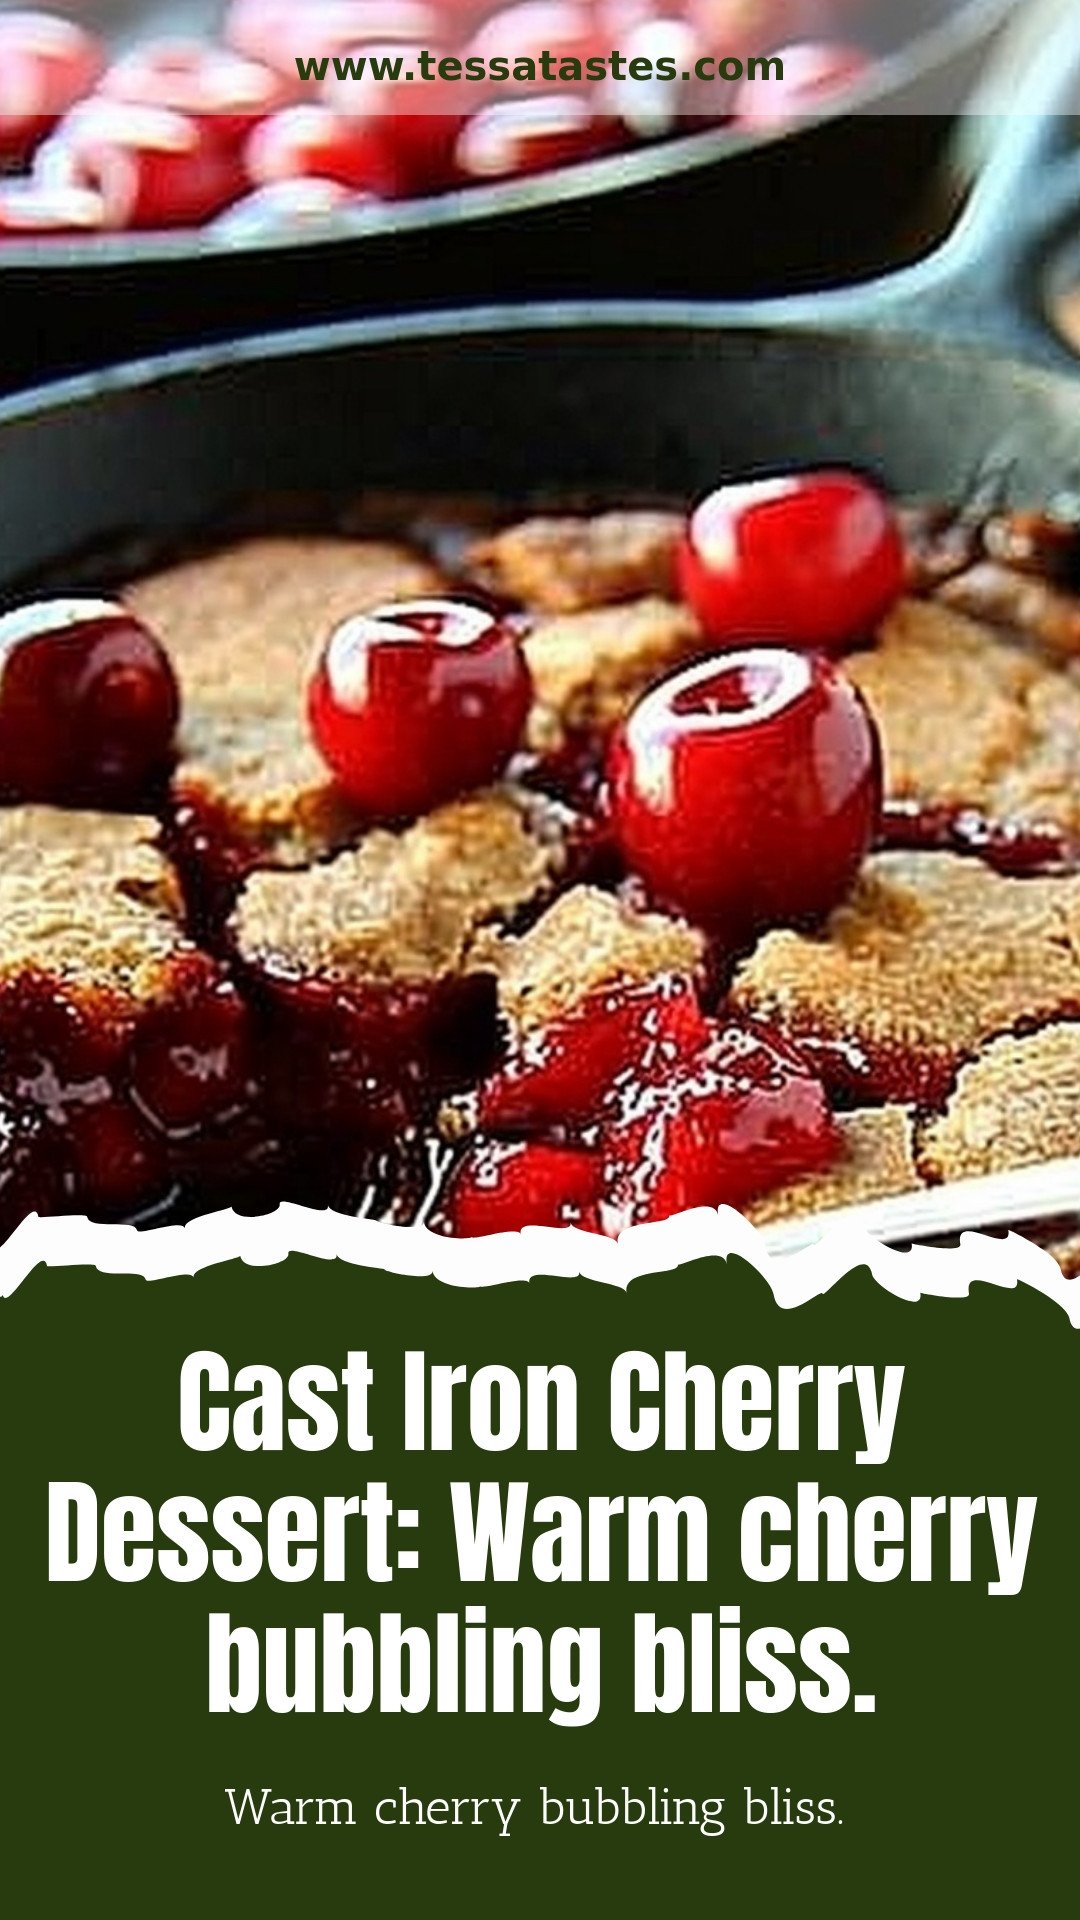
Cast Iron Cherry Dessert: Warm cherry bubbling bliss.: Warm cherry bubbling bliss.
Description
Warm cherry dessert bubbling in a cast iron skillet. This easy, rustic recipe is pure comfort food bliss, perfect with ice cream!
Ingredients
Instructions
- Preheat the oven to 350° F. Lightly grease an 10.25-inch cast iron skillet.
- Pour the cans of pie filling into the bottom of the skillet.
- In a medium bowl, stir together the cake mix, melted butter, and cinnamon.
- Drop the batter by dollops on top of the filling.
- Bake for 50 to 60 minutes or until the batter is set. Serve warm.
Notes
- Perfect with a scoop of vanilla ice cream.


Leave a Reply