A Happy Kitchen Accident
I first made these cone cakes for my grandson’s birthday. I was so flustered with all the party planning. I almost used the cones as mixing bowls! I still laugh at that.
But it turned out to be the best mistake. The kids loved holding their own little cake. It was less messy than a slice on a plate. This matters because the best memories often start with a little kitchen chaos.
Let’s Get Mixing
Put all the cake ingredients in a big bowl. Just mix them until they come together. Do not mix too much. A few lumps are just fine, I promise.
The sour cream is my special trick. It makes the cake so soft and moist. Doesn’t that smell amazing already? What is your favorite smell from the kitchen?
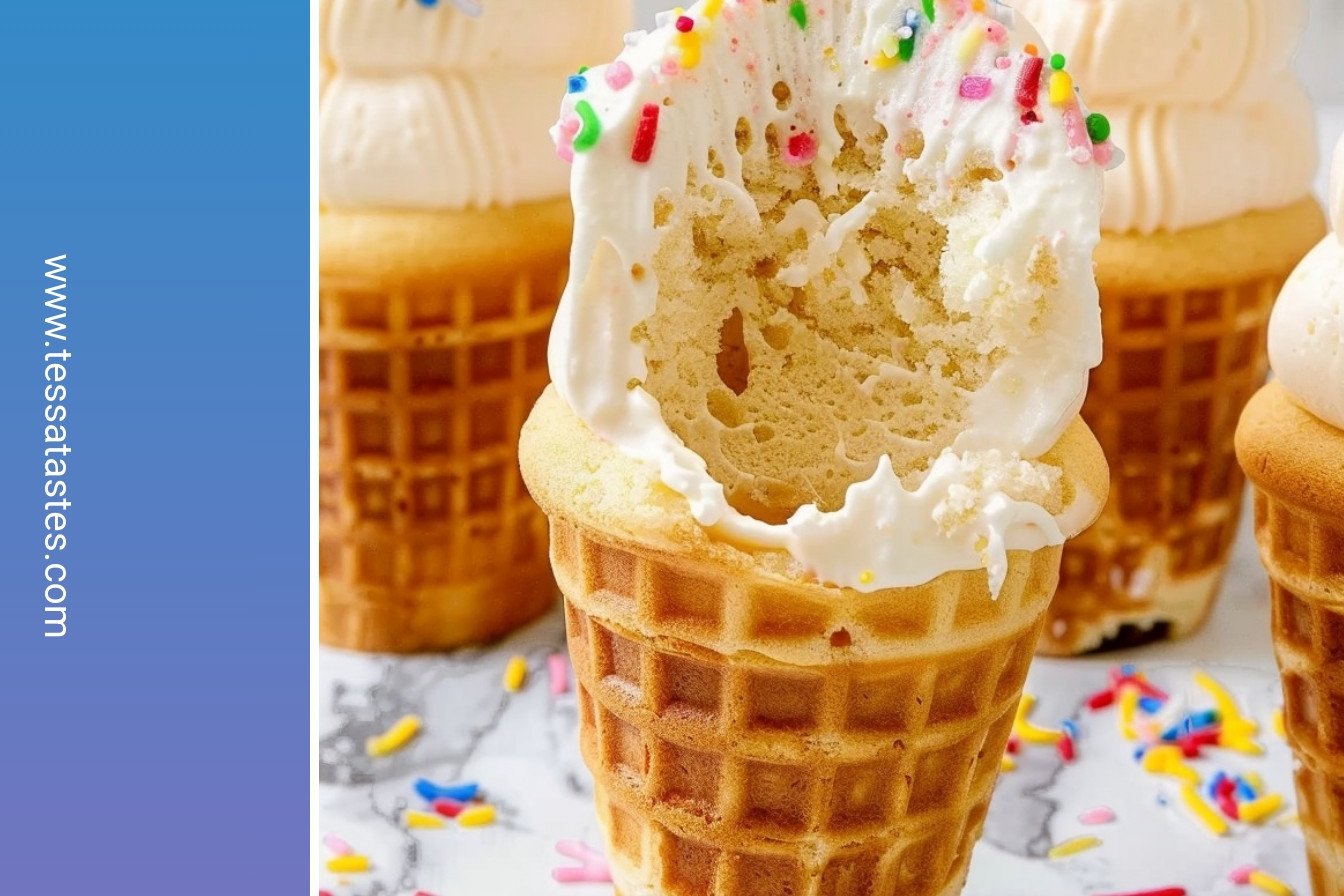
The Magic of the Cone
Now for the fun part. Stand each cone in a muffin pan. It keeps them from tipping over. Fill them only halfway with the batter.
They need room to rise into perfect little cakes. Fun fact: The flat-bottomed cones were invented just for baking! Have you ever baked something in a surprising container?
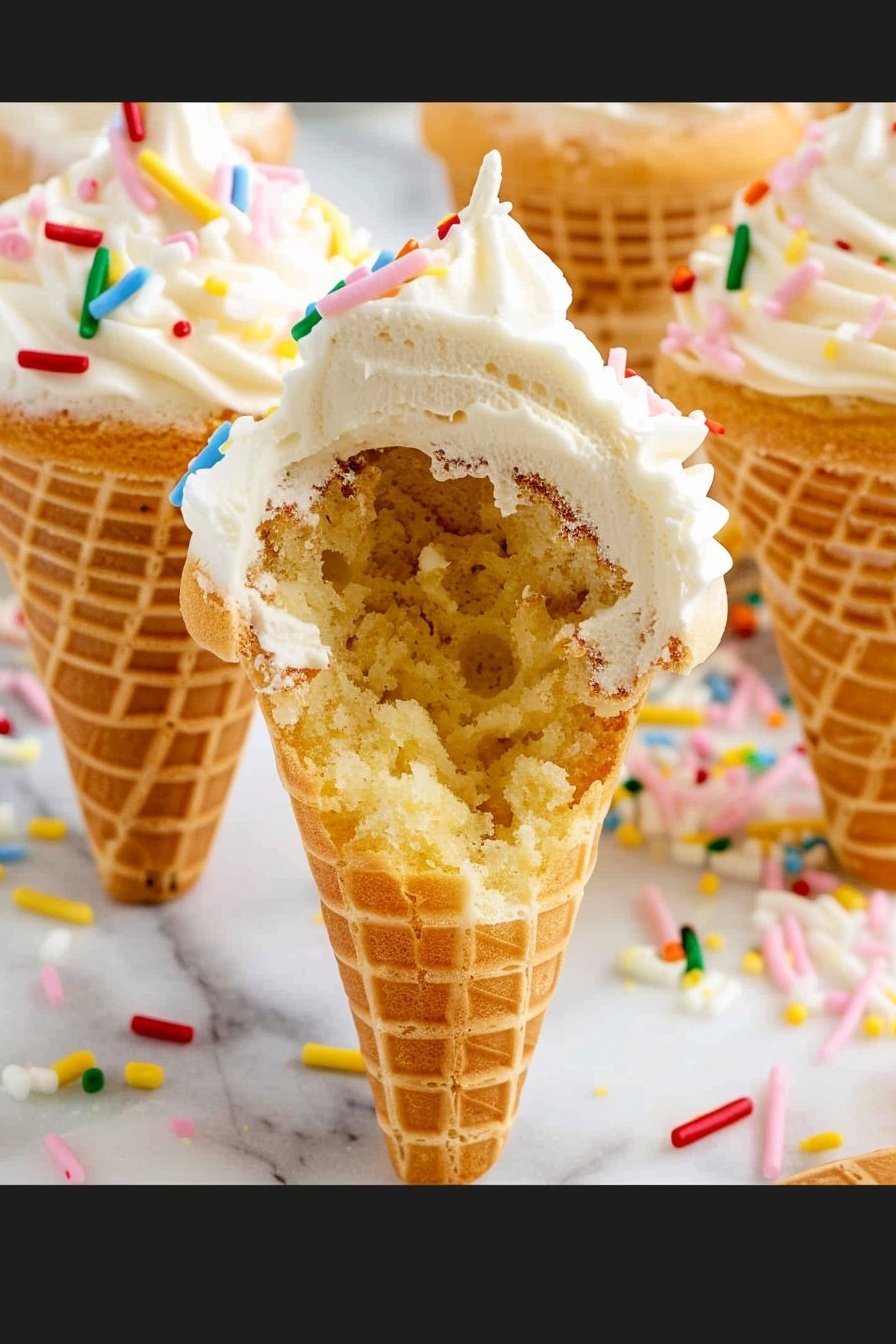
Cloud-Like Frosting
While the cakes cool, let’s make the frosting. Whip the butter and sugar until it’s fluffy. It should look like a soft, white cloud.
The clear vanilla keeps it a pretty, bright white. But regular vanilla tastes just as wonderful. This matters because taking pride in how food looks is part of the joy.
Your Turn to Create
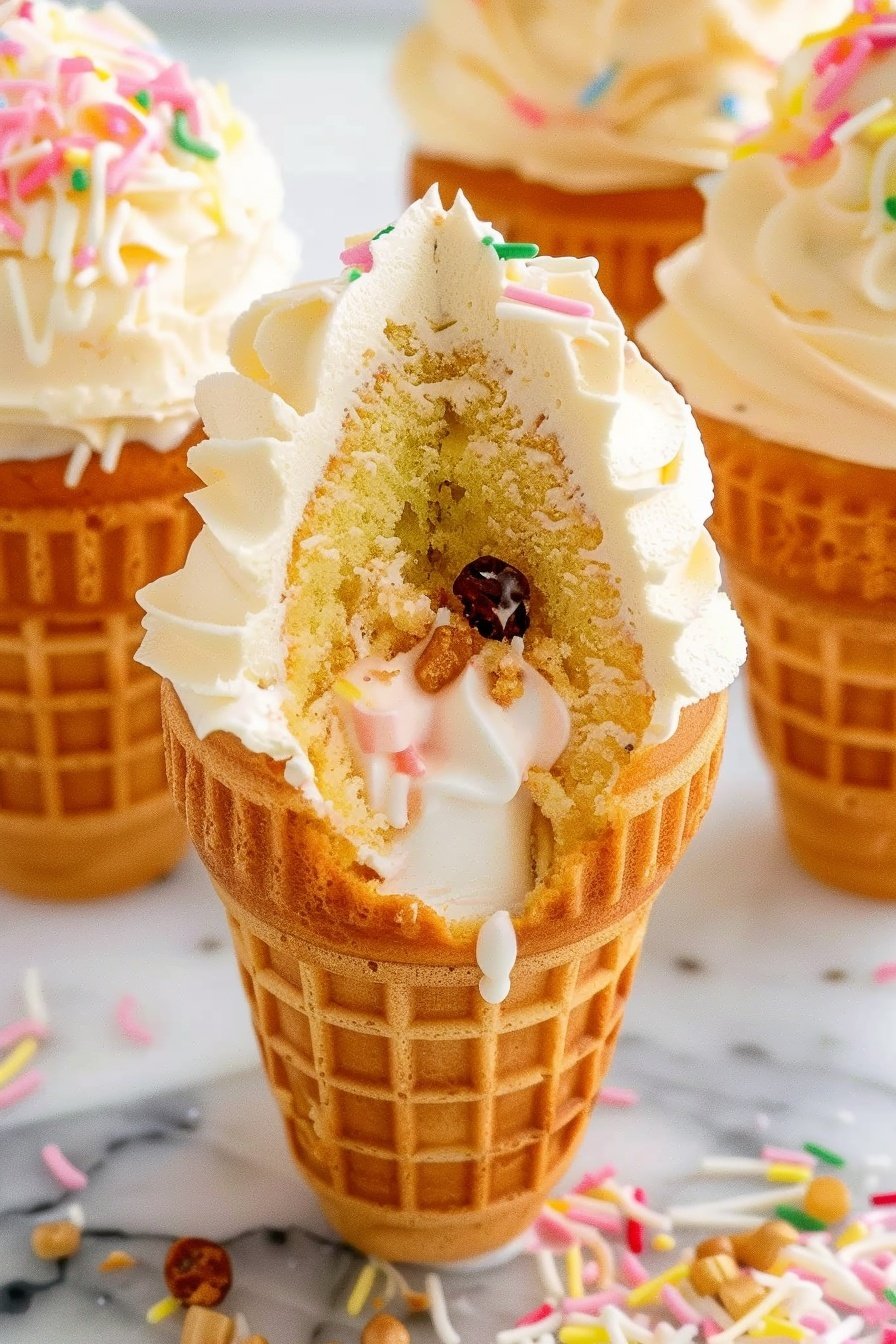
Now you get to be the artist. Swirl that fluffy frosting on top. Add a mountain of colorful sprinkles. Make each one unique.
I love seeing all the different designs people create. It shows a little bit of their personality. Which color sprinkles would you choose first?
Ingredients:
| Ingredient | Amount | Notes |
|---|---|---|
| white cake mix | 15.25 ounces | |
| instant vanilla pudding | 3.5 ounces | |
| eggs | 4 large | |
| vegetable oil | 3/4 cup | |
| milk | 1/2 cup | |
| sour cream | 1 cup | |
| cake-style ice cream cones | 32 | flat-bottomed |
| unsalted butter | 1 cup | room temperature |
| powdered sugar | 6 cups | |
| clear vanilla extract | 2 tablespoons | |
| sprinkles | as needed |
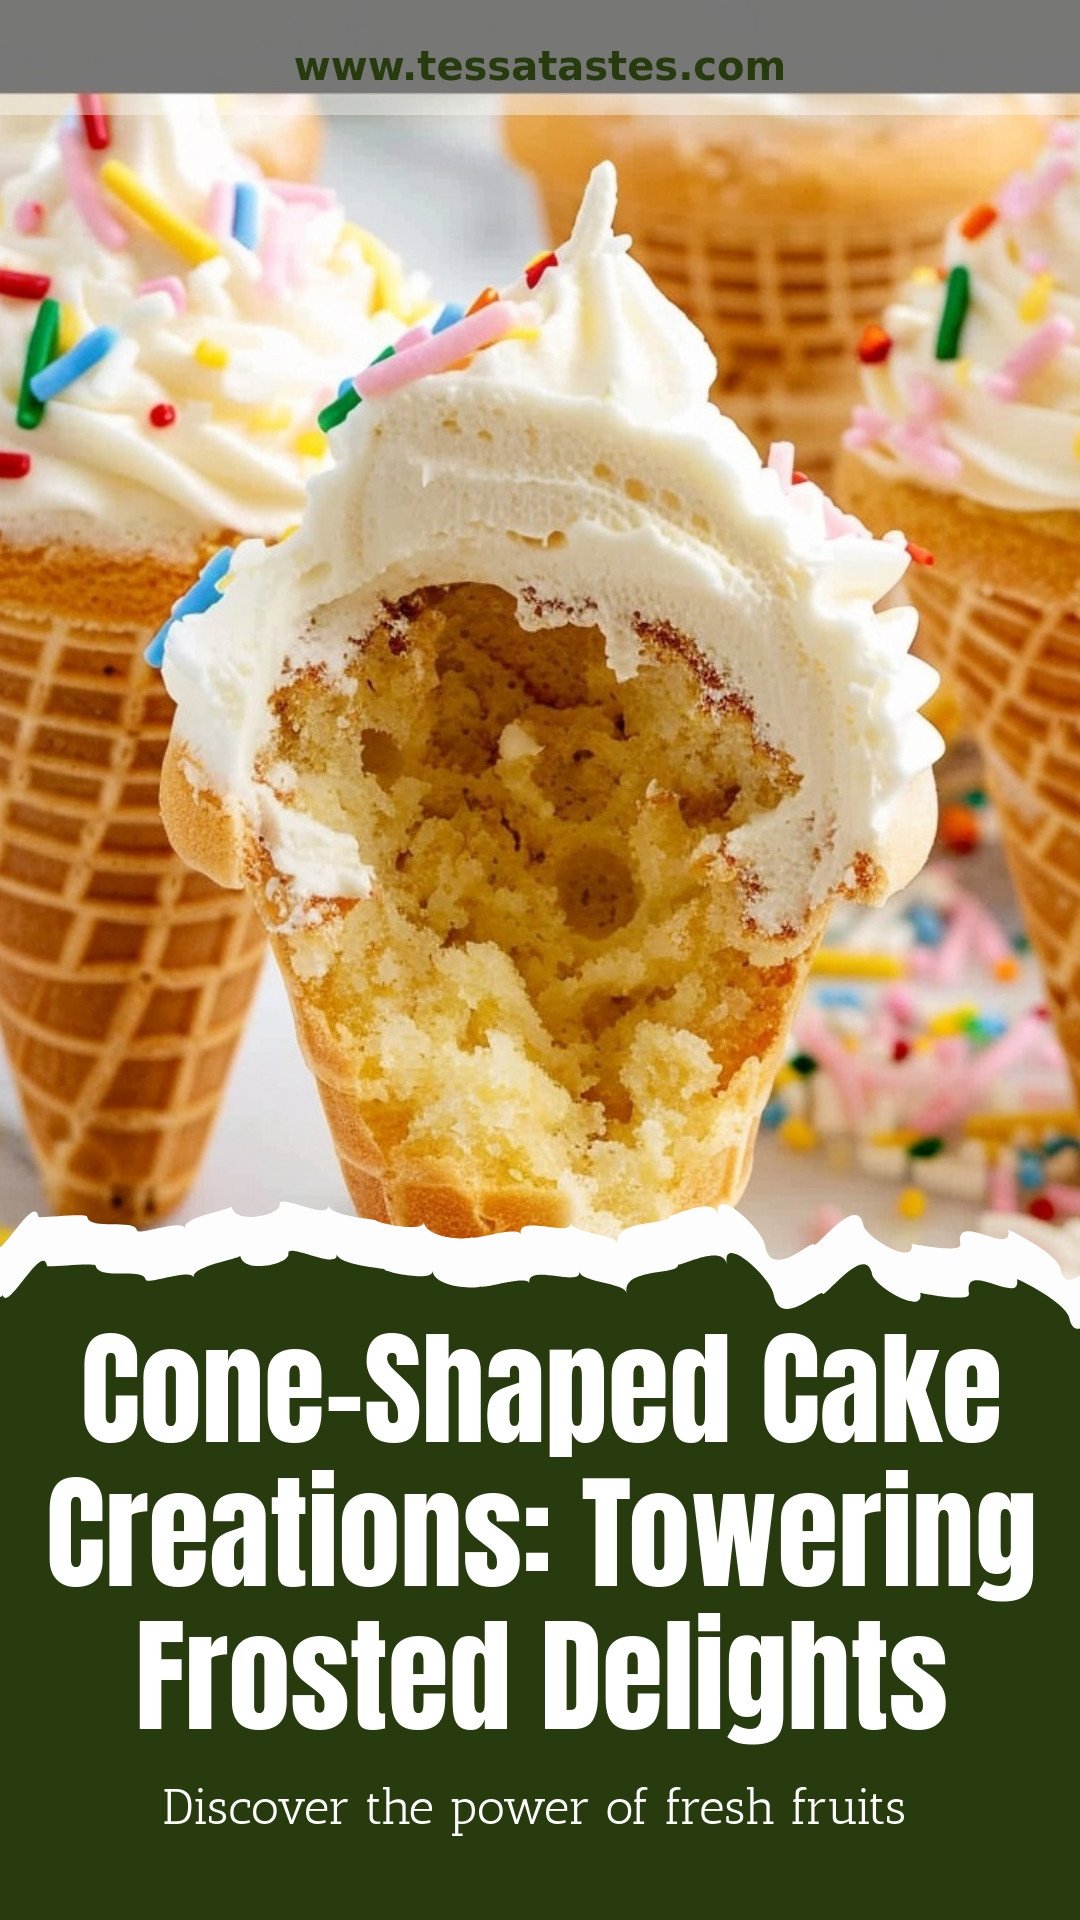
Cone-Shaped Cake Creations: Towering Frosted Delights
Oh, these little cakes bring back such fun memories. My grandson called them “tower cakes” when he was small. He thought they were the fanciest thing in the world. I still laugh at that. Making them is just as much fun as eating them. You get to bake a little cake right inside an ice cream cone. It feels like a magic trick every single time.
Now, let’s get our hands busy. The batter comes together so easily. It’s a happy, simple recipe. Just remember my hard-learned tip. (Don’t fill the cones more than halfway. They will rise and overflow if you do. Trust me, I’ve cleaned up that mess before!).
- Step 1: First, get your oven nice and hot. It should be 400 degrees. Then grab a big bowl. Put all the batter ingredients right in there. Use a mixer to blend them. Just mix until it looks smooth. Don’t mix for too long, okay?
- Step 2: Now, stand each cone in a muffin pan. This keeps them from tipping over. It’s like giving each one its own little seat. Then, spoon the batter in. Fill them only halfway up. I know it’s tempting to add more. But we want a perfect little cake on top.
- Step 3: Pop them in the oven. They only need about 15 minutes. Your kitchen will smell amazing. To check if they’re done, poke one with a toothpick. If it comes out clean, they are ready. Let them cool completely. This is the hardest part, waiting.
- Step 4: Time for the frosting! Use your mixer again. Whip the butter, sugar, and vanilla together. Start on a slow speed. Then go fast for a minute. Watch it become fluffy and light. It’s like sweet, tasty clouds.
- Step 5: Now for the really fun part. Put that fluffy frosting in a piping bag. Swirl it on top of each cool cake cone. Make it look fancy. Then cover it with colorful sprinkles. What’s your favorite sprinkle color? Share below! These are best eaten the very same day. Not that they last that long anyway.
Cook Time: 14–16 minutes
Total Time: 45 minutes
Yield: 32 cake cones
Category: Dessert, Baking
My Favorite Twists on a Classic
This recipe is like a blank canvas. You can paint it with so many flavors. I love to change it up for different parties. It makes everyone feel special. Here are a few of my favorite ideas to get you started.
- Chocolate Lover’s Dream: Use chocolate cake mix and pudding. Then add chocolate chips to the batter.
- Funfetti Birthday Bash: Use a funfetti cake mix. Add rainbow sprinkles right into the batter, too.
- Strawberry Swirl: Use strawberry cake mix. Swirl a little strawberry jam into the frosting.
These are just the beginning. Which one would you try first? Comment below!
The Perfect Party Plate
Presentation is part of the fun. For a kids’ party, stick each cone into a big bowl of colorful candy. It holds them upright and looks so cheerful. For a fancier feel, place them on a beautiful cake stand. They look like a tower of deliciousness.
What to drink with them? A cold glass of milk is always the classic choice. It just goes together perfectly. For the grown-ups, a sweet sparkling Moscato wine is a lovely match. It cuts through the sweetness nicely. Which would you choose tonight?
Keeping Your Towering Treats Tasty
These cone cakes are best eaten the day you make them. The cones can get soft if you wait. But I know you might have leftovers. Just cover them loosely with plastic wrap. Keep them on the counter for a day or two.
I do not recommend freezing them. The frosting can get sticky when it thaws. I learned this the hard way at my grandson’s birthday. We had a few cones left over and froze them. They were a bit sad and weepy the next day.
You can bake the cones a day ahead. Just wait to frost them until you are ready to serve. This is a great batch-cooking trick for busy days. It saves you so much time when company is coming. Have you ever tried storing it this way? Share below!
Fixing Common Cone Cake Troubles
Sometimes the batter overflows from the cone. This happens if you fill them too much. Only fill each cone halfway with batter. This gives the cake room to rise as it bakes. I remember when my first batch looked like little mushroom clouds.
Your frosting might be too runny. This is often because the butter was too warm. Your butter should be soft but still cool to the touch. Getting the texture right makes your frosting look beautiful. This matters because a pretty treat is a joy to share.
The cones might tilt in the muffin pan. Just scrunch a little foil around each one to hold it straight. This small step makes your cakes stand tall and proud. It builds your confidence when everything turns out just right. Which of these problems have you run into before?
Your Cone Cake Questions, Answered
Q: Can I make these gluten-free?
A: Yes! Use a gluten-free cake mix and check your cone labels.
Q: Can I make them ahead of time?
A: Bake the cones a day early. Frost them right before serving.
Q: What can I use instead of sour cream?
A: Plain yogurt works just as well in the batter.
Q: Can I make a smaller batch?
A: Absolutely. Just cut all the ingredients in half.
Q: Are the sprinkles necessary?
A: No, but they are the most fun part. Fun fact: Sprinkles are sometimes called jimmies! Which tip will you try first?
A Little Note From My Kitchen
I hope you have the best time making these. They always make me smile. Seeing those happy, towering treats is just wonderful.
I would love to see your creations. It makes my day to see your kitchen adventures. Please share your photos with everyone. Have you tried this recipe? Tag us on Pinterest!
Happy cooking!
—Tessa Hammond.
Cone-Shaped Cake Creations: Towering Frosted Delights:
Description
Discover stunning cone-shaped cake designs! These towering, frosted delights are the ultimate showstoppers for birthdays and celebrations. Get inspired to bake your own masterpiece.
Ingredients
=== Frosting ===
Instructions
- Preheat the oven to 400°F. In a large mixing bowl, mix together the cake mix, dry vanilla pudding mix, eggs, oil, milk, and sour cream with a hand mixer. Mix until everything is just combined, being careful not to over-mix.
- Place each ice cream cone in the well of a muffin pan. Fill each cone half full with the prepared batter.
- Bake for 14 to 16 minutes or until a toothpick inserted into the center of the cupcake comes out clean.
- Remove from the oven and let cool completely before frosting.
- In a stand mixer fitted with the whisk attachment, combine the softened butter, powdered sugar, and vanilla. Turn on low and mix until all the powdered sugar is mixed into the butter. Turn on high and whip for 30 seconds until the frosting is light and fluffy.
- Place the frosting into a piping bag fitted with a star tip. Frost the cupcakes, and top with sprinkles. These cupcakes are best served the same day they are prepared.
Notes
- These cupcakes are best served the same day they are prepared.


Leave a Reply