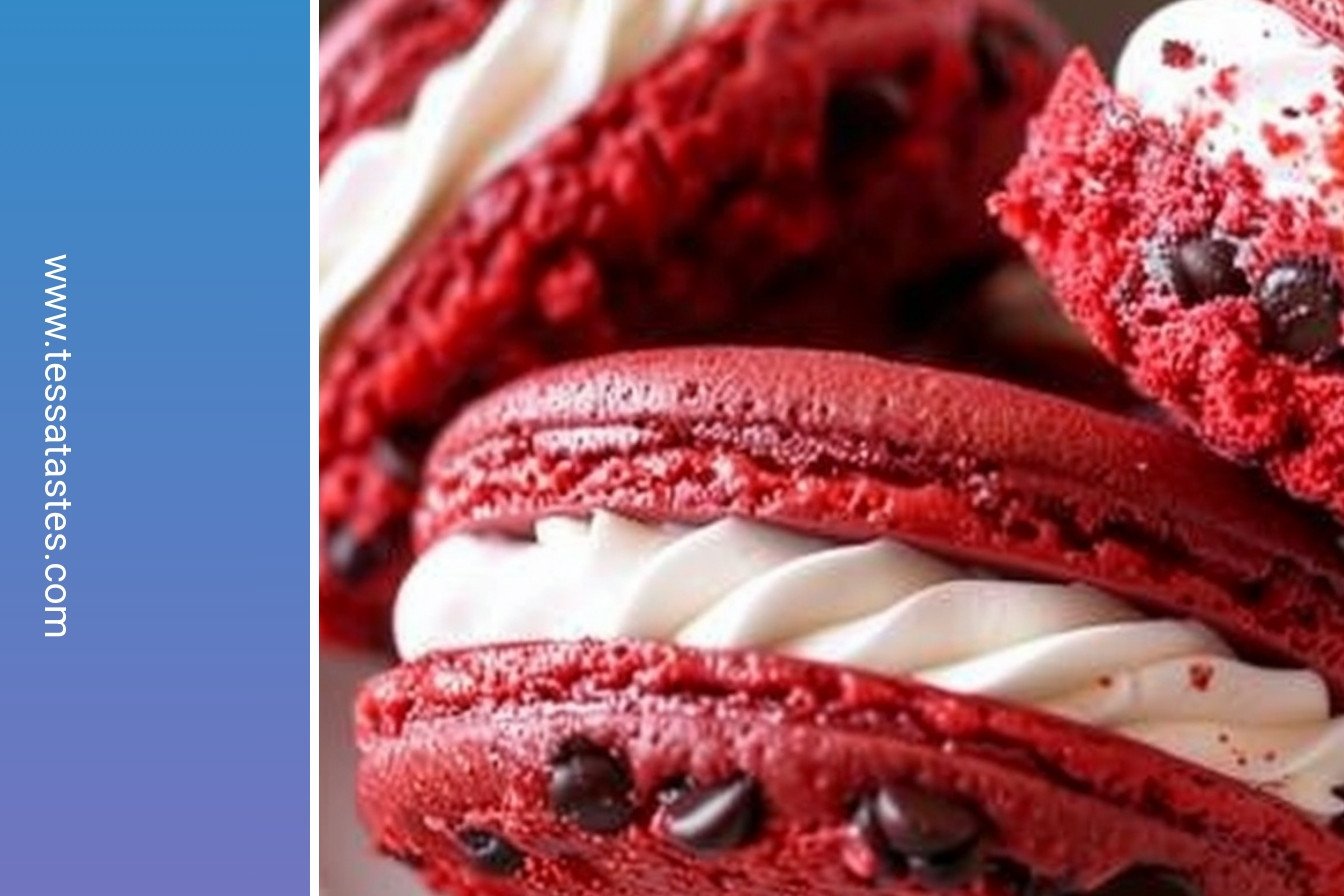
A Little Story About My Red Cakes
I first made these for my grandson’s birthday. He wanted something red and fun. I looked in my pantry and saw that red velvet cake mix.
I thought, why not make little cake sandwiches? He loved them so much. Now he asks for them every time he visits. I still laugh at how something so simple became so special.
Let’s Get Mixing
First, turn your oven on to 400 degrees. It needs to be nice and hot. Then get a big bowl. Put the cake mix, eggs, water, and oil in it.
Mix it all up until it’s smooth. The batter will be a beautiful red color. Doesn’t that smell amazing already? This matters because mixing it well makes the cakes soft and even.
Baking Your Cakes
Put little scoops of batter on a baking sheet. Use a spoon to spread them into circles. They don’t have to be perfect. My first ones were all different shapes!
Bake them for about 8 to 10 minutes. They are done when they feel set. Let them cool completely. This is very important. If they are warm, the filling will melt.
The Fluffy Cloud Filling
Now for the best part, the cream! You need another bowl. Put in the shortening, powdered sugar, marshmallow fluff, and the two extracts. The almond extract is my secret. It makes it taste extra special.
Mix it with a mixer until it’s fluffy and white. It will look like a sweet cloud. Fun fact: Marshmallow fluff was invented a long time ago as a candy! Taste a little bit. What do you think? Is it sweet enough?
Putting It All Together
Find two cake circles that are about the same size. This is like finding a puzzle piece. Spoon or pipe the filling onto one cake. Then put the other on top, like a sandwich.
You can roll the edges in crushed candy or mini chips. This makes them look so pretty. This matters because sharing food you made with your hands is a way to show love. What would you roll your cakes in for a pop of color?
Time to Share the Joy
These are perfect for parties or just a sweet afternoon. They are so easy to share. I love seeing people’s faces when they take the first bite.
It makes me so happy. What’s your favorite treat to make for people you care about? Tell me about a time you made someone smile with food. I would love to hear your story.
Ingredients:
| Ingredient | Amount | Notes |
|---|---|---|
| red velvet cake mix | 1 (18.25-ounce) box | |
| eggs | 3 | |
| water | 1/2 cup | |
| oil | 1/2 cup | |
| vegetable shortening | 1 cup | |
| powdered sugar | 1 1/2 cups | |
| marshmallow fluff | 2 cups | |
| vanilla extract | 1 teaspoon | |
| almond extract | 1/2 teaspoon |
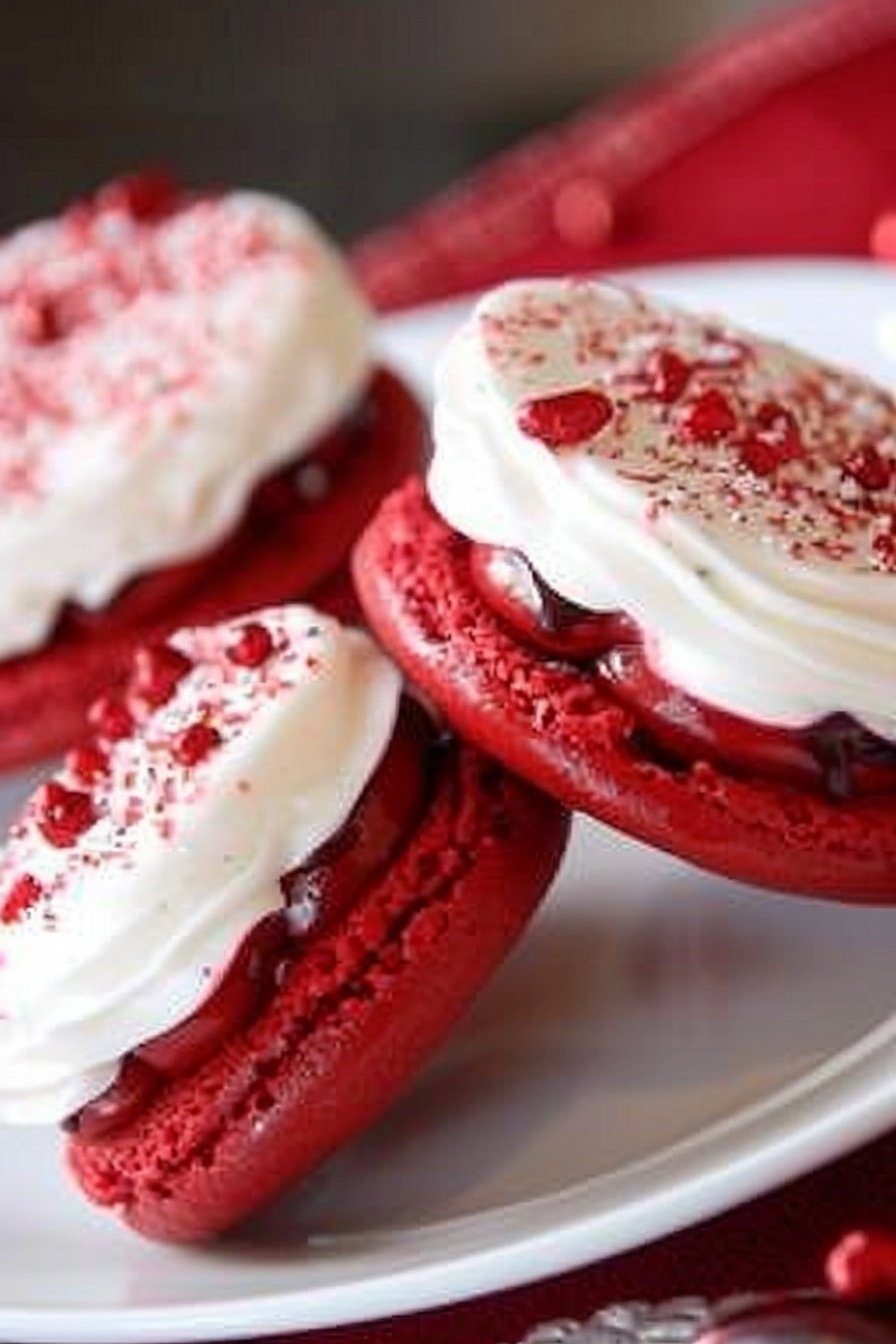
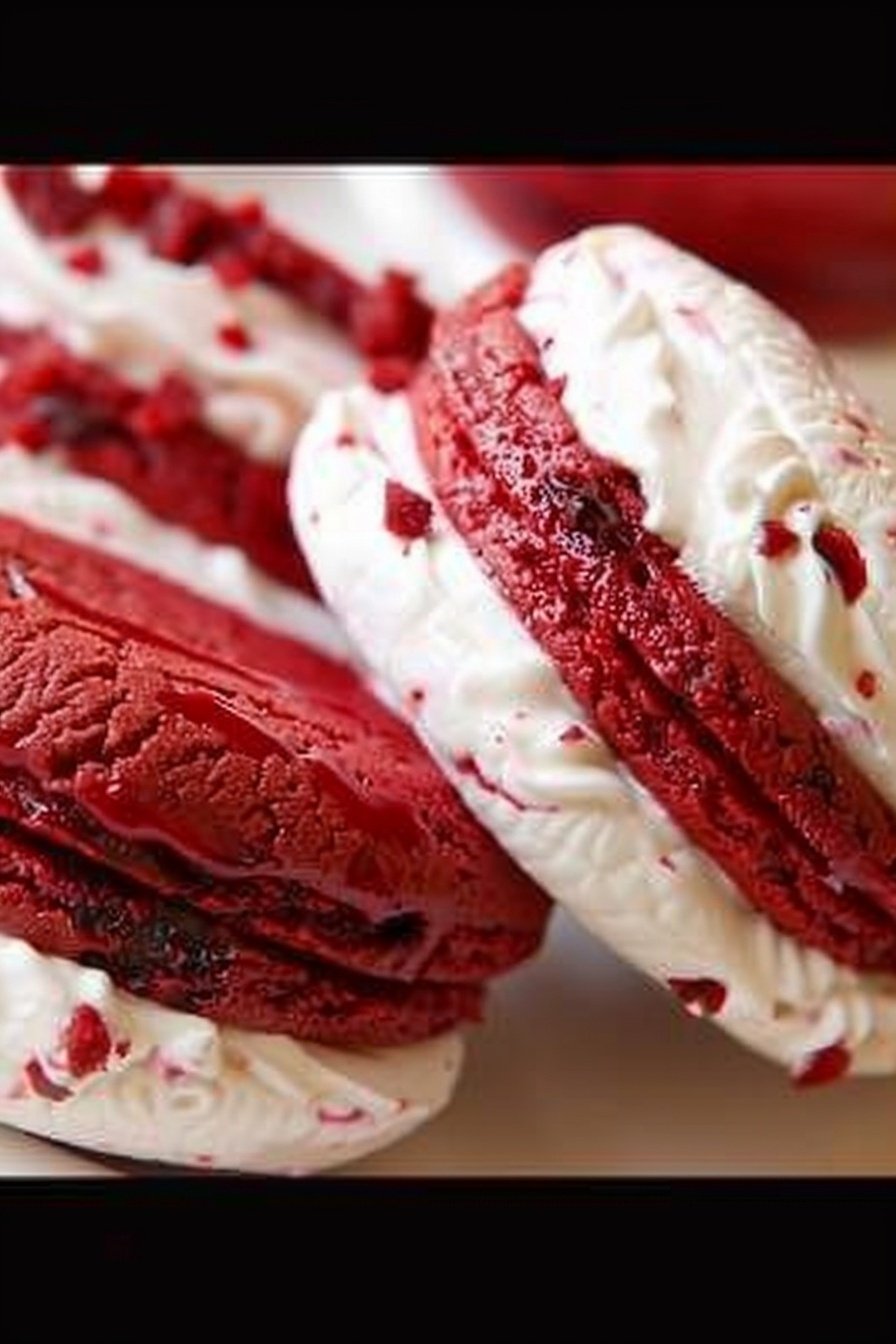
Crimson Cream Delights: A Little Taste of Magic
Oh, these little cakes bring back such memories. My granddaughter Lily calls them cookie clouds. She would always sneak a taste of the filling. I still laugh at that. Making them is so simple and fun. It feels like you are creating a tiny, sweet sandwich. Does not that sound lovely?
Let us get our bowls ready. I will walk you through it. Remember, cooking is about joy, not perfection. If one breaks, just eat it. That is my rule! Here is how we make our magic.
- Step 1: First, turn your oven on to 400°F. It needs to be nice and hot. Grab a big bowl and put in the cake mix, eggs, water, and oil. Mix it all together until it is smooth. I like to use a wooden spoon for this. It feels more real, you know?
- Step 2: Now, line your baking sheet with parchment paper. This is my hard-learned tip. (It stops everything from sticking, I promise!). Scoop the batter onto the sheet. Use the back of your spoon to spread it into circles. They do not have to be perfect. Mine never are!
- Step 3: Pop them in the oven for about 8 to 10 minutes. Your kitchen will smell amazing. They are done when they are just set. Let them cool completely on the pan. This part tests your patience. I always want to eat one right away.
- Step 4: Time for the best part, the cream! In another bowl, mix the shortening, powdered sugar, marshmallow fluff, and the extracts. I use my hand mixer. It makes the filling so light and fluffy. It tastes like sweet, vanilla dreams.
- Step 5: Find cake pieces that are about the same size. It is like finding a friend for each one. Do you like matching games? Share below! Spoon or pipe the filling onto one piece. Then press its friend on top. You have made a cookie cloud! You can roll the edges in something fun, too.
Cook Time: 10 minutes
Total Time: 35 minutes
Yield: About 12 sandwiches
Category: Dessert, Cookies
Three Fun Twists to Try
Once you know the basic recipe, you can play! I love adding little changes. It makes each batch a new adventure. Here are a few of my favorite ideas. They are all so simple and delicious.
- Peppermint Swirl: Add crushed candy canes to the filling. It is so festive and pretty.
- Chocolate Chip Crunch: Roll the edges in mini chocolate chips. Kids absolutely love this one.
- Berry Blast: Mix a handful of freeze-dried raspberries into the cake batter. It adds a little tang.
Which one would you try first? Comment below!
Serving Your Sweet Creations
These delights are wonderful all on their own. But you can make them extra special. I like to serve them on my old blue plate. It makes the red color pop. A little dusting of powdered sugar looks like snow. So pretty.
For a drink, a cold glass of milk is the classic choice. It just is. For the grown-ups, a little cup of coffee is perfect. The bitter taste goes so well with the sweet cream. Which would you choose tonight?
Keeping Your Cream Delights Perfect
These little cakes are best eaten the day you make them. The filling is so light and fluffy. You can keep them in a sealed container in the fridge for two days. I do not recommend freezing them. The filling can get a bit icy.
I learned this the hard way. I once made a double batch for a party. I froze the leftovers for a week. They were still tasty, but the texture was not the same. Storing food right saves its special feel. It shows care for the people you feed.
You can bake the cake circles ahead of time. Just store them in a container at room temperature. Make the filling and assemble them the next day. This makes things so much easier for a busy day. Have you ever tried storing it this way? Share below!
Fixing Common Cookie Problems
Sometimes the batter spreads too much in the oven. Make sure your oven is fully heated first. A hot oven helps them set quickly. I remember when my first batch turned into one big cookie sheet. It was a funny mess!
If your filling is too runny, add a bit more powdered sugar. If it is too thick, a tiny splash of milk will help. Getting the texture right matters for a perfect bite. It makes you feel like a confident baker. Your treats will taste just how you imagined.
The cakes can be fragile when warm. Let them cool completely on the pan before moving them. This patience keeps them from breaking. Which of these problems have you run into before?
Your Quick Questions, Answered
Q: Can I make these gluten-free? A: Yes! Just use a gluten-free red velvet cake mix. The rest is the same.
Q: Can I make them ahead of time? A: You can bake the cakes a day early. Assemble them the day you want to eat them.
Q: What can I use instead of shortening? A: Unsalted butter works well. It will change the flavor a little, but it is still delicious.
Q: Can I double the recipe? A: Absolutely. Just use two baking sheets. You may need to bake them one sheet at a time.
Q: Do I have to add the almond extract? A: No, you can skip it. The vanilla alone is still wonderful. Which tip will you try first?
A Little Note From My Kitchen
I hope you love making these crimson delights. They always bring a smile to my grandson’s face. *Fun fact: The first red velvet cakes got their color from a chemical reaction between cocoa and vinegar!*
I would love to see your beautiful creations. Sharing food is one of life’s great joys. Have you tried this recipe? Tag us on Pinterest! I look at every single photo.
Happy cooking!
—Tessa Hammond.
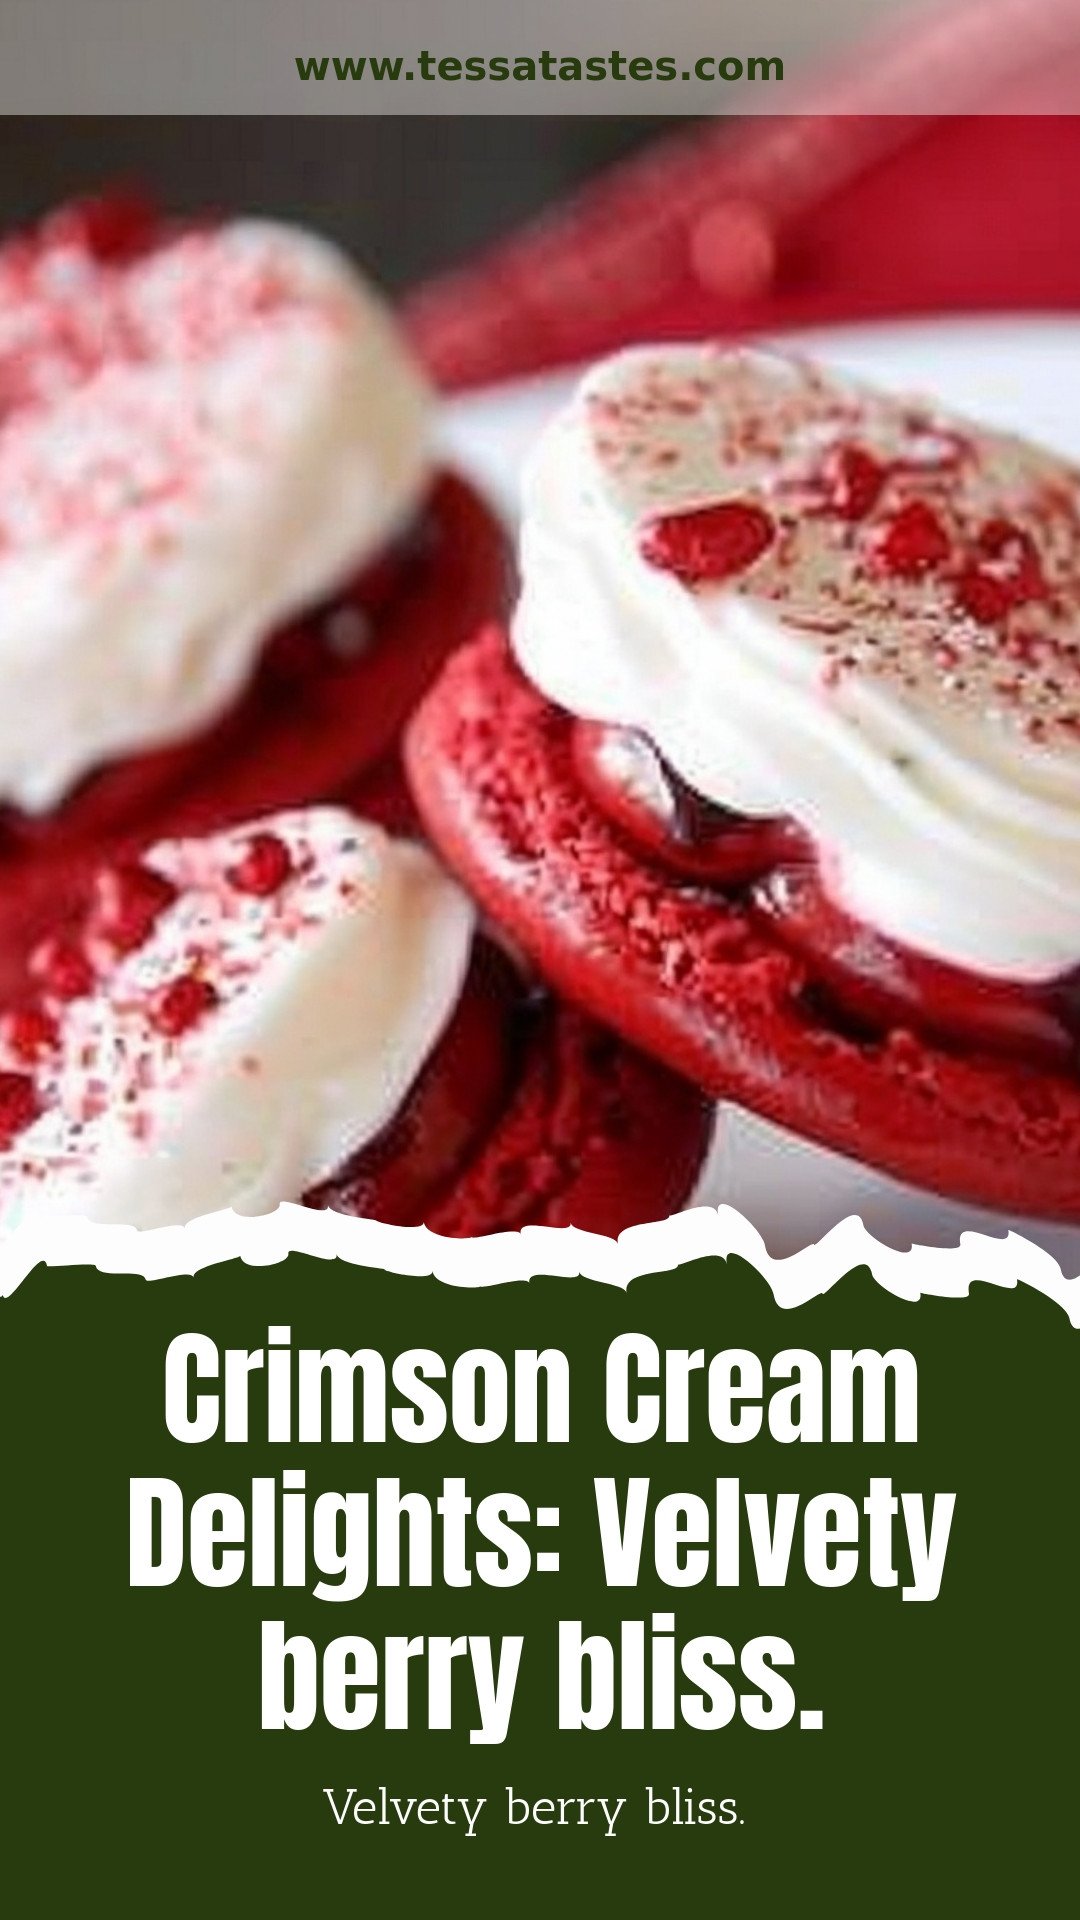
Crimson Cream Delights: Velvety berry bliss.: Velvety berry bliss.
Description
Indulge in pure berry bliss with our Crimson Cream Delights. This velvety, no-bake dessert is the perfect easy treat. Get the simple recipe and satisfy your sweet cravings!
Ingredients
Instructions
- Preheat the oven to 400°F. In large bowl, combine cake mix, eggs, water and oil. Mix well.
- Scoop out onto a parchment lined baking sheet in equal portions. Spread batter with the back of a spoon into a circle.
- Bake for 8 to 10 minutes, or until batter is fully set. Remove from oven and cool.
- In another bowl, combine shortening, powdered sugar, marshmallow fluff, and vanilla and almond extracts with a mixer until combined.
- Remove cakes from parchment and try to match them with another one that is similar in size.
- Spoon or pipe filling mixture onto one side of cake, sandwich and enjoy! You can also roll them in something fun like crushed candy canes or mini chocolate chips for color and variation.
Notes
- For added flavor, top with spicy Sriracha mayo, mango salsa, or use marinated tofu for a vegetarian option.


Leave a Reply