My Grandson’s Favorite “Green Fries”
Let me tell you about my grandson, Leo. He used to push green beans around his plate. One day, I roasted them like this. He took one bite. He called them “green fries.” Now he asks for them! I still laugh at that.
This matters because it turns a “have to” into a “want to.” That’s a big win in any kitchen. Do your kids or family have a veggie they suddenly loved? I’d love to hear your story.
Why a Hot Oven is Your Friend
We roast these beans at 425 degrees. That heat is important. It makes the outsides crispy. The insides stay tender. Doesn’t that sound good?
Fun fact: That high heat quickly caramelizes the beans’ natural sugars. That’s the secret to the sweet, yummy flavor. Just use a big baking sheet so they aren’t crowded. Crowded veggies steam. We want crunch!
The Simple Joy of Tossing
You just drizzle on oil and salt. Then use your hands to toss. Get those beans nicely shiny. This little step matters. It makes sure every single bean gets tasty.
It feels good, too. It’s a hands-on, simple start to cooking. What’s your favorite simple, hands-on kitchen job? Is it stirring batter or maybe kneading dough? Tell me.
Watching Them Transform
Pop them in the hot oven. In about 10 minutes, give them a toss. You’ll see them start to brown. Let them go another 5 minutes. They get little dark, crispy spots.
That’s when you know they’re perfect. Doesn’t that smell amazing? That smell means you did it right. Pull them out and add fresh pepper. It makes all the difference.
A Little Bag of Goodness
Look at all those vitamins in one little bag of beans! Vitamin A for your eyes. Vitamin C to keep you strong. And all that fiber is so good for your belly.
This matters because food should taste good and make you feel good. It’s a simple truth. So, will you try these “green fries” this week? I hope you do. Let me know how yours turn out.
Ingredients:
| Ingredient | Amount | Notes |
|---|---|---|
| Green beans | 1 pound | Trimmed |
| Olive oil | 1 tablespoon | |
| Kosher salt | 1/2 teaspoon | |
| Fresh cracked black pepper | To taste |
My Crispy, Crunchy Green Bean Secret
Hello, my dear! Come sit. Let’s talk about green beans. I used to just boil them. They got so sad and soggy. My grandson, Leo, would hide them under his napkin! I don’t blame him. Then I discovered roasting. Oh, what a difference! The oven makes them crispy and sweet. They snap when you bite them. Leo eats them like French fries now. Doesn’t that sound better? It’s the easiest magic trick in my kitchen. Let me show you how.
Step 1: First, heat your oven to 425°F. Let it get nice and hot. This heat is the key to crispiness. While it warms, wash your beans. Snap off the tough stem ends. I still do this by hand. It reminds me of helping my own grandma. Dry them well with a towel. (A hard-learned tip: Wet beans steam instead of roast. We want crunch, not mush!)
Step 2: Pile the beans on a baking sheet. Drizzle them with olive oil. Now sprinkle on the salt. Use your hands to toss and coat every bean. This part is fun. Your fingers will glisten. Doesn’t that smell amazing already? Spread them out in a single layer. Give them some space. If they’re crowded, they’ll just steam.
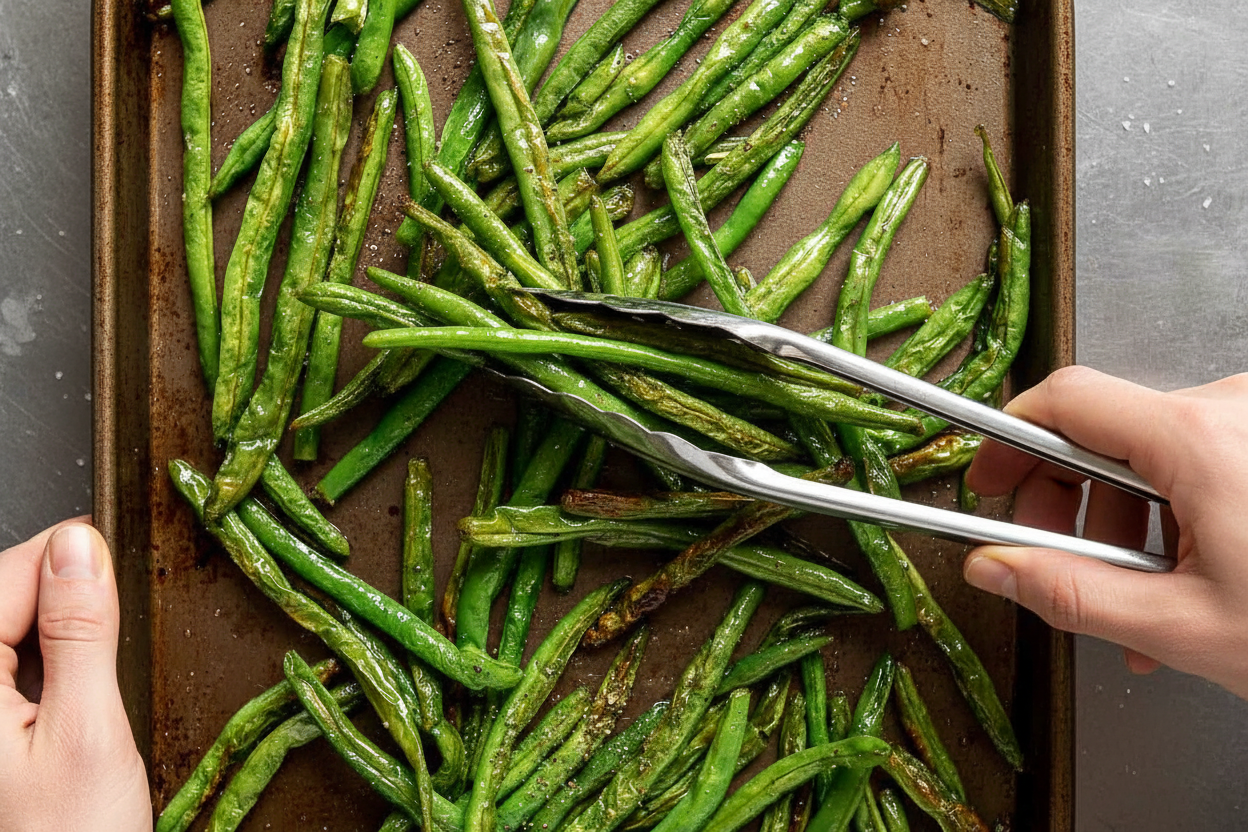
Step 3: Slide the pan into the hot oven. Set a timer for 10 minutes. You’ll hear a faint sizzle. That’s a good sound! When the timer dings, pull the tray out. Carefully toss the beans with a spatula. I still laugh at how they jump. Put them back for about 5 more minutes. Watch for little browned spots. That’s the flavor!
Step 4: Take your crispy beans out of the oven. They will be beautifully blistered. Now, grind fresh black pepper right over the top. The warmth wakes up the pepper’s scent. Serve them immediately. They are best hot from the oven. What’s your favorite veggie to roast? Share below! I love hearing your ideas.
Cook Time: 15 minutes
Total Time: 25 minutes
Yield: 4 servings
Category: Side Dish
Three Tasty Twists to Try
Once you master the basic recipe, you can play! Here are my favorite simple twists. They make these beans feel new every time.
Garlic Lover’s Dream: Toss in two minced garlic cloves with the oil. The oven toasts it perfectly.
Zesty Lemon Pepper: After baking, add lemon zest and a squeeze of juice. So bright and fresh!
Cheesy Sprinkle: Right after baking, shower them with grated Parmesan. It melts into salty little clouds.
Which one would you try first? Comment below! I’m leaning toward the lemon today.
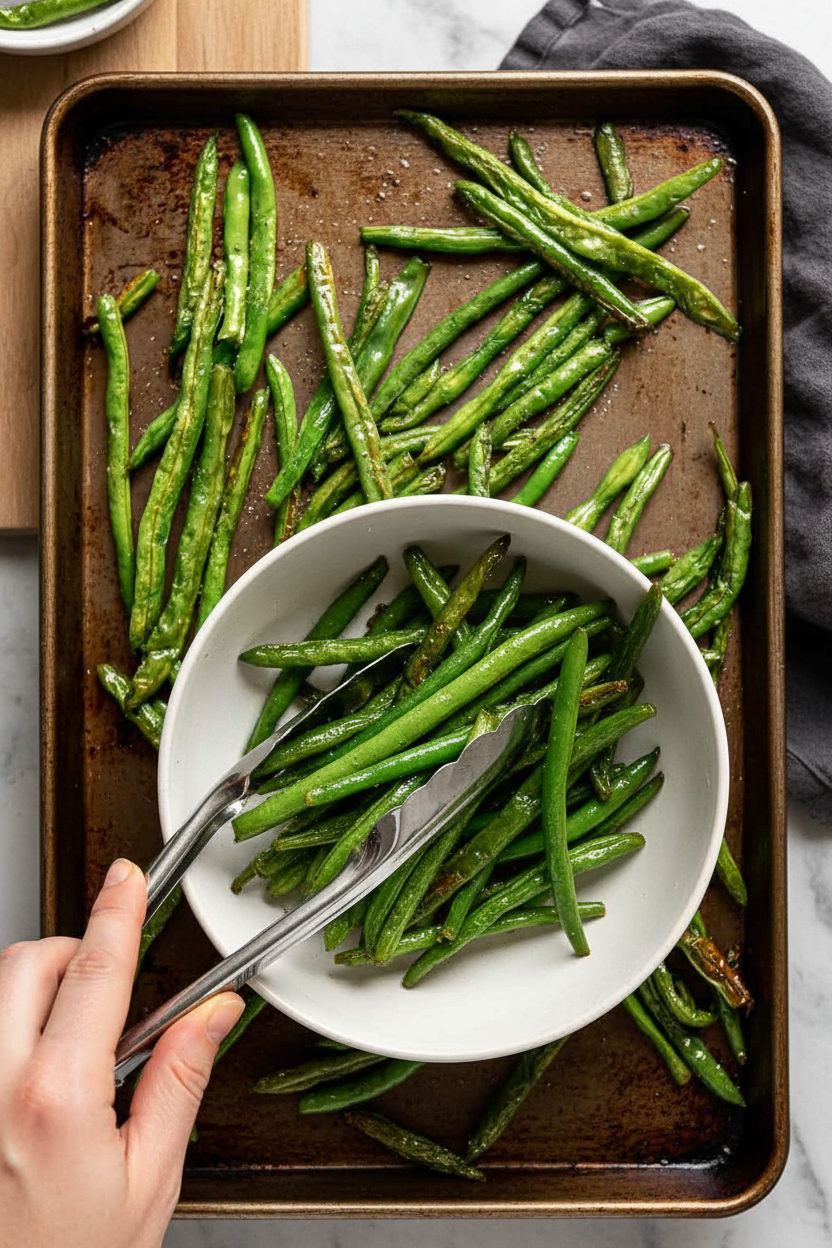
Serving Them Up Right
These beans are wonderful next to a simple roast chicken. They also love a juicy burger. For a pretty plate, I serve them in a wide, shallow bowl. Sometimes I add toasted almond slices on top for extra crunch. A little flaky sea salt at the end is lovely, too.
For a drink, a cold glass of lemonade pairs beautifully. It cuts through the savory oil. For the grown-ups, a crisp Pinot Grigio wine is a lovely match. It tastes like a sunny afternoon. Which would you choose tonight?
Keeping Your Green Beans Crispy
Let’s talk about keeping these tasty beans. They are best eaten right away. But leftovers happen! Store them in the fridge for up to three days.
I don’t recommend freezing them. They get soggy when thawed. It’s a texture thing. I learned this the hard way with my first batch years ago.
To reheat, use your oven or toaster oven. Spread them on a sheet. Warm at 400 degrees for five minutes. This brings back the crunch.
You can wash and trim beans ahead of time. Pat them dry and refrigerate. This makes weeknight dinner so much faster. Batch cooking saves precious time. Have you ever tried storing it this way? Share below!
Simple Fixes for Common Snags
Sometimes recipes need a little tweak. First, if your beans are soggy, they were too wet. Always dry them very well before oiling. This matters for a proper crisp.
Second, if they burn, your oven might run hot. I remember when my first tray came out black! Use an oven thermometer to check. It’s a game-changer.
Third, if they taste bland, you need more salt. Season in stages. A pinch after roasting wakes up all the flavors. Good seasoning makes you feel like a pro. Which of these problems have you run into before?
Your Quick Questions, Answered
Q: Is this recipe gluten-free? A: Yes, it is naturally gluten-free. Just check your spice labels to be sure.
Q: Can I make these ahead? A: You can prep the beans a day early. But roast them just before serving for best crunch.
Q: What can I use instead of olive oil? A: Avocado oil works great. So does melted butter for a rich flavor.
Q: Can I double the recipe? A: Absolutely! Use two baking sheets. Make sure they are not crowded. Give the beans space.
Q: Any optional add-ins? A: Try garlic powder or a squeeze of lemon. *Fun fact: A little lemon juice helps your body absorb the iron in the beans!* Which tip will you try first?
From My Kitchen to Yours
I hope you love this simple recipe. It reminds me of summer gardens. Food is best when shared with family.
I would love to see your creations. Your version might inspire another reader. Sharing our kitchen stories connects us all.
Have you tried this recipe? Tag us on Pinterest! Use our handle @TessasKitchenTable. I look at every single photo.
Happy cooking!
—Tessa Hammond.

Crispy Roasted Green Beans Recipe
Description
Crispy, flavorful, and easy to make, these roasted green beans are a perfect healthy side dish.
Ingredients
Instructions
- Preheat oven to 425 degrees F.
- Place green beans on a baking sheet and drizzle with olive oil and sprinkle with salt. Toss to evenly coat.
- Bake for 10 minutes, toss, and bake another 5 minutes until lightly browned. Sprinkle with pepper and serve.


Leave a Reply