The Secret in the Soda Bottle
My grandson asked me a funny question once. He saw me pouring soda into a pot. He asked if we were having pop for dinner. I still laugh at that.
The secret is Dr Pepper. It makes the ribs tender and sweet. It is like a magic potion for meat. This matters because it turns a tough cut into something soft. Your fork will slide right in.
A Long, Slow Simmer
You cover the ribs completely with the Dr Pepper. Then you let them bubble softly for three hours. Your whole house will smell like sweet spice. Doesn’t that smell amazing?
This long cook is the most important step. It breaks everything down gently. You cannot rush good food. Patience here makes the magic happen later on the grill.
Fire and Glaze Time
Now for the fun part. Get your grill nice and hot. Lay those tender ribs on the grate. Listen to that happy sizzle.
Brush on your favorite BBQ sauce. Let it get sticky and shiny. Flip and repeat. In just a few minutes, you have perfect ribs. What is your family’s favorite brand of BBQ sauce? I am always looking for a new one to try.
Why This All Works
The soda does two big jobs. The sugar helps caramelize the meat. The acid makes it incredibly tender. Science can be delicious.
Fun fact: Dr Pepper has 23 flavors! Maybe that is why it adds such a deep taste. You cannot quite name all the flavors, but you know they are there. This matters because cooking should be a little adventure.
Your Turn at the Table
I love serving these ribs with simple sides. Buttered corn on the cob is perfect. So is a big pile of coleslaw. The cool crunch balances the sweet, sticky ribs.
Tell me, what is your favorite side dish for a summer cookout? Do you have a funny cooking story like my grandson did? Share it with me. I would love to hear it. Food tastes better with a story.
Ingredients:
| Ingredient | Amount | Notes |
|---|---|---|
| Pork ribs | 3 racks | |
| Dr. Pepper | 1 liter | |
| BBQ Sauce | As needed | For glazing |
My Favorite Fizzy Ribs Story
Hello, dear! Pull up a chair. Let’s talk about my favorite rib recipe. It uses Dr Pepper! I know it sounds funny. My grandson thought I was joking the first time. He said, “Grandma, that’s for drinking!” But trust me, it works magic. The soda makes the meat so tender it nearly falls off the bone. It also adds a sweet, caramel-like flavor. Doesn’t that smell amazing when it starts to bubble? I still laugh at that memory every time I make these.
Here is how we make this family favorite. Just follow these simple steps. You will feel like a backyard BBQ champion in no time.
- Step 1: Get your biggest pot. Place your ribs inside. Now, pour the Dr Pepper over them. You need enough to cover the ribs completely. Bring it all to a boil on the stove. Then, turn the heat way down. Let it simmer gently for three whole hours. The house will smell so good. (My hard-learned tip: Keep the simmer very low. A rolling boil will make the ribs tough.)
- Step 2: After three hours, carefully take the ribs out. They will be very tender now. Pat them dry with paper towels. This helps the grill marks stick. Get your grill nice and hot. Place the ribs on the grates. Let them cook for about three to five minutes. Do you know why we grill them after boiling? Share below!
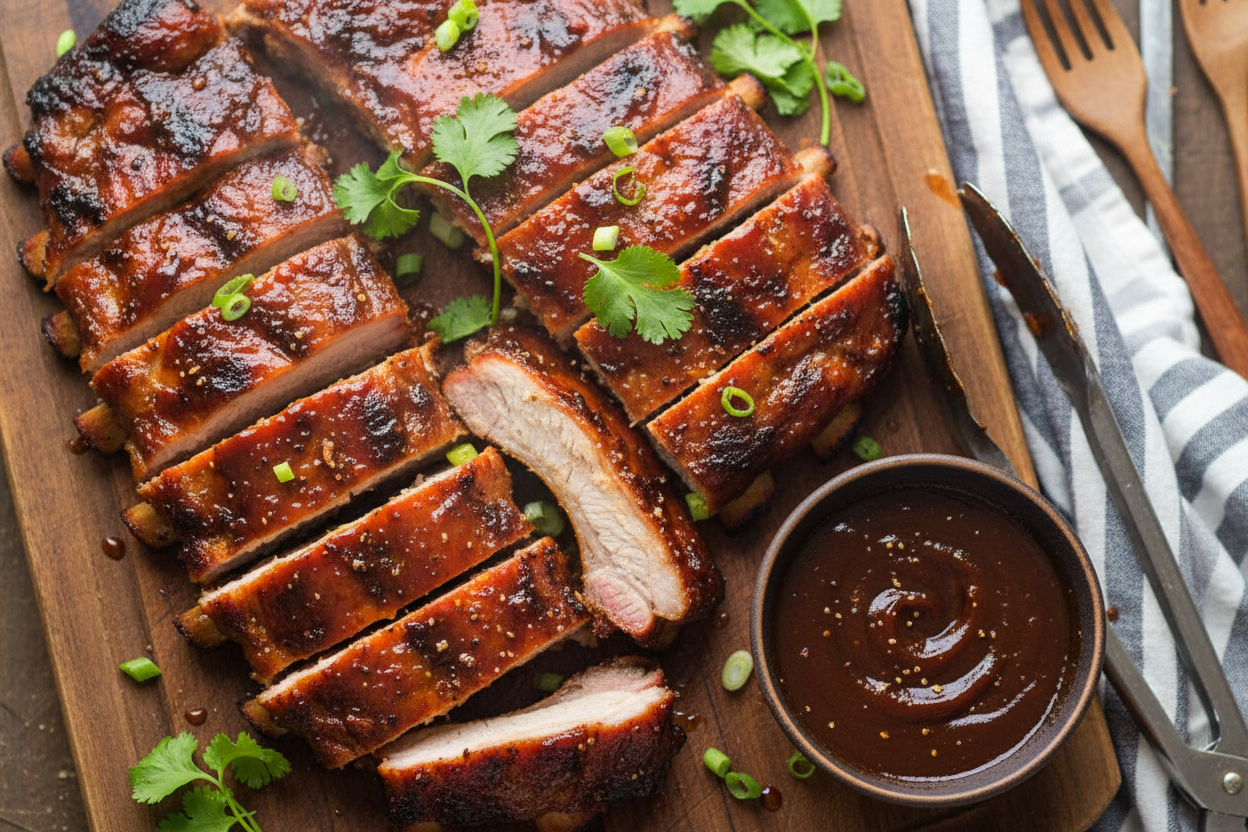
- Step 3: Flip the ribs over. Now for the fun part! Brush your favorite BBQ sauce all over the top. Let it cook for another three to five minutes. Then, flip and sauce the other side. You just want the sauce to get sticky and glossy. And you are done! Let them rest for a few minutes before serving. I always sneak a tiny bite first. I just cannot help myself.
Cook Time: 3–3.5 hours
Total Time: 3 hours 15 minutes
Yield: 6 servings
Category: Dinner, BBQ
Let’s Get Creative With Your Ribs
Once you know the basic recipe, you can play! Here are three fun twists I love. Try one next time.
- Spicy Fiesta Twist: Add a chopped jalapeño to the Dr Pepper pot. Use a spicy BBQ sauce for glazing.
- Sweet & Smoky Twist: Use a smoky BBQ sauce. Add a tablespoon of liquid smoke to the simmering soda.
- Honey Garlic Twist: Stir two big spoons of honey into your BBQ sauce. Add some minced garlic too. It’s so good.
Which one would you try first? Comment below!
The Perfect Plate for Your Masterpiece
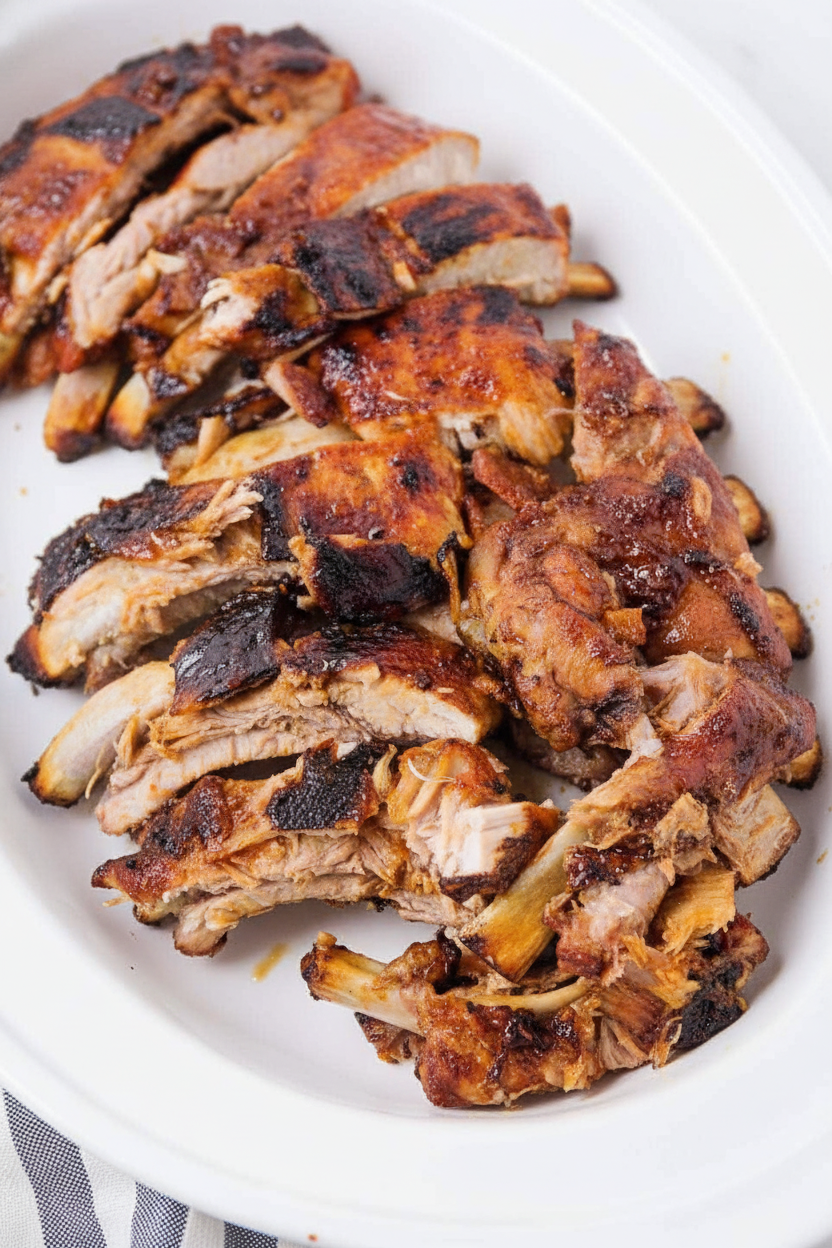
These ribs are the star. But they need good friends on the plate. I love serving them on a big platter. Pile the ribs right in the middle. It looks so generous and fun.
For sides, keep it simple. Buttered corn on the cob is a must. A big, cool pile of coleslaw is perfect too. It cuts through the rich sauce. Some baked beans on the side complete the picture. Use a checkered napkin for that real picnic feel.
What to drink? For the grown-ups, a cold lager beer pairs wonderfully. For everyone, ice-cold homemade lemonade is the best. The tart lemonade loves the sweet ribs. Which would you choose tonight?
Making Your Ribs Last
Let’s talk about keeping those tasty ribs. First, let them cool completely. Then wrap them tight in foil. Pop them in the fridge for up to three days.
For the freezer, use heavy-duty foil or freezer bags. They will keep for two months. I once forgot to label a package. We had a mystery meat dinner!
To reheat, thaw in the fridge overnight. Warm them in a 300-degree oven, wrapped in foil. This keeps them juicy. Add a splash of broth if they look dry.
Batch cooking saves busy nights. Simmer two pots of ribs at once. You get a future feast ready to go. This matters because good food should make life easier, not harder. Have you ever tried storing it this way? Share below!
Fixing Little Rib Mistakes
Sometimes ribs can be tricky. Here are easy fixes. First, if the meat is tough, it needed more simmer time. Just put it back in the pot with more Dr Pepper.
Second, is your sauce burning on the grill? Move ribs to a cooler spot. Brush sauce on only at the very end. I remember when I learned this. My first batch was very smoky!
Third, the flavor might be bland. Simmer the ribs in the soda longer. The soda adds a sweet, deep taste. This matters because patience makes perfect flavor.
Fixing small problems builds your cooking confidence. You learn that mistakes are just lessons. Which of these problems have you run into before?
Your Rib Questions, Answered
Q: Is this recipe gluten-free? A: Check your BBQ sauce label. Many are gluten-free, but you must look.
Q: Can I make these ahead? A: Yes! Simmer the ribs one day. Grill them the next day for fresh flavor.
Q: What if I don’t have Dr Pepper? A: Root beer or cola works great too. Fun fact: The soda tenderizes the meat while it cooks.
Q: Can I cook less than three racks? A: Of course. Just use a smaller pot and less soda.
Q: Any optional tips? A: Add a pinch of garlic powder to the BBQ sauce. It’s a nice little secret. Which tip will you try first?
From My Kitchen to Yours
I hope you love these sweet, sticky ribs. Cooking is about sharing joy and full bellies. I would love to see your creation.
Did your family gobble them up? Did you try a different soda? Share your story with me. Have you tried this recipe? Tag us on Pinterest!
Thank you for spending time in my kitchen today. I am so glad you are here. Happy cooking!
—Tessa Hammond.
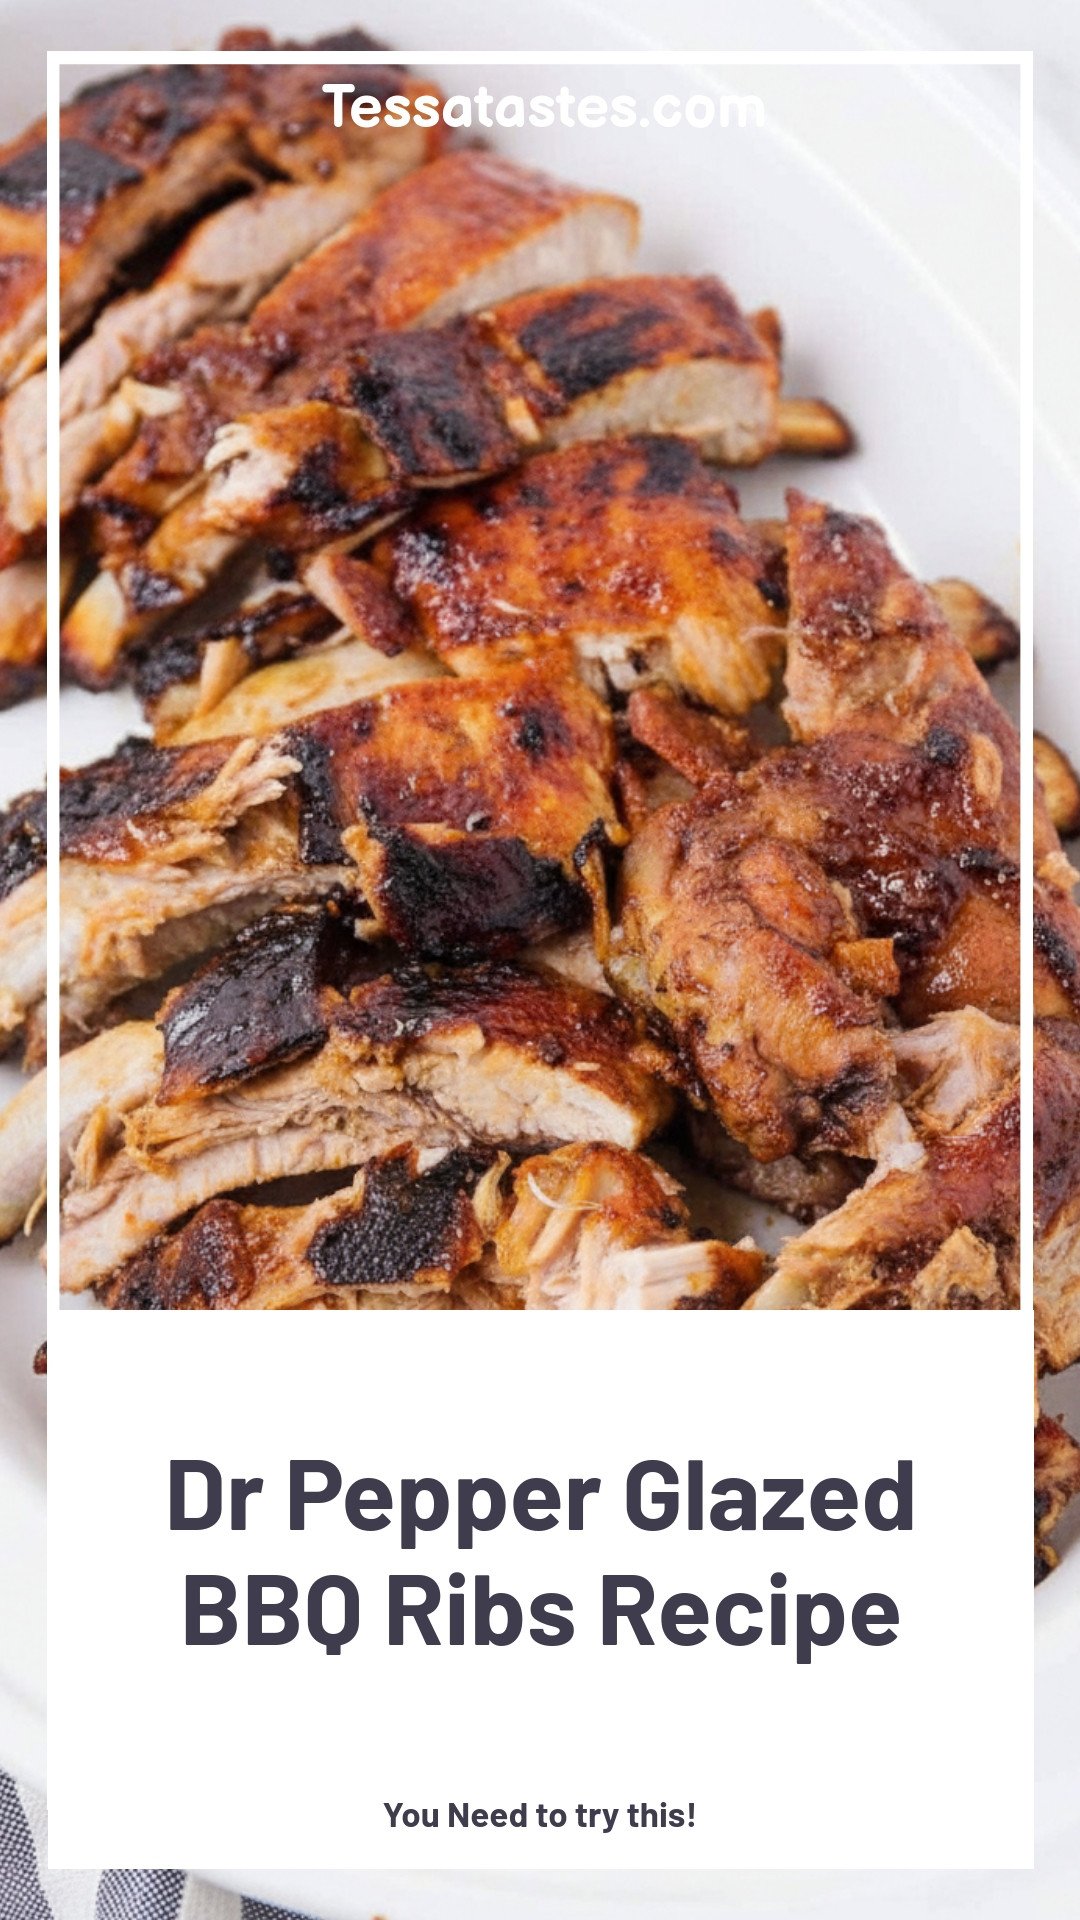
Dr Pepper Glazed BBQ Ribs Recipe
Description
Tender pork ribs simmered in Dr Pepper and finished on the grill with a sticky BBQ glaze.
Ingredients
Instructions
- Place ribs in a large pot and cover with Dr Pepper until covered. Bring to a boil, then turn down the heat and simmer for three hours.
- Place Ribs on grill and cook for three to five minutes on each side.
- While on the grill, brush with desired amount of bbq sauce. Repeat on other side.


Leave a Reply