My First Lemon Bar Fiasco
I tried making lemon bars when I was young. I was so excited. I used a whole extra cup of lemon juice.
The filling never set. It was a sunny, delicious soup. I still laugh at that. My family ate it with spoons. Now I measure the juice carefully. This matters because good recipes are like friendly maps. They keep you from getting lost.
Why Room Temperature Matters
Let’s talk about your butter and eggs. They should not be cold. Room temperature ingredients are friends. They mix together smoothly.
Cold butter makes a lumpy crust. Cold eggs can make the filling uneven. Just set them out an hour before. It makes everything easier. Trust me on this one.
The Magic of That Shortbread Crust
This crust is simple. Butter, sugar, vanilla, flour, salt. You mix until it looks like crumbs. Then you press it into the pan with your fingers.
I love this part. You get to play with your food. Press it flat and even. When it bakes, your kitchen will smell like cookies. Doesn’t that smell amazing? That smell is the start of the magic.
The Sunny Lemon Filling
Now for the sunshine. You whisk eggs and sugar. Then add fresh lemon juice and zest. The zest is the yellow part of the peel.
Fun fact: The zest holds the strongest lemon flavor. It makes the bars taste bright and happy. Finally, whisk in the flour. Get it very smooth. Pour this sunny liquid over your warm crust.
The Waiting Game
Baking is about patience. The bars need to cool for an hour. Then they must chill in the fridge. This matters so much. It lets the filling become perfectly set and sliceable.
Waiting is the hardest part. I always peek. Do you peek at your desserts while they cool? The final dusting of powdered sugar is like a soft snow. It makes them look so special.
Your Turn in the Kitchen
I hope you try these. They are sweet, tangy, and full of joy. Baking them feels like sharing a hug. What is your favorite dessert to share with friends?
If you use Meyer lemons, remember to use less sugar. They are sweeter. Tell me, do you prefer your lemon bars more sweet or more tart? I love hearing your stories. Happy baking from my kitchen to yours.
Ingredients:
| Ingredient | Amount | Notes |
|---|---|---|
| Unsalted butter | 1/2 lb (16 Tbsp) | room temperature, for crust |
| Granulated sugar | 1/2 cup | for crust |
| Vanilla extract | 1 1/2 tsp | for crust |
| All-purpose flour | 2 cups | for crust |
| Salt | 1/4 tsp | for crust |
| Large eggs | 7 | room temperature, for filling |
| Granulated sugar | 3 cups | for filling* |
| Lemon zest | 2 Tbsp | from 4-5 lemons, for filling |
| Lemon juice, fresh | 1 cup | from 5 large or 8 medium lemons, for filling** |
| All-purpose flour | 1 cup | for filling |
| Confectioners sugar | to dust | for serving |
My Sunshine Lemon Bars
Hello, my dear! Come sit. Let’s make my famous lemon bars. They taste like a sweet, sunny day. I’ve been making them for fifty years. My grandkids beg for them. The recipe is simple and joyful. We’ll make a buttery crust first. Then we’ll pour on the bright lemon filling. Doesn’t that smell amazing? I still laugh at that one time I used bottled lemon juice. What a mistake! Fresh lemons are the only way. Their zest makes all the difference. Are you ready? Let’s begin our little kitchen project together.
Step 1
First, warm up your oven to 350°F. Line your baking pan with parchment paper. Let the paper peek over the sides. This is our little handle for later. Now, let’s make the shortbread. Cream the soft butter and sugar together. It will get fluffy and pale. Add the vanilla, flour, and salt. Mix until it looks like wet sand.
Step 2
Dump those crumbs into your pan. Press them down firmly with your fingers. Make it nice and even. Bake this for about 20 minutes. You’ll know it’s ready when the edges are golden. It will smell like cookies. Let it cool a bit on a rack. (A hard-learned tip: Don’t wash the mixer bowl yet! We need it for the filling.)
Step 3
Now for the sunny part! Zest your lemons first. Then juice them. In a big bowl, whisk the eggs and sugar. Add that wonderful lemon juice and zest. Finally, whisk in the flour. Keep going until it’s perfectly smooth. No lumps allowed! Do you zest your lemons before or after juicing them? Share below!
Step 4
Pour your yellow filling onto the warm crust. Gently put the pan back in the oven. Bake for 30 to 35 minutes. The filling should be set, not wobbly. Take it out right then. Over-baking makes the filling rubbery. Let the pan cool on the counter for an hour. Patience is hard, I know!
Step 5
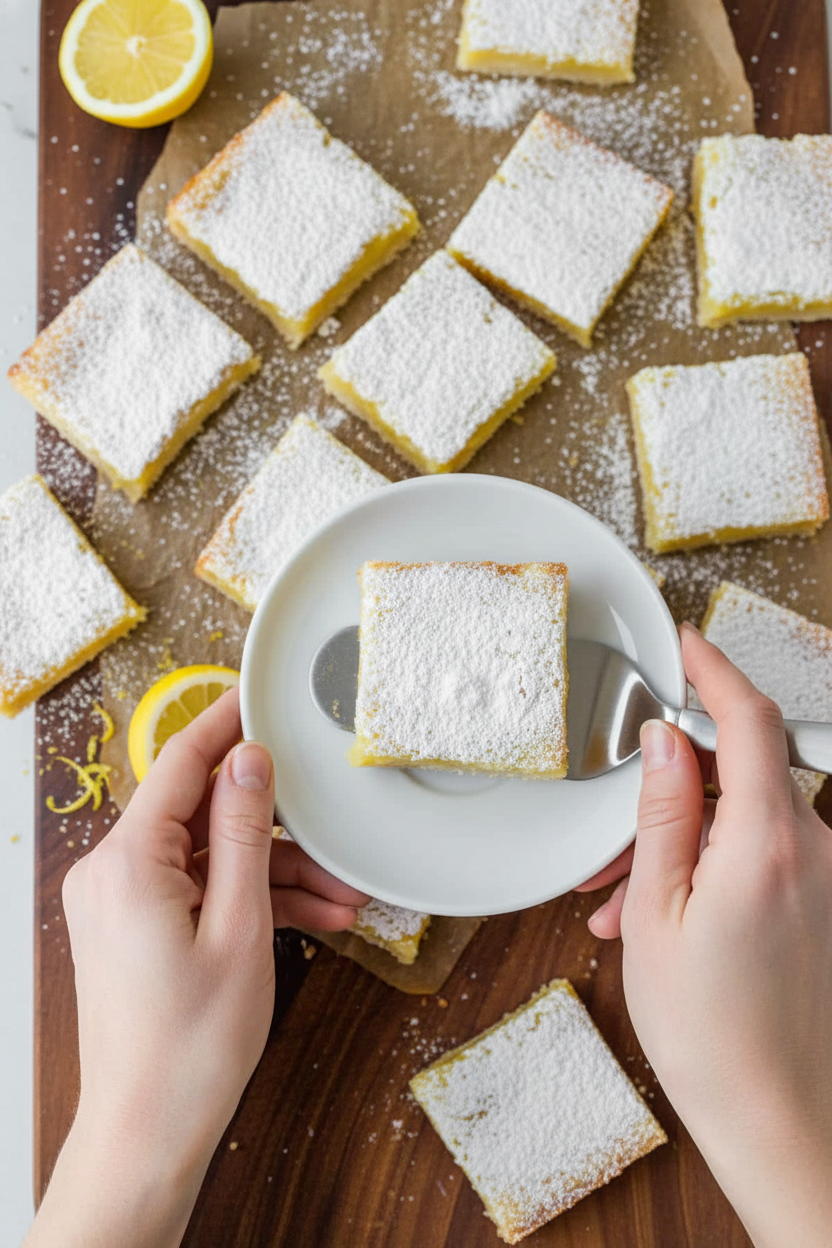
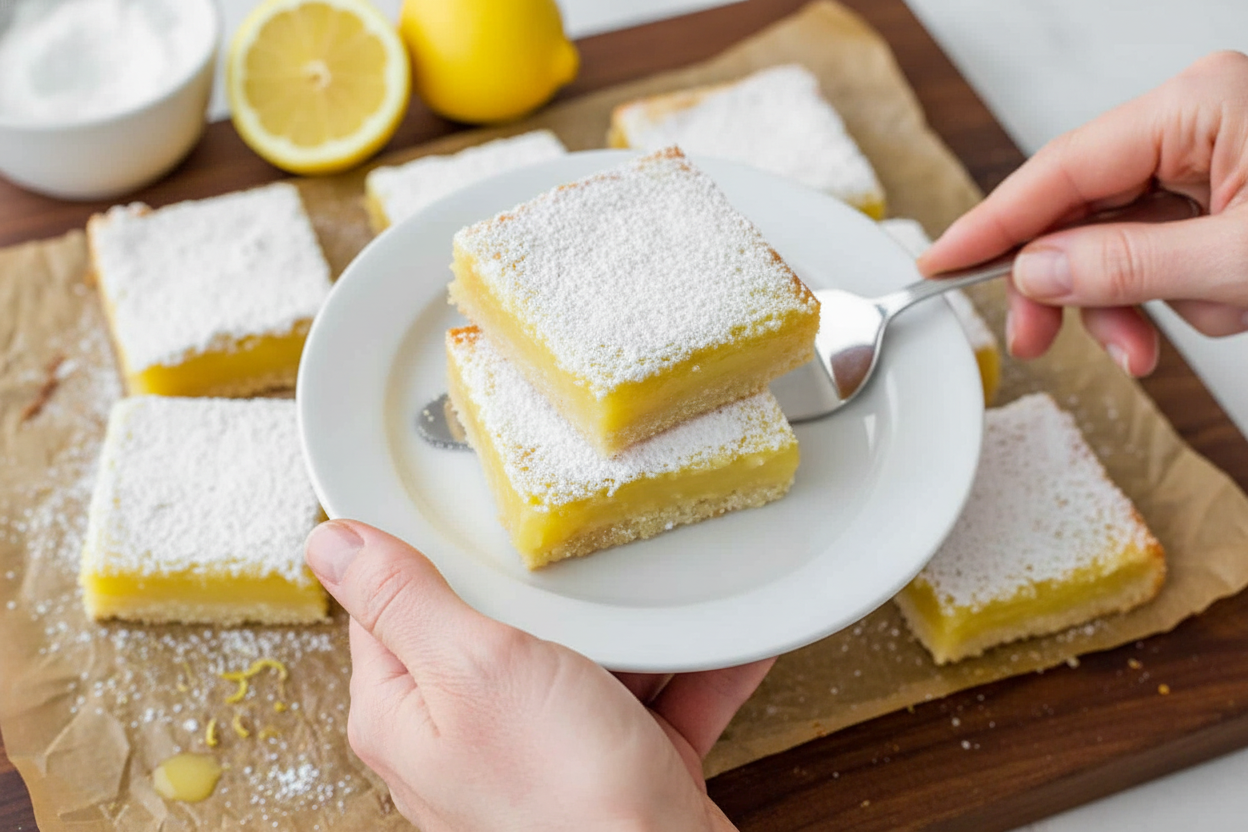
The final wait is the coldest. Pop the pan into the fridge. Leave it for two hours. This sets the filling perfectly. To serve, lift the bars out using the paper. Cut them into squares on a cutting board. Give each one a snowy dusting of powdered sugar. Each bite is a perfect mix of sweet and tart.
Cook Time: About 1 hour
Total Time: 4 hours (with cooling)
Yield: 18-20 bars
Category: Dessert, Baking
Three Twists on a Classic
Once you master the classic, try a little twist! It’s fun to play with flavors. My friend Margie adds lavender to hers. I like these three ideas best. They make a familiar treat feel new and special. Which one would you try first? Comment below!
Berry Swirl
Drop spoonfuls of raspberry jam on the filling before baking. Swirl it with a knife for a pretty pattern.
Coconut Dream
Mix a handful of shredded coconut into the shortbread crust. It toasts up so nice and adds a tropical taste.
Herbal Sunshine
Add two tablespoons of finely chopped fresh basil or thyme to the lemon filling. It sounds odd, but it’s wonderfully fresh!
Serving Your Sweet Sunshine
These bars are perfect all on their own. But sometimes, you want to make them extra special. For a fancy tea, serve a small bar on a pretty plate. Add a few fresh raspberries and a mint leaf. It looks like you bought it from a bakery! For a summer picnic, pack them in a container between layers of parchment. They travel well. To drink, I love a glass of cold iced tea with mine. The tannins cut the sweetness. Or, for the grown-ups, a small glass of chilled Riesling wine is just lovely. Which would you choose tonight?
Keeping Your Lemon Bars Bright and Fresh
Let’s talk about keeping these sunny bars. They last a week in the fridge. Just cover the pan tightly. You can also freeze them for a happy surprise later. Layer them between parchment paper in a freezer box. Thaw them in the fridge overnight.
I once sent a whole batch to my grandson. I froze them solid first. They arrived perfect for his birthday. Batch cooking is a gift to your future self. It means a sweet treat is always ready. That matters on busy days.
No need to reheat! They are best served cold. The filling stays beautifully set. Just dust with powdered sugar right before serving. Have you ever tried storing it this way? Share below!
Simple Fixes for Common Lemon Bar Troubles
Sometimes baking has little bumps. Here are easy fixes. First, a soggy bottom crust. Always bake your crust until lightly golden. I remember when I pulled mine out too early. The filling made it soft.
Second, a filling that won’t set. Do not add extra lemon juice. It needs the right balance. Measure your juice carefully. A set filling gives you a clean slice. That matters for pretty bars.
Third, bars that are too sweet or too tart. Taste your lemon juice first! A sweeter lemon needs less sugar. Getting the flavor right builds your confidence. You learn to trust your taste. Which of these problems have you run into before?
Your Lemon Bar Questions, Answered
Q: Can I make these gluten-free? A: Yes! Use a good gluten-free flour blend for both crust and filling.
Q: How far ahead can I make them? A: They are perfect make-ahead treats. Make them 1-2 days before you need them.
Q: What if I only have bottled lemon juice? A: Fresh is best for flavor. But bottled juice will work in a pinch.
Q: Can I make a half batch? A: Absolutely. Use an 8×8 inch pan. Just halve all the ingredients carefully.
Q: Any optional tips? A: A tiny pinch of turmeric makes the filling a brighter yellow! It’s a fun fact and a chef’s secret. Which tip will you try first?
Share Your Sweet Success!
I hope you love making these bars. They always remind me of spring sunshine. I would love to see your beautiful creations. Sharing food is how we connect.
Please show me your finished lemon bars. It makes my day to see them. Have you tried this recipe? Tag us on Pinterest! You can find me at @TessasKitchenNook. Happy cooking!
—Tessa Hammond.
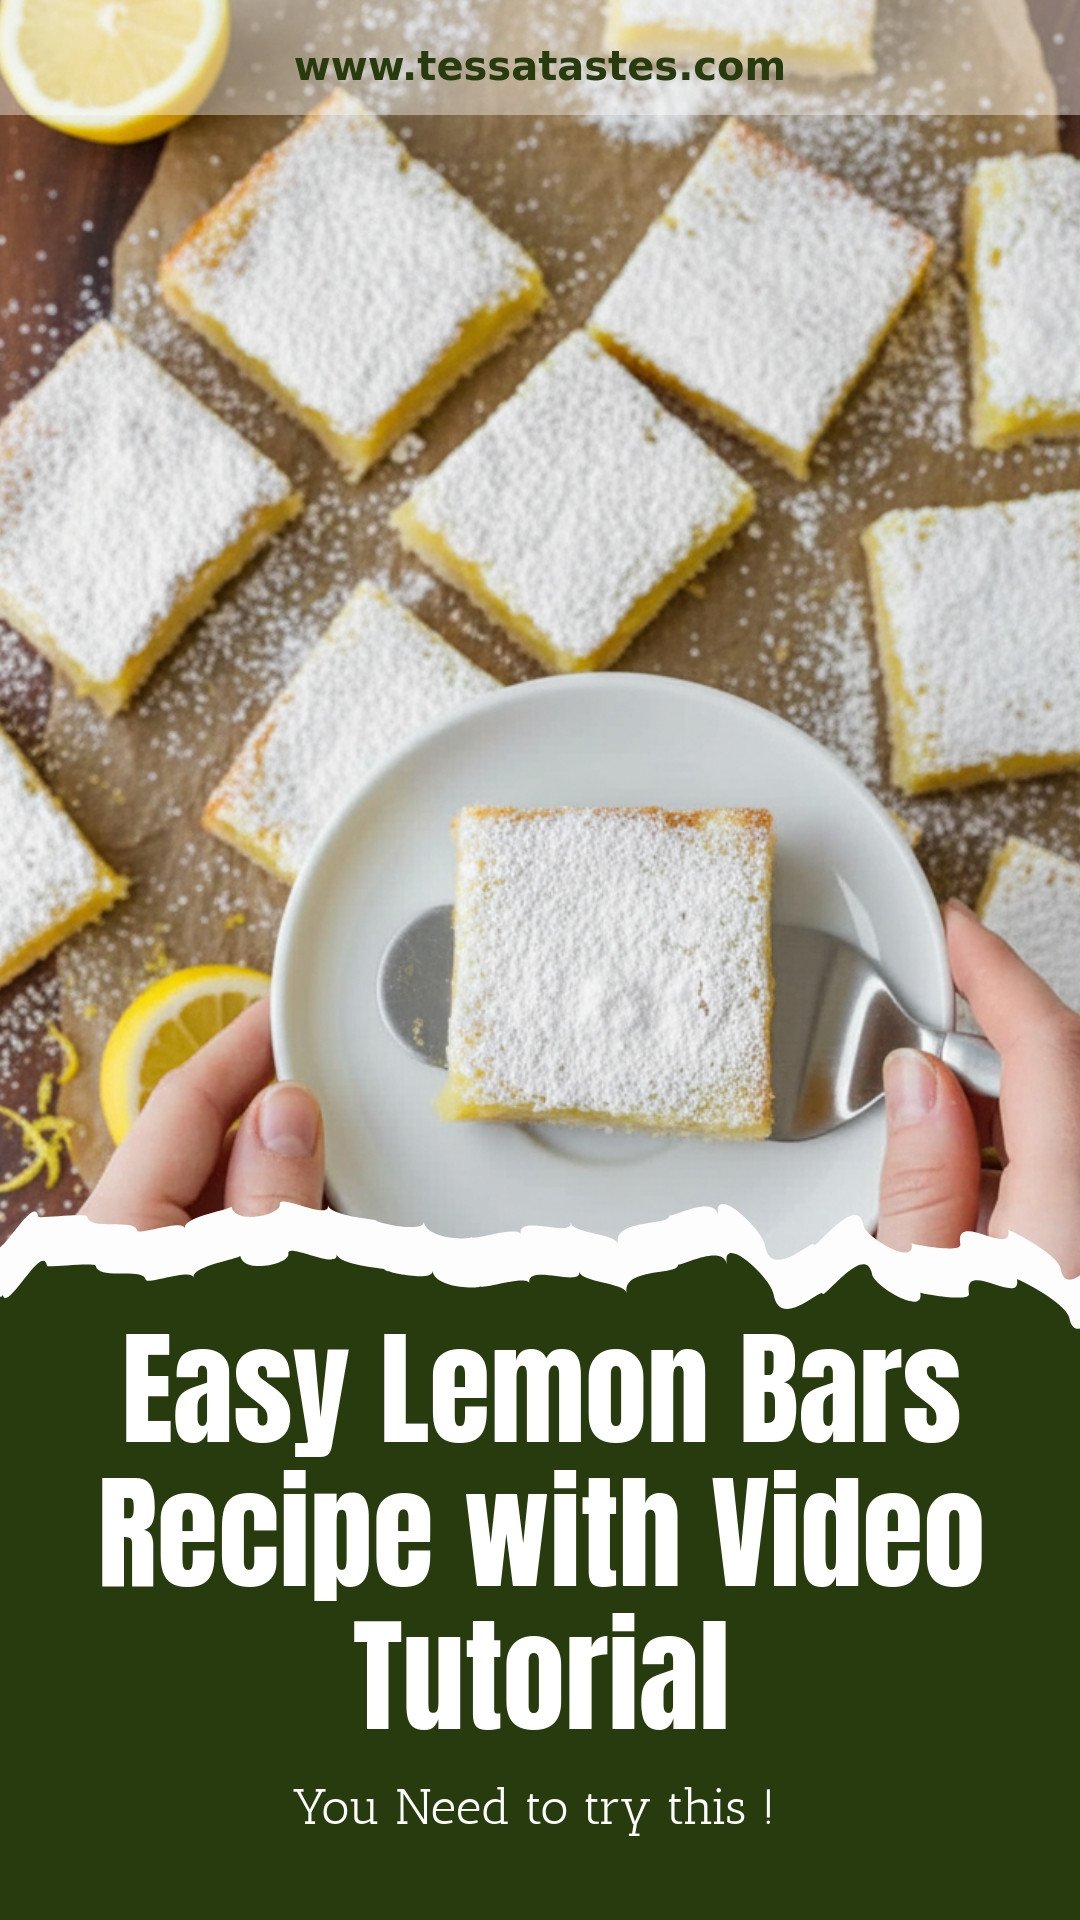
Easy Lemon Bars Recipe with Video Tutorial
Description
Experience the perfect balance of sweet and tart with these classic Easy Lemon Bars, featuring a buttery shortbread crust and a luscious lemon filling.
Ingredients
For the Shortbread Crust:
For the Lemon Filling:
Instructions
- PREP: Preheat oven to 350˚F. Line a 13x9x2” baking pan with parchment paper (it should go most of the way up the sides so filling doesn’t spill over.
- CRUST: In the bowl of a stand mixer fitted with the paddle attachment, cream together softened butter and 1/2 cup sugar. Add 1 1/2 tsp vanilla extract, 2 cups flour and 1/4 tsp salt. Continue mixing until mixture is crumbly and no dry flour remains. Spread the dough evenly into the bottom of your prepared pan. Press it with your fingertips to flatten and even out the dough. Bake crust at 350˚F for 18-20 minutes or until lightly golden at the edges. Transfer to a wire rack to cool slightly.
- FILLING: While the crust is baking, zest then squeeze the lemons and prepare your filling. In a large mixing bowl, whisk together eggs and sugar until blended. Add Lemon juice and lemon zest and whisk to combine. Add 1 cup flour and whisk until smooth and very well blended and no traces of flour remain.
- BAKING: Pour filling over the warm crust and bake in the center of a preheated oven at 350˚F for 30-35 minutes or until the filling is set. As soon as the filling is no longer wobbly in the center, remove from the oven so you don’t over-bake. Cool in the pan at room temperature for at least 1 hour then refrigerate for at least 2 hours before serving.
- TO SERVE: Pull the parchment paper up slightly to loosen from the pan then transfer to a cutting board and cut into 18-20 squares then dust the tops with powdered sugar.
Notes
- Notes:
*If using Meyer lemons, cut the sugar down to 2 cups for the filling.
**Avoid using more lemon juice than what is called for or the filling won’t set properly.
Nutrition Per Serving:
Calories: 314kcal | Carbohydrates: 51g | Protein: 4g | Fat: 11g | Saturated Fat: 6g | Trans Fat: 1g | Cholesterol: 82mg | Sodium: 53mg | Potassium: 59mg | Fiber: 1g | Sugar: 36g | Vitamin A: 368IU | Vitamin C: 5mg | Calcium: 16mg | Iron: 1mg


Leave a Reply