My First Oreo Crust Disaster
Let me tell you about my first try. I was so excited. I used a rolling pin to crush the cookies.
I hit the bag too hard. Cookies and crumbs flew everywhere. My cat looked at me like I was silly. I still laugh at that.
Why This Simple Crust Matters
This crust is a great start. It gives you confidence. Anyone can make it.
That feeling is important. Cooking should be fun, not scary. A good foundation makes every pie better. What was your first kitchen win?
How to Make Your Crust
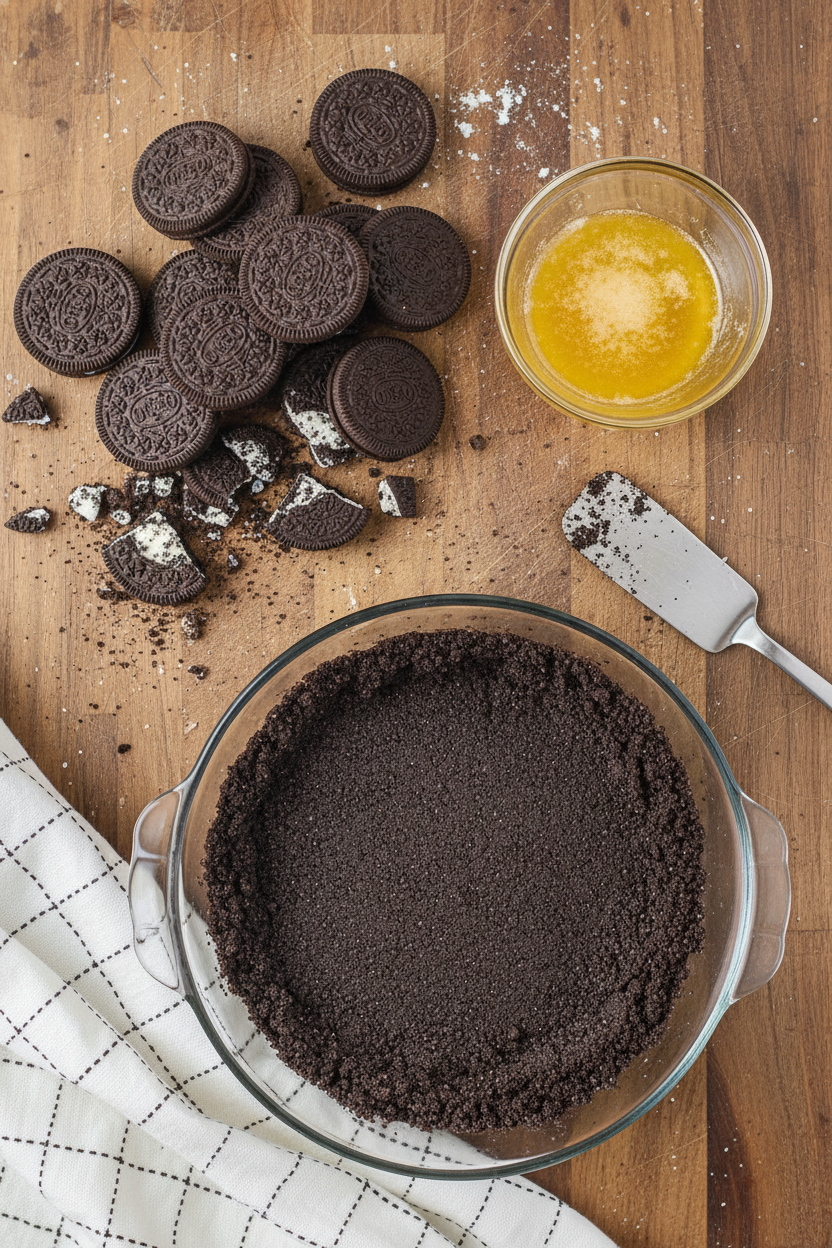
First, get 25 Oreos. A food processor works best. Just pulse them into dark, sandy crumbs.
Mix crumbs with melted butter in a bag. Doesn’t that smell amazing? Press it into your pie dish with your fingers. Bake it for just 8 minutes. Let it cool completely.
A Little Cookie History
People have used cookies for crusts for ages. It’s a clever trick. It turns a simple treat into something special.
Fun fact: The Oreo cookie itself is over 100 years old! Using them this way is a new tradition. Will you use a classic filling or try something wild?
The Secret is in Your Hands
Pressing the crust in is the best part. You feel the texture. You make sure it’s just right.
This matters because cooking connects us to our food. It’s not just buttons and machines. It’s your hands creating something. Do you prefer using tools or your hands to cook?
Ingredients:
| Ingredient | Amount | Notes |
|---|---|---|
| Oreos | 25 | Full cookies, including cream filling |
| Butter | 4 tablespoons | Melted |
My Easy Oreo Pie Crust: A No-Fuss Favorite
Hello, dear! Let’s make a pie crust the easy way. This one uses Oreos. My grandkids taught me this trick. I still laugh at that. They wanted a chocolate pie in a hurry. We had a package of cookies and some butter. That was all we needed. The kitchen smelled like a sweet dream. Doesn’t that smell amazing? You don’t even need to roll any dough. It’s perfect for a busy day.
Just follow these simple steps. You will have a perfect crust. It’s ready for your favorite filling. Let’s begin.
Step 1
First, heat your oven to 350°F. Then, take your Oreos. You need about 25 of them. Put them all in the food processor. No need to take the cream out! Just whir them until they look like dark sand. (My hard-learned tip: No processor? Use a bag and a rolling pin. It’s noisy but fun!)
Step 2
Melt your butter in a little bowl. Now, pour your cookie crumbs into a big plastic bag. Add the warm, melted butter right on top. Seal the bag tightly. Then mush it all together with your fingers. It should feel like wet sand. This part is messy. I don’t mind a bit.
Step 3
Dump your buttery crumbs into a pie dish. Use your hands to press them down. Push them up the sides, too. Make it nice and even. I always give it a little pat. Do you press from the middle or the edges? Share below! Now, bake it for just 8 to 10 minutes. This makes it set.
Step 4
Take the crust out of the oven. Let it cool completely on the counter. This is the hardest part. You must wait! If you add filling now, it will melt. So be patient, my dear. Your perfect crust is worth it.
Cook Time: 8–10 minutes
Total Time: 20 minutes
Yield: 1 pie crust
Category: Dessert, Basics
Three Fun Twists on Your Crust
This crust is wonderful as is. But you can play with it, too! Here are three ideas from my kitchen. They are all simple and delicious. Try one next time you bake.
- Minty Fresh: Use mint Oreos instead. It’s perfect with chocolate pudding filling.
- Peanut Butter Cup: Add 3 tablespoons of peanut butter to the melted butter. So rich and good!
- Ginger Snap Mix: Swap 10 Oreos for gingersnap cookies. It adds a lovely little spice.
Which one would you try first? Comment below!
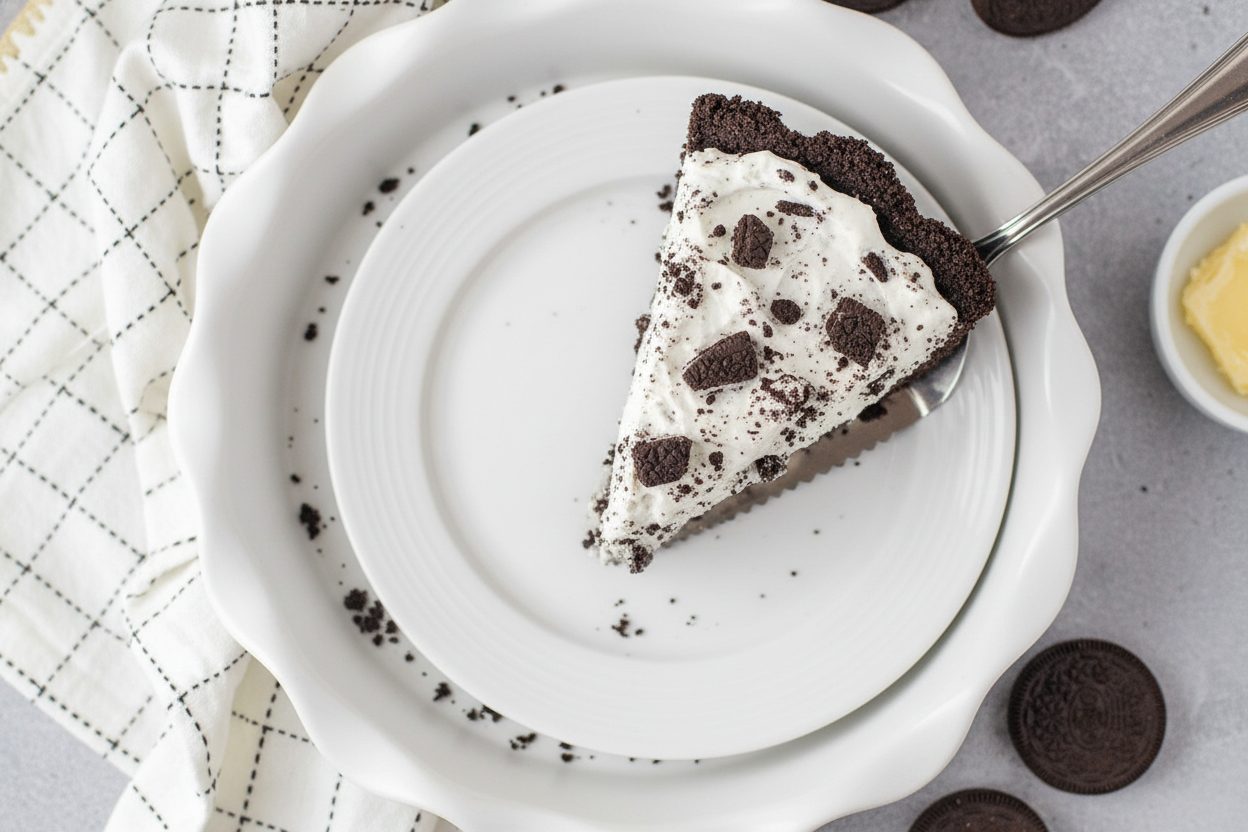
Serving It Up Sweet
Your crust is a blank canvas. Fill it with something cool and creamy. My favorite is simple whipped cream and berries. Or try a no-bake cheesecake filling. A dollop of extra whipped cream on top never hurts. For drinks, a cold glass of milk is classic. Grown-ups might like a little coffee liqueur in their milk. It’s a nice treat after dinner.
Which would you choose tonight? A creamy filling or a fruity one? I can never decide.
Keeping Your Oreo Crust Perfect
Let’s talk about keeping that crust tasty. You can freeze the baked crust for a month. Just wrap it tightly in plastic wrap first. I store mine in the fridge for a week if I’m using it soon.
You do not need to reheat the crust by itself. Just let it thaw in the fridge overnight. I once tried reheating a frozen crust. It made the chocolate taste a bit funny.
Why does this matter? A well-stored crust saves you time. You can make it ahead for a busy week. This makes surprise guests much less stressful. Have you ever tried storing it this way? Share below!
Fixing Common Crust Troubles
Is your crust too crumbly? You probably need a bit more butter. Add just one extra teaspoon and mix it in. This helps the crumbs stick together like damp sand.
Is the crust sticking to the pan? Always press it into a greased dish. I remember when my first crust broke. I forgot that simple butter step. It matters because a good release means a pretty pie.
Are the crumbs too big or uneven? Pulse your food processor in short bursts. Do not just let it run. This gives you perfect, even crumbs for pressing. Which of these problems have you run into before?
Your Oreo Crust Questions, Answered
From My Kitchen to Yours
I hope you love making this simple crust. It is the start of so many wonderful desserts. I would love to see what you create with it.
Share a photo of your finished pie. Show me your kitchen creations. Have you tried this recipe? Tag us on Pinterest! It makes my day to see them.
Thank you for spending time in my kitchen today. Happy cooking!
—Tessa Hammond
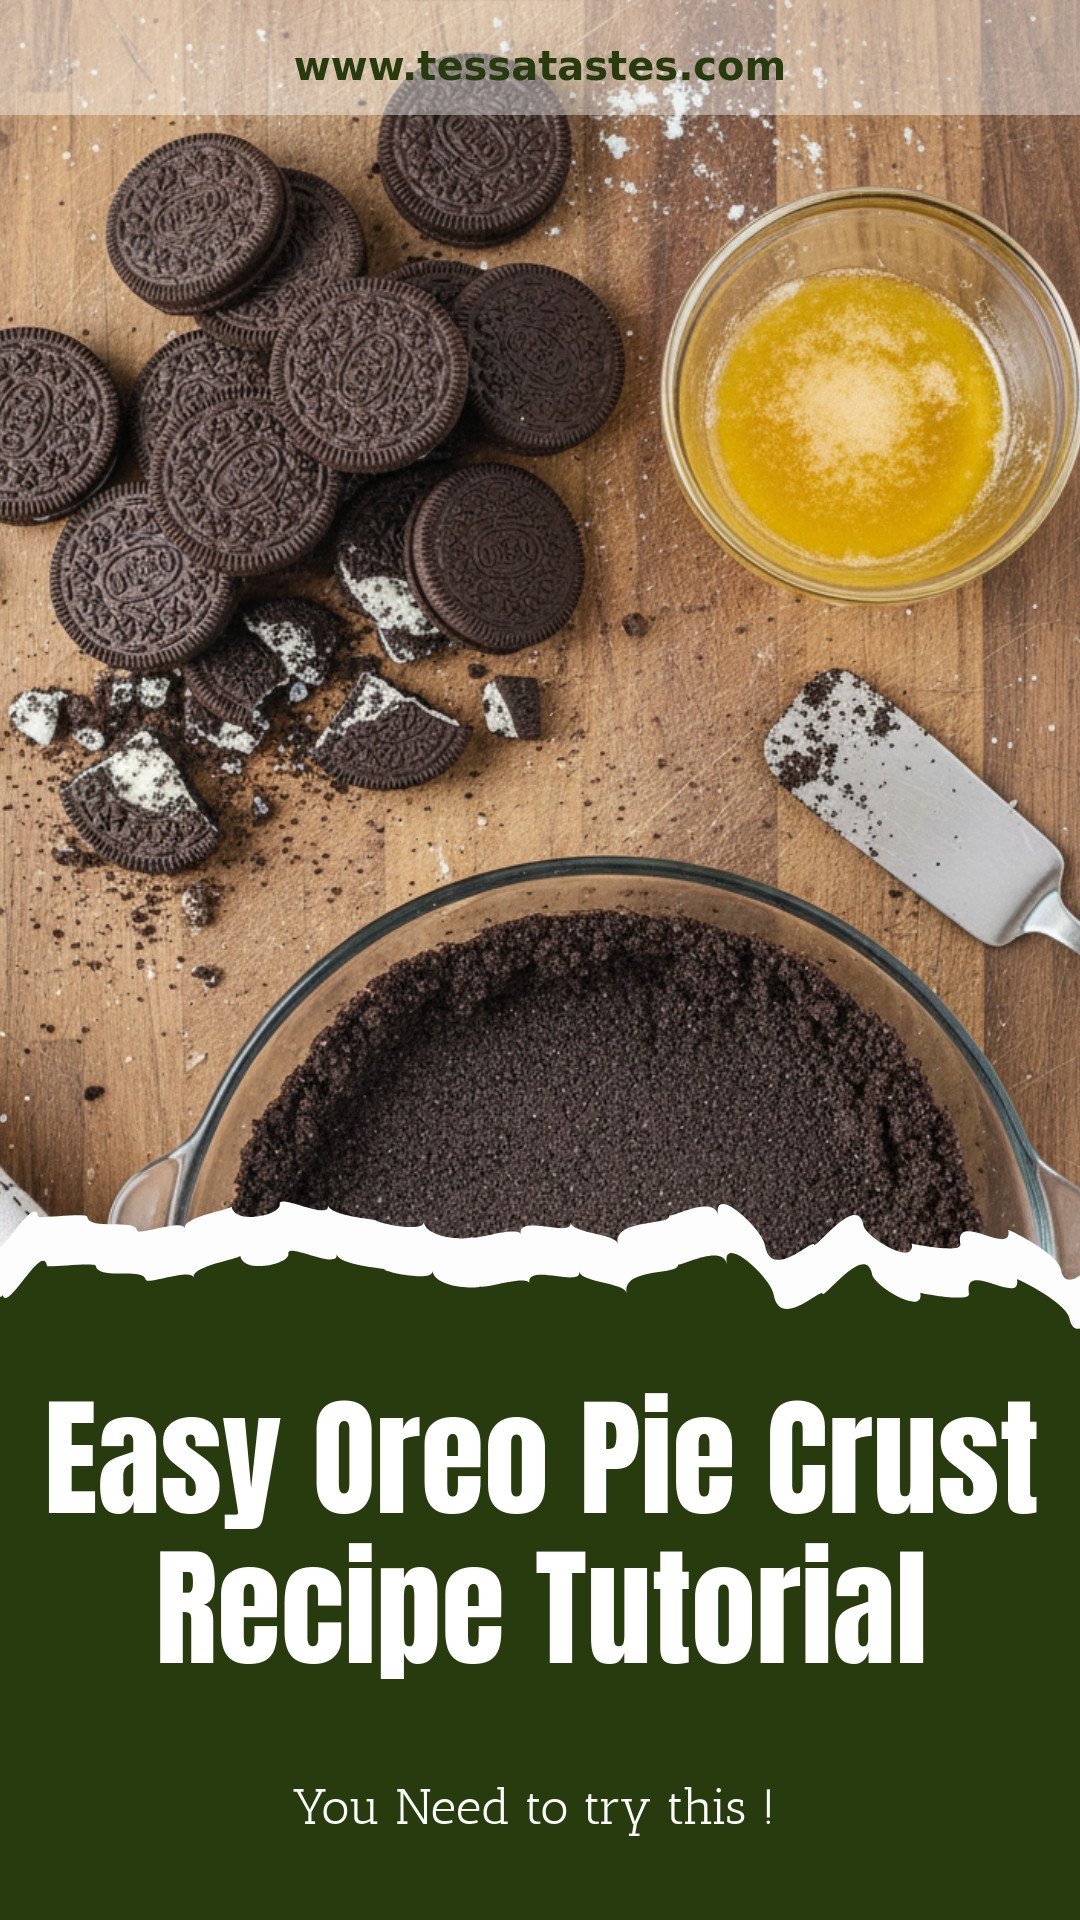
Easy Oreo Pie Crust Recipe Tutorial
Description
A simple, no-bake Oreo crust perfect for cheesecakes, pies, and no-bake desserts.
Ingredients
Instructions
- Preheat oven to 350°F.
- Make the crust by adding whole Oreos to a food processor and process the cookies until they are crumbs.
- Add crumbs to a Ziploc bag along with melted butter and mix until combined.
- Pour into a pie dish and use your hands to push into the bottom and sides of the pie pan.
- Bake for 8-10 minutes and cool before filling.
Notes
- For a no-bake version, simply chill the crust in the refrigerator for at least 1 hour before filling.


Leave a Reply