A Cheesy Little Story
I first made these cheese coils for my grandson, Leo. He called them “cheese snails.” I still laugh at that. He ate six before they even cooled down. His little face was so happy and covered in crumbs.
That is why this matters. Food made with love creates the best memories. It is not just about eating. It is about the joy you share. What was your favorite snack when you were a kid?
Let’s Get Our Hands Dirty
First, grate your cheese. The smaller pieces mix better with the butter. Use your mixer to blend them until it is smooth. Doesn’t that smell amazing? All that cheesy goodness.
Now, add your salt, garlic, and cayenne. The cayenne gives a little kick. You can use less if you like. Then, slowly mix in the flour. The dough will be thick and lovely.
The Secret to Perfect Coils
Use a cookie scoop if you have one. It makes every coil the same size. This way they all bake evenly. Place them far apart on the pan. They need their space to get golden.
You can press them with a fork. Dip the fork in water first. This stops the dough from sticking. *Fun fact:* pressing the dough helps it bake through. It gives those nice, crispy edges.
Watching Them Turn Golden
Now, the hard part. You have to wait. Watch them through the oven window. They will slowly turn a beautiful golden color. Your whole kitchen will smell like a dream.
Bake them less time for a chewy middle. Bake them longer if you like everything crispy. Let them cool for ten minutes. This is important. It makes them firm up just right.
Why This Little Recipe Matters
This is more than a snack. It is a lesson in patience and care. Good things take time. The waiting makes the first bite even better. That is a good lesson for life, I think.
Sharing what you bake is a special kind of love. It connects you to people. Do you have a recipe that always makes people smile? I would love to hear about it.
Your Turn in the Kitchen
Now you have the recipe. It is your turn to make some memories. These coils are perfect for a party or a quiet afternoon. They keep for a whole week in a tin.
Will you try the chewy or the crispy version? Tell me how yours turn out. I bet they will be wonderful. Cooking is your own little adventure.
Ingredients:
| Ingredient | Amount | Notes |
|---|---|---|
| Sharp cheddar cheese | 1 (8-ounce) block | |
| Unsalted butter | 3/4 cup | room temperature |
| Salt | 1 teaspoon | |
| Garlic powder | 1/2 teaspoon | |
| Cayenne powder | 1/2 to 1 teaspoon | use more or less to taste |
| All-purpose flour | 2 cups |
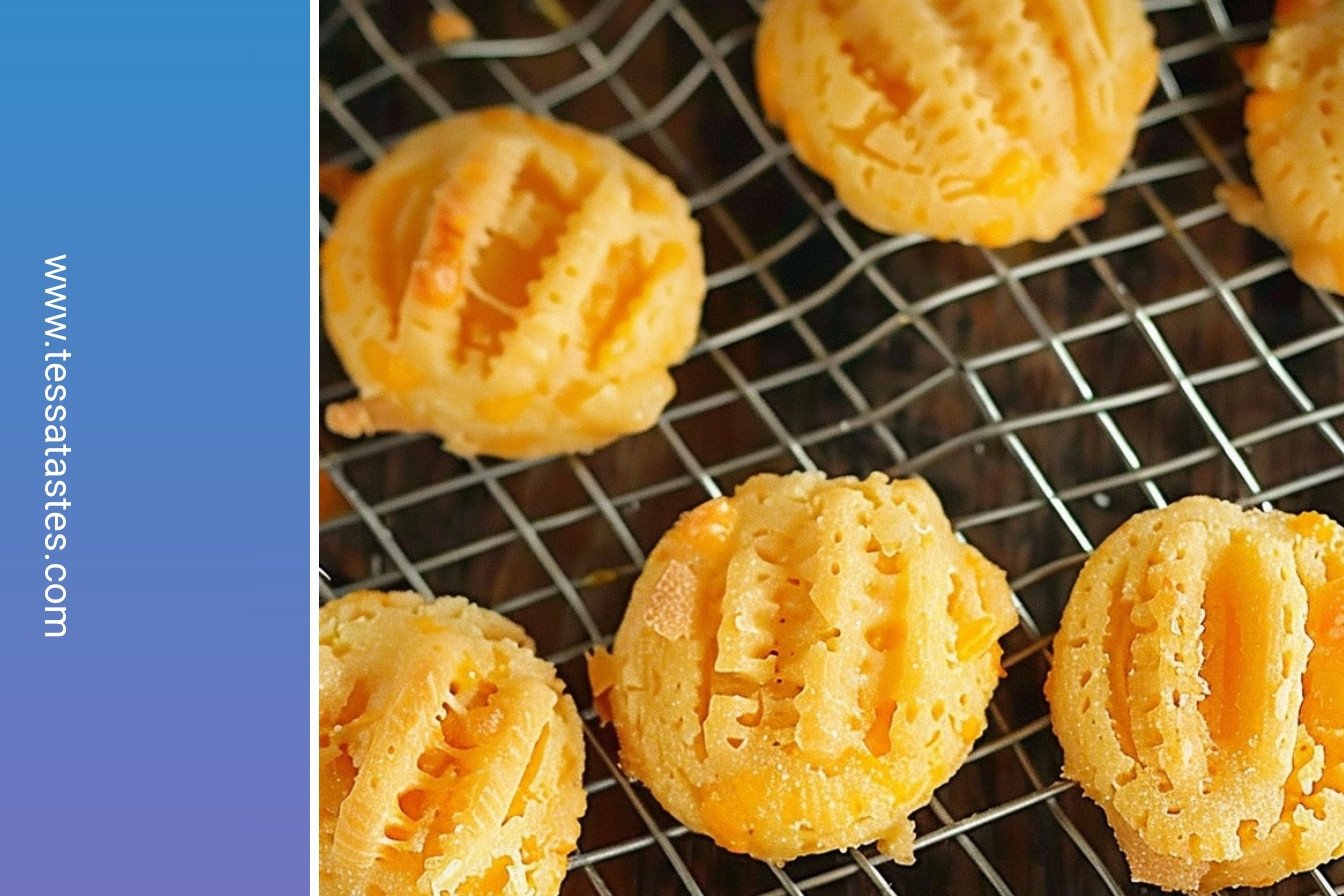
Golden Cheese Coils: A Cozy Kitchen Memory
Hello, my dear. Come sit with me for a minute. I want to tell you about these cheese coils. They remind me of my own grandma’s kitchen. The smell of them baking is pure happiness. It fills the whole house with a warm, cheesy hug.
We are going to make some magic with simple things. You just need cheese, butter, and flour. A little spice makes them fun. I still laugh at the first time I made these. My cat, Whiskers, tried to steal one right off the counter!
- Preheat your oven to 350°F.
- Line a baking sheet with parchment paper.
- Grab your block of cheddar cheese and shred it using a box grater. Be careful of your knuckles, my love.
Step 1: Mix the Base
Use a mixer to blend the cheese and soft butter. Keep going until it looks smooth. Now add your salt, garlic powder, and cayenne. This is where you decide how spicy they are. I like a little kick, myself.
Step 2: Add the Flour
Slowly add the flour to your cheesy mix. The dough will get thick and a bit crumbly. That is perfectly fine. It will all come together. (A hard-learned tip: if your butter is too cold, the dough will be tough. Room temperature is key!)
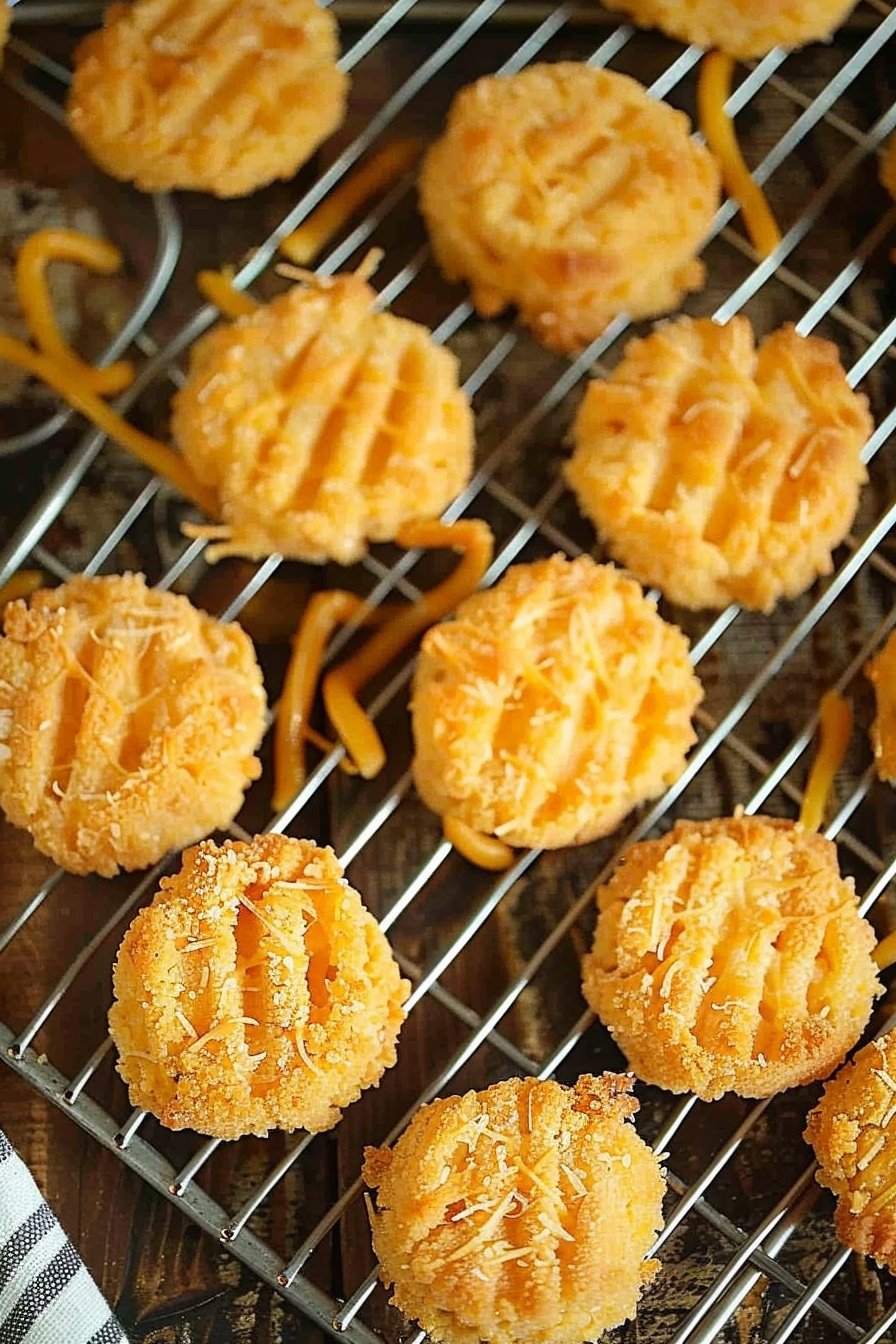
Step 3: Shape the Coils
Scoop the dough with a cookie scoop. Place the little mounds on your baking sheet. You can press them with a fork for a pretty pattern. Dipping the fork in water stops it from sticking. Doesn’t that look nice already?
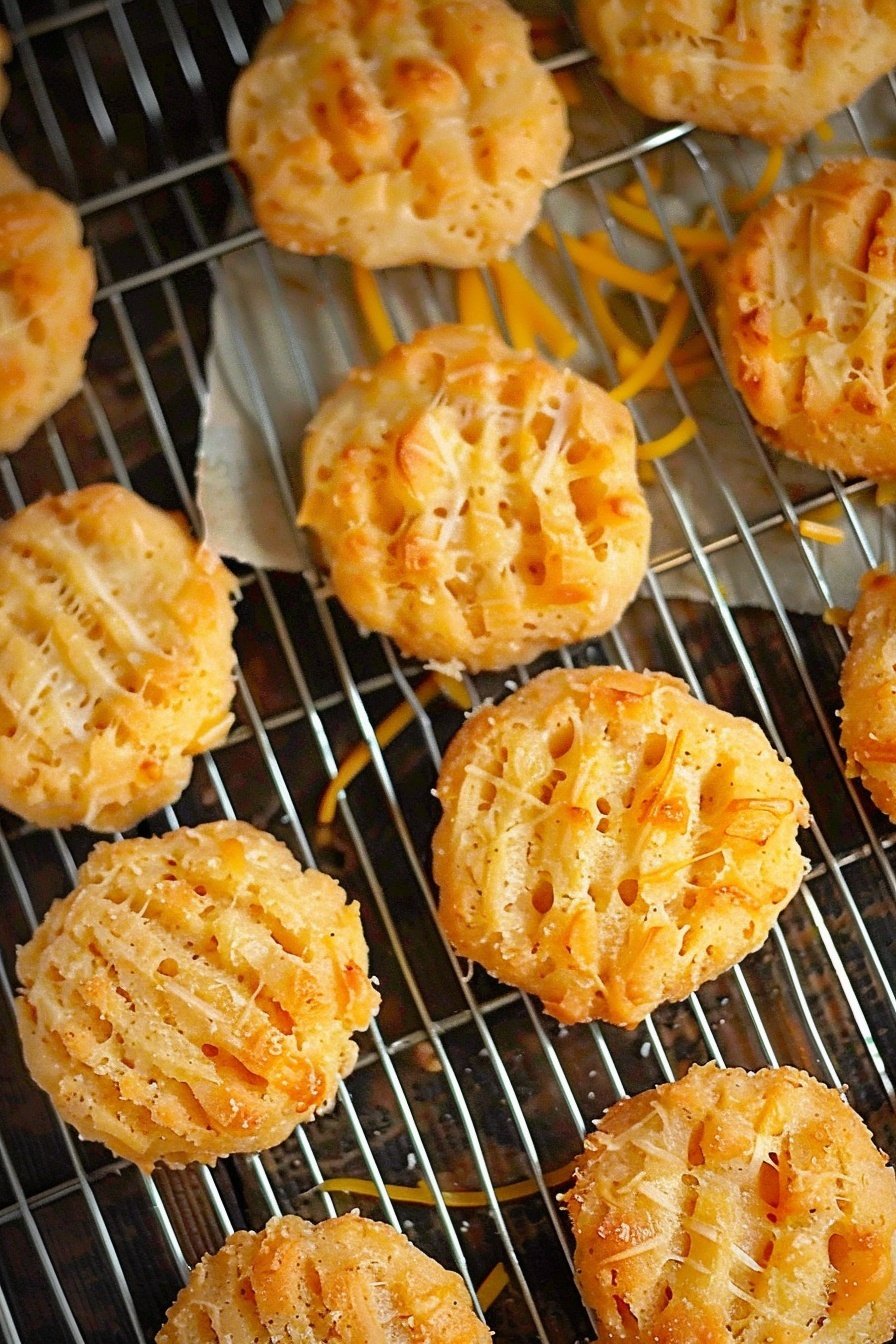
Step 4: Bake and Cool
Bake them for 20 to 30 minutes. You want them to be a lovely golden brown. Let them cool on the pan for a bit. They are very fragile when they are hot. Do you like your cookies chewy or crispy? Share below!
| Cook Time | 20–30 minutes |
| Total Time | 50 minutes |
| Yield | 26 servings |
| Category | Snack, Appetizer |
Three Fun Twists to Try
Once you master the basic recipe, you can play. I love adding little changes. It makes the recipe feel new again. Here are a few of my favorite ideas for these cheese coils.
The Everything Bagel Twist
Roll the dough balls in everything bagel seasoning before baking. It adds a wonderful crunch and flavor. So good with a cup of tomato soup.
The Hidden Pepperoni Surprise
Mix in some very finely chopped pepperoni into the dough. It bakes right in. It tastes like a tiny, cheesy pizza. My grandson adores this version.
The Herby Garden Coil
Add a tablespoon of fresh, chopped rosemary or thyme. It makes them taste so fresh and fancy. Perfect for a special tea time. Which one would you try first? Comment below!
Serving Your Golden Coils
These little treats are wonderful all on their own. But I love making a whole snack plate with them. It feels like a real occasion. Place a bowl of warm tomato soup for dipping. The combination is simply divine.
You could also add them to a charcuterie board. Tuck them next to some grapes and salami. They are the star of the show, I promise. For a drink, a cold glass of apple cider is lovely. For the grown-ups, a crisp lager beer pairs beautifully. Which would you choose tonight?
Keeping Your Cheese Coils Perfect
These cheesy spirals are wonderful to have on hand. Let them cool completely after baking. Then store them in a cookie tin on the counter for a week.
You can also freeze the dough for later fun. Just scoop the dough onto a pan and freeze it solid. Then pop the frozen dough balls into a bag.
I once baked a whole batch for my grandson’s visit. He never came because of a snowstorm. My freezer was full of cheesy coils for a month.
This matters because life gets busy. Having a treat ready makes any day feel special. It is a little gift for your future self.
Have you ever tried storing it this way? Share below!
Simple Fixes for Common Snags
Sometimes the dough can feel too crumbly. If it does not stick together, add a teaspoon of cold water. Mix it gently until it comes together.
Your cheese coils might spread too much. This happens if the butter is too soft. Make sure your butter is just soft, not melted.
I remember when my first batch came out pale. My oven temperature was a bit low. An oven thermometer helped me solve this problem.
Getting the texture right builds your cooking confidence. A golden brown color means the best, toasty flavor. Small fixes lead to big, happy tastes.
Which of these problems have you run into before?
Your Cheese Coil Questions Answered
Q: Can I make these gluten-free?
A: Yes. Use your favorite gluten-free flour blend. The texture will be a little more crumbly but still tasty.
Q: Can I make the dough ahead?
A: Absolutely. Keep it wrapped in the fridge for two days. Or freeze it for up to three months.
Q: What if I do not have cayenne?
A: Use a bit of smoked paprika instead. It gives a nice color and a gentle, smoky taste.
Q: Can I double this recipe?
A: You sure can. Just mix it in two separate batches. This prevents overworking your mixer.
Q: Any optional add-ins?
A: Try adding a tablespoon of fresh, chopped rosemary. *A fun fact: Rosemary grows like a weed in my garden!*
Which tip will you try first?
Happy Baking from My Kitchen to Yours
I hope you love making these golden cheese coils. They always make my kitchen smell like happy memories. I would love to see your creations.
Share a picture of your baking adventure with me. Your beautiful spirals might inspire another young baker to start cooking.
Have you tried this recipe? Tag us on Pinterest!
Happy cooking!
—Tessa Hammond.
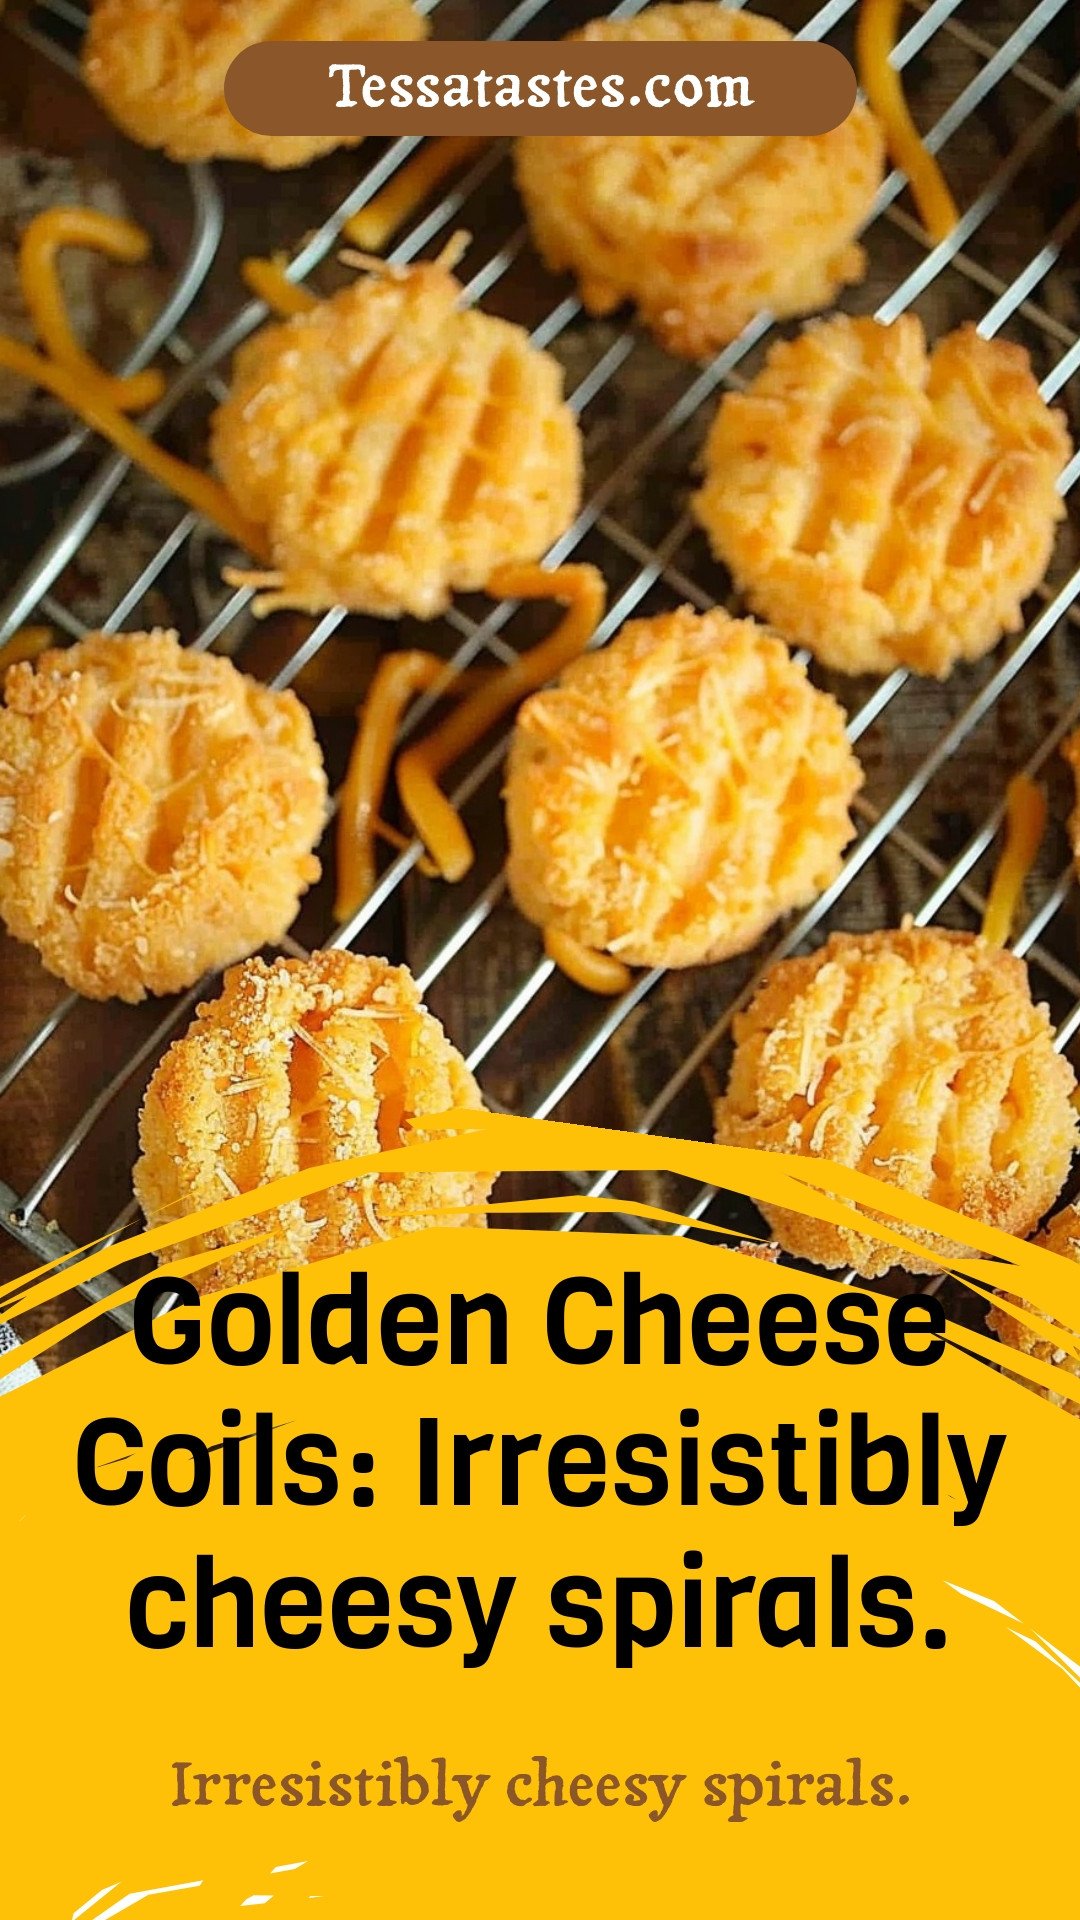
Golden Cheese Coils: Irresistibly cheesy spirals.: Irresistibly cheesy spirals.
Description
Golden Cheese Coils are the ultimate snack! These irresistibly cheesy spirals are a crispy, savory treat perfect for parties, game nights, or any craving. Easy, delicious, and addictive!
Ingredients
Instructions
- Preheat the oven to 350°F and line a baking sheet with parchment paper or a silicone baking mat. Use a box grater to shred the cheese.
- Use a mixer to blend the cheese and butter together until smooth. Add the salt, garlic powder, and cayenne and mix to combine. Gradually add the flour and mix well.
- Use a 1 1/2 tablespoon cookie scoop to scoop the dough out and place it about 2-inches apart on the prepared pan. If desired, use a fork to gently press the tines into the top of each cookie. Dipping the fork in water will help if the dough sticks.
- Bake for 20 to 30 minutes or until golden brown. Bake shorter for a crispy exterior and chewy interior. Bake longer for crispy throughout. Cool for about 10 minutes on the baking sheet before moving to a cooling rack. Work in batches until all the dough has been cooked. Store on the counter in an airtight container for up to a week.


Leave a Reply