My First Crouton Mistake
I once tried to make croutons with soft sandwich bread. What a mess! They turned into little rocks. I still laugh at that.
You need a crusty loaf. It holds its shape. It gives you that perfect crunch. This matters because good food starts with the right stuff.
Why Bother Making Them?
Store croutons can taste like cardboard. Homemade ones taste like toasted, herby bread. Because that’s what they are! Doesn’t that smell amazing?
You control what goes in. No strange chemicals. This matters for your family. You know every single ingredient.
The Simple Magic
Let’s talk about the oil and herbs. Mix them first. Then let them sit. The flavors become friends.
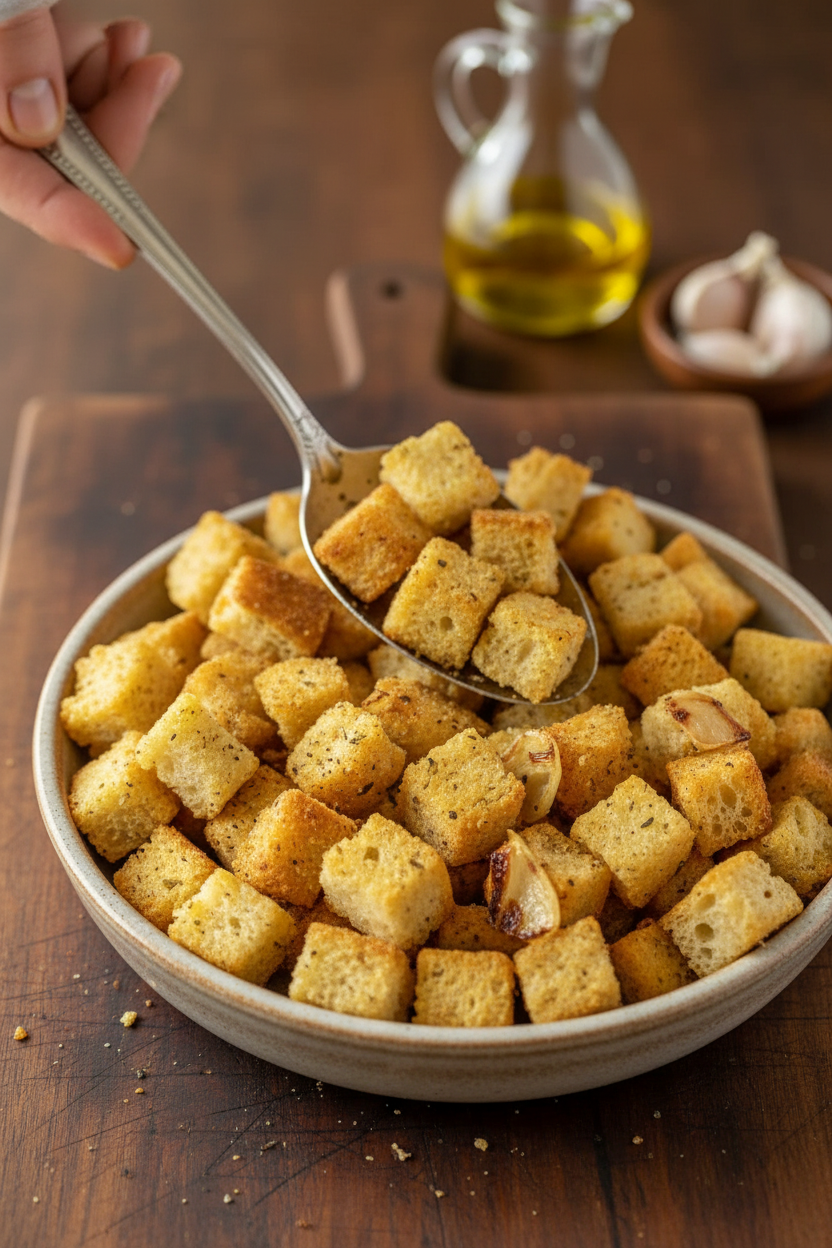
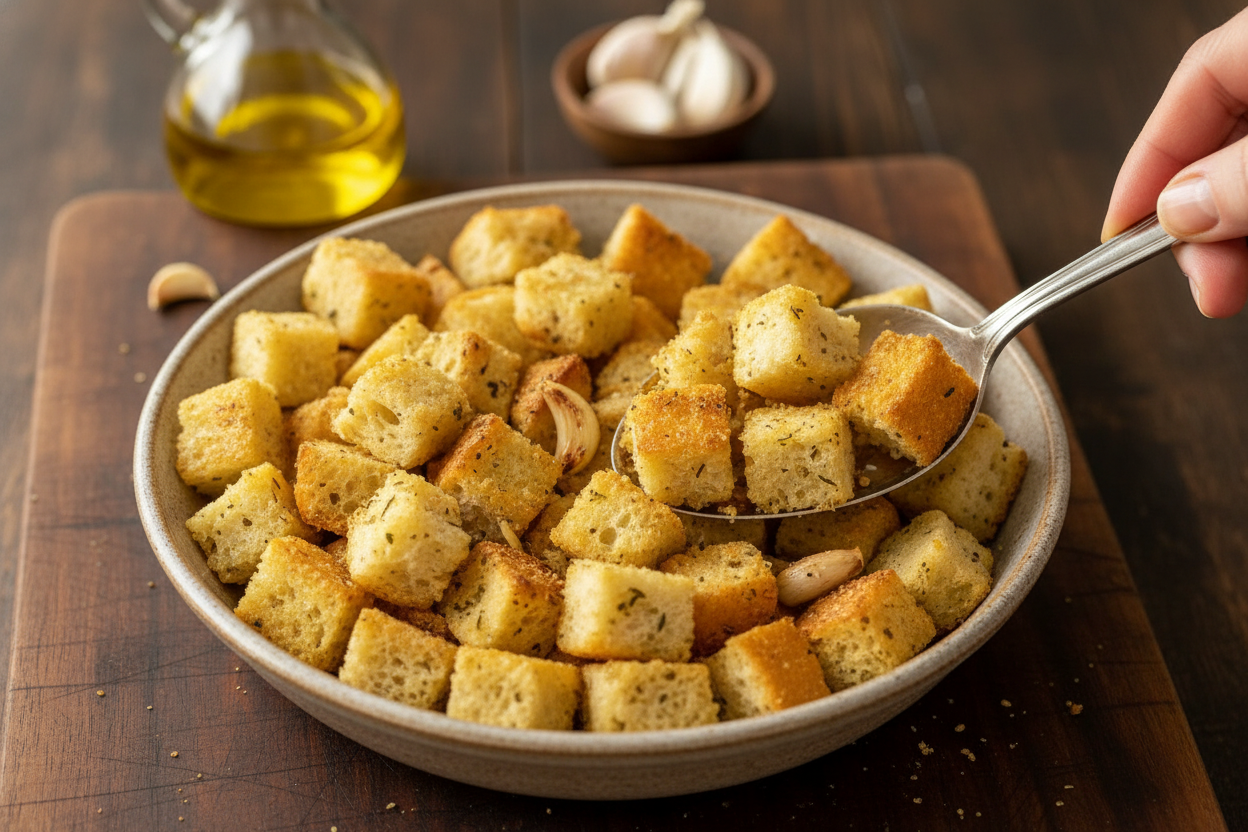
Now, tear or cut your bread. I like tearing. It feels good. It makes rustic, funny shapes. Do you prefer neat cubes or torn pieces?
A Little Secret for Crunch
Spread them in one layer on your pan. No piling up! Stir them halfway. This makes every side golden and crisp.
*Fun fact*: The word “crouton” comes from the French word for “crust.” Keep the crusts on your bread! They add the best crunch.
More Than Just Salad
Of course, toss them on soup or salad. But try them on mac and cheese. Or just eat them like snacks from the jar.
Store them in a bag once cool. They stay crunchy for weeks. What’s your favorite soup to top with croutons? Tell me, I’d love to know.
Your Turn in the Kitchen
This recipe is a great start. But make it yours. Try smoked paprika instead of Italian herbs. Or a little grated cheese.
It’s hard to mess up. Have fun with it. What new flavor would you try first? Garlic and parmesan, or something spicy?
Ingredients:
| Ingredient | Amount | Notes |
|---|---|---|
| crusty bread loaf | 12 oz | |
| extra virgin olive oil | 1/4 cup | |
| Italian seasoning | 1 tsp | |
| garlic powder | 1 tsp | or 2 garlic cloves, minced |
| fine sea salt | 1/4 tsp | |
| freshly ground black pepper | 1/4 tsp |
My Secret for the Best Salad Topper
Hello, dear! It’s Tessa. Let’s talk about croutons. The store-bought kind are fine. But homemade? They are little bites of magic. They turn a simple salad into a party. I love the sound of them crunching in my quiet kitchen. Doesn’t that smell amazing? My grandkids call them “bread cookies.” They sneak them before dinner! I still laugh at that. Making them is so simple. It saves money and saves bread from going stale. Let’s get your hands dusty with good bread.
Step 1: First, we make our flavor oil. Grab a little bowl. Pour in your olive oil. Add the Italian seasoning, garlic powder, salt, and pepper. Give it a good stir. Now let it sit. The flavors will get friendly while you work. (My hard-learned tip: If you use fresh garlic, mince it very fine. Big pieces can burn in the oven and taste bitter.)
Step 2: Next, tackle the bread. A crusty loaf is perfect. You can tear it with your hands for a rustic look. Or use a knife for neat cubes. Keep the crusts on! They give the best crunch. I think of my mother telling me not to waste a single bit. Toss all your bread pieces into a big bowl.
Step 3: Now, bring your bowl and oil together. Drizzle that lovely oil right over the bread. Use your hands to toss and coat every piece. You want each cube to glisten a little. This is the secret to perfect crispness. Do you prefer tearing bread or cutting it? Share below!
Step 4: Spread the bread on a baking sheet. One layer is key. Crowded croutons will steam, not crunch. Bake them at 375˚F. Stir them halfway. Your kitchen will smell like a bakery. They are done when golden and dry. Let them cool completely on the sheet. They get crunchier as they sit.
Cook Time: 15–20 minutes
Total Time: 25 minutes
Yield: About 4 cups
Category: Side, Snack
Three Fun Twists to Try
Once you master the basic recipe, play a little! Changing the seasoning is like changing your outfit. It makes the same bread feel new. Here are my three favorite ways to dress them up. They are all so simple.
Cheesy Herb: Add two tablespoons of grated Parmesan cheese to the oil mix. So savory!
Everything Bagel: Swap the Italian seasoning for everything bagel seasoning. Instant favorite.
Sweet & Spicy: Use melted butter, a pinch of cinnamon, and a tiny dash of cayenne. Perfect on squash soup.
Which one would you try first? Comment below!
How to Serve Your Crunchy Creations
Of course, they belong on a green salad. But don’t stop there! I love them on creamy tomato soup. They are like edible spoons. You can also use them as a topping for baked mac and cheese. The crunch on top of that gooey cheese is wonderful. It makes a simple meal feel special.
What to drink? For a cozy night, a chilled glass of crisp white wine pairs nicely. For the kids, or for you, a sparkling lemonade is perfect. The bubbles and lemon cut right through the rich, toasty flavor. Which would you choose tonight?
Keeping Your Crunchy Croutons Perfect
Let’s keep those croutons crunchy. Cool them completely first. A warm bag makes steam. Steam makes soggy croutons.
Use a zip-top bag or a jar with a lid. They last two weeks on your counter. I keep mine in a big mason jar. It looks pretty on the shelf.
You can freeze them too. Just pop the bag in the freezer. They will keep for months. No need to thaw, just use them cold.
I once stored warm croutons. They got soft overnight. What a disappointment for my soup! Now I always let them cool.
Batch cooking saves time and energy. Make a big batch on Sunday. Your salads all week will thank you. This small step makes weeknights easier.
Have you ever tried storing it this way? Share below!
Simple Fixes for Common Crouton Troubles
Sometimes croutons don’t turn out right. Here are easy fixes. First, soggy croutons mean they needed more time. Bake them until they sound hollow when stirred.
Burnt edges happen if you don’t stir. Always stir halfway through baking. I remember when I forgot to stir. We had some very dark surprises!
Not enough flavor? Let your oil sit. Mix the oil and spices first. Let it sit while you chop the bread. This lets the flavors get to know each other.
Getting this right builds your cooking confidence. It also makes your food taste so much better. Good flavor makes every bite a joy.
Which of these problems have you run into before?
Your Crouton Questions, Answered
Q: Can I make these gluten-free? A: Yes! Use your favorite gluten-free bread. Just check that it is a sturdy loaf.
Q: How far ahead can I make them? A: They are perfect for making ahead. Follow my storage tips above for crunchy croutons anytime.
Q: What if I don’t have Italian seasoning? A: Use dried herbs you like. Try oregano, basil, or a pinch of rosemary.
Q: Can I double the recipe? A: Absolutely. Use two baking sheets. Switch their positions in the oven when you stir.
Q: Any optional tips? A: A sprinkle of parmesan cheese last minute is lovely. *Fun fact: The crusts give the best crunch!*
Which tip will you try first?
From My Kitchen to Yours
I hope you love making these. It is such a simple kitchen joy. Homemade croutons make a meal feel special.
I would love to see your creations. Share a picture of your salad or soup. Show off your crunchy golden croutons.
Have you tried this recipe? Tag us on Pinterest! You can find me at @TessasKitchen. I love seeing your cooking stories.
Thank you for cooking with me today. Happy cooking!
—Tessa Hammond.
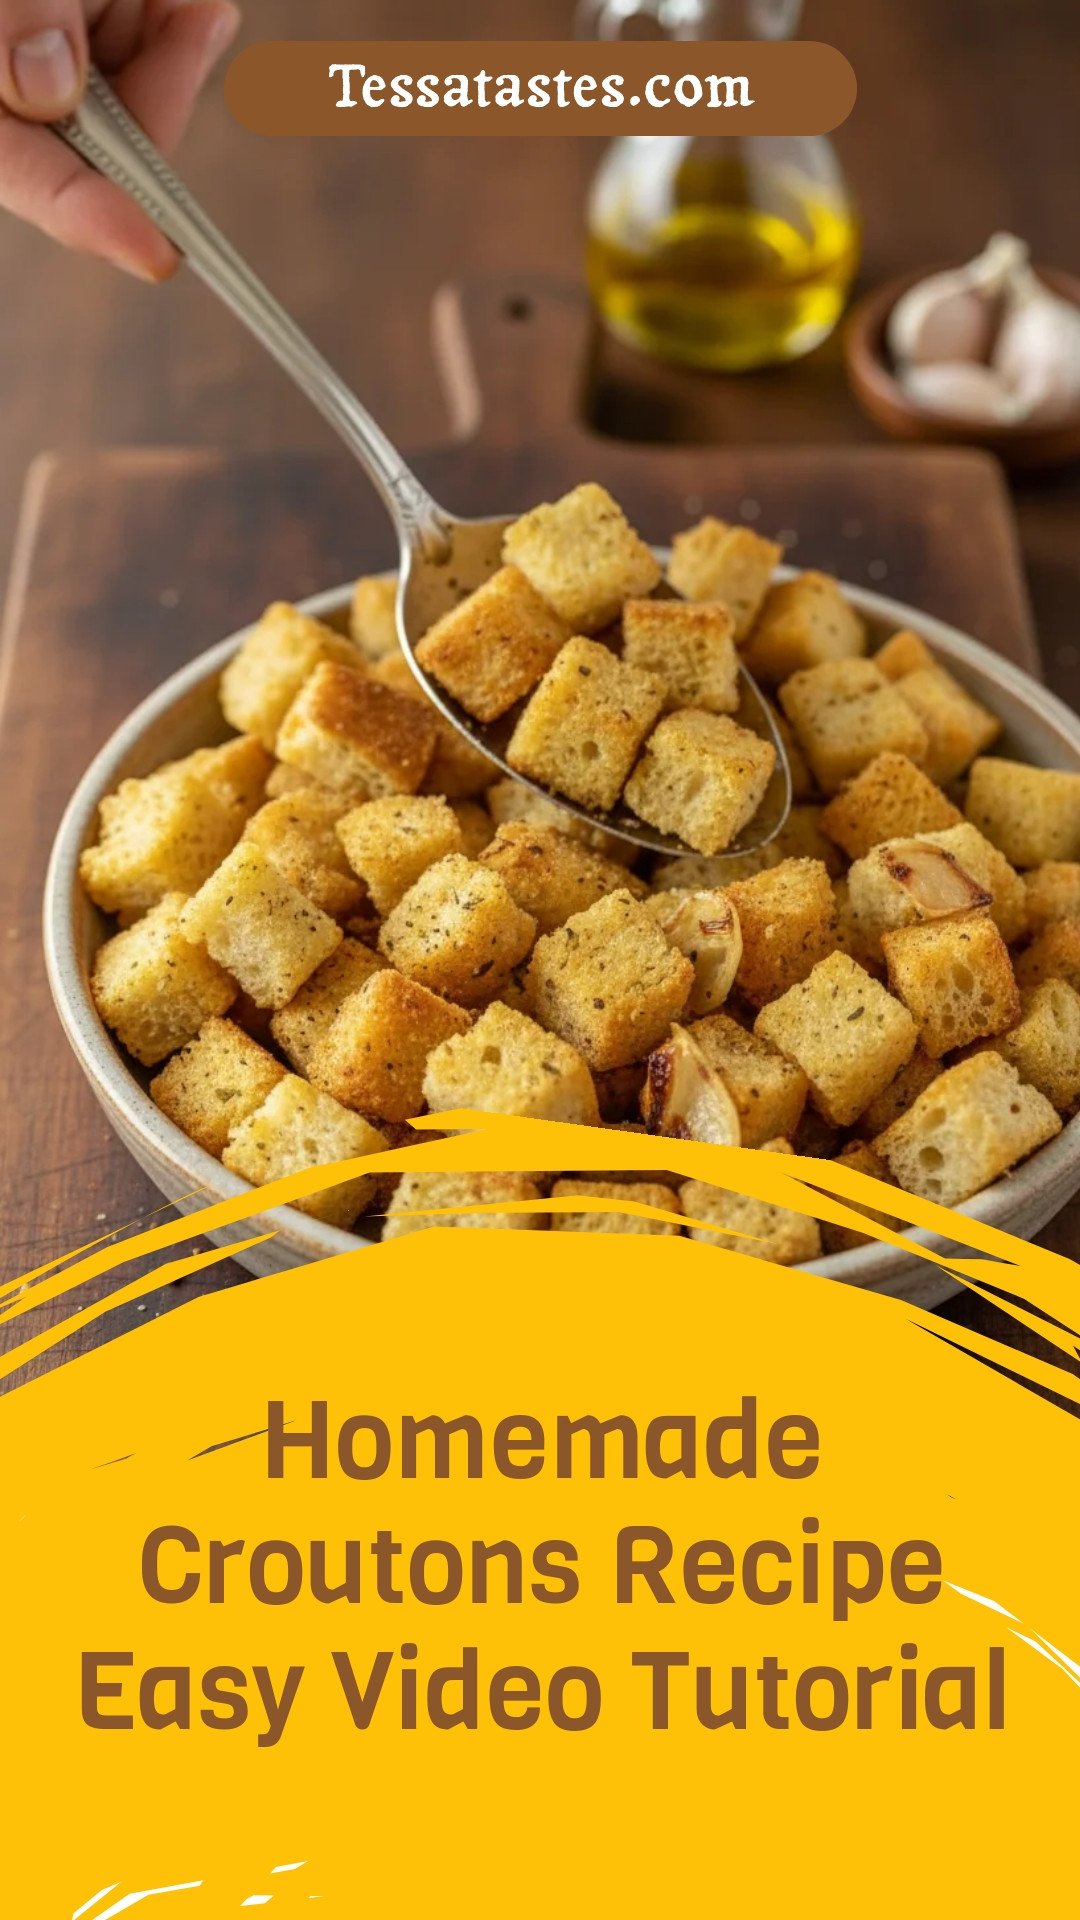
Homemade Croutons Recipe Easy Video Tutorial
Description
Make your own crunchy, flavorful croutons at home with this simple recipe. Perfect for salads and soups.
Ingredients
Instructions
- In a small dish, add oil and seasonings. Stir to combine then set aside and let the flavors infuse into the oil while you chop your bread.
- You can either tear your bread into rustic-shaped croutons or cut your bread with a serrated knife into 3/4″ cubes. Keep the crusts on as they add variety and great crunch to these croutons. Transfer to a large mixing bowl.
- Drizzle the seasoned olive oil over your chopped bread and toss until bread crumbs have an even coating of oil.
- Spread the bread in a single layer on a rimmed baking sheet and bake at 375˚F for 15-20 minutes, or until crisp, stirring halfway for even browning. Bake time will vary depending on the size of your croutons and the type of bread used, so bake until crunchy and fully dried out.
- To store, cool to room temperature then transfer to a large zip-top bag or an airtight container. Store at room temperature for up to 2 weeks.


Leave a Reply