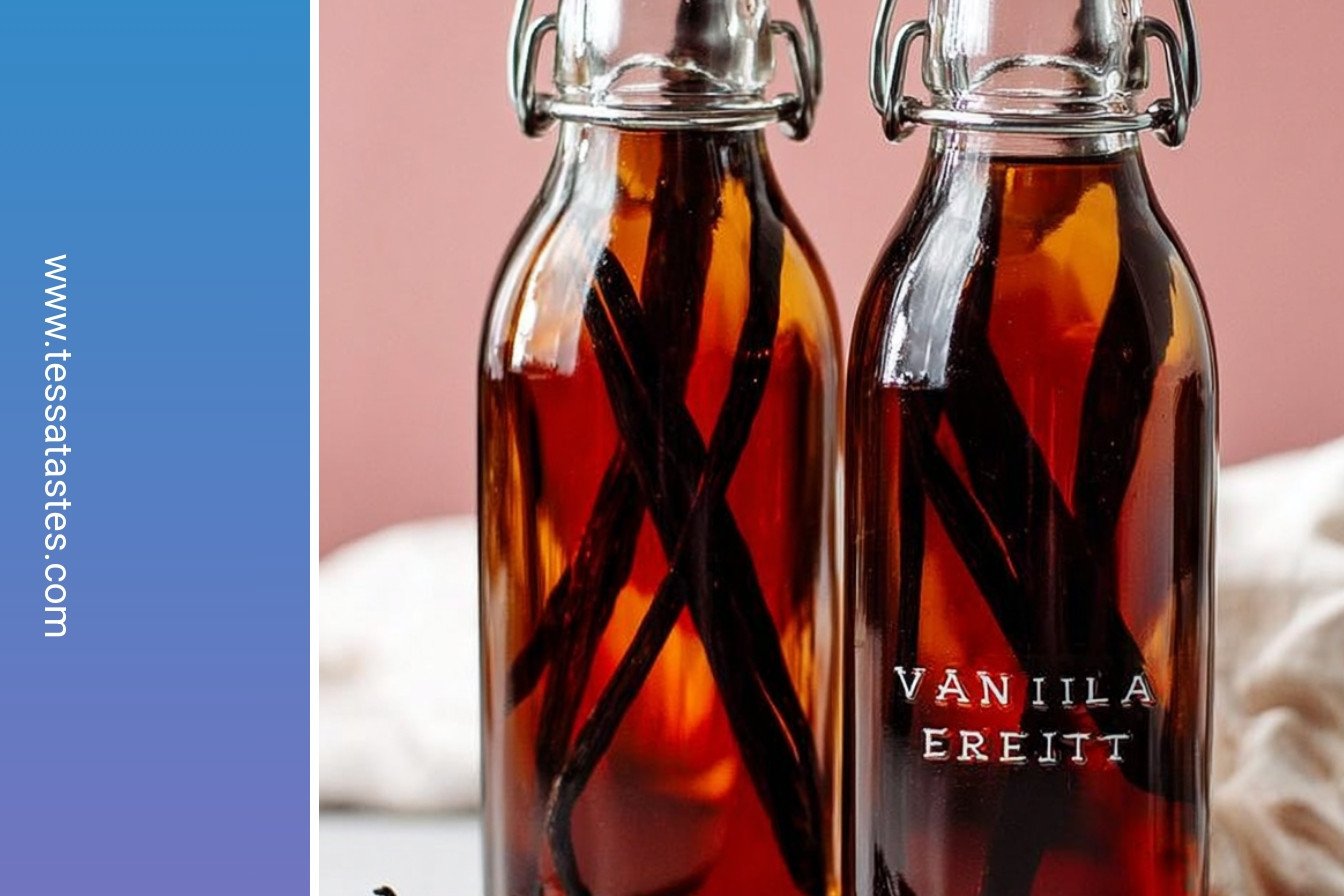
A Little Bottle of Magic
Let’s make some vanilla extract. It is so easy. You just need two things. You need vanilla beans and some vodka.
This is not like baking a cake. There is no oven. The magic happens slowly in a jar. I love watching it change color. It goes from clear to a deep, warm brown. It feels like a secret project.
My First Time
I made my first batch ten years ago. I was so impatient. I shook the jar every single day. I wanted it to be ready faster.
My friend told me to just let it be. Good things take time. She was right. Waiting makes the flavor rich and deep. This matters because the best flavors cannot be rushed.
Let’s Get Our Hands Ready
Get a clean jar with a lid. Now, take your vanilla beans. Use a small knife to split them open lengthwise. You will see tiny black seeds inside.
Those seeds are full of flavor. Put the beans in your jar. Then pour the vodka over them. Make sure the beans are covered. Leave a little space at the top.
*Fun fact*: Vanilla comes from an orchid flower. Isn’t that a pretty thought?
The Hardest Part
Now we wait. Put the jar in a dark cupboard. You must leave it there for many months. I know, it is hard to be patient.
Shake the bottle once a week. Think of it as saying hello. This waiting matters. It lets the vodka pull all the flavor from the beans. You are creating something special.
What is the hardest recipe you have ever had to wait for? Mine is sourdough bread.
A Gift from Your Kitchen
After about six months, your extract is ready. It will smell wonderful. It is perfect for cookies and cakes.
This makes a lovely gift. People love getting something homemade. It shows you care. I still laugh at the time I gave some to my neighbor. She thought I was a kitchen wizard.
Who would you give a bottle of homemade vanilla to?
Your Vanilla Stories
Making your own extract is a small joy. It connects you to your food. You know exactly what is in it.
I have a big question for you. Do you like vanilla or chocolate more? I am a vanilla girl, through and through. I would love to hear your choice.
Ingredients:
| Ingredient | Amount | Notes |
|---|---|---|
| Madagascar vanilla beans | 5-6 | |
| Vodka or high proof alcohol | 3/4 cup | 80 proof. Rum, bourbon, or brandy are also options. |
Making Your Own Vanilla Extract
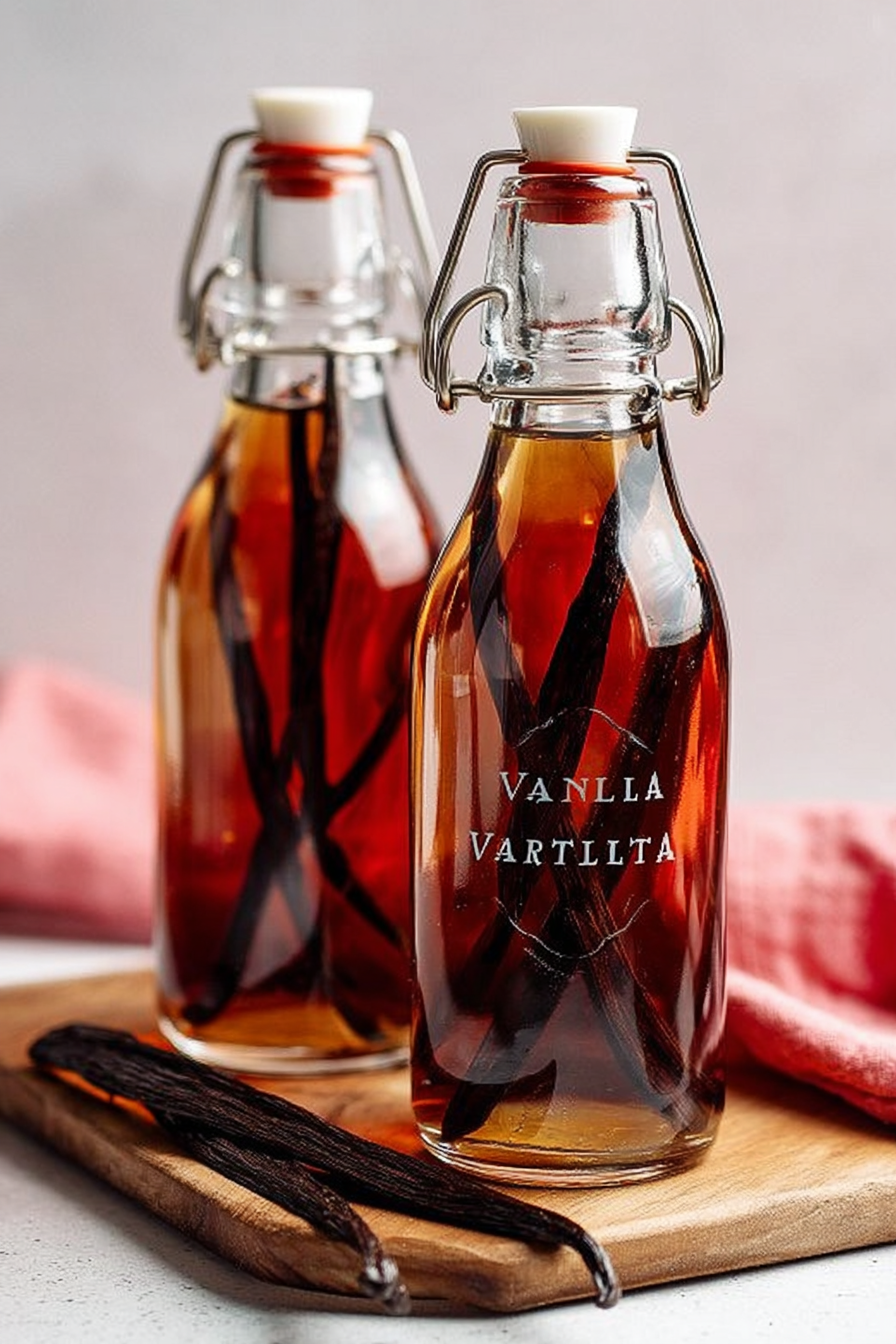
Hello, my dear! Let’s make some magic in a jar. Homemade vanilla extract is a little bit of kitchen love. It makes your cookies and cakes taste so special. I’ve been making this for years. It reminds me of my own grandmother’s kitchen.
The secret is patience. But the reward is a rich, creamy flavor you can’t buy. You only need two things. Good vanilla beans and some vodka. It’s a simple project with a wonderful payoff. I still smile when I see my little bottles lined up.
Step 1: First, get your vanilla beans. You want plump, fragrant ones from Madagascar. Use a small knife to split each bean down the middle. This opens them up and lets all that lovely flavor out. Then, just cut them in half so they fit in your jar.
Step 2: Now, tuck those beans into a clean jar. I like to use an 8-ounce bottle. A funnel is your best friend for the next part. Slowly pour the vodka over the beans until they are covered. (A hard-learned tip: leave a little space at the top for shaking!).
Step 3: Here comes the hard part. You have to wait. Put the lid on tight and find a cool, dark spot for your jar. Your pantry is perfect. The vanilla needs time to become friends with the vodka. This takes several months. I know, it feels like forever!
Step 4: Don’t forget your vanilla! Every week or so, give the bottle a gentle shake. I do it when I’m getting flour for baking. It helps the flavors mingle. You will watch the liquid slowly turn a beautiful dark amber. Doesn’t that look amazing?
After about six months, your extract is ready. It will smell incredible. You can use it in any recipe that calls for vanilla. It makes a wonderful gift, too. What’s the first thing you’d bake with your homemade vanilla? Share below!
Cook Time: 6-12 months
Total Time: 10 minutes, plus waiting
Yield: 1 bottle (8 oz)
Category: Pantry Staple, DIY
Fun Flavor Twists to Try
Once you master the basic recipe, you can get creative. It’s fun to play with different flavors. Each one adds its own special character. Here are a few of my favorite ideas for your next batch.
Bourbon Vanilla: Use bourbon instead of vodka. It gives the vanilla a warm, toasty flavor. It’s wonderful in holiday recipes like pumpkin pie. This one is my grandson’s favorite.
Citrus Vanilla: Add a few strips of orange or lemon peel. The citrus smell is so bright and happy. It’s perfect for summer cakes and glazes. I love this one in the springtime.
Spiced Vanilla: Toss in a cinnamon stick or a few whole cloves. It makes your kitchen smell like Christmas. This is fantastic in apple crisps and oatmeal cookies. So cozy!
Each twist creates a whole new baking adventure. Which one would you try first? Comment below!
Serving & Sippin’ Ideas
Your homemade vanilla extract is a star ingredient. It will make your everyday baking taste extraordinary. Think of it as your secret weapon for adding a touch of love.
I love using it in my classic sugar cookies. It also makes the best vanilla frosting for cupcakes. A teaspoon in your morning pancake batter is a lovely treat. It even makes simple whipped cream taste like a dream.
And what to drink with your vanilla-kissed treats? A cold glass of milk is always perfect. For a special grown-up drink, a creamy vanilla stout beer pairs beautifully. Which would you choose tonight?
Storing Your Homemade Vanilla Extract
Making vanilla extract is a simple joy. The best part is how easy it is to store. You just need a cool, dark spot like your pantry. I keep mine right next to the flour and sugar.
You do not need to put it in the fridge or freezer. Room temperature is perfect. This lets the flavors slowly develop over time. I remember my first batch. I was so worried I had done it wrong!
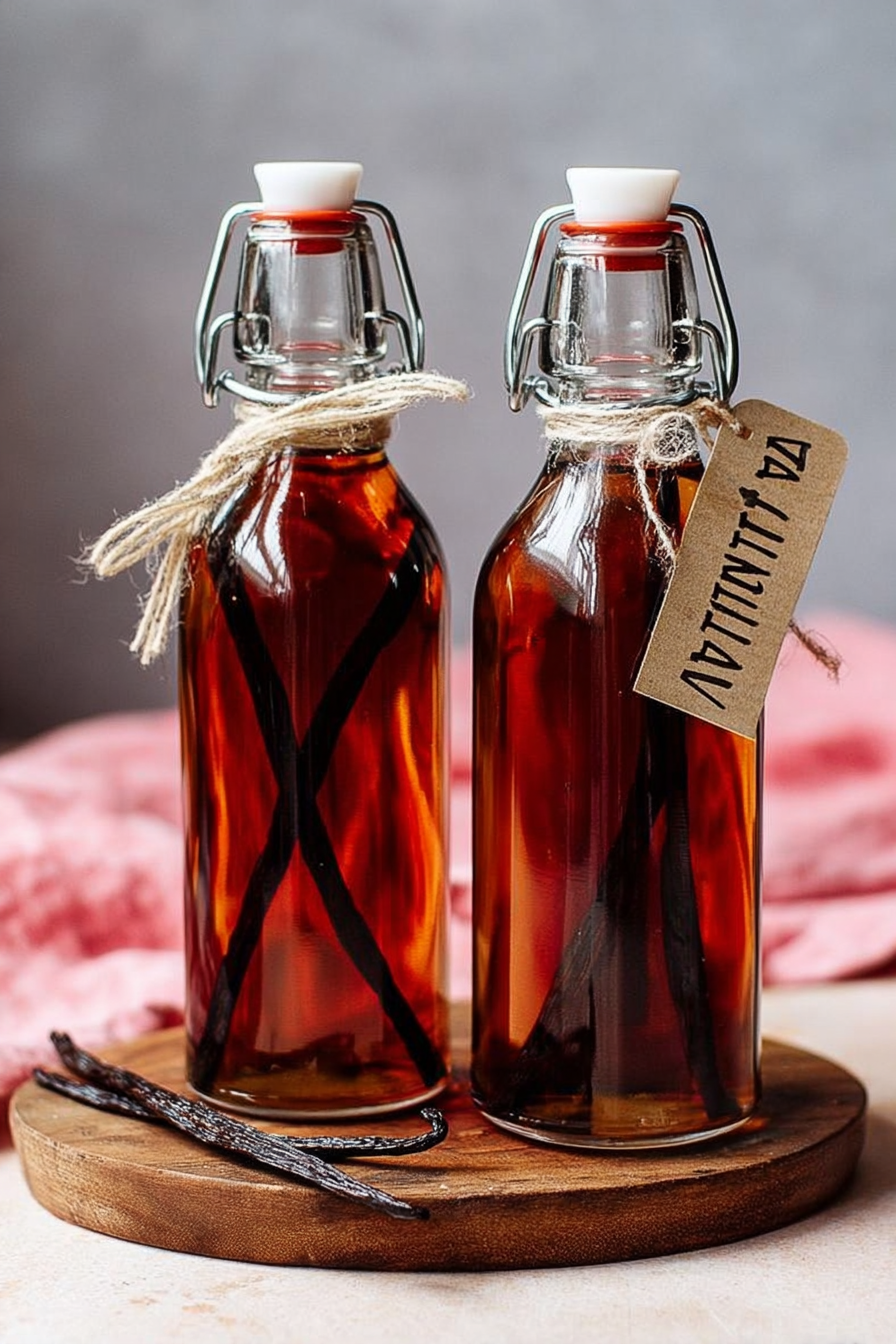
Batch cooking is a wonderful idea here. You can make several bottles at once. They make such thoughtful gifts for friends and family. Storing it properly matters because it protects your hard work. Your patience will be rewarded with rich, delicious flavor.
Have you ever tried storing it this way? Share below!
Common Vanilla Extract Questions, Solved
Sometimes, things do not go as planned. Do not worry. Most problems have an easy fix. The first issue is the vodka not covering the beans.
Make sure the beans are completely underwater. If they float, push them down with a clean spoon. I once used a jar that was too tall. A smaller jar solved the problem right away.
The second issue is impatience. The color might look light after a few weeks. Trust the process. Giving it time matters because the flavor needs to mature. Rushing it leads to a weaker taste.
The third issue is forgetting to shake the bottle. Set a weekly reminder on your phone. This simple step helps the flavors mix beautifully. Fixing small issues builds your confidence in the kitchen. You learn that you can create wonderful things.
Which of these problems have you run into before?
Your Vanilla Extract Questions
Q: Is this recipe gluten-free?
A: Yes, it is. Pure vodka made from potatoes or grapes is gluten-free. Always check your alcohol’s label to be sure.
Q: Can I make it ahead?
A: Absolutely! That is the whole point. It needs months to develop its best flavor.
Q: What can I use instead of vodka?
A: Rum or bourbon work very well. They will add their own warm, sweet notes to your extract.
Q: Can I double the recipe?
A: Of course! Just use a bigger jar. Keep the same ratio of beans to alcohol.
Q: Any optional tips?
A: You can add one extra bean for a stronger flavor. It is a nice little boost.
*Fun fact: Vanilla comes from the seed pod of a special orchid.*
Which tip will you try first?
Share Your Kitchen Creations
I hope you enjoy making your own vanilla extract. It is a small act that makes baking extra special. Seeing that dark, fragrant liquid is so rewarding.
I would love to see your creations. It makes me so happy to see your bottles. Please share a picture of your homemade vanilla. You can tag my blog on Pinterest at Tessa’s Kitchen Nook.
Have you tried this recipe? Tag us on Pinterest!
Happy cooking!
—Tessa Hammond.
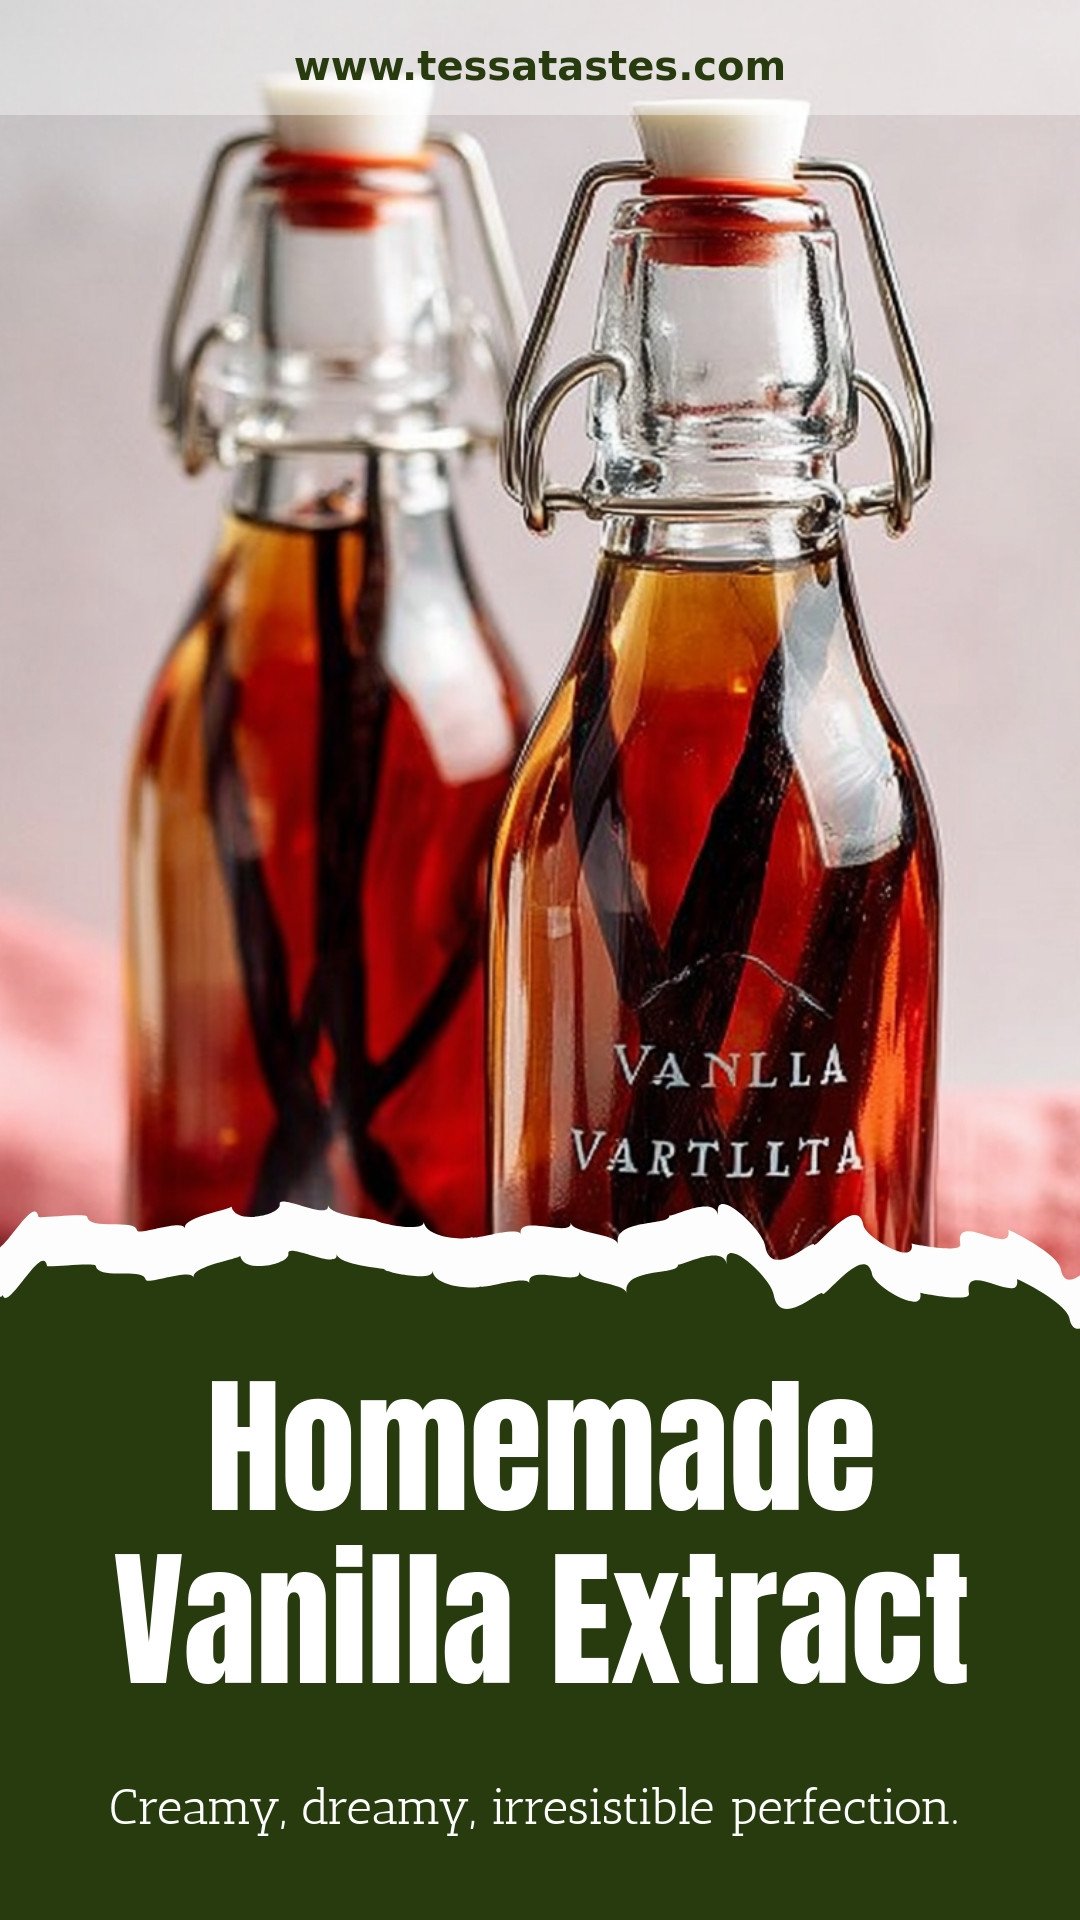
Homemade Vanilla Extract: Creamy, dreamy, irresistible perfection.
Description
Learn how to make pure, aromatic homemade vanilla extract with just two ingredients! A cost-effective and rewarding DIY gift for bakers.
Ingredients
Instructions
- *Note: this recipe is for just one, 8 oz. jar/bottle. Use this formula for each bottle if preparing multiple bottles. 🤗
- Slice the vanilla beans:Use a paring knife to split the beans lengthwise. Then cut in half and place in the clean jar.
- Add vodka:Using a funnel, pour the vodka over the vanilla beans. They should be completely submerged. But leave a little space at the top of the jar for shaking.
- The waiting game:The hardest step! Homemade vanilla extract tastes best after several months of resting, 6-12 months for best flavor.
- Shake:Give it a little shake every week or every few days to help with the extraction.
- Storage:Store in a cool, dark, dry spot – like in the pantry—no refrigeration required.
- Use:Use the vanilla extract in your favorite recipes!
Notes
- Homemade vanilla extract tastes best after several months of resting, 6-12 months for best flavor.


Leave a Reply