My Favorite Pie Crust Secret
I want to share my crust secret with you. I always use a splash of apple cider vinegar. It makes the dough so tender. I learned this from my own grandma.
She never measured it, just a quick glug from the bottle. I still laugh at that. Keeping everything cold is the real key. Your crust will be flaky and perfect.
Picking the Best Apples
Don’t just use one kind of apple. Mix them up. A tart one and a sweet one together is best. Doesn’t that smell amazing when you start peeling them?
This matters because different apples cook differently. Some get soft, some stay firm. Using a mix gives you the best texture in every single bite. What’s your favorite apple to snack on?
A Little Story About Spices
I once forgot the ginger and cloves. The pie was fine, but it was missing something. It just didn’t taste like home. Now I measure my spices into a little bowl first.
Fun fact: cinnamon comes from the bark of a tree. Isn’t that neat? Those warm spices matter. They make your kitchen smell like a happy memory. They turn simple fruit into a special treat.
Don’t Skip the Chill Time
I know you want to rush. But please, let the dough rest in the fridge. This is the hardest step for me. I always want to keep going.
This waiting matters. It lets the gluten in the flour relax. Your crust won’t shrink in the pan. It makes all the difference between good and great. Do you find it hard to wait when you’re baking, too?
The Final Step: Let it Rest
When the pie comes out, it will bubble and smell wonderful. You will want to cut it right away. But you must let it cool completely.
This is the last test of patience. The filling needs time to set. If you cut it warm, it will be a soupy mess. Waiting means you get a perfect, neat slice. It is always worth the wait.
Ingredients:
| Ingredient | Amount | Notes |
|---|---|---|
| Flour | 2 1/2 Cups | For the crust |
| Butter | 12 Tbsp. | Cold, unsalted, cubed |
| Salt | 1 tsp. | |
| Sugar | 2 1/2 Tbsp. | |
| Shortening | 3 Tbsp. | |
| Ice cold water | 3 Tbsp. | |
| Apple cider vinegar | 1 splash | |
| Egg wash | 1 egg + 1 Tbsp. water | Whisked together to brush on dough |
| Apples | 3 lb. (~6-7 total) | Use a variety for better flavor, such as Pink Lady, Granny Smith, Braeburn or Honey Crisp |
| Sugar | 3/4 cup | For the filling |
| Flour (or cornstarch) | 3 Tbsp. | |
| Lemon juice & zest | 1 lemon | |
| Cinnamon, ground | 1 1/2 tsp. | |
| Ginger, ground | 1/2 tsp. | |
| Cloves, ground | 1/8 tsp. | |
| Allspice, ground | 1/8 tsp. |
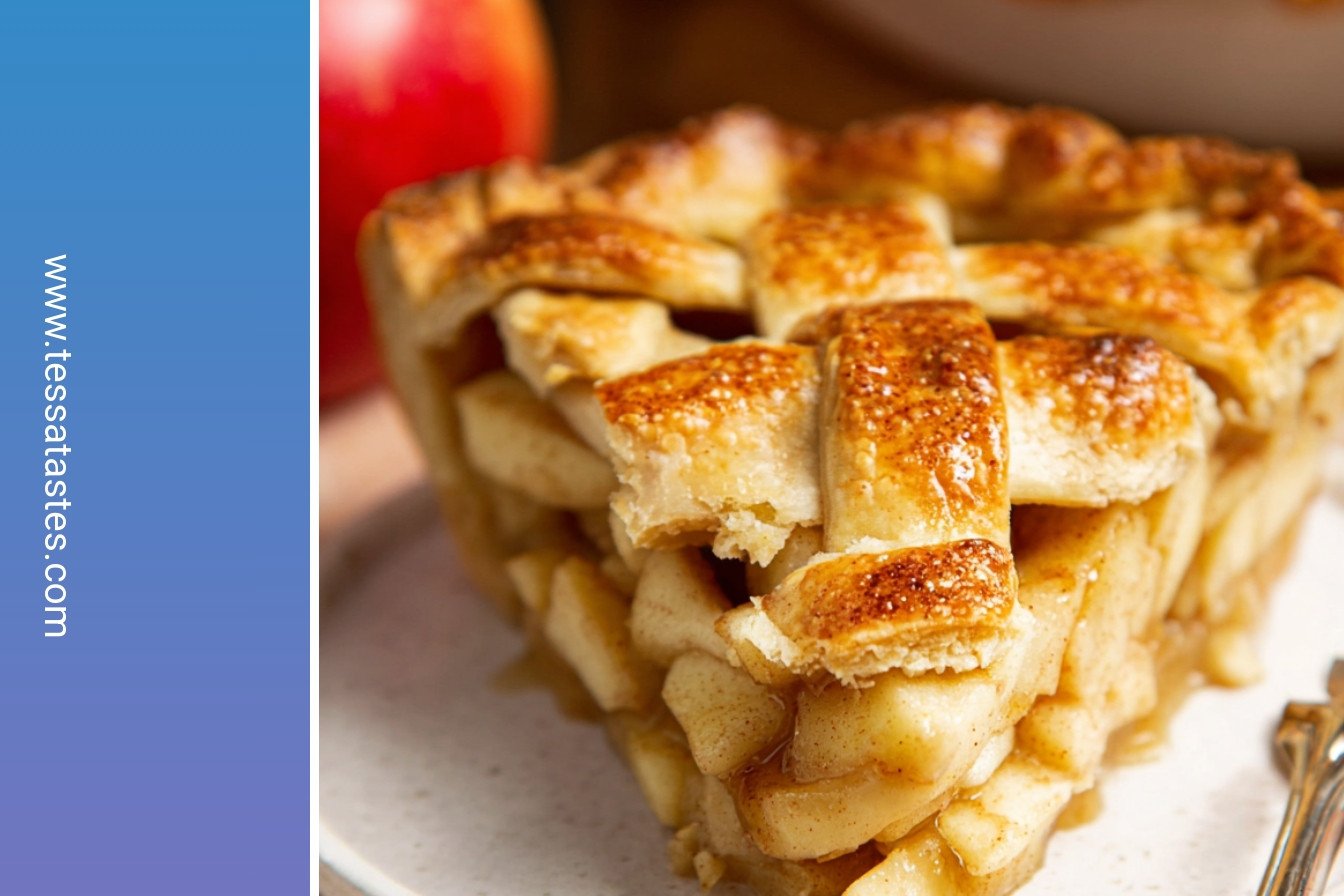
My Creamy, Dreamy Apple Pie
Hello, my dear! Come sit with me. Today, we are making my famous apple pie. This recipe feels like a warm hug. I learned it from my own grandma, many years ago. The smell of baking apples and cinnamon is pure happiness. Doesn’t that sound wonderful?
We will start with the crust. A good crust is flaky and buttery. The secret is to keep everything very cold. I still laugh at the time I used warm butter. The crust was so tough! (My hard-learned tip: Your hands are warm, so handle the dough as little as possible!). Let’s begin.
- Step 1: First, we mix the dry things. Put the flour, salt, and sugar in a food processor. Give it a few quick pulses. This just gets them all friendly with each other. It’s a simple start, but so important.
- Step 2: Now, add the cold, cubed butter. Pulse it again until the butter looks like little peas. Then add the shortening. This makes the crust extra tender. I think of it as the dough’s secret softness.
- Step 3: Here is the tricky part. Mix the vinegar with your ice water. Slowly stream it in, one spoonful at a time. The dough will look a bit shaggy and messy. That is perfectly fine, I promise! We just want it to hold together.
- Step 4: Turn the dough onto a floured counter. Divide it into two sections. Gently knead each one into a disk. Wrap them in plastic and let them rest in the fridge. This chill time makes all the difference. What’s your favorite pie filling? Share below!
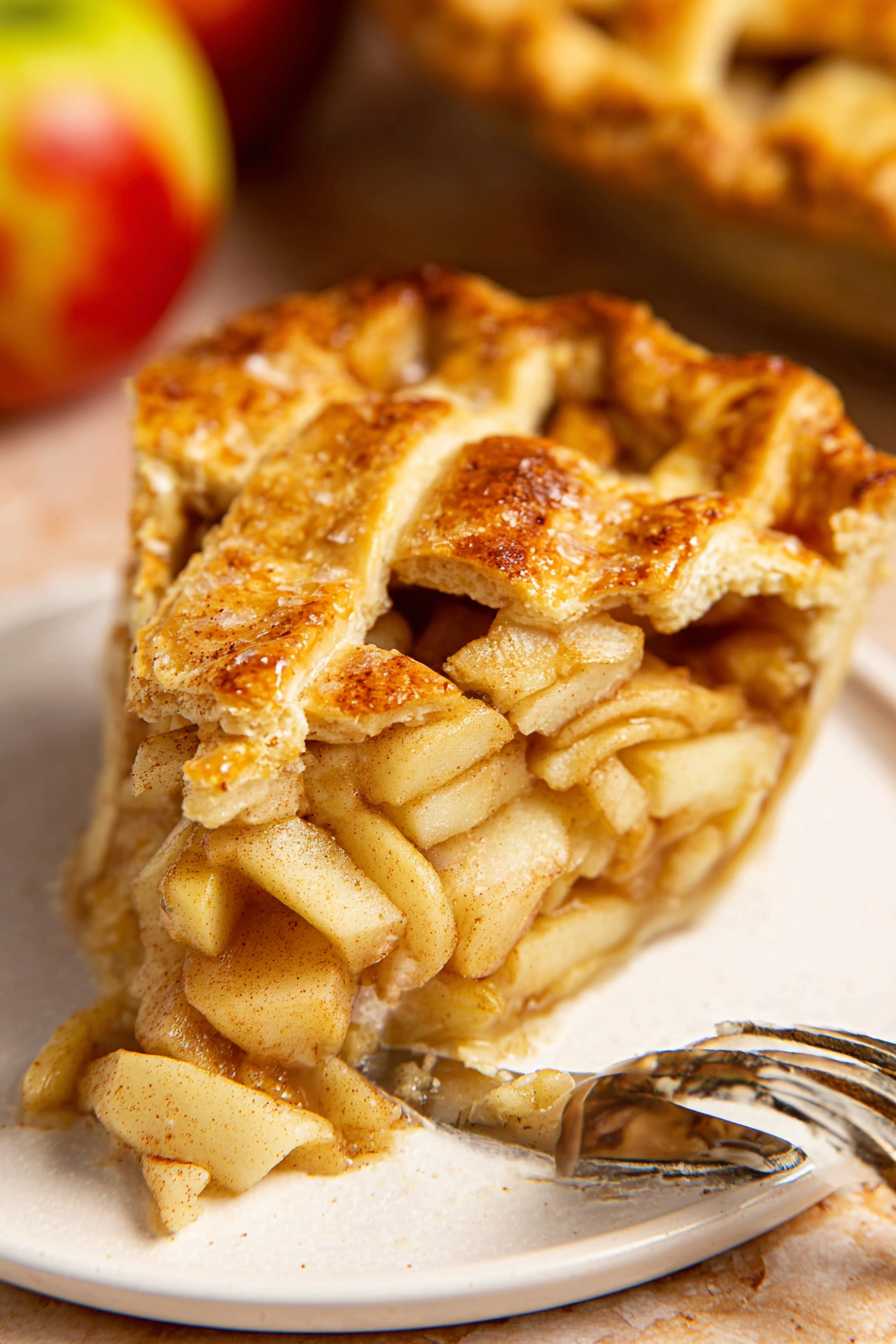
- Step 5: While the dough chills, let’s make the filling. Peel and slice all your apples. Using different kinds gives the best flavor. My grandkids love when I use a mix of tart and sweet ones.
- Step 6: Toss the apples with all the sugar and spices. Don’t forget the lemon zest and juice! It makes the flavor pop. Cook them in a big skillet for just five minutes. This helps the apples get perfectly soft later.
- Step 7: Time to roll the dough! Take one disk from the fridge. Roll it into a big circle on your floured surface. If the edges crack, just press them back together. No one will ever know.
- Step 8: Carefully place the dough in your pie dish. Tuck the extra dough underneath to make a strong edge. Then you can crimp it with your fingers. I like to make little waves. Pop the whole dish into the freezer for a bit. This keeps the crust from shrinking.
- Step 9: Preheat your oven. We “blind bake” the bottom crust first. Line it with foil and add some dried beans as weights. Bake it for a short time. This stops the bottom from getting soggy. It’s a little extra step that is so worth it.
- Step 10: Let the crust cool. Then, fill it with your lovely apple mixture. Leave most of the extra juice in the bowl. Too much liquid makes the pie runny. I learned that the hard way, too!
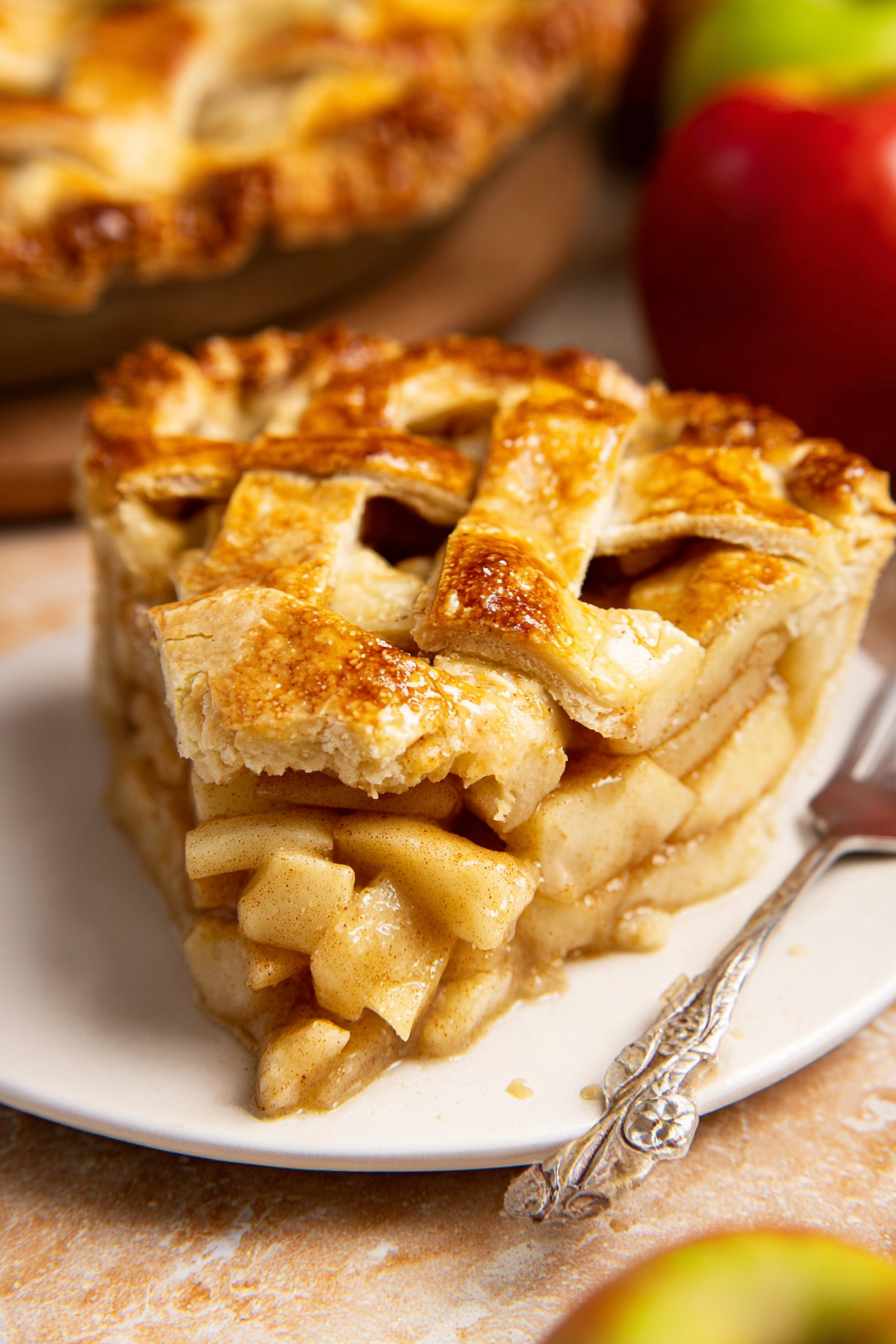
- Step 11: Roll out your second disk of dough for the top. You can just lay it over the apples. Or you can get fancy and make a lattice weave. It looks so pretty.
- Step 12: Place the top crust on the pie. Brush it with the egg wash. This makes it bake up shiny and golden. Don’t forget to cut a few slits in the top! This lets the steam out while it bakes.
- Step 13: Bake your pie until it is a beautiful golden brown. If the edges get too dark, cover them with a little foil. The waiting is the hardest part. Doesn’t that smell amazing?
- Step 14: This is the final test of patience. Let the pie cool completely. I know it’s hard to wait! But this helps the filling set perfectly. Then you can slice a beautiful piece.
Cook Time: 45-55 minutes
Total Time: 2 hours 35 minutes
Yield: 8 slices
Category: Dessert, Pie
Three Fun Twists on a Classic
Once you master the classic, you can have some fun. I love to change it up sometimes. It keeps things exciting in the kitchen. Here are a few of my favorite ideas.
- Caramel Apple Delight: Drizzle gooey caramel sauce over the apples before adding the top crust. It’s like a candy apple in a pie!
- Cheddar Cheese Crust: Add a handful of sharp cheddar cheese to your dough. The salty cheese with sweet apples is an old-fashioned treat.
- Ginger Pear Fusion: Use half apples and half ripe pears. Add some chopped crystallized ginger for a spicy, warm kick.
Which one would you try first? Comment below!
Serving Your Masterpiece
A warm slice of pie is a joy all by itself. But a few little extras can make it a real celebration. I always think about what my family loves most. Here is how I like to serve it.
For the full experience, add a scoop of vanilla ice cream. The way it melts into the pie is divine. A slice of sharp cheddar cheese on the side is also wonderful. Or just a simple dollop of freshly whipped cream.
What to drink? A cold glass of milk is my top choice. It’s the perfect partner. For the grown-ups, a sweet dessert wine or a hot cup of spiced chai tea is lovely. Which would you choose tonight?
Keeping Your Apple Pie Perfect
Fresh apple pie is a special treat. But it is also great the next day. Let the pie cool completely first. Then just cover it with plastic wrap on your counter.
You can freeze a whole pie for later. Wrap it tightly in two layers of plastic. I once forgot a pie in my freezer for a month. It was a wonderful surprise on a busy Tuesday night.
To reheat, warm slices in a warm oven. This brings back that fresh-baked feeling. Storing food well means no waste and happy surprises. Have you ever tried storing it this way? Share below!
Fixing Common Apple Pie Troubles
Sometimes the bottom crust gets soggy. My trick is to pre-bake the crust a little. This creates a strong barrier for the juicy apples.
Your apples might not be soft enough. Be sure to slice them thinly and evenly. I remember when my slices were too thick. We had crunchy pie for dessert that night.
The crust edges can burn before the pie is done. Use a pie shield or foil to protect them. Fixing these small issues builds your cooking confidence. It also makes sure every bite tastes just right. Which of these problems have you run into before?
Your Apple Pie Questions Answered
Q: Can I make this gluten-free? A: Yes. Just use your favorite gluten-free flour mix.
Q: Can I make the pie ahead of time? A: The dough can be made two days before.
Q: What if I don’t have shortening? A: You can use all butter instead. The crust will be just fine.
Q: Can I make a smaller pie? A: Yes. Just cut all the ingredients in half.
Q: Is the egg wash necessary? A: No, but it gives the crust a beautiful golden color. *Fun fact: The sugar you sprinkle on top will sparkle after baking!* Which tip will you try first?
From My Kitchen to Yours
I hope you love making this pie. It is full of warm memories for me. Sharing food is one of life’s greatest joys.
I would be so happy to see your creation. Show me your beautiful, golden pie. Have you tried this recipe? Tag us on Pinterest!
Happy cooking!
—Tessa Hammond.
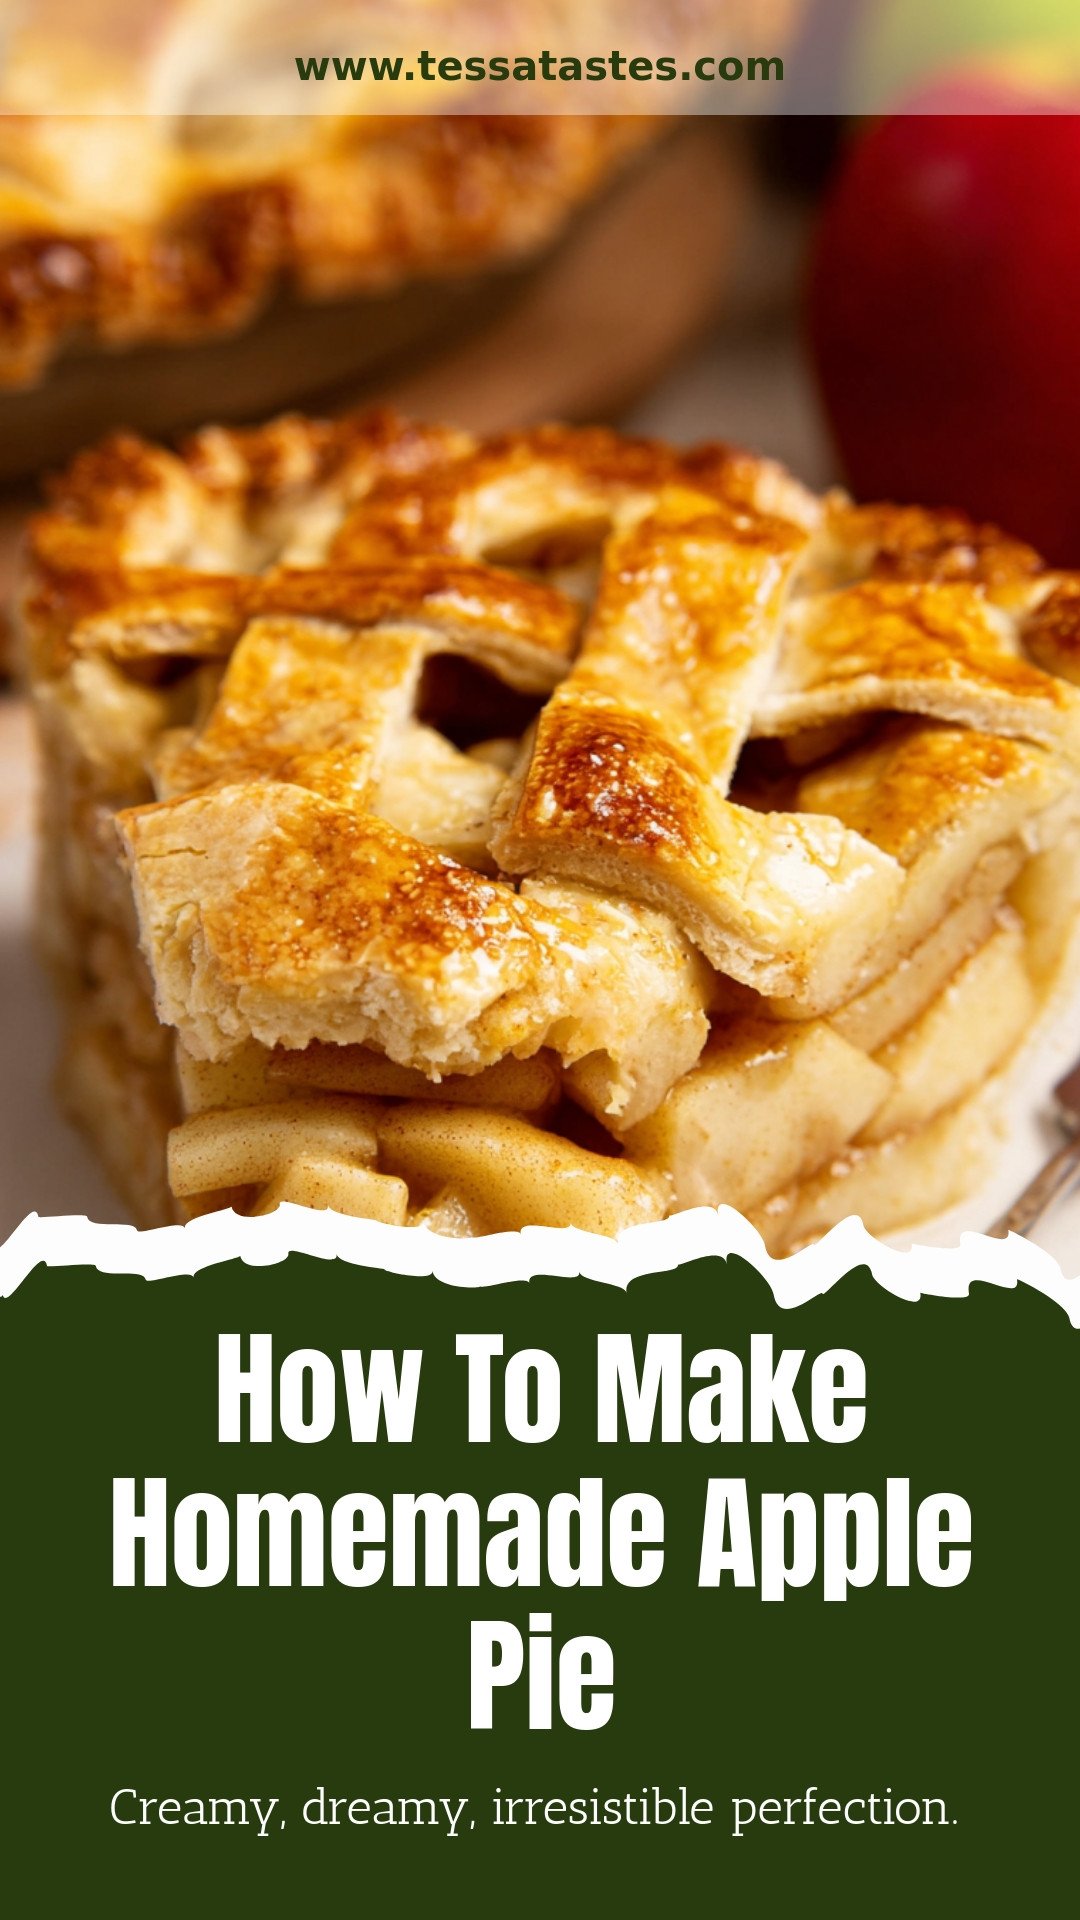
How To Make Homemade Apple Pie: Creamy, dreamy, irresistible perfection.
Description
Bake the perfect homemade apple pie from scratch! This easy recipe features a flaky, buttery crust and a deliciously spiced apple filling.
Ingredients
=== For the crust: ===
=== For the apple pie filling: ===
Instructions
- Pulse the flour with salt and sugar in a food processor.
- Add the cold butter cubes and pulse a few more times until no large butter chunks remain. Then add in the shortening and pulse again.
- Add a splash of apple cider vinegar to the water and slowly begin to stream in water about a tablespoon at a time. You need to add just enough to be able moisten the dough, it will look a little shaggy still.
- Turn out the dough onto a lightly floured surface, divide into 2 sections, and bring the dough together into oval disks, kneading just a bit to bring it all together. Wrap the dough in plastic wrap and chill in the fridge up at least 1 hour or up to 2 days.
- Peel, core and thinly slice 3 pounds of apples in uniform thickness, about 1/4 inch thick.
- Add sugar, flour, lemon zest, lemon juice, ground ginger, ground cinnamon, cloves and allspice to the apples. Pour the apple filling into a very large skillet, or dutch oven, and place over medium heat. Stir and cook for 5 minutes until the apples begin to soften. Remove from heat and set aside to cool.
- Take one half of the dough from the fridge once it’s chilled and roll the dough on a lightly floured surface into a circle that is about 12 inches in diameter using a rolling pin. If the edges are craggly or breaking, feel free to gently re-knead the dough just a little more, then roll out into a smooth circle.
- Transfer the dough to a 9 inch pie dish. Trim and seal the dough OR I like to also fold the over hang of dough underneath to create a thicker wall of dough at the edge. Tucking in the excess also helps to reinforce the walls of the pie. You can crimp the dough making a “v” with two fingers one hand on the outside of the pie crust and the index finger of the opposite hand to make an indent in the pie crust. Use scraps to repair dough if needed. Freeze the dough for 15-30 minutes to keep the dough nice and chilled, this will solidify the fat, which helps prevent shrinkage.
- Preheat the oven to 425°F. Place a piece of foil on the bottom crust and top with the pie weights. (Use dried beans, sugar or rice if you don’t have pie weights). Bake the pie crust for 10-15 minutes just until edges are set and lightly brown. This is just to partially blind bake the crust. Reduce the oven temperature down to 350°F to bake the apple pie at this temperature.
- Once the crust has cooled to room temperature, fill with the cooled apple pie filling, leaving most of the liquid behind in the bowl. Some of the juices are OK to add but not all of it.
- Roll out the top layer of the crust in about a 12 inch circle.
- Place the top layer of crust over the apples and brush with the egg wash and a sprinkle of coarse sugar (optional). Cut a few slits on the top for ventilation. Or see recipe notes below on how to lattice the crust.
- Bake for ~45-55 minutes or until the crust is golden and the internal temperature reaches 175 °F. Be sure to check on the crust and place foil or a pie crust shield around the edges of the pie crust if they begin to brown or burn.
- Allow the pie completely cool, at least 3 hours, before slicing. Serve with ice cream and enjoy!
=== For the dough: ===
=== For the apple filling: ===
Notes
- For a decorative top, try a lattice crust. Roll out the top crust and cut into strips. Weave the strips over the filling in a crisscross pattern before brushing with egg wash and baking.


Leave a Reply