My First Candy Mess
I tried making lollipops when I was young. It was a disaster. I spilled sugar all over my mother’s clean floor.
I still laugh at that. But I learned something important. Cooking is about trying, even when you make a mess. That’s why this matters. The fun is in the doing, not just the eating.
Getting Your Kitchen Ready
First, get your molds and sticks ready. Put them on a cookie sheet. Spray them lightly and pop them in the freezer.
This chill helps the candy set fast. A cold mold means a shiny, smooth lollipop. Doesn’t that sound clever? What’s your favorite kitchen trick to make things easier?
The Magic of Sugar & Heat
Now, the exciting part. Put sugar, water, and corn syrup in a pan. Cook it until it reaches 300 degrees. This is called the hard crack stage.
Fun fact: That’s the hottest candy stage! It makes hard lollipops, not chewy caramels. Be very careful with the hot sugar. It is much hotter than boiling water.
Making Them Monster-Fied
Take the pan off the heat. Quickly stir in the green color and apple flavor. Doesn’t that smell amazing? Like a sour green apple.
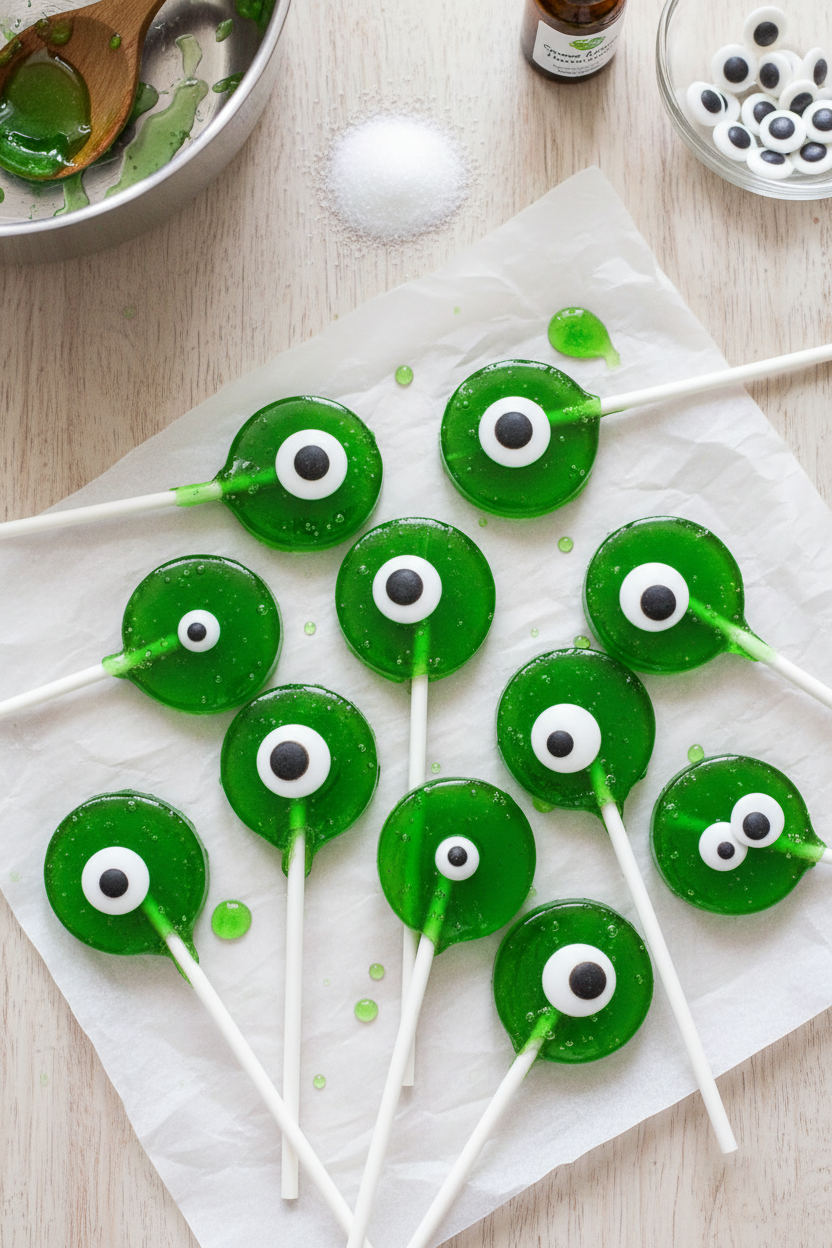
Stir for two minutes. Then pour the hot candy into your cold molds. This is why the cold tray matters. It stops the candy from melting the plastic. Press in the candy eyeballs right away!
The Sweet Reward
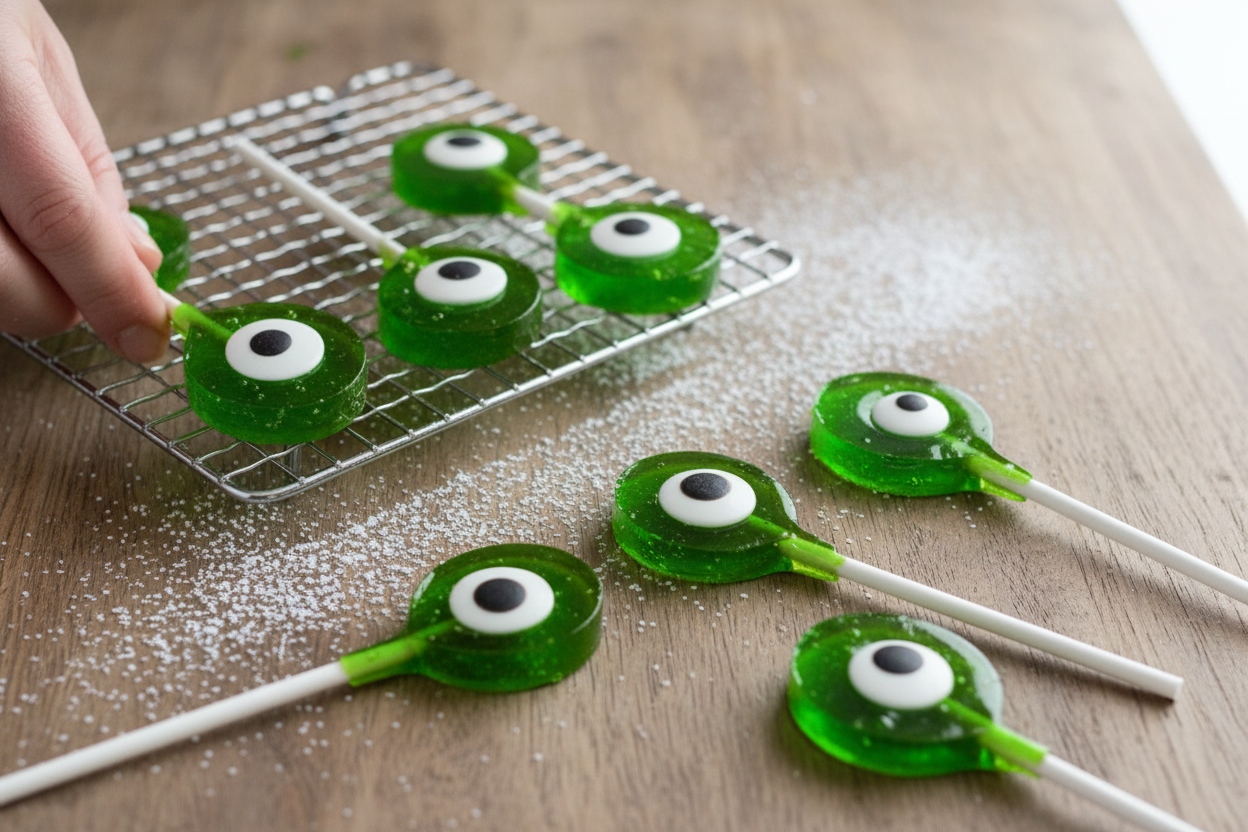
Let your monsters set for about 15 minutes. Then pop them out of the molds. You made real candy! It’s a special feeling.
That’s the second reason this matters. Making food yourself connects you to it. You appreciate the treat more. Which monster face is your favorite? I love the googly-eyed ones.
Your Turn to Share
I hope you have fun with these silly suckers. They are perfect for a spooky party. Or just a sunny afternoon.
What other fun flavors should we try? Cherry red or maybe blue raspberry? Tell me your best candy-making story, messy or perfect. I’d love to hear it.
Ingredients:
| Ingredient | Amount | Notes |
|---|---|---|
| Sugar | 1 cup | |
| Water | 1/2 cup | |
| Corn syrup | 1/3 cup | |
| Flavoring | 1/4 teaspoon | Apple flavor |
| Food coloring | 1/4 teaspoon | Green |
| Candy eyeballs | As needed | For decoration |
Monster Suckers: A Spooky Sweet Story
Hello, my dear! It’s Tessa. Let’s make some silly candy today. I remember my grandson’s first Halloween party. He wanted the spookiest treats! These monster suckers were perfect. They look funny, not scary. And they taste like sweet green apples. Doesn’t that sound fun?
Making hard candy is like a little science project. You watch sugar turn into magic. Just be very careful with the hot syrup. I still wear my oven mitts. Ready for our adventure? Let’s get those molds ready first.
Let’s Make Some Monsters!
Monster Makeovers
You can make different monsters every time! Change the flavor and color. It’s so easy. Try purple grape monsters. Or red cherry ones. Use different shaped eyes, too. Here are three of my favorite twists.
Serving Your Silly Creatures
These are fun all by themselves. But you can make them extra special. Stick them in a cupcake for a cake topper. Or wrap them in clear bags with ribbon. Give them as party favors. Everyone loves a homemade treat.
For drinks, I think cold apple cider is perfect. It matches the apple flavor. For the grown-ups, a crisp hard cider pairs nicely. The tartness cuts the sweetness. Just right for a chilly evening.
Storing Your Monster Suckers
These suckers are best enjoyed fresh. But you can store them. Keep them in a sealed container at room temperature. They will stay good for about two weeks.
Do not put them in the fridge or freezer. The moisture will make them sticky. I learned this the hard way. My first batch got all soft and weepy!
You can make a big batch for a party. Just let them set fully first. Storing them well matters. It keeps your hard work from going to waste.
Have you ever tried storing candy this way? Share below!
Common Candy Troubles and Fixes
Is your sugar mixture crystallizing? Make sure your pan is clean. Any sugar grain can start a chain reaction. I once ruined a batch this way.
Is the candy too sticky? You did not cook it hot enough. Use a candy thermometer. Hitting 300 degrees is very important. This gives you that perfect hard crack.
Are the eyeballs sinking? Let the candy cool just a bit first. Then press them in gently. Getting it right builds your kitchen confidence. It also makes treats that look and taste great.
Which of these problems have you run into before?
Your Monster Sucker Questions
Q: Is this recipe gluten-free?
A: Yes, these ingredients are naturally gluten-free. Always check your candy eyeballs’ label to be sure.
Q: Can I make them ahead?
A: Absolutely! Make them up to two weeks before your party. Store them in that airtight container.
Q: Can I swap the flavor and color?
A: Of course! Use cherry flavor with red coloring. Try grape with purple. Have fun with it.
Q: Can I double the recipe?
A: You can, but cook it in separate batches. A too-full pot won’t cook evenly.
Q: Any optional tips?
A: A fun fact: The corn syrup stops sugar crystals from forming. It’s your secret for smooth candy!
Which tip will you try first?
Share Your Monster Creations
I hope you have fun making these silly suckers. Cooking should be joyful and a little messy. I love seeing what you create in your own kitchen.
Please show me your candy monsters. Share a photo with your friends and family. It makes my day to see your kitchen adventures.
Have you tried this recipe? Tag us on Pinterest!
Happy cooking!
—Tessa Hammond.
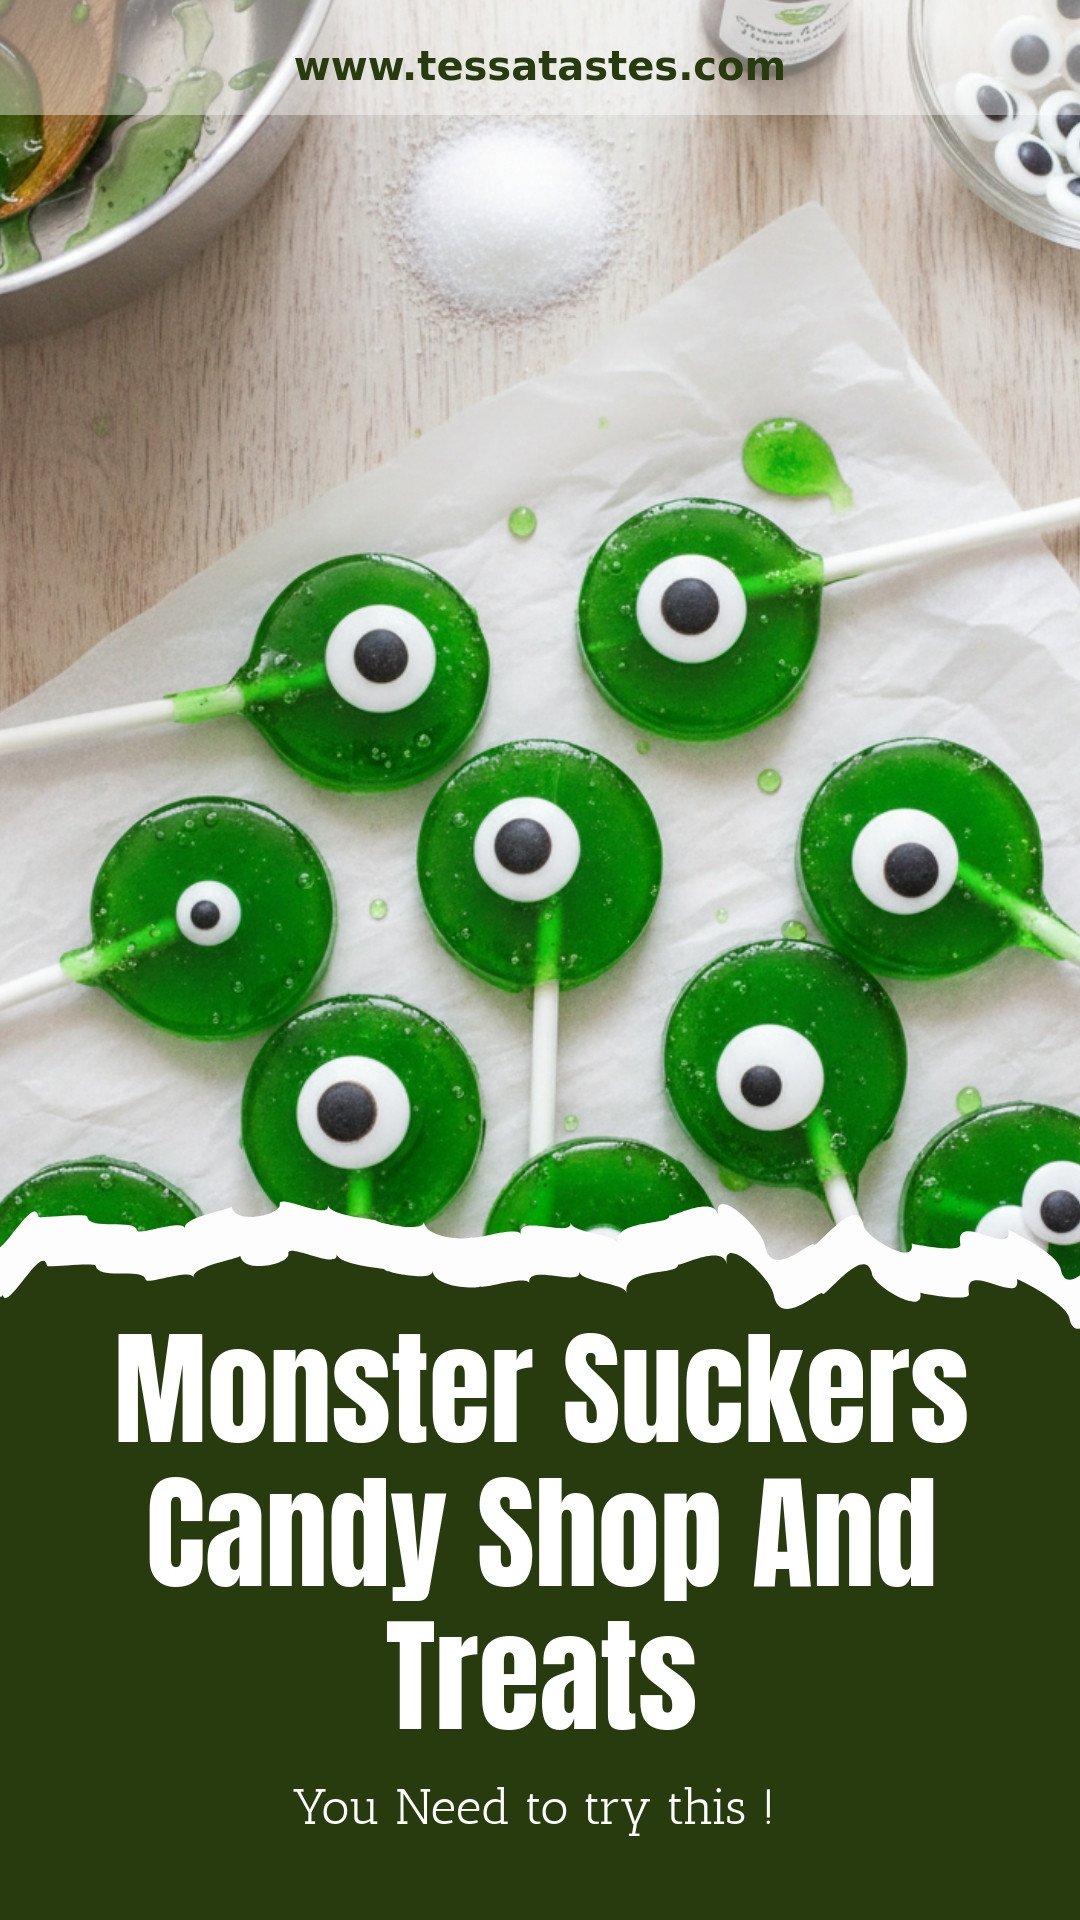
Monster Suckers Candy Shop And Treats
Description
Create fun and spooky monster-themed lollipops with this easy candy recipe, perfect for Halloween or a themed party treat.
Ingredients
Instructions
- Put molds and sticks together. Place on a cookie sheet and spray with non-stick spray. Put in freezer until candy is ready.
- Put all ingredients except flavoring and food coloring in a pan. Cook to hard crack stage (300 degrees Fahrenheit).
- Remove from heat. Add flavoring and coloring. Stir for about two minutes.
- Carefully pour the hot candy into the prepared molds. Add candy eyeballs to each sucker. Let set for 10-15 minutes. Remove from molds and ENJOY!
Notes
- Ensure candy reaches exactly 300°F for the perfect hard crack stage. Work quickly when pouring as the candy will begin to set. Store finished suckers in an airtight container.


Leave a Reply