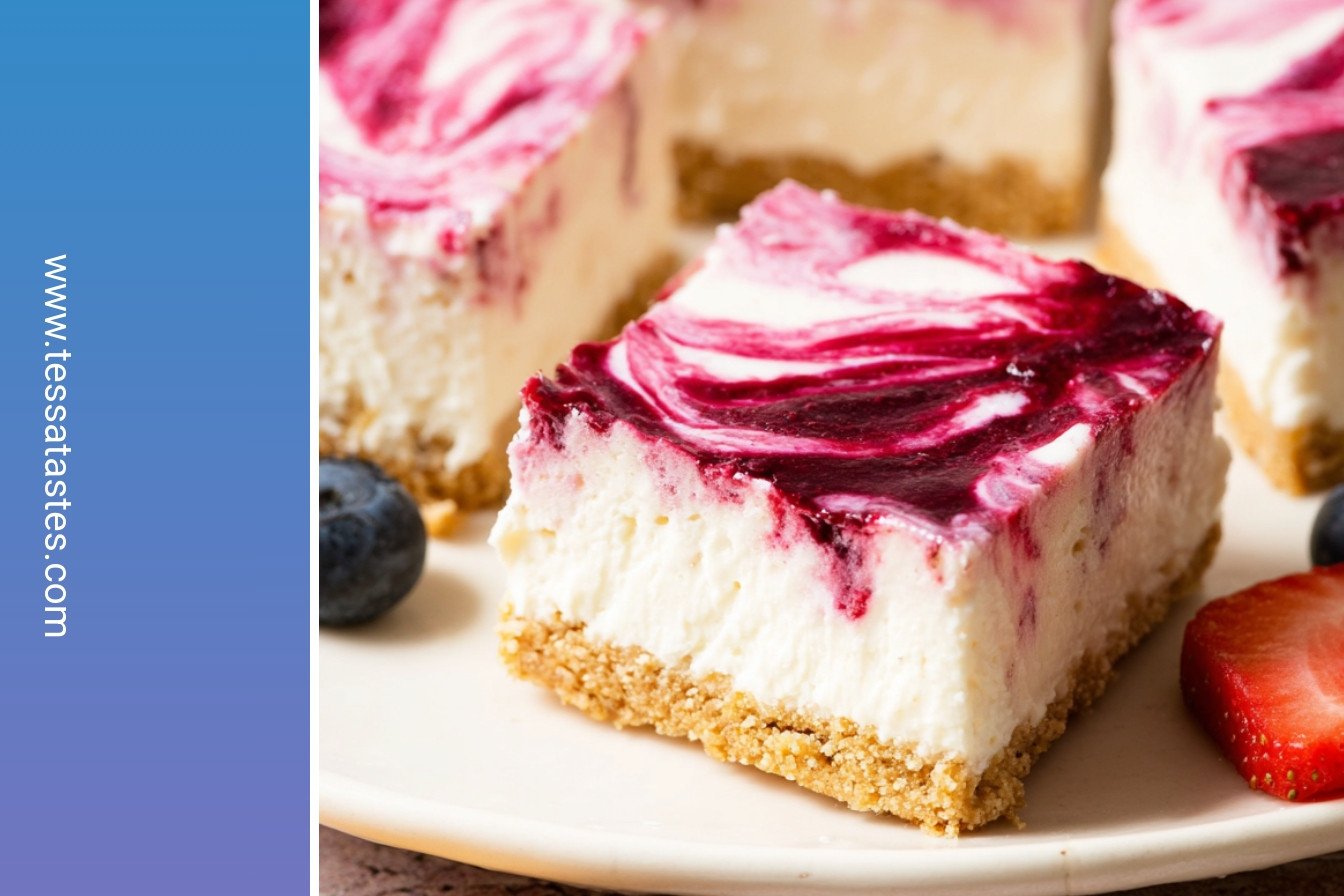
A No-Bake Treat for Hot Days
Summer is here. My kitchen gets too hot for baking. So I make these cool berry cheesecake bars instead.
No oven is needed. Just a little mixing and patience. I love how the cold dessert feels on a warm day.
The Story of My First Cheesecake
My first cheesecake was a mess. I was so nervous. I forgot to take the cream cheese out of the fridge.
It was lumpy. I still laugh at that. But my family ate it all. They said it was perfect. This is why room temperature matters. It makes everything smooth and happy.
Making the Berry Swirl
Let’s talk about that berry sauce. Cooking the berries makes your kitchen smell wonderful. Doesn’t that smell amazing?
You get to swirl it on top. There is no wrong way to do this. Just make it yours. *Fun fact: The lemon juice in the sauce does a secret job. It makes the berry flavor pop and keeps the color bright!*
The Secret to a Good Crust
The crust is just crushed crackers and butter. Press it down hard in the pan. I use my fingers.
A firm crust is important. It holds everything together when you take a bite. This matters because no one wants a crust that falls apart. What’s your favorite cookie or cracker for a crust? I’d love to know.
The Magic of Folding
Folding is a gentle hug for ingredients. You use a spatula to mix softly. This keeps the whipped cream fluffy.
If you mix too hard, the cream will go flat. A light touch gives you a cloud-like filling. This is my favorite part. It feels like magic.
The Hardest Part: Waiting
You must wait overnight. I know, it is the hardest step. But it is the most important one.
The wait lets all the flavors become friends. It also makes the bars firm enough to slice. Do you have a trick for being patient when a dessert is chilling?
Your Turn to Make Memories
Food is best when shared. I made these for my grandson last week. His smile was my reward.
Making food for people is a way to show you care. This matters more than a perfect swirl. Will you make this with a friend or family member? Tell me who you would share it with.
Ingredients:
| Ingredient | Amount | Notes |
|---|---|---|
| Graham crackers | 15 sheets | |
| Granulated sugar | 2 Tbsp. | For the crust |
| Salt | pinch | For the crust |
| Butter, unsalted | 1/2 cup | Melted, for the crust |
| Heavy cream | 1 cup | Cold, for the filling |
| Cream cheese, full-fat | 24 oz. | Room temperature, for the filling |
| Powdered sugar | 1 1/3 cup | For the filling |
| Sour cream | 1/3 cup | Room temperature, for the filling |
| Vanilla extract | 2 tsp. | For the filling |
| Fresh lemon juice | 1 tsp. | For the filling |
| Salt | pinch | For the filling |
| Mixed fresh berries | 2 cups | e.g., strawberries, blueberries, raspberries; for the sauce |
| Fresh lemon juice | 2 Tbsp. | For the sauce |
| Granulated sugar | 1/4 cup | For the sauce |
| Vanilla extract | 1 tsp. | For the sauce |
| Salt | pinch | For the sauce |
My No-Bake Berry Dream Bars
Oh, these bars bring back such happy memories. My granddaughter Lily and I made them last summer. The kitchen was a wonderful, messy, berry-splattered place. She loved swirling that pink sauce on top. I still laugh at that. Her little face was so focused. These are perfect for a hot day when you don’t want to turn on the oven. They are cool, creamy, and just sweet enough. Let’s make some new memories together, shall we?
Ingredients
- For the Berry Sauce:
- 2 cups mixed berries (fresh or frozen)
- 1 tablespoon lemon juice
- 1/4 cup granulated sugar
- 1/2 teaspoon vanilla extract
- Pinch of salt
- For the Crust:
- 1 1/2 cups graham cracker crumbs
- 2 tablespoons granulated sugar
- 1/4 teaspoon salt
- 6 tablespoons unsalted butter, melted
- For the Filling:
- 1 cup cold heavy cream
- 8 ounces cream cheese, softened
- 1/2 cup powdered sugar
- 1/4 cup sour cream
- 1 teaspoon vanilla extract
- 1 tablespoon lemon juice
- Pinch of salt
Instructions
Step 1: Let’s start with the berry sauce. Put your berries, lemon juice, sugar, vanilla, and a tiny salt pinch in a saucepan. Cook it on medium heat, stirring and squishing the berries. It will get thick and bubbly in about ten minutes. Doesn’t that smell amazing? It reminds me of summer jam.
Step 2: Now, carefully pour that hot berry mix into a blender. Blend it all up until it’s super smooth. Then, push it through a sieve with a spoon. This catches all the little seeds. (My hard-learned tip: don’t skip the sieve! Nobody likes seedy sauce). Let this beautiful sauce cool in the fridge.
Step 3: Time for the crust! Crumble your graham crackers in a food processor. Add the sugar and salt. Give it a good blitz until it looks like sand. Now, stream in your melted butter while the machine runs. The mix should feel like wet sand at the beach.
Step 4: Press that sandy crust mix into your lined pan. I use my fingers, then the bottom of a cup. Press it down really firmly and evenly. A firm crust won’t fall apart later. Pop the whole pan into the freezer. This chills it out while we make the filling.
Step 5: Grab a cold bowl and your cold heavy cream. Whip it with a mixer until it forms soft peaks. It should look like fluffy clouds. Be careful not to overdo it! Put this whipped cream in the fridge to stay cool. What’s your favorite thing to make with whipped cream? Share below!
Step 6: In another bowl, beat the cream cheese and powdered sugar. Make sure your cream cheese is soft! It makes everything so much smoother. Then mix in the sour cream, vanilla, lemon juice, and salt. Keep mixing until it’s all one happy, creamy family.
Step 7: Here’s the secret step. Gently fold the whipped cream into the cream cheese mix. Use a spatula and big, soft folds. You want to keep all that air in there. This is what makes the filling light and dreamy.
Step 8: Take your crust from the freezer. Pour the creamy filling on top. Spread it out nicely with a spatula. Now, get your cooled berry sauce. Drop little spoonfuls all over the top.
Step 9: Take a knife and gently swirl the berry drops. Make pretty patterns! Don’t mix it all in. You’ll have extra sauce for serving. Now, cover the pan and be patient. It needs to chill in the fridge overnight. I know, the wait is the hardest part!
Cook Time: 20 minutes
Total Time: 8 hours 20 minutes (plus chilling)
Yield: 12 squares
Category: Dessert, No-Bake
Three Fun Twists to Try
I love a good recipe you can make your own. Here are some simple ideas to change things up. You can make a different version every time. It’s so much fun to get creative in the kitchen.
Chocolate Crust: Swap the graham crackers for chocolate wafer cookies. It’s like a chocolate-covered berry.
Citrus Zing: Use all lemon juice in the berry sauce. Add a little lemon zest to the filling too. So bright and sunny!
Cookie Doodle: Mix some mini chocolate chips right into the cheesecake filling. A little crunch in every bite.
Which one would you try first? Comment below!
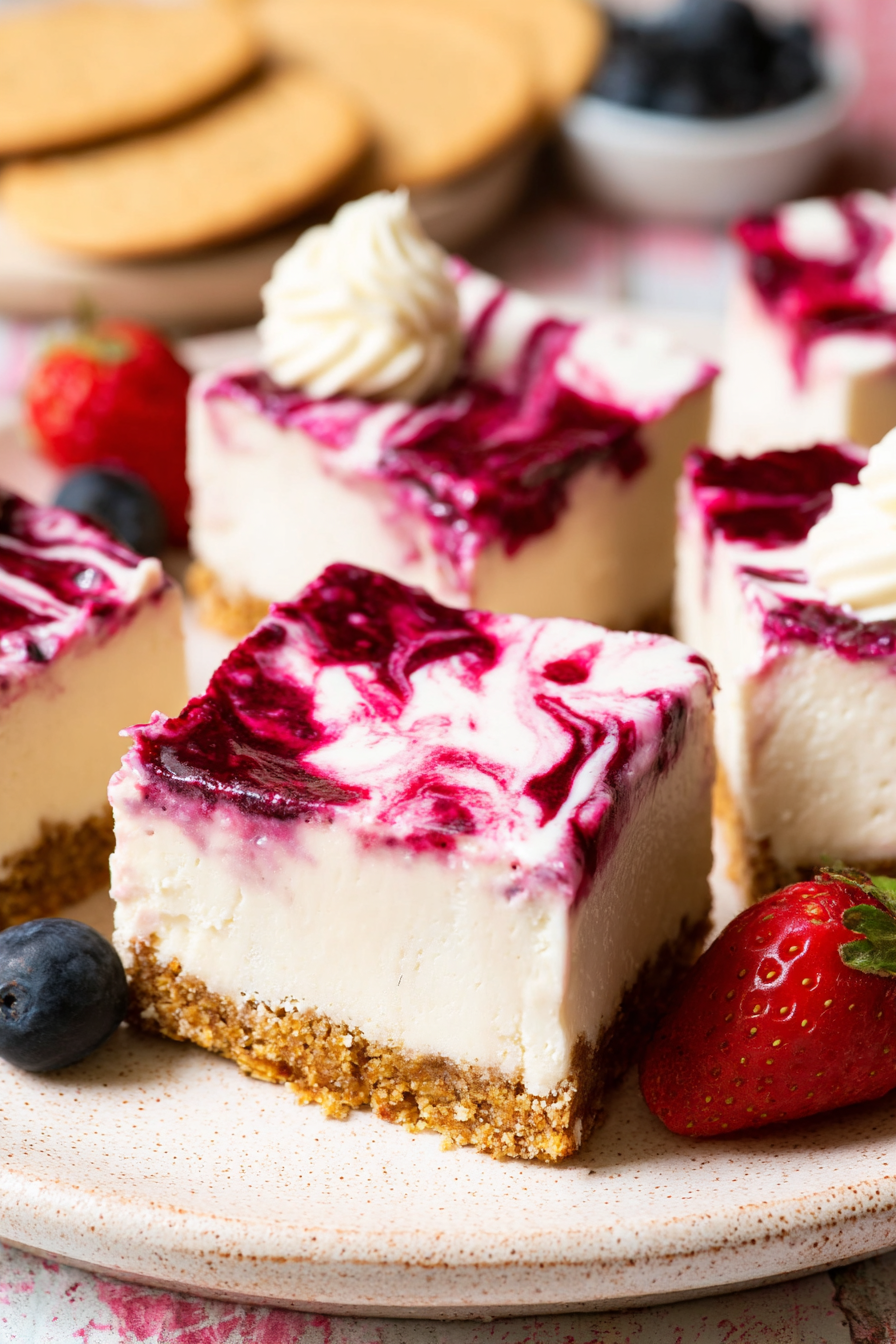
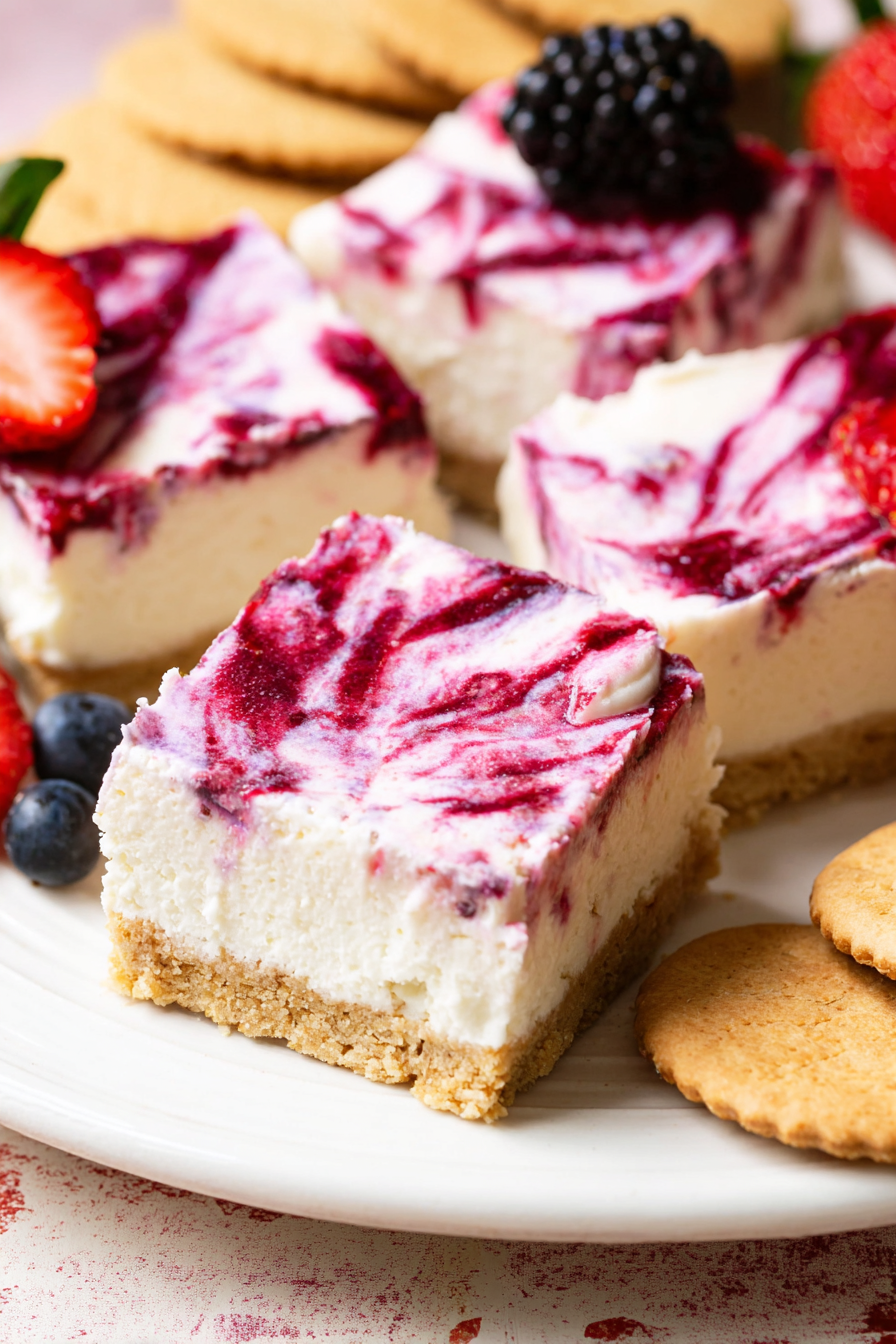
Serving Your Masterpiece
Now, for the best part: eating! I like to cut my bars into neat squares. A little extra berry sauce on the plate looks so pretty. You could add a few fresh berries on the side. A sprig of mint makes it look like it’s from a fancy bakery.
For a drink, a glass of cold milk is always perfect. For the grown-ups, a little sweet dessert wine pairs beautifully. It’s a lovely treat after a long day. Which would you choose tonight?
Keeping Your Cheesecake Bars Happy
These bars need a cold home in your fridge. They will stay fresh for up to five days. Just cover the pan tightly with plastic wrap.
You can also freeze them for a sweet treat later. Wrap each square in plastic wrap. Then place them all in a freezer bag.
I once left a batch out too long. The filling got a bit soft. Now I always put them away right after serving.
This careful storage saves you time and money. You can make a big batch for the week. A ready-made dessert makes any day feel special.
Have you ever tried storing it this way? Share below!
Easy Fixes for Common Cheesecake Troubles
Is your crust too crumbly? Press it down harder with a cup. I remember when my crust fell apart. A good firm press makes all the difference.
Is your berry sauce too runny? Just cook it a little longer. Stir it until it thickens nicely. This matters because a thick sauce gives you beautiful swirls.
Is your filling not smooth? Your cream cheese must be soft. Let it sit on the counter before you start. This simple step builds your cooking confidence.
Which of these problems have you run into before?
Your Cheesecake Bar Questions Answered
Q: Can I make this gluten-free?
A: Yes! Use gluten-free graham crackers for the crust. It works just as well.
Q: How far ahead can I make it?
A: You must make it at least 8 hours ahead. It needs that time to set in the fridge.
Q: Can I use frozen berries?
A: You can. Just thaw and drain them first. This stops the sauce from getting watery.
Q: Can I make a smaller batch?
A: Absolutely. Just cut all the ingredients in half. Use a smaller pan too.
Q: Any other fun toppings?
A: Try a drizzle of melted chocolate. A little chocolate makes everything more fun!
Which tip will you try first?
From My Kitchen to Yours
I hope you love making these no-bake bars. They are a favorite in my house. My grandkids always ask for them.
I would be so happy to see your creation. Share a picture of your beautiful swirls. It makes my day to see you in the kitchen.
Have you tried this recipe? Tag us on Pinterest!
Happy cooking!
—Tessa Hammond.
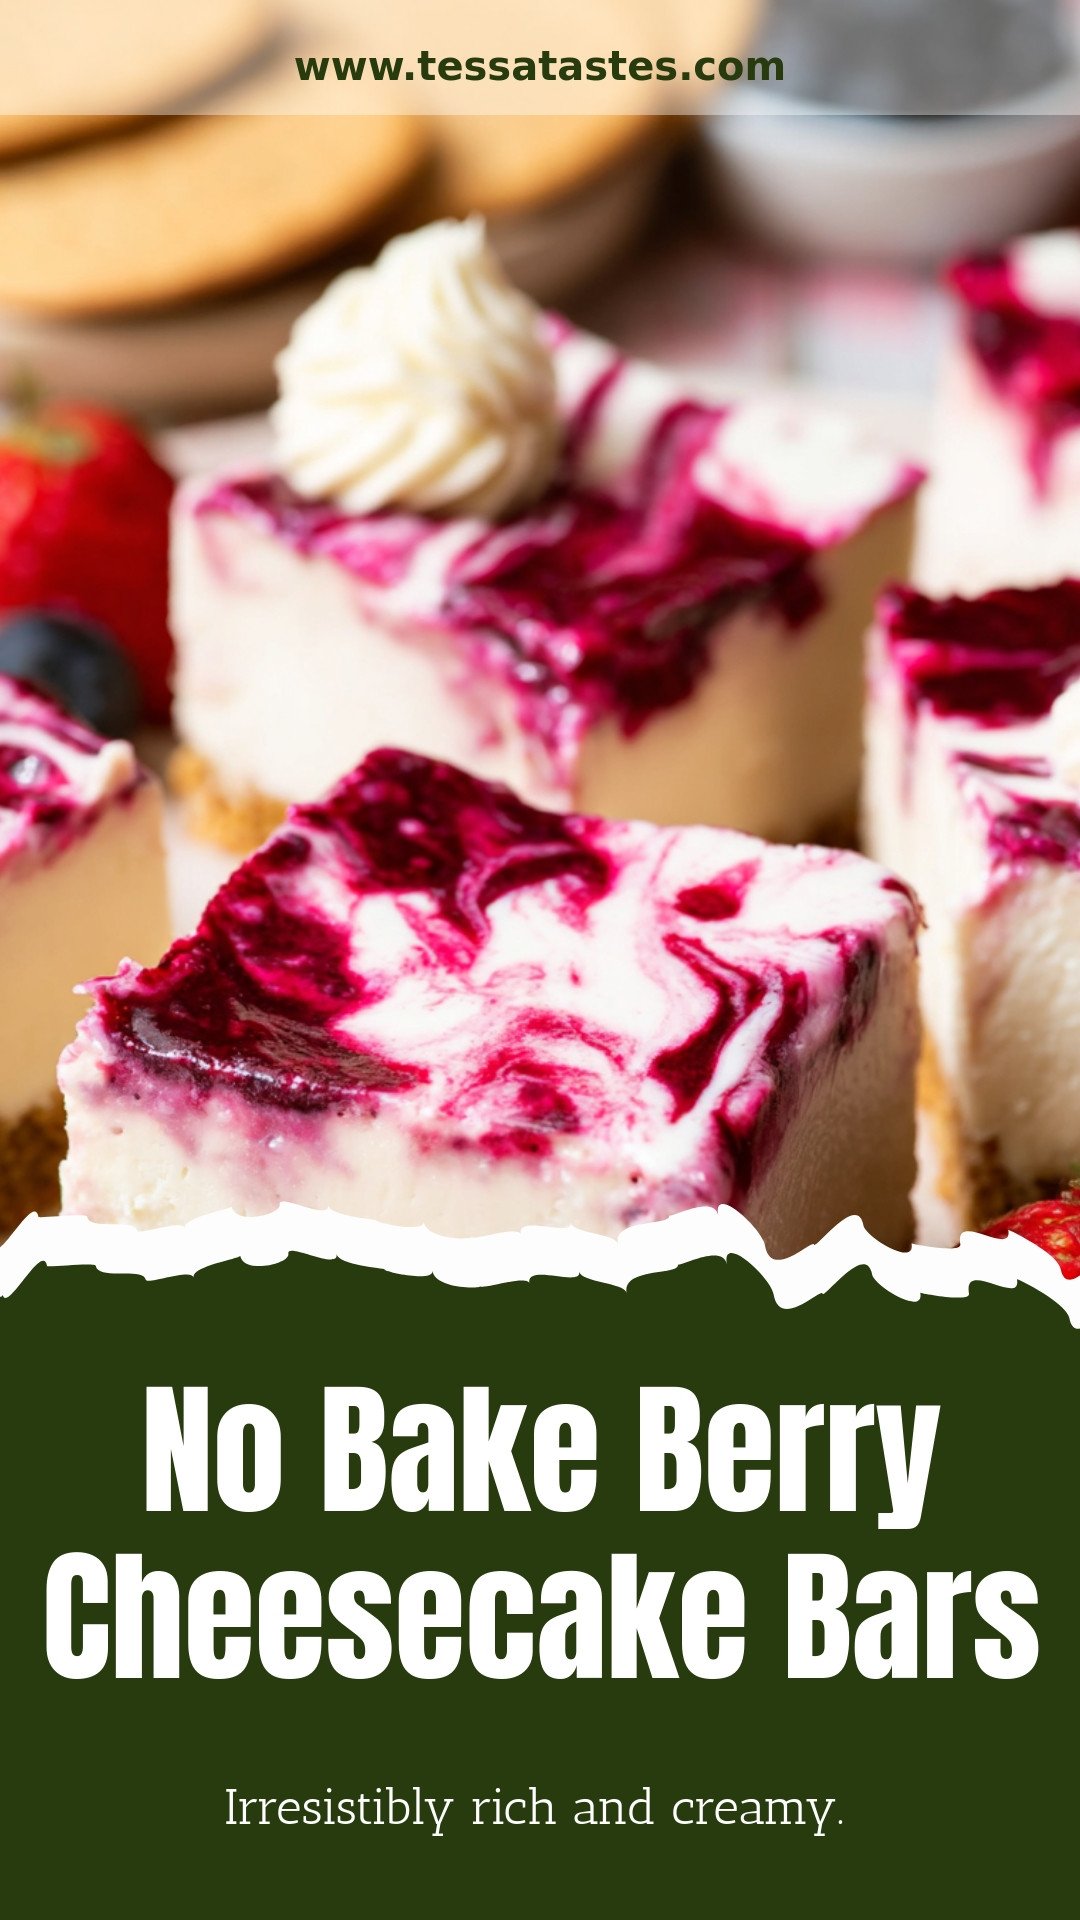
No Bake Berry Cheesecake Bars: Irresistibly rich and creamy.
Description
Creamy, no-bake berry cheesecake bars! An easy, layered dessert with a crunchy crust and vibrant berry topping. Perfect for summer and no oven needed.
Ingredients
=== For the crust ===
=== For the cheesecake filling ===
=== For the berry sauce ===
Instructions
- Add the fresh mixed berries, lemon juice, sugar, vanilla, and salt in a saucepan over medium heat. Cook and stir somewhat consistently, breaking up the berries as you do so. The mixture will cook down and thicken after ~10 minutes.
- Carefully transfer them to a blender and blend until smooth. Alternatively, you can use an immersion blender. Then pass through a sieve. Discard the seeds. Allow mixture to cool and place in the fridge while preparing the crust and filling.
- Blitz the graham crackers, sugar, and salt in a food processor until finely ground.
- Stream in the melted butter until combined. The mixture will be sandy but should come together when pressed together. Line a 9×9-inch pan with parchment paper. Press the crust into the prepared pan. Use the back of a measuring cup or fingers, and press evenly along the bottom. Place in the freezer.
- Beat the cold heavy cream with a hand mixer in a medium-sized chilled mixing bowl, until stiff peaks form, ~2-3 minutes. Start off slow so it doesn’t splatter, then you can increase the speed. Careful not to over beat. Place in the fridge while you prepare the rest of the cheesecake filling.
- In another bowl, beat the cream cheese and powdered sugar together until smooth. Then add the sour cream, vanilla, lemon juice, and salt. Mix until smooth and thoroughly combined.
- Fold the whipped cream in, gently using a rubber spatula. Fold just until you feel it’s combined nicely.
- Pour the cheesecake filling on top of the cooled crust. Spread in an even layer using an offset spatula.
- Drop a few spoonfuls of the berry sauce on top of the cheesecake filling. Use a knife and gently make some gorgeous swirls. You will have leftover berry sauce. Use that to top the cheesecake or just to serve it on the side.
- Cover with plastic wrap and refrigerate overnight or up to 12 hours. The cheesecake must be set up for at least 8 hours before slicing. Enjoy!
Notes
- Servings: 12 squares


Leave a Reply