A Cookie That Became a Crust
I love a good kitchen shortcut. Using Biscoff cookies for the crust is my favorite. You just crush them up and mix them with melted butter.
It feels like playing in a sandbox. But this sand tastes like cinnamon and sugar. Pressing the crumbs into the pan is so satisfying. It’s like building a tiny, tasty foundation for our cheesecakes.
The Magic of No-Bake Filling
The filling is where the real magic happens. You just mix everything in a bowl. No hot oven needed. Doesn’t that sound easy?
Folding in the whipped cream is the secret. You have to be gentle. This keeps the filling light and fluffy. I still laugh at the time I was too rough and my filling went flat. Be patient with it. This matters because a gentle hand makes a cloud-like cheesecake.
The Best Part is Waiting
Now, we wait. The fridge does all the work for us. Letting the cheesecakes chill for hours makes them set perfectly.
It is hard to be patient. I always peek at them once or twice. But trust me, the wait is worth it. A firm cheesecake feels so special when you take that first bite. What is the hardest part of a recipe for you, the waiting or the doing?
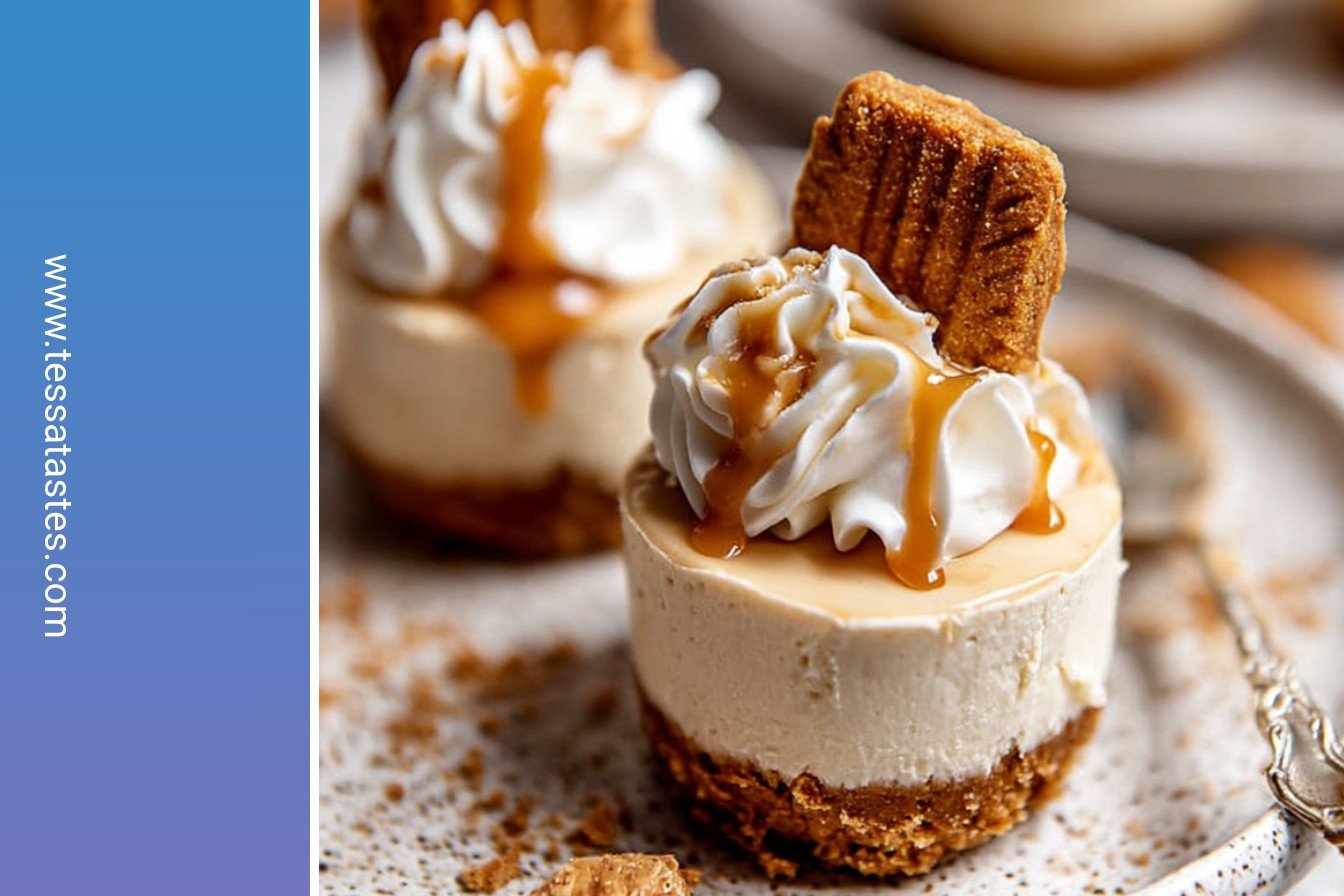
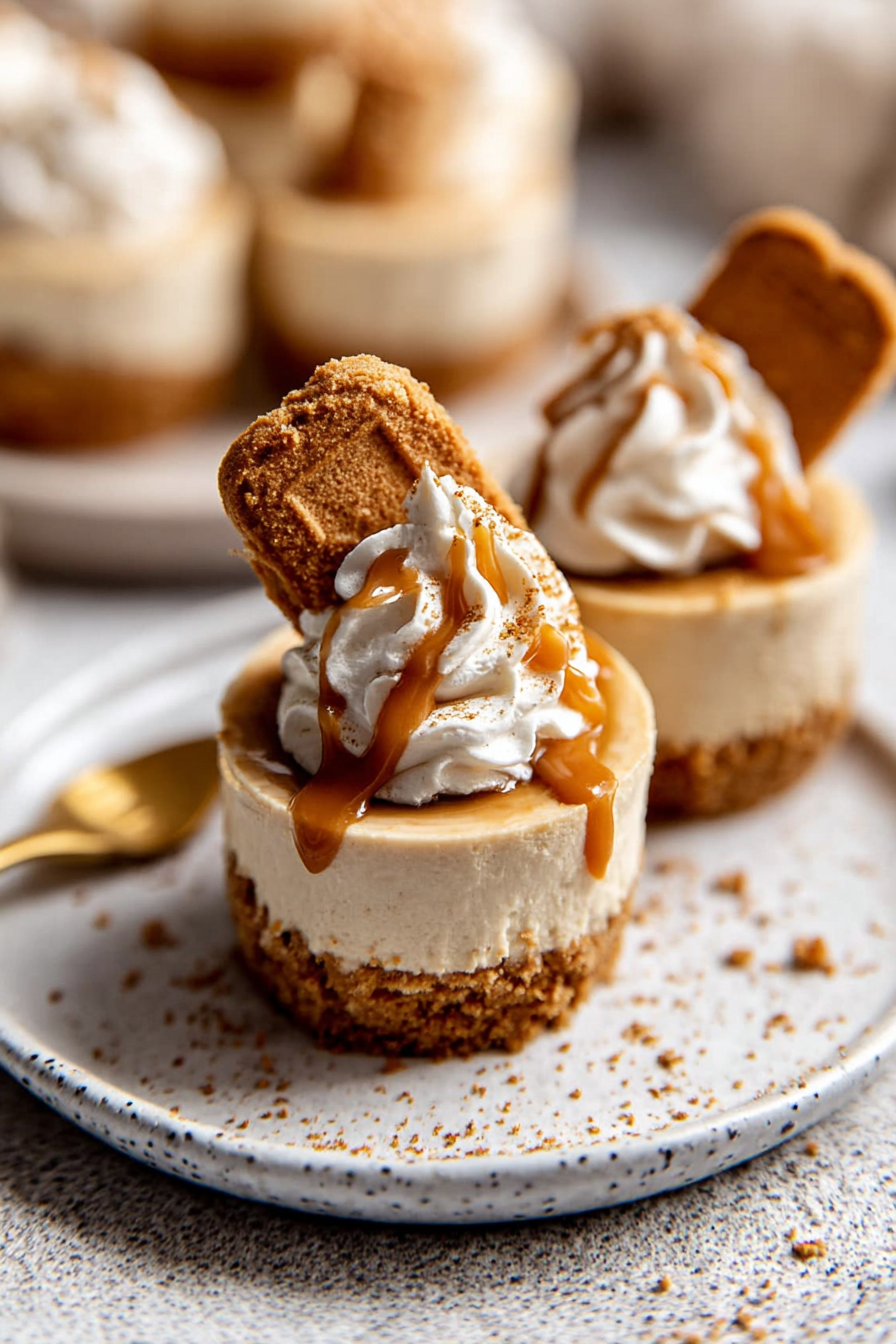
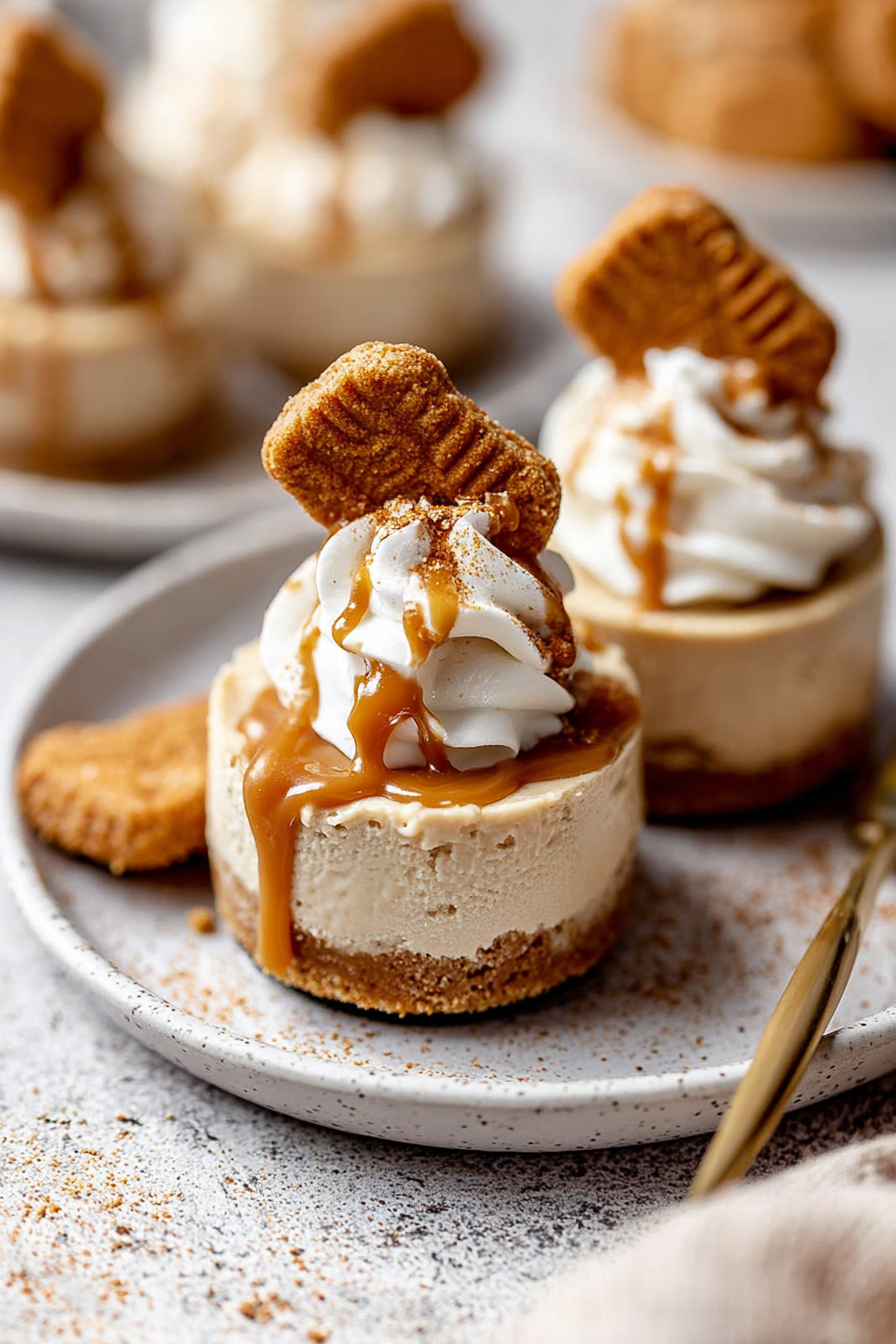
A Shiny, Happy Topping
The final touch is that melted Biscoff spread. You just warm it up and drizzle it on. It gets all shiny and beautiful.
This is where you can be an artist. Let it drip down the sides a little. Then add a whole cookie on top. Fun fact: the swirls in Biscoff cookies are there to help them bake evenly, but I think they just look pretty.
Sharing the Sweetness
These little cheesecakes are made for sharing. They are the perfect size for a happy treat. I love seeing people’s faces light up when they try one.
Food is about more than just eating. It is a way to show you care. This matters because a small, homemade gift can make someone’s whole day better. What is your favorite treat to make for friends?
Ingredients:
| Ingredient | Amount | Notes |
|---|---|---|
| Biscoff cookies | 1 (8.8 oz, 250g) package | For the crust |
| Butter, unsalted | 1/2 cup | Melted; for the crust |
| Heavy cream | 1 cup | Cold; for the filling |
| Cream cheese, full-fat | 3 (8 oz. blocks) | Softened to room temperature |
| Powdered sugar | 1 cup | |
| Creamy Biscoff cookie butter | 1 cup | For the filling |
| Sour cream | 1/3 cup | Room temperature |
| Pure vanilla extract | 2 tsp. | |
| Salt | 1 pinch | |
| Creamy Biscoff cookie butter | 1/2 cup | For the topping |
| Additional Biscoff cookies | For garnish | Use whole or crushed |
| Whipped cream | For serving |
My No-Bake Biscoff Cheesecake Bites
Hello, my dear! Come sit with me. I want to share a recipe for little cheesecakes. They don’t need an oven at all. The secret is Biscoff cookies. They taste like cinnamon and caramel. I first tried them on a plane years ago. I still laugh at that.
These mini cheesecakes are perfect for a hot day. Your kitchen stays cool. And they look so fancy! Everyone will think you worked for hours. Let’s get our bowls ready. This is going to be fun.
- Step 1: Let’s make the crust. Put all the Biscoff cookies in a food processor. Blitz them until they look like sand. Now, slowly pour in the melted butter. It will smell so good. The mixture should stick together when you pinch it. (A hard-learned tip: If it’s too dry, add one more tablespoon of melted butter.)
- Step 2: Press the crumbs into your mini pans. I use a small spoon for this. Press them down firmly. This is your cheesecake’s foundation. Now, pop the pans into the freezer. This chills the crust and makes it strong. It’s like giving it a little nap.
- Step 3: Time for the whipped cream! Use a cold bowl and beat the heavy cream. Watch for stiff peaks. It should look like fluffy clouds. Be careful not to overbeat it. I once made sweet butter by accident! Put this bowl in the fridge for now.
- Step 4: Now for the creamy part. Beat the cream cheese and powdered sugar together. Add the Biscoff cookie butter, sour cream, and vanilla. A little pinch of salt makes the flavor pop. Doesn’t that smell amazing? Mix it until it’s perfectly smooth.
- Step 5: Remember our fluffy clouds? Gently fold them into the cream cheese mix. Use a big spatula and a light hand. We want to keep all that air in. Fold until no white streaks are left. The filling will be light and dreamy.
- Step 6: Let’s put it all together. Spoon the filling into a piping bag. If you don’t have one, a plastic bag with the corner snipped works. Pipe the filling onto your chilled crusts. Smooth the tops with a spoon. They look so pretty already!
- Step 7: This is the hardest part. You must be patient. Let the cheesecakes chill in the fridge for at least 6 hours. Overnight is even better. This sets them perfectly. It’s worth the wait, I promise. What’s your favorite part of baking? The making or the eating? Share below!
- Step 8: For the final touch, melt some Biscoff spread. Drizzle it over the top of each cheesecake. Let it drip down the sides. It looks so professional. Pop them back in the fridge for 15 minutes to set the topping.
- Step 9: Time to decorate! Add a whole Biscoff cookie on top. Or some crumbled pieces. A little whipped cream looks lovely too. Then, serve them to your happy friends and family. Enjoy every single bite.
Cook Time: 6 hours (chilling)
Total Time: 6 hours 30 minutes
Yield: 24 mini cheesecakes
Category: Dessert, No-Bake
Three Fun Twists to Try
Once you master the basic recipe, you can get creative. I love playing with flavors. It feels like being a kitchen scientist. Here are a few of my favorite ideas for these little treats.
- Chocolate Drizzle: Swap the Biscoff topping for melted dark chocolate. Add a tiny sprinkle of sea salt on top. It’s a wonderful contrast to the sweetness.
- Peanut Butter Swirl: Add a few spoonfuls of peanut butter to the filling. Just swirl it in gently. It tastes like a famous candy bar, but better.
- Fruity Surprise: Top each cheesecake with fresh raspberries or sliced strawberries. The bright, tart fruit cuts through the rich creaminess perfectly.
Which one would you try first? Comment below!
Serving Your Little Masterpieces
Presentation is part of the fun. I like to arrange them on my old china platter. It makes any day feel like a celebration. A little garnish goes a long way to make things special.
For serving, a simple cup of coffee is my go-to. The bitterness pairs so well with the sweet cheesecake. For a fun treat, a cold glass of milk is perfect. It reminds me of my childhood.
If you’re having a grown-up gathering, a sweet dessert wine is lovely. Or a nice cup of chai tea. The spices in the tea dance with the Biscoff flavor. Which would you choose tonight?
Keeping Your Mini Cheesecakes Happy
These little cheesecakes love the cold. Keep them in the fridge for up to five days. Just cover them tightly with plastic wrap.
You can also freeze them for a sweet treat later. I freeze them on a tray first. Then I pop them into a freezer bag.
I once forgot a batch on the counter. They got very soft and sad. Now I always put them away right after dessert.
This matters because a cool cheesecake holds its shape. It stays creamy and perfect for your guests. Batch cooking lets you enjoy them all week.
You can easily double the recipe for a party. It saves you so much time later. Have you ever tried storing it this way? Share below!
Easy Fixes for Common Cheesecake Troubles
Is your crust too crumbly? You may not have used enough butter. The mixture should stick together when you pinch it.
Is the filling not getting fluffy? Your cream cheese might be too cold. I remember my first time, I was in a hurry.
It turned out lumpy because the cheese was firm. Let it sit on the counter for an hour first. This matters for a silky smooth texture.
Is the whipped cream turning to butter? You are probably mixing it too long. Stop as soon as stiff peaks form.
Getting this right builds your kitchen confidence. A light filling makes the dessert feel special. Which of these problems have you run into before?
Your Cheesecake Questions Answered
Q: Can I make this gluten-free? A: Yes! Use your favorite gluten-free cookies for the crust.
Q: How far ahead can I make them? A: They are perfect made the night before. The flavor gets even better.
Q: What can I use instead of sour cream? A: Plain Greek yogurt works just as well. It adds a nice little tang.
Q: Can I make one big cheesecake? A: Absolutely. Press the crust into a pie dish. You will need to chill it longer.
Q: Is the whipped cream necessary? A: It makes the filling light and airy. But you can skip it for a denser treat. *Fun fact: The air whipped into the cream is what makes it float!* Which tip will you try first?
A Little Note From My Kitchen to Yours
I hope you love making these mini delights. They always bring a smile to my family’s faces. Cooking is about sharing joy and sweet moments.
I would be so thrilled to see your creations. Your kitchen adventures make my day. Have you tried this recipe? Tag us on Pinterest!
Happy cooking!
—Tessa Hammond.
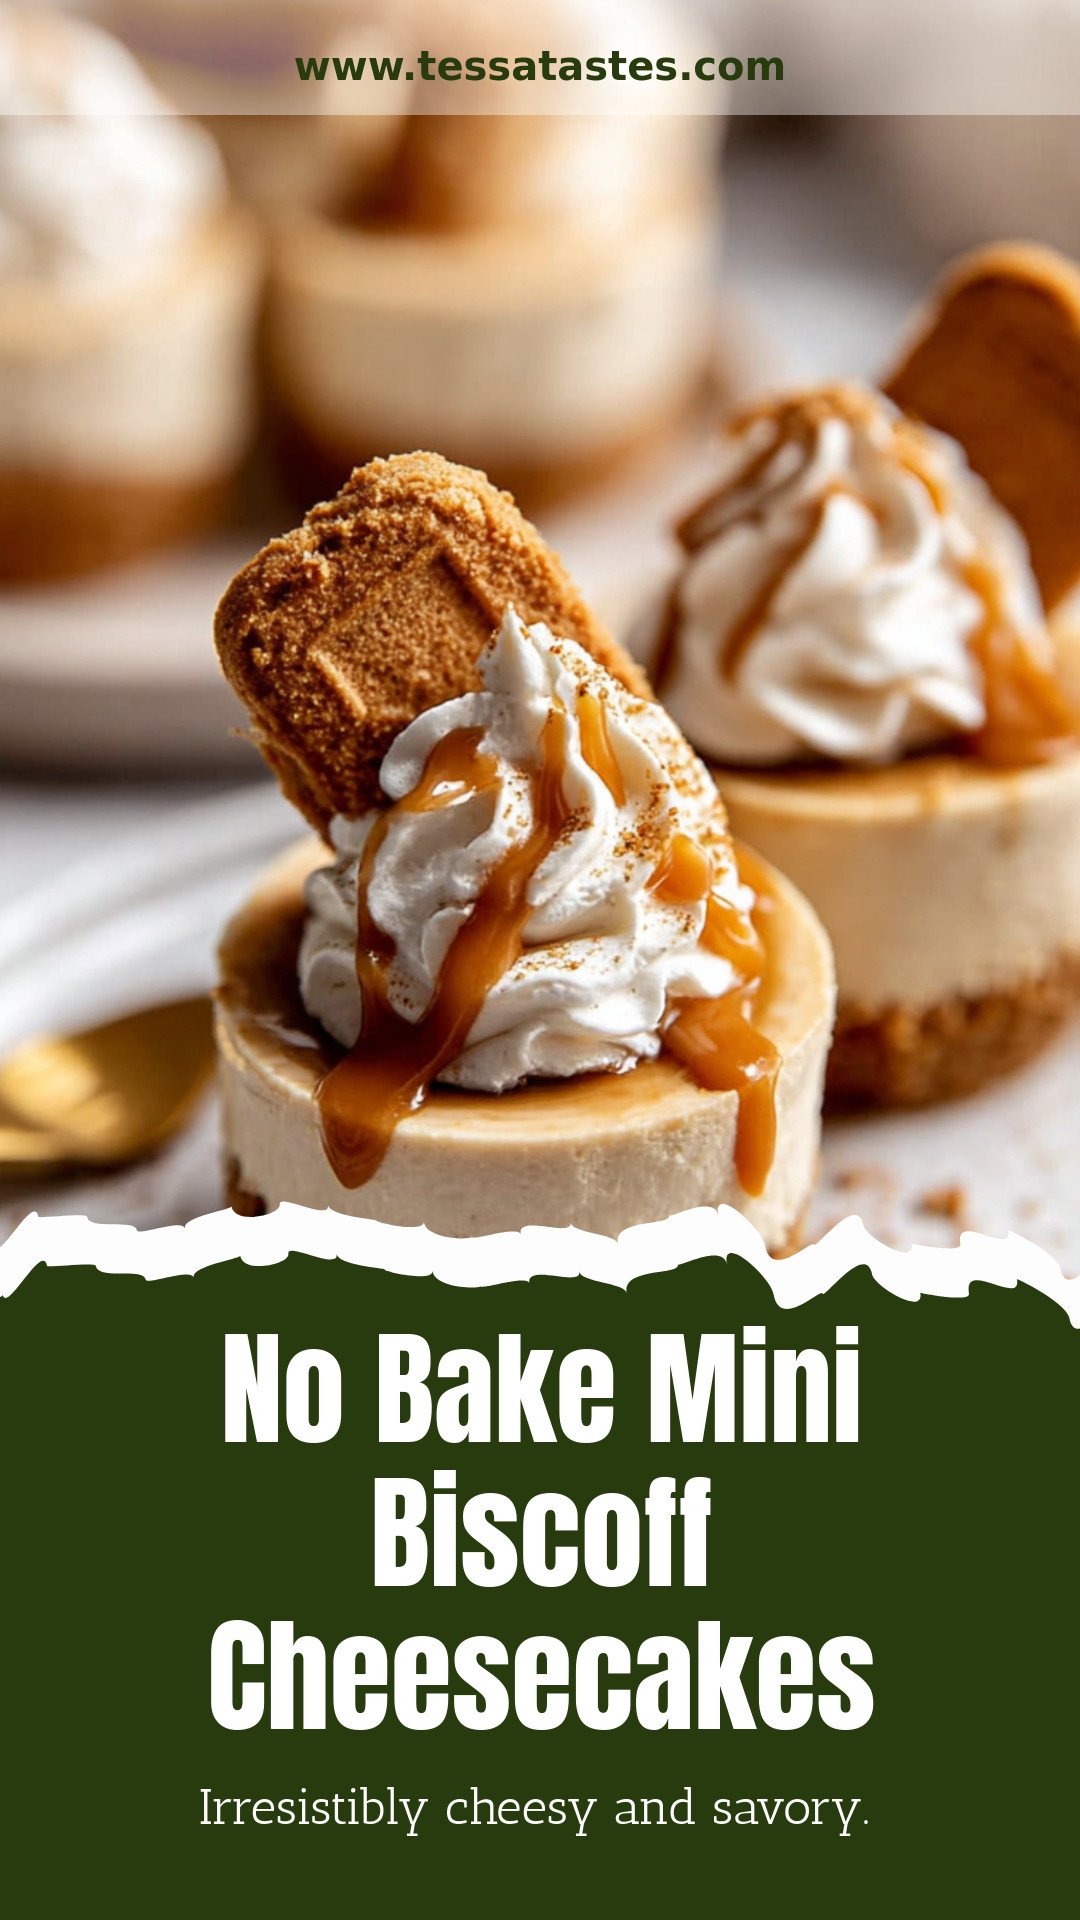
No Bake Mini Biscoff Cheesecakes: Irresistibly cheesy and savory.
Description
The easiest, creamiest no-bake mini cheesecakes with Biscoff! A dreamy dessert that sets in the fridge. Perfect for parties and so simple to make.
Ingredients
=== Crust ===
=== Filling ===
=== Topping ===
Instructions
- Blitz the biscoff cookies in a food processor until finely ground. Stream in the melted butter until combined. Mixture will be sandy but should be able to come together when pressed together.
- Spray 2 mini cheesecake pans with non stick spray (or 2, 12 count muffin pans with cupcake liners), then press crumbs into pans. ~1 tbsp. in each. Freeze or refrigerate while you make the filling.
- Beat the cold heavy cream with a hand mixer in a medium sized chilled mixing bowl, or in a stand mixer fitted with the whisk attachment, until stiff peaks form, ~2 minutes. Careful not to over beat. Place in the fridge while you prepare the rest of the cheesecake filling.
- In another medium-large mixing bowl, beat the cream cheese, powdered sugar, biscoff cookie butter, sour cream, vanilla and salt until smooth and fully combined.
- Fold the whipped cream in, gently using a rubber spatula until no white streaks remain.
- Spoon the filling into a piping bag fitted with a round 1A tip and pipe the filling onto the chilled crust. Smooth the tops out in an even layer.
- Refrigerate for 6 hours or overnight. (You can loosely cover)
- Melt the biscoff spread in the microwave, about 20-30 seconds until melty. Spread on tops of cheesecakes (it can drip down the sides) and then place back in the fridge until set. About 15-20 minutes.
- Garnish with any other desired toppings (can stick a piece of biscoff cookie on top at a cute angle, crumbled biscoff cookie, whipped cream, etc.) Serve and ENJOY!
Notes
- For best results, ensure your cream cheese is fully softened and your heavy cream is very cold before whipping.


Leave a Reply