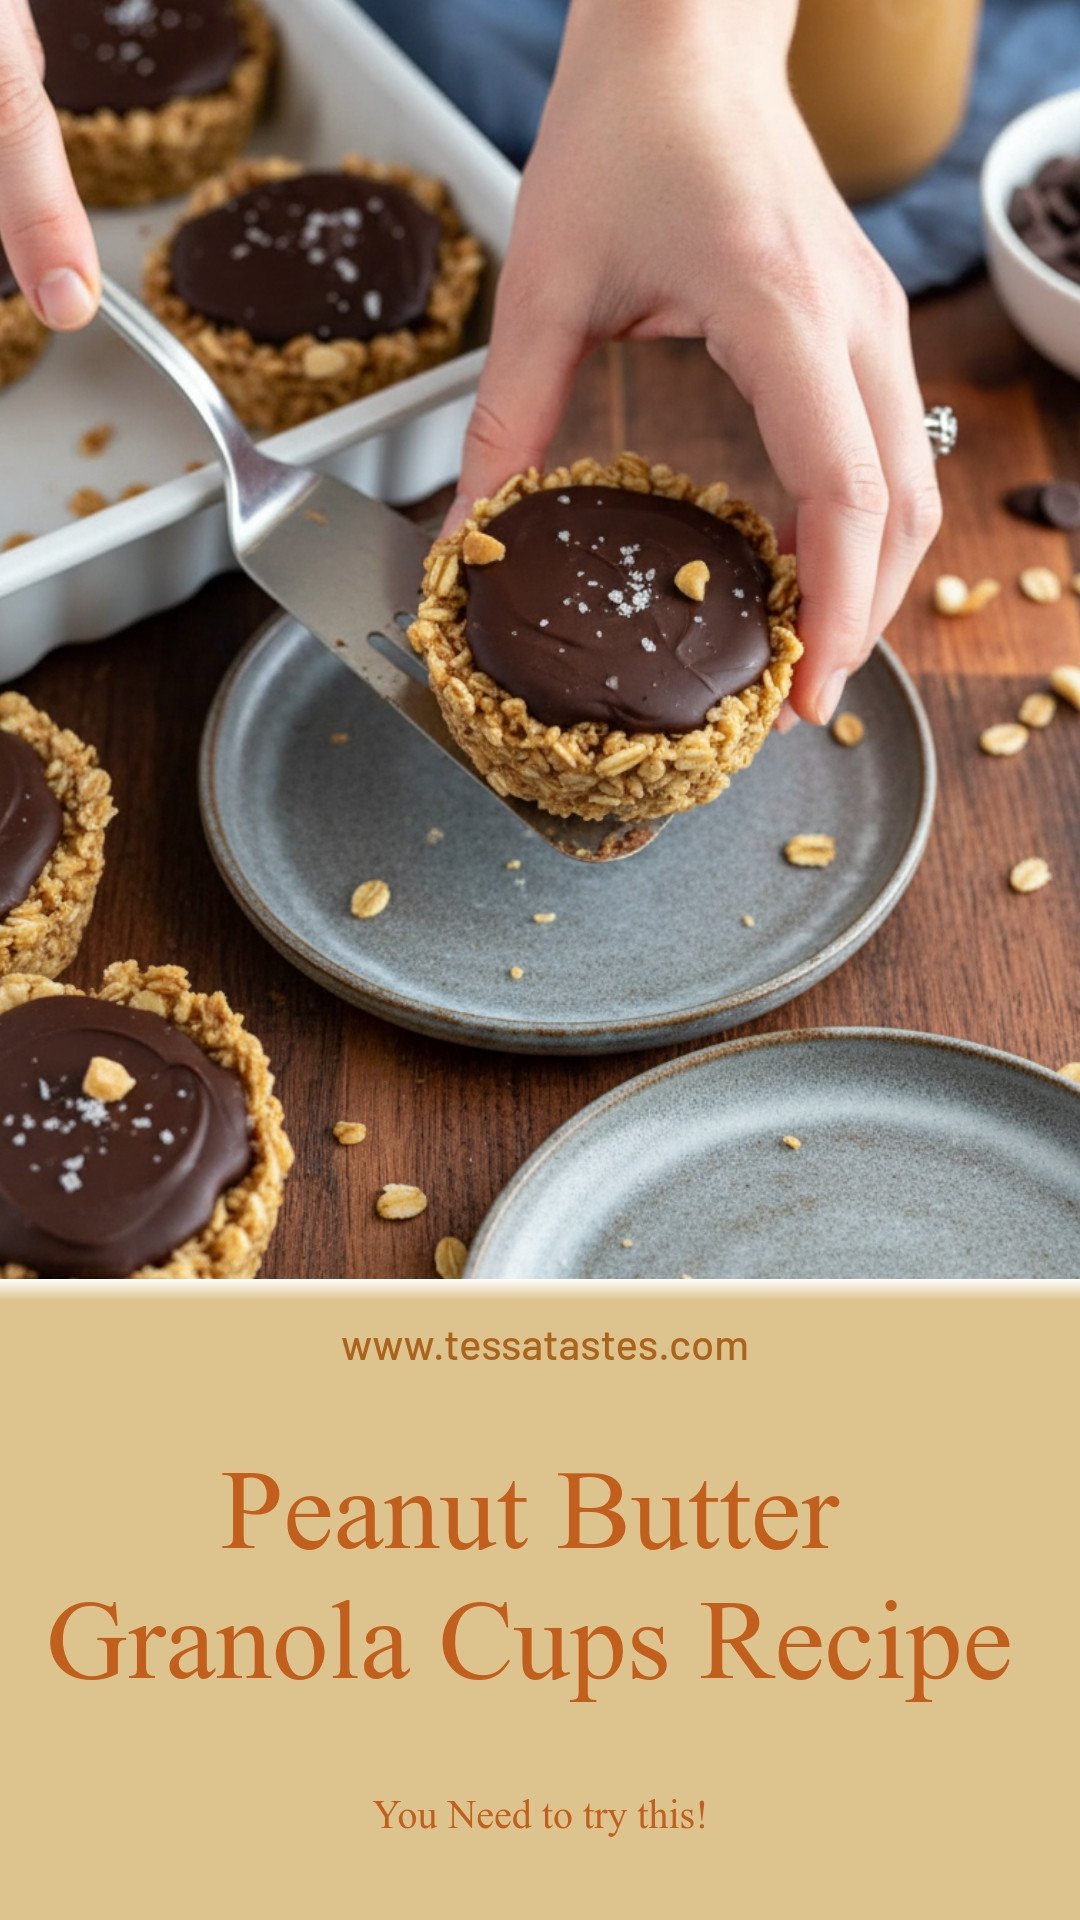
My First Granola Cup
I first made these for my grandkids. They love peanut butter cups from the store. I wanted to make a homemade version. One they could help with.
We used granola we already had. The kitchen was a happy mess. Little fingers pressed the mixture into the tin. I still laugh at that. Making food with people you love matters. It turns a snack into a memory.
Why This Recipe Works
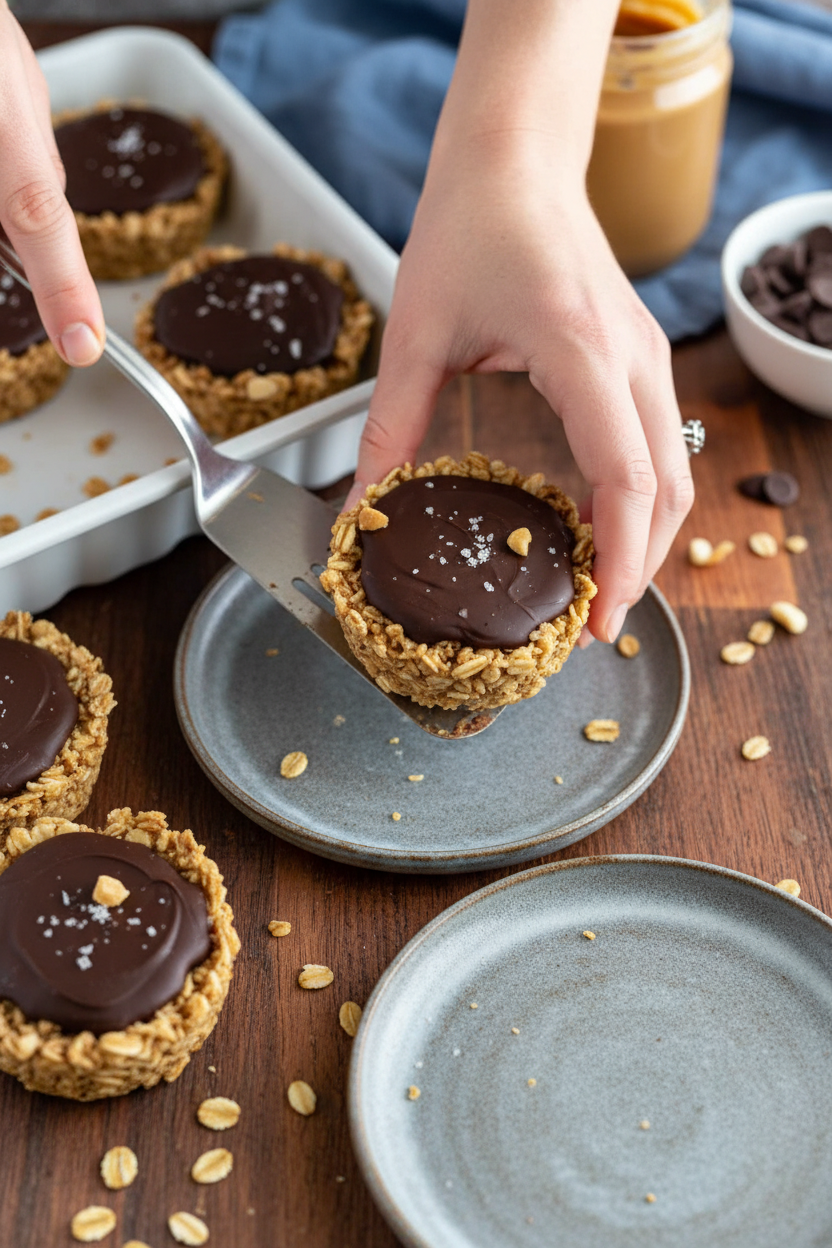
The granola cup is like a little edible bowl. It holds all the good stuff inside. The honey acts like glue. It holds everything together when you press it.
Freezing it for five minutes is the secret. It makes the cup firm. This way, the fillings don’t make it soggy. *Fun fact: The first granola was called “granula” in the 1860s. It was a health food!*
Let’s Talk Fillings
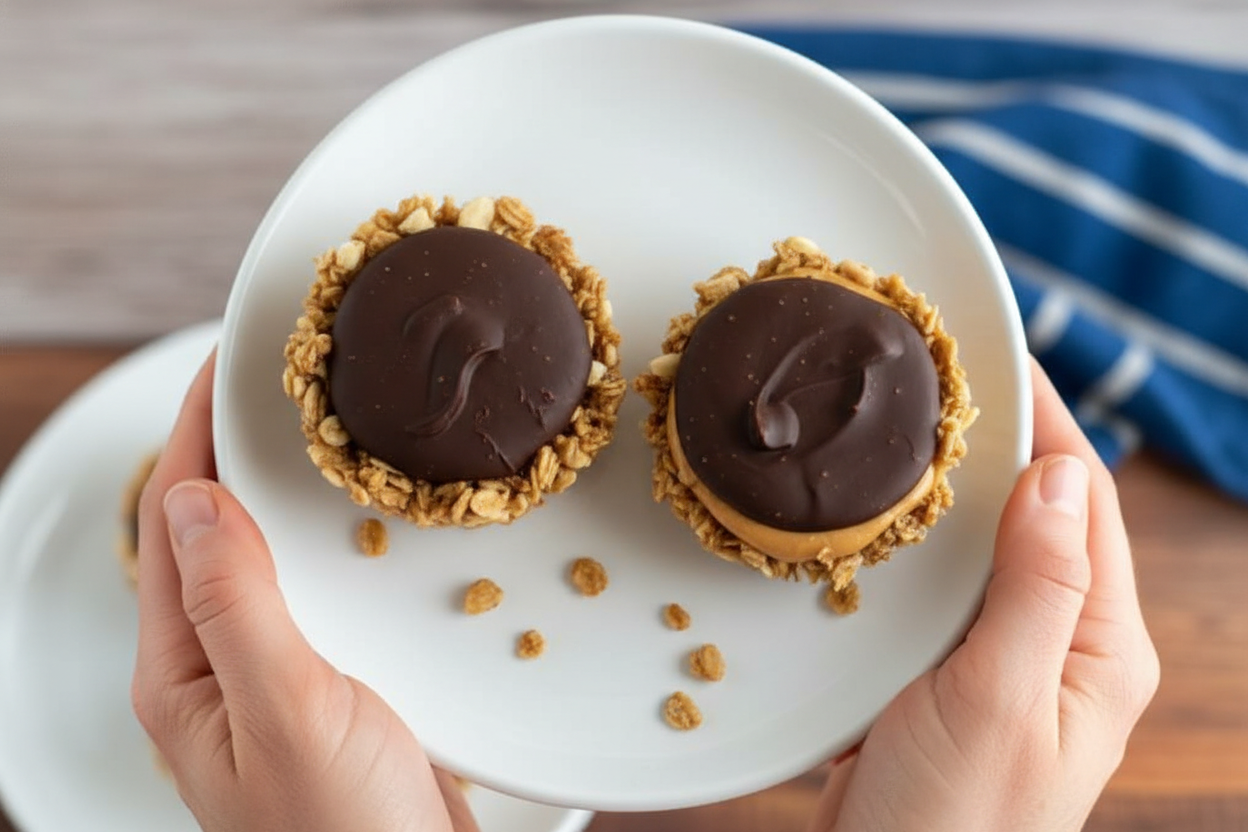
The melted peanut butter layer is so creamy. Then the chocolate goes on top. The coconut oil makes the chocolate shiny. It also helps it set nicely.
You get a perfect bite every time. Crunchy cup, smooth peanut butter, then snap of chocolate. Doesn’t that sound amazing? What’s your favorite chocolate chip brand to bake with? I’d love to know.
A Little Kitchen Magic
This recipe is very forgiving. Use any granola you like. Have almonds instead of peanuts? That’s fine. The recipe is just a friendly guide.
This matters because cooking should not be scary. It should be fun. If your cups break a little, just press them back. No one will know. Have you ever changed a recipe and loved the result? Tell me about it!
Time to Make Them Yours
Now, you get to create. The best part is sharing them. Wrap a few in a napkin for a friend. See their smile.
Food made by hand has love in it. That’s the second reason this matters. It connects us. Will you make these for a special someone this week? I hope you do.
Ingredients:
| Ingredient | Amount | Notes |
|---|---|---|
| Granola | 2 ½ cups | For the cups; use your favorite |
| Chopped unsalted peanuts | ¾ cup | For the cups |
| Peanut butter | 3 tbsp | For the cups |
| Honey | ¼ cup | For the cups |
| Peanut butter, melted | 1 cup | For the filling |
| Dark chocolate chips | 1 cup | For the filling |
| Coconut oil | 1 tbsp | For the filling |
| Salt | Pinch | For the filling |
My Peanut Butter Granola Cups: A Sweet Little Secret
Hello, my dear. Come sit at the counter. Let’s make something special. These little cups are my secret weapon. They look fancy, but they’re so simple. I think of them as tiny treasure chests. Each one holds a sweet, nutty surprise. My grandson calls them “energy coins.” Doesn’t that sound fun? We make them together on rainy afternoons. The kitchen smells like a candy shop. I still laugh at that.
You just need a few simple things. Grab your favorite granola. The chunkier, the better for these cups. Now, let’s get our hands sticky. It’s the best part. Follow these steps with me.
Step 1: Mix your granola and chopped peanuts in a big bowl. Add the honey and peanut butter. Get in there with a spoon. Mix until everything is friends and nice and sticky. It should hold together when you pinch it. (A hard-learned tip: If your mix is too dry, add just a tiny bit more honey. Too sticky? A sprinkle more granola helps.)
Step 2: Press this mix into a greased muffin tin. Use a spoon to make a little nest in each one. Press it up the sides. This makes the cup shape. Pop the whole tin into the freezer for five minutes. This hardens the shell so it won’t crumble. Perfect time to wash that sticky spoon!
Step 3: Now, melt a cup of peanut butter. I do it in the microwave. Pour it into your waiting granola cups. Fill them almost to the top. Leave just a little room for the chocolate hat. Back into the freezer it goes for another five minutes. What’s your favorite thing to melt peanut butter for? Share below!
Step 4: Time for chocolate! Melt your chocolate chips with the coconut oil. Stir it until it’s smooth and shiny. Take your cups from the freezer. Carefully pour the chocolate over the peanut butter layer. A little sprinkle of salt on top is magic. Refrigerate until they’re firm. Then, just pop them out. You did it!
Cook Time: About 30 minutes (plus chilling)
Total Time: About 1 hour
Yield: 12 delicious cups
Category: Snack, Dessert
Three Tasty Twists to Try
Once you know the basic tune, you can hum a new song. Try one of these fun twists next time. They make the cups feel brand new.
The Berry Blast: Add a layer of mashed raspberries or strawberry jam before the peanut butter. It’s a sweet, tart surprise in the middle.
The Salty Pretzel: Swap half the chopped peanuts for crushed pretzel pieces. The salty crunch with the sweet chocolate is just wonderful.
The Tropical Trip: Use coconut granola. Mix shredded coconut into the shell. Top the finished cup with a piece of dried mango. Doesn’t that sound amazing?
Which one would you try first? Comment below!
Serving Them Up With Style
These little cups are perfect all on their own. But sometimes, you want to make a moment. For a pretty plate, place one on a small dish. Add a few fresh berries on the side. A tiny mint leaf makes it look like it came from a bakery.
What to drink? A cold glass of milk is the classic choice. It’s my favorite. For the grown-ups, a small cup of strong coffee is lovely. The bitter coffee and the sweet cup are best friends. Which would you choose tonight?
Keeping Your Granola Cups Happy
These little cups are best kept cool. Store them in the fridge for a week. You can also freeze them for a month. Just layer them between parchment paper in a container.
No need to reheat them. They are a perfect cold treat. I once left a batch on the counter. They got a bit too soft for my liking.
Making a double batch is a great idea. It saves you time later. You will always have a sweet snack ready. This matters because life gets busy. A homemade treat can make any day better.
Have you ever tried storing it this way? Share below!
Fixing Little Kitchen Hiccups
First, your granola mix might not stick. If it’s too dry, add a bit more honey. I remember when my first batch crumbled. A little extra honey fixed it right up.
Second, the chocolate might crack when you bite. To avoid this, add the coconut oil. It makes the chocolate set softer. This matters for a nicer treat experience.
Third, the peanut butter layer may not harden. Just give it a full five minutes in the freezer. Patience here makes clean layers. This builds your cooking confidence. You learn how ingredients work together.
Which of these problems have you run into before?
Your Questions, My Answers
Q: Can I make these gluten-free?
A: Yes! Just use your favorite gluten-free granola. Check all your labels to be sure.
Q: Can I make them ahead?
A: Absolutely. They are perfect for making ahead. Store them as I mentioned above.
Q: What can I swap?
A: Use almond butter instead of peanut butter. Try maple syrup instead of honey. *Fun fact: Honey helps bind the cups better than syrup.*
Q: Can I make a half batch?
A: Of course. Just cut all the ingredients in half. Use a six-cup muffin tin.
Q: Any optional tips?
A: Sprinkle a little sea salt on the chocolate. It makes the flavors pop beautifully.
Which tip will you try first?
From My Kitchen to Yours
I hope you love making these granola cups. They always remind me of my grandkids. They come running when they smell peanut butter and chocolate.
I would love to see your creations. Share a photo of your finished treats. It makes my day to see you in the kitchen.
Have you tried this recipe? Tag us on Pinterest! You can find me at @TessasKitchen. Happy cooking!
—Tessa Hammond.
Peanut Butter Granola Cups: Peanut Butter Granola Cups Recipe
Description
These irresistible Peanut Butter Granola Cups feature a crunchy granola and peanut shell filled with a layer of creamy peanut butter and topped with rich dark chocolate.
Ingredients
For the cups:
For the filling:
Instructions
- In a large bowl, mix the granola, chopped peanuts, honey, 3 tbsp peanut butter, and a pinch of salt until well combined and sticky.
- Lightly grease a 12-cup muffin tin with cooking spray and divide the granola mixture evenly between the cups. Using the back of a spoon press onto the bottom and sides to form a cup. Place in the freezer for 5 minutes to harden.
- Melt one cup of peanut butter in the microwave and divide between the 12 cups. Filling them almost to the top. Leave room for the chocolate. Freeze for 5 minutes.
- Combine the chocolate chips and oil in a glass measuring cup or microwave-safe container and heat in 30 second intervals until melted, stirring after each interval.
- Divide the melted chocolate evenly on top of the cups and refrigerate until hard, about 15-20 mins.
Notes
- Store in an airtight container in the refrigerator for up to one week. For easier removal, line the muffin tin with paper liners.


Leave a Reply