The Magic of Yeast
Let’s talk about yeast. It’s a tiny, sleepy creature. We wake it up with warm milk and water. Then we watch it get bubbly and excited. I love this part. It feels like a little science project in my kitchen.
That fizz means it’s alive and ready to work. It will puff up our dough like a pillow. This matters because it makes the rolls soft and light inside. Without those bubbles, we’d have a heavy brick. What’s your favorite thing to watch rise? Is it bread, or maybe a cake?
Shaping with Love
After the big rise, we gently punch the dough down. Don’t be mean to it. Just a soft poke. Then we tear it into twelve pieces. I always count to be fair. My grandson tries to make one piece bigger. I still laugh at that.
Roll each piece into a smooth ball. Your hands know how. Place them on a pan and let them rest. They will grow again, side by side. This second rest matters. It gives the rolls their final, fluffy shape. They are getting ready for their bath.
The Secret Pretzel Bath
This step seems strange. We boil the dough balls. We use water, sugar, and baking soda. It makes the kitchen smell like… well, pretzels. Doesn’t that smell amazing?
You boil them for just a minute each side. This bath is the magic trick. It gives the rolls their chewy crust and dark color. Fun fact: This is how pretzels got their shiny, brown skin hundreds of years ago. Do you think you’d like to try this part? It’s my favorite.
Finishing Touches
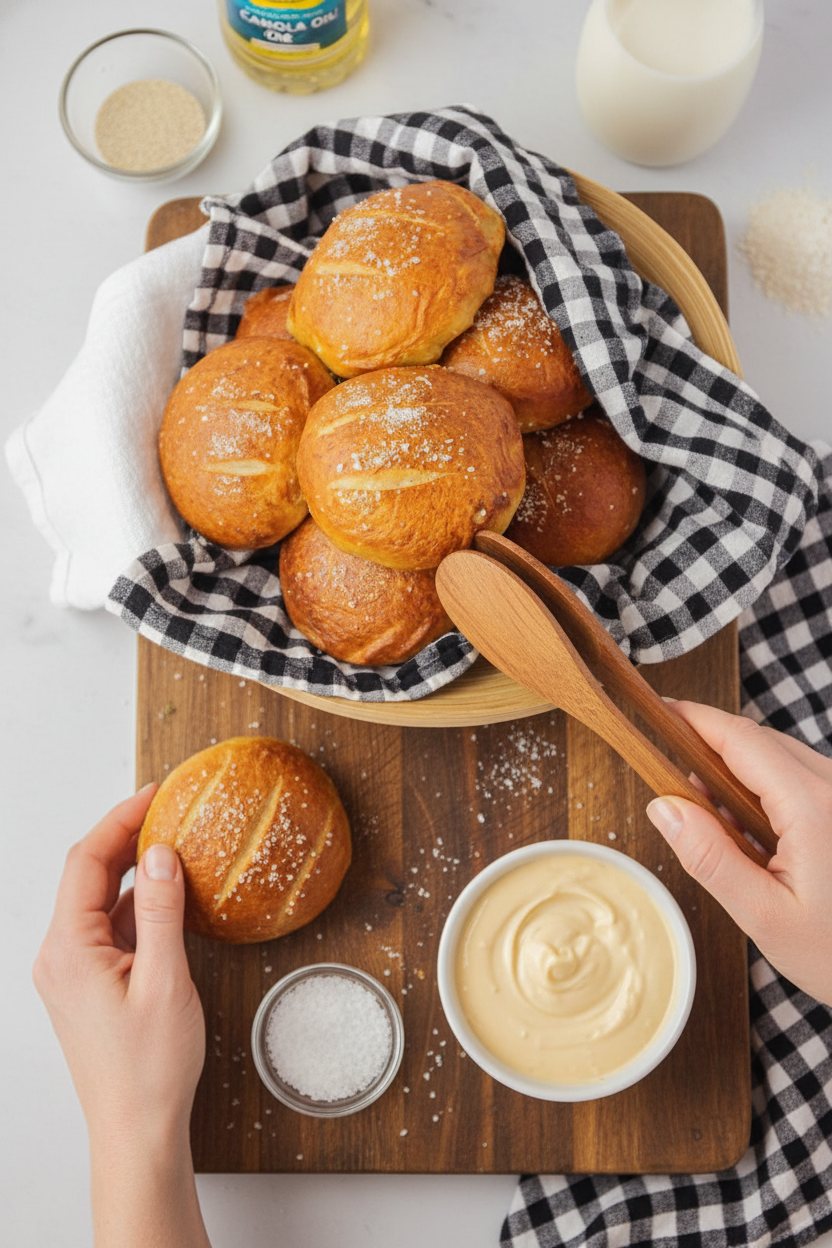
Take them out of the water carefully. Place them back on the pan. Now, sprinkle them with coarse salt. That big, crunchy salt is the best part. Then, take a sharp knife. Make two quick slashes on top of each roll.
This lets steam escape while they bake. It stops them from bursting in the oven. It also makes them look like real bakery rolls. Have you ever seen a baker slash dough before? It’s a satisfying little snip.
Warm from the Oven
Bake them until they are a deep, golden brown. That color tells you they are done. The smell will fill your whole house. Let them cool just a little. But not too much. They are best when still warm.
Tear one open. See the soft, white inside? Taste the chewy crust. It’s a simple joy. Making food with your own hands matters. It connects you to everyone who has baked before. What will you eat with your first roll? I love mine with a pat of butter.
Ingredients:
| Ingredient | Amount | Notes |
|---|---|---|
| yeast | 1/2 tablespoon | |
| canola oil | 1 tablespoon | |
| warm milk | 1 cup | |
| warm water | 3/4 cup | For the dough |
| salt | 1 teaspoon | |
| all-purpose flour | 3 1/4 – 4 cups | |
| water | 3 quarts | For boiling |
| sugar | 1 tablespoon | For boiling water |
| baking soda | 1/4 cup | For boiling water |
| coarse salt | for sprinkling |
My Soft & Salty Pretzel Rolls
Hello, my dear. Come sit. Let’s make my famous pretzel rolls. They have a chewy crust and a soft, fluffy inside. I learned this recipe from my Oma long ago. The kitchen always smelled so warm and wonderful. I still laugh at that. My first batch was as hard as rocks! But we will get it right together. Doesn’t that smell amazing? The yeast waking up is like a little kitchen miracle. It means good things are coming.
Step 1: Wake Up the Yeast
First, we wake up the yeast. Put the yeast, oil, milk, and warm water in a big bowl. Give it a gentle stir. Let it sit for about five minutes. You will see little bubbles form on top. That means our yeast is happy and alive. Now, stir in the salt and two cups of flour. It will look very shaggy and sticky. That is perfectly fine.
Step 2: Mix & Knead the Dough
Now we add more flour. Add it a quarter cup at a time. Keep mixing until the dough feels soft. Here is the test. Lightly tap the dough with a clean finger. If nothing sticks, you have enough flour. Then, knead it for a few minutes. It should feel smooth like a baby’s cheek. (My hard-learned tip: too much flour makes dry rolls. Stop adding when it just stops sticking!).
Step 3: Let the Dough Rise
Let the dough take a nap. Cover the bowl with a clean kitchen towel. Find a warm spot for it. Let it rest for one whole hour. It will grow to double its size! This is called “proofing.” Why do we let dough rise? Share below! I use this time to wash my mixing bowl. Sometimes I just sit and enjoy the quiet.
Step 4: Shape the Rolls
Time to shape our rolls. Gently punch the dough down. It will sigh and deflate. Divide it into twelve equal pieces. Roll each piece into a nice, round ball. Place them on a greased baking sheet. Cover them again with the towel. Let them rise for another hour. They will get nice and puffy, like little pillows.
Step 5: The Pretzel Bath
Now for the fun, magic part. Preheat your oven. Bring a big pot of water to a boil. Add the sugar and baking soda. It will foam up! Carefully drop in 2 or 3 dough balls. Boil them for a minute on each side. This gives them that special pretzel crust. Use a slotted spoon to lift them out. Place them back on the sheet.
Step 6: Bake & Enjoy
Sprinkle each roll with coarse salt. Then, take a sharp knife. Make two quick slashes on top of each one. This lets them bake evenly. Pop them in the hot oven. Bake for about twenty minutes. They will turn a deep, glorious golden brown. Let them cool just a bit on a rack. Then, tear one open. The steam and smell are pure happiness.
Cook Time: 20–22 minutes
Total Time: About 2 hours 30 minutes
Yield: 12 delicious rolls
Category: Baking, Bread
Three Tasty Twists to Try
Once you master the basic roll, you can play! Here are my favorite simple twists. They make any meal feel special. My grandson loves the cheese ones. He always eats two right away.
- Everything Bagel Style: Mix sesame seeds, poppy seeds, dried onion, and garlic. Sprinkle this on after boiling, before the salt.
- Cheddar Cheese Pocket: Flatten each dough ball. Place a small cube of sharp cheddar inside. Seal it up tightly before the second rise.
- Cinnamon Sugar Sweet Roll: Skip the boiling water bath and the salt. Bake as normal. Brush warm rolls with melted butter. Roll them in cinnamon sugar.
Which one would you try first? Comment below!
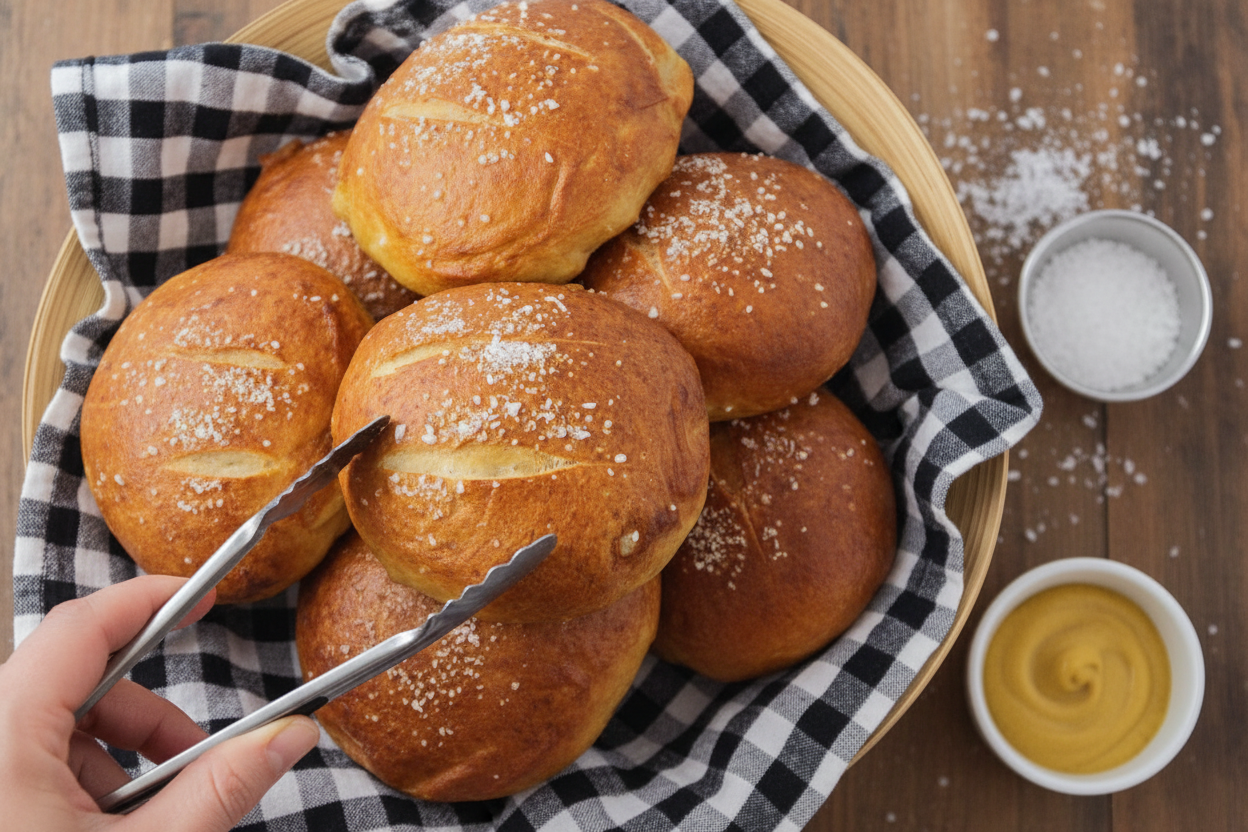
How to Serve Your Pretzel Rolls
These rolls are wonderful all on their own. But they love company, too. For dinner, split one and pile it high with pulled pork or a juicy burger. For lunch, try them with a bowl of creamy tomato soup. It is the best combination. A simple pat of good butter is also a perfect choice.
What to drink? A cold glass of apple cider is lovely. It is sweet and tangy. For the grown-ups, a chilled lager beer is a classic friend to pretzels. It just feels right. Which would you choose tonight?
Keeping Your Pretzel Rolls Perfect
Let’s keep those rolls tasting fresh. Cool them completely first. Then store them in a bread bag at room temperature. They are best eaten within two days.
For longer storage, freeze them. Wrap each roll tightly in plastic wrap. Then pop them all into a freezer bag. They will keep for a month.
To reheat, sprinkle a frozen roll with water. Bake it at 350 degrees for ten minutes. It will taste like it just came out of the oven. I once forgot to wrap one tightly. It tasted like the freezer! A good wrap keeps the flavor in.
Batch cooking saves so much time. Make a double batch and freeze half. You will thank yourself on a busy weeknight. Having homemade food ready matters. It makes a simple meal feel special. Have you ever tried storing it this way? Share below!
Simple Fixes for Common Pretzel Roll Hiccups
Is your dough not rising? Your liquid might be too hot. It should feel warm on your wrist, not hot. I remember killing the yeast with water that was too hot. Be patient and let it get bubbly.
Are your rolls pale after baking? Your boiling water may not be at a full, rolling boil. This boil gives them their classic dark color and chewy crust. This step matters for that real pretzel taste.
Is the dough sticking to your knife when you slash it? Just dip your knife in cool water first. The wet blade will glide right through. This small trick builds your baking confidence. A clean slash lets the roll expand beautifully in the oven. Which of these problems have you run into before?
Your Pretzel Roll Questions, Answered
Q: Can I make these gluten-free? A: You can try a 1-to-1 gluten-free flour blend. The texture will be a bit different but still tasty.
Q: Can I make the dough ahead? A: Yes! After the first rise, punch it down. Cover it tightly and refrigerate overnight.
Q: What can I use instead of milk? A: Warm water works just fine. Your rolls will be a little less tender, but still good.
Q: Can I make mini rolls? A: Absolutely! Just divide the dough into 18 pieces instead of 12. Bake for a few minutes less.
Q: Any optional tips? A: Brush baked rolls with melted butter. *Fun fact: The baking soda bath is called “lyeing.” It makes the unique pretzel crust!* Which tip will you try first?
From My Kitchen to Yours
I hope you love making these rolls. The smell of them baking is pure happiness. It reminds me of my own grandma’s kitchen.
I would love to see your baking results. Share a picture of your golden-brown pretzel rolls. It makes my day to see you in the kitchen. Have you tried this recipe? Tag us on Pinterest!
Happy cooking!
—Tessa Hammond.
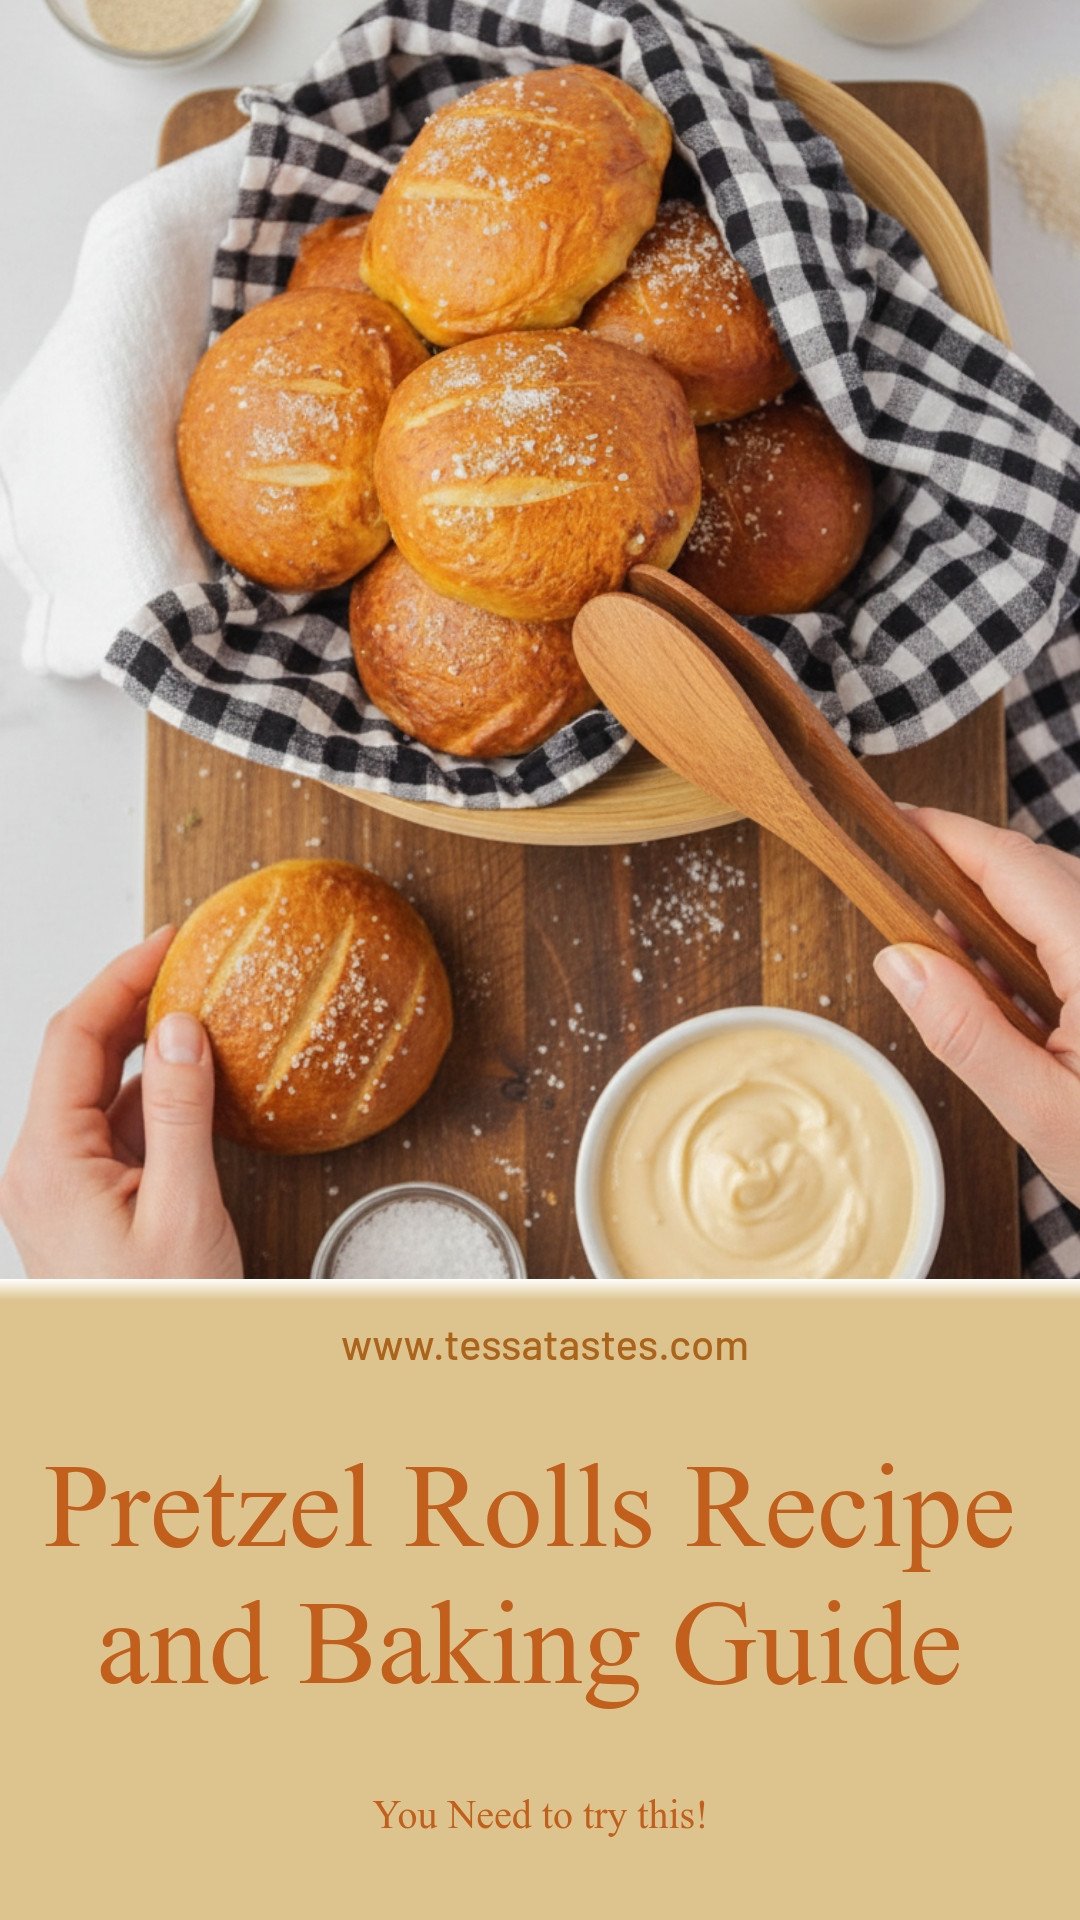
Pretzel Rolls Recipe and Baking Guide
Description
Soft, chewy, and perfectly salted homemade pretzel rolls.
Ingredients
Instructions
- In a large bowl or the bowl of a stand mixer, stir together the yeast, oil, milk, and water. Let sit until the yeast is bubbly. Stir in the salt and 2 cups of the flour. Add additional flour, 1/4 cup at a time, until a soft dough forms that does not stick to your finger when lightly tapped. Knead 3-5 minutes. Cover and let rise one hour, until doubled.
- After the dough has risen, gently punch it down and divide it into 12 equal sized pieces. Shape each piece of dough into a ball and place on a greased cookie sheet to rise. Cover and let rise one hour.
- Toward the end of the rise time, preheat the oven to 425. Bring the water, sugar, and baking soda to a boil in a large pot. Add the pieces of dough to the pot, 2-3 at a time, and boil 1-2 minutes on each side. Place the boiled pieces of dough on a greased baking sheet and sprinkle with coarse salt. Make 2 gashes on the top of each piece of dough with a sharp knife. Bake 20-22 minutes, or until deep golden brown.
Notes
- For best results, use fresh yeast and do not skip the boiling step, as it gives the rolls their classic pretzel texture and color.


Leave a Reply