My Summer Corn Memory
I remember my first big family barbecue. I was in charge of the corn. I was so nervous. I wanted it to be perfect for everyone.
I learned a secret that day. Soaking the corn in buttermilk first makes it extra tender. It also helps the crispy coating stick. This matters because texture is just as important as taste.
Why We Soak the Corn
You might wonder about the buttermilk bath. It seems like an extra step. But trust me, it is worth it.
The buttermilk makes the corn juicy inside. It gives the coating something to hold onto. This stops it from falling off in the hot oil. Doesn’t that make sense?
The Magic of the Coating
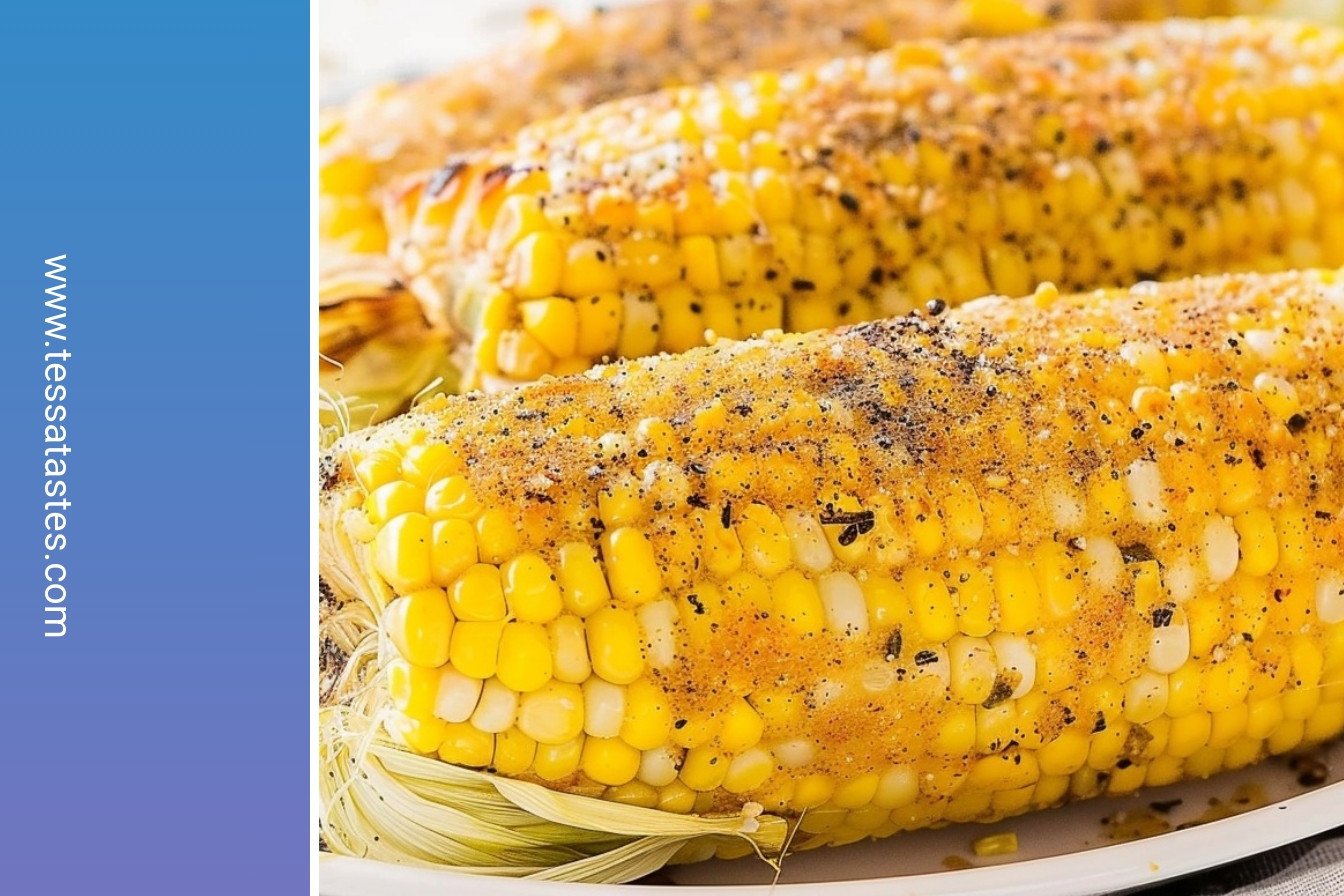
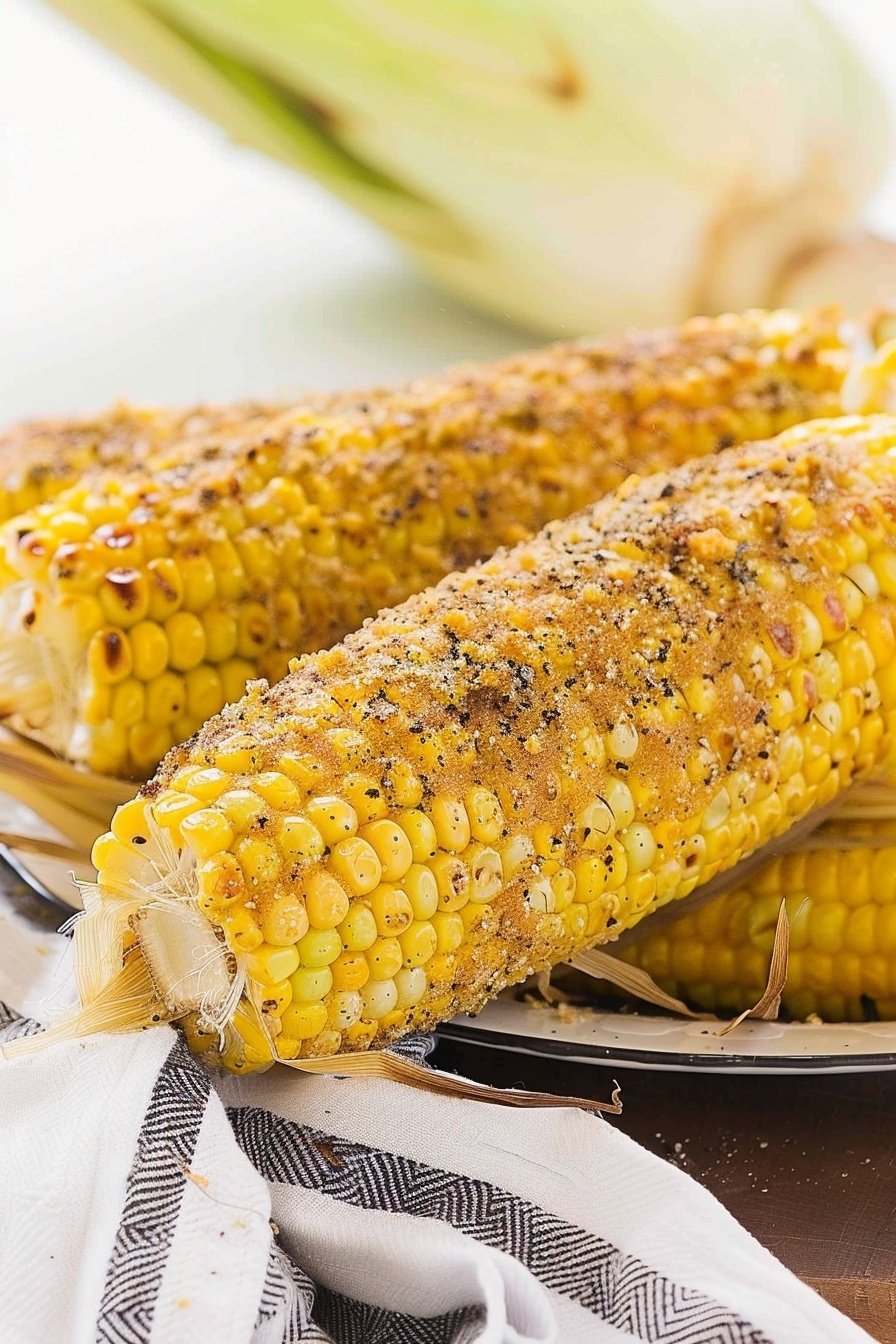
That crispy shell is pure magic. It has cornmeal for crunch and flour to bind it. The spices are the best part. They make your kitchen smell like an Italian garden.
*Fun fact*: The smoked paprika doesn’t just add color. It gives a little smoky taste, like it came right off a grill. I still laugh at how fancy that makes simple corn feel. What’s your favorite spice to smell when you’re cooking?
Cooking With Care
Now, the frying part is important. You need to watch the oil closely. It should bubble happily, not angrily. This matters because cooking is about paying attention.
Turn the corn with tongs until it’s golden all over. That color tells you it’s ready. It means flavor and crunch are waiting for you. Have you ever fried something at home before?
Your Turn to Share
Food always tastes better with stories. This corn reminds me of sunny days and loud family laughs. It’s more than just a side dish. It’s a little piece of summer on a plate.
I would love to hear about your food memories. What dish makes you think of summer? Tell me about it if you’d like.
Ingredients:
| Ingredient | Amount | Notes |
|---|---|---|
| fresh sweet corn on the cob | 4 ears | shucked and silks removed |
| buttermilk | 2 cups | |
| cornmeal | ½ cup | |
| all-purpose flour | ¼ cup | |
| italian seasoning | 2 teaspoons | |
| onion powder | 2 teaspoons | |
| salt | 1 teaspoon | |
| black pepper | ½ teaspoon | |
| smoked paprika | ½ teaspoon | |
| vegetable oil | enough for ¼ inch of oil | for frying |
My Sizzling Grilled Corn, A Summer Memory
Hello, my dear. Let’s talk about summer corn. I think it’s one of life’s simple joys. The best corn should taste like sunshine. This recipe makes it even better. It’s crispy, golden, and so very yummy. It always reminds me of big family cookouts. My grandkids gobble it up in minutes. I still laugh at their buttery faces.
We start by giving the corn a buttermilk bath. This makes it extra tender inside. It’s a little secret I learned from my mother. She said it adds a gentle tang. Doesn’t that sound lovely? You just let the corn soak for a bit. It’s a good time to set up your other ingredients. I like to hum a little tune while I wait.
Step 1: Put your four ears of corn in a big bag. Pour the buttermilk right over them. Seal the bag up tight. (A hard-learned tip: put the bag in a baking dish. Buttermilk can be a sneaky leaker!). Let it rest for 15 minutes. Then, just flip the bag over. Let it sit for 15 more minutes.
Step 2: Now, let’s make our coating. Grab a mixing bowl. Whisk the cornmeal and flour together. Add all those lovely spices. The smoked paprika is my favorite part. It makes the corn taste like it came from a fancy grill. Doesn’t that smell amazing already? Pour this mixture into a flat dish. This makes rolling the corn so much easier.
Step 3: Time for the sizzle! Pour oil into your skillet. You only need about a quarter-inch. Heat it on medium-high. Carefully take one corn ear from the buttermilk. Roll it in the cornmeal mix until it’s fully dressed. My grandson calls this “putting the corn’s jacket on.” I think that’s just perfect.
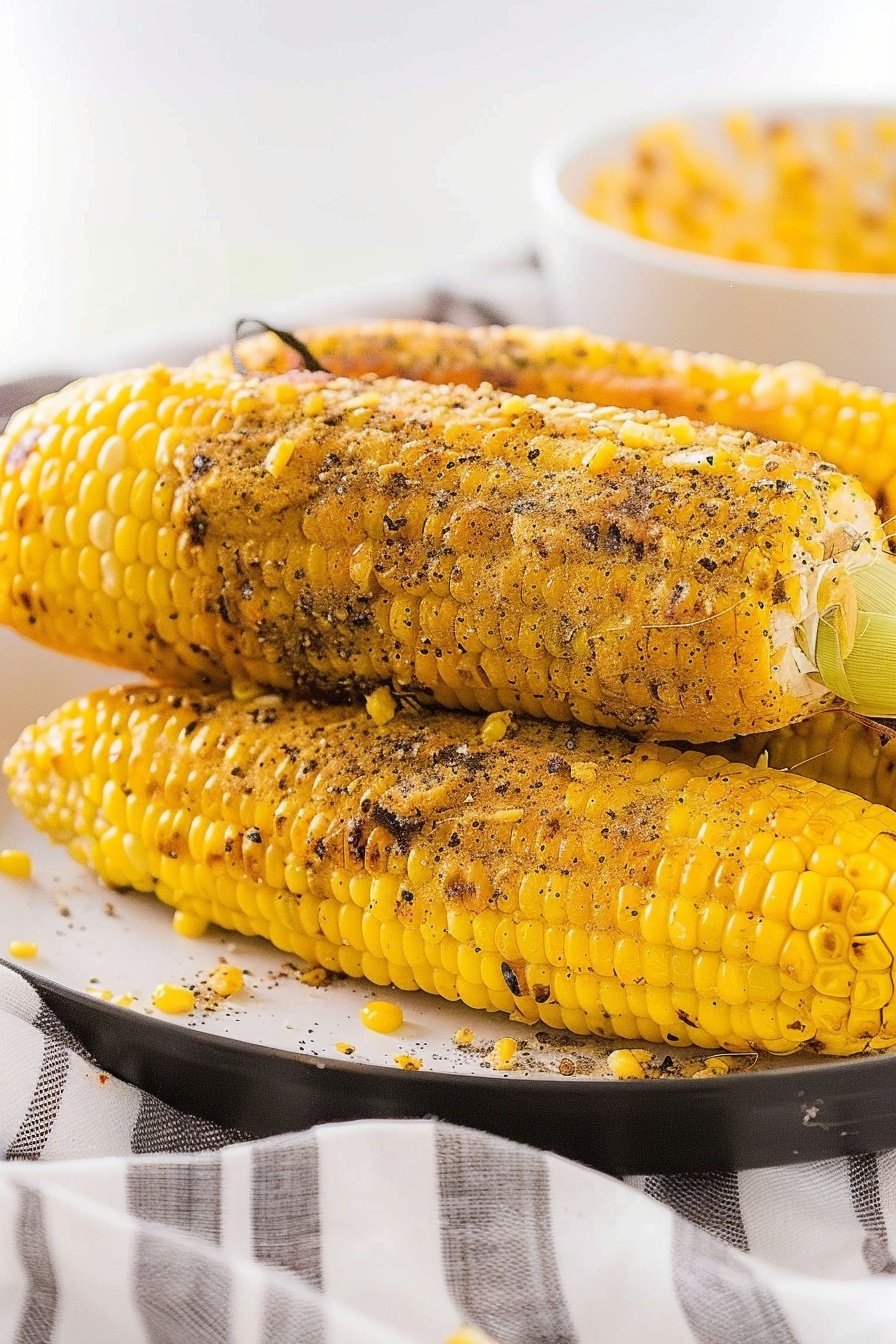
Step 4: Use tongs to lower the corn into the hot oil. Listen for that happy sizzle! Cook for a few minutes on each side. Watch for a beautiful golden brown color. (Keep a close eye on the heat. You don’t want the oil to get too angry!). Place the cooked corn on paper towels. This soaks up any extra oil. What’s your favorite summer cookout food? Share below!
Cook Time: 6–7 minutes
Total Time: 36 minutes
Yield: 4 servings
Category: Side Dish
Three Tasty Twists on Our Corn
This recipe is wonderful as it is. But sometimes, it’s fun to play with your food. I like to add little changes. It keeps things exciting in the kitchen. Here are three ideas I’ve tried and loved. They are all so simple and delicious.
Cheesy Herb Delight: Add a handful of grated parmesan to the cornmeal mix. It gets so crispy and cheesy.
Spicy Fiesta: Mix a teaspoon of chili powder into the coating. It gives the corn a nice, warm kick.
Garlic Lover’s Dream: Swap the onion powder for garlic powder. It fills the whole kitchen with a wonderful smell.
Which one would you try first? Comment below!
Serving Your Sizzling Corn
Now, what to serve with this golden treat? It’s the perfect side dish. I love it with simple foods. It makes any meal feel like a celebration. The crispy outside and sweet inside are just magic. Here are a few of my favorite ways to enjoy it.
Place the corn on a big platter. I like to add a sprinkle of extra salt right away. Serve it next to juicy hamburgers or grilled chicken. A fresh tomato salad is lovely on the side. The cool tomatoes balance the warm, crispy corn so well. It’s a perfect summer plate.
For a drink, I have two suggestions. A cold glass of lemonade is always a winner. It’s so refreshing. For the grown-ups, a light lager beer is very nice. It cuts through the richness beautifully. Which would you choose tonight?
Keeping Your Grilled Corn Perfect
Let’s talk about keeping this corn tasty for later. You can store cooked corn in the fridge for up to three days. Just wrap each ear tightly in foil first. This helps keep it from drying out.
You can also freeze this corn for a future treat. Let the cooked corn cool down completely. Then wrap each ear in plastic wrap and put it in a freezer bag. I remember freezing a batch for my grandson’s surprise visit. He was so happy to have a summer treat in the middle of winter!
To reheat, just warm it in a hot oven. No need to thaw it first. This makes for an easy side dish on a busy night. Batch cooking matters because it saves you time. A little work now means a delicious meal later. Have you ever tried storing it this way? Share below!
Fixing Common Corn Mistakes
Sometimes the coating might not stick well. Make sure your oil is hot enough before adding the corn. A little bit of oil should sizzle when you flick water into it. This matters because a hot pan gives you that perfect, crispy crust.
The coating can burn if the heat is too high. I once got distracted by the phone and my corn got too dark. Keep a close eye on it and adjust the heat as needed. Cooking with confidence means watching your food and trusting your instincts.
Your buttermilk might leak from the bag. Always put the bag in a baking dish, just like the recipe says. This simple step saves you from a big mess. A clean kitchen makes cooking more fun. Which of these problems have you run into before?
Your Corn Questions Answered
Q: Can I make this gluten-free? A: Yes! Just use your favorite gluten-free flour instead of all-purpose.
Q: Can I make it ahead? A: You can coat the corn hours before frying. Keep it in the fridge until you are ready.
Q: What if I don’t have buttermilk? A: Mix one cup of milk with one tablespoon of lemon juice. Let it sit for five minutes.
Q: Can I double the recipe? A: Absolutely! Just use a bigger pan so the corn isn’t crowded.
Q: Any extra tips? A: A squeeze of fresh lime juice at the end is wonderful. Fun fact: The acid in lime makes the sweet corn taste even sweeter! Which tip will you try first?
Share Your Kitchen Success
I hope you love this recipe as much as my family does. It always brings back happy memories of summer nights. Cooking is about sharing good food and good stories.
I would love to see your beautiful creations. Your photos always make my day. Have you tried this recipe? Tag us on Pinterest! I can’t wait to see your sizzling corn.
Happy cooking! —Tessa Hammond.
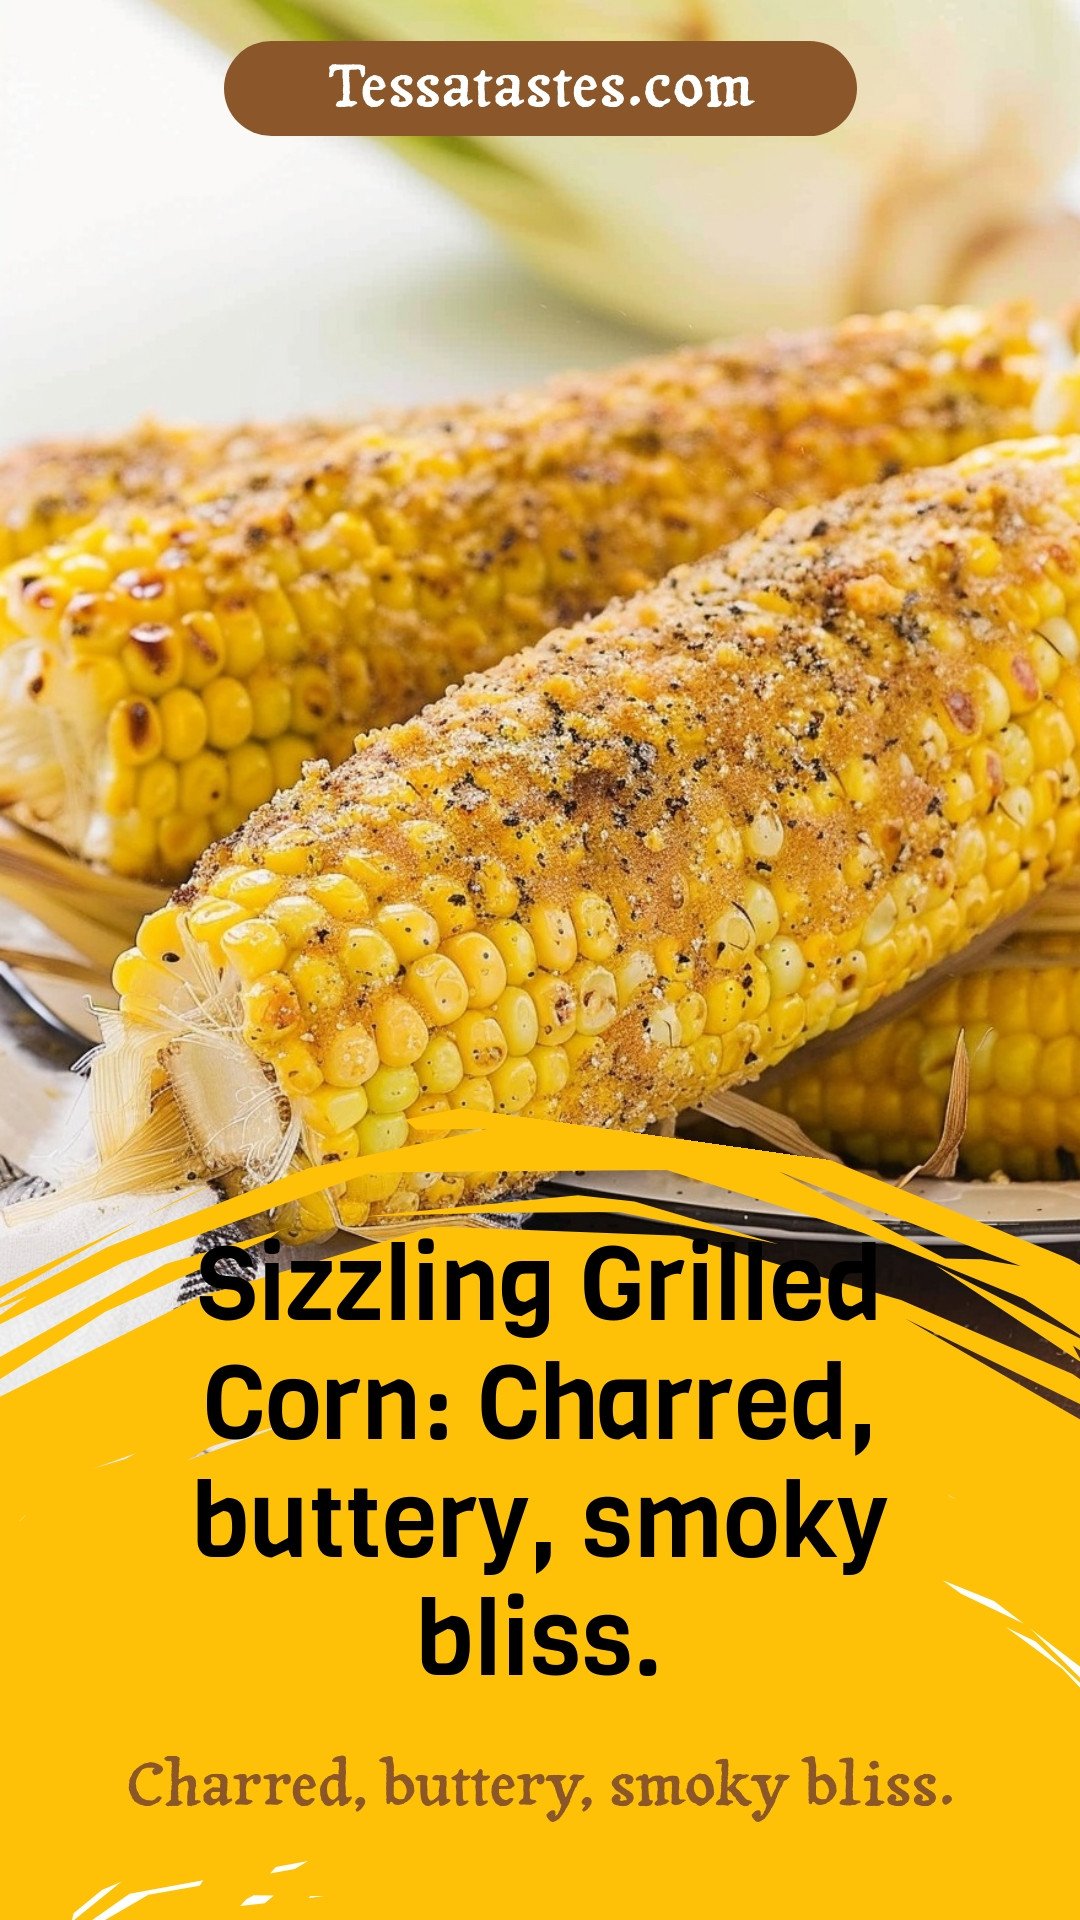
Sizzling Grilled Corn: Charred, buttery, smoky bliss.: Charred, buttery, smoky bliss.
Description
Get the ultimate guide to grilling corn! Our method delivers charred, smoky, and buttery perfection every time. A must-try summer side dish for your next BBQ.
Ingredients
Instructions
- Place all 4 ears of corn in a gallon size ziploc. Pour the buttermilk on top of the ears of corn and seal the ziploc.
- Place the sealed bag into a 8 x 8 baking dish, this will help keep the buttermilk contained just in case any leaks out. Allow the corn to rest in the buttermilk for 15 minutes on one side, then turn the corn baggie over to rest for 15 more minutes.
- In a small mixing bowl whisk the corn meal, all-purpose flour, italian seasoning, onion powder, salt, paprika, and black pepper. Pour the cornmeal mixture into baking dish to roll the corn in.
- In a 10 to 12-inch skillet, pour enough vegetable oil to measure ¼ inch. Heat the oil on medium high heat.
- Remove the soaked corn from the buttermilk, one ear at a time, and place in the cornmeal. Roll the ears of corn to completely coat.
- Using tongs, carefully place the ears of corn in the heated oil. Cook for 2 ½ to 3 ½ minutes per side, until golden brown, be careful not to burn the corn. Keep a very close eye on the oil, making certain to adjust the heat up or down to keep the oil from bubbling over.
- Place the cooked ears of corn onto a plate lined with paper towels, to soak up any excess oil.
- Serve as soon as corn has drained on paper towels.


Leave a Reply