The Kitchen Smell That Takes Me Back
I still remember the first time I made these rolls with my Aunt May. She had flour on her nose and a smile on her face. The whole house smelled like warm bread and happiness. Doesn’t that smell amazing just thinking about it? That smell is a hug for your whole kitchen.
The secret to that smell is the yeast waking up. When you mix that warm water with sugar and yeast, you are giving it a little breakfast. Wait for it to get foamy, like a tiny ocean in your bowl. That foam means the yeast is alive and ready to make magic happen.
Why Warm Water Matters More Than You Think
One time, I used water that was too hot and killed the yeast flat. My poor dough never grew. It sat there like a sad, flat pancake. I still laugh at that memory every time I feel the water temperature on my wrist.
You want the water to feel like a warm baby bottle, not a hot bath. That warmth helps the yeast sing. *Fun fact: If the water is too cold, the yeast just takes a nap. It needs that cozy warmth to wake up and puff the dough up into beautiful rolls.* This matters because happy yeast makes fluffy, crusty bread every single time.
Punching Down Is Not Being Mean
When your dough has doubled in size, you get to punch it. I love this part. It feels like you are giving the dough a friendly tickle. You push all the air bubbles out so the dough can get strong and smooth.
This is why it matters: punching down makes the texture even. It spreads the tiny air pockets around evenly. That way, every bite of your roll is soft and perfect, not full of giant holes. Have you ever punched dough before? Tell me what it felt like in the comments.
Shaping Little Rounds of Love
Dividing the dough into twelve pieces is fun. I like to roll each piece into a smooth little ball between my palms. It feels like making tiny pillows for dinner. You can make them messy or perfect, the taste is the same.
Let them rest again for thirty minutes. That second rise is what makes them light and airy inside. Do you like your rolls tall and round, or more flat and wide? I always wonder how other families shape their bread.
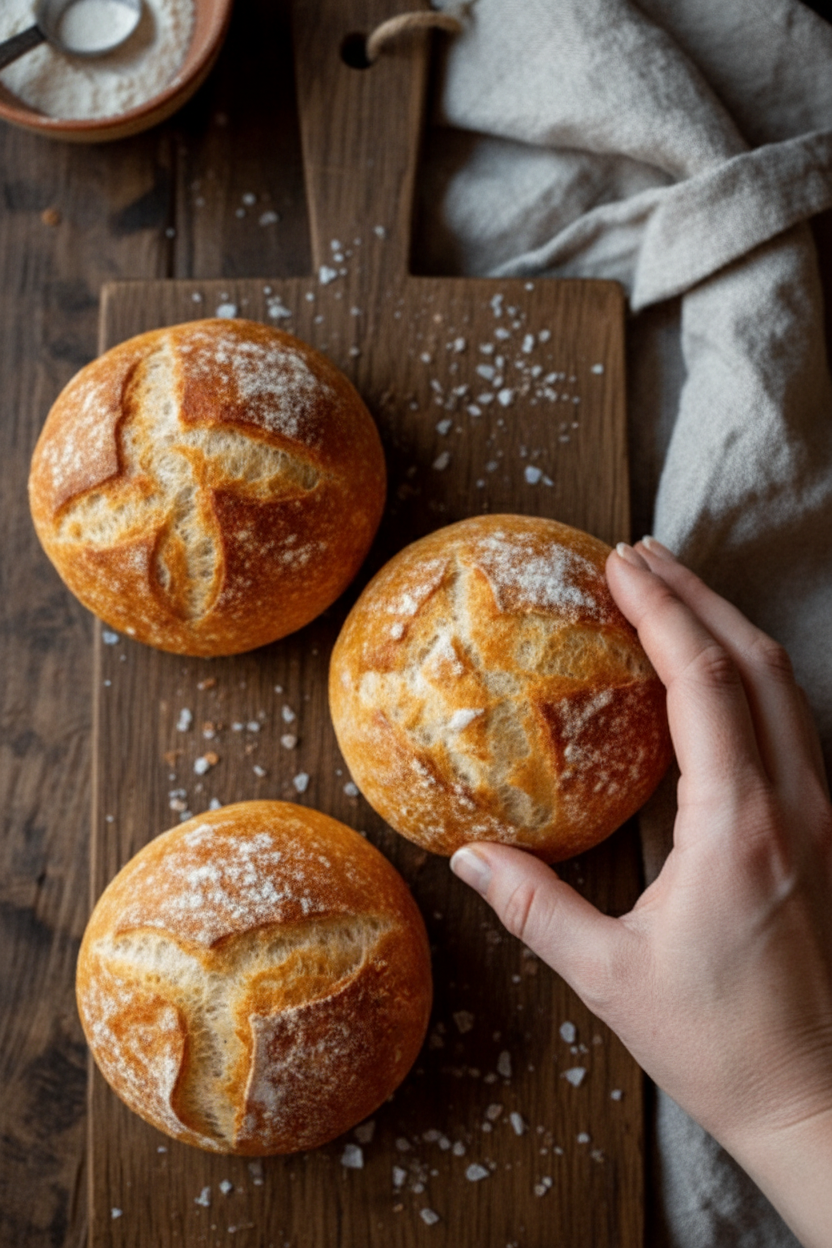
Slashing Makes Them Look Fancy
Before the rolls go in the oven, grab a sharp knife. Give each roll three or four little cuts on top. It looks like a little star or a smile. This is not just for looks. It helps the steam escape while they bake.
When the steam leaves, the rolls can grow bigger without cracking in the wrong places. So they puff up tall and stay beautiful. This matters because pretty food tastes better, don’t you think? Take a picture of your slashes and share them with me.
The Sound of a Perfect Roll
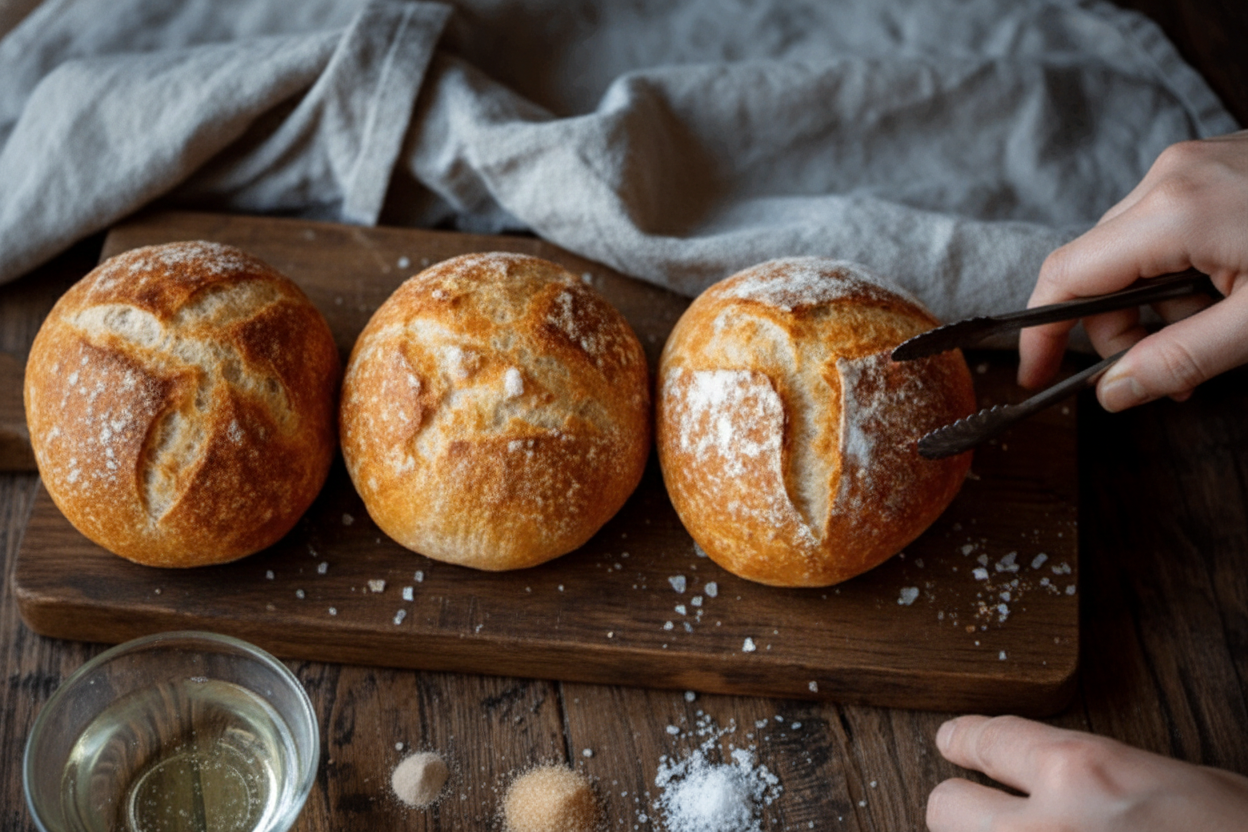
When the rolls come out golden brown, tap one on the bottom. It should sound hollow, like a little drum. That hollow sound means the inside is fully baked and the crust is nice and crunchy. My grandkids love tapping all the rolls before we eat.
Let them cool on a wire rack. If you eat them right away, the steam will make the crust soft. Waiting is hard, I know. But a cooled roll holds its crunch better. Try dipping one in soup or just with butter. What is your favorite thing to eat with bread rolls?
Little Secrets for Big Crust
For an extra crisp crust, here is a trick my mama taught me. Put a small pan of water in the bottom of the oven while the rolls bake. The steam makes the outside extra crunchy and golden. It is like giving the rolls a sauna.
The real secret is patience and practice. If your first batch is not perfect, that is okay. Bread teaches us to try again and laugh at our mistakes. I promise, even a funny-shaped roll tastes wonderful with jam. So tell me, what is one thing you want to bake next? I would love to hear your dreams.
Ingredients:
| Ingredient | Amount | Notes |
|---|---|---|
| All-purpose flour | 4 cups | |
| Warm water | 1 ½ cups | |
| Active dry yeast | 2 ¼ teaspoons | one packet |
| Salt | 2 teaspoons | |
| Sugar | 1 tablespoon |
The Smell of Fresh Bread Takes Me Back
I still remember my first batch of crusty rolls. The kitchen was a mess, but oh, that smell! Doesn’t that aroma just make a house feel like home? This recipe is simple and forgiving, just like a good friend should be.
Let me walk you through it. You’ll feel like a real baker, I promise. Just follow these steps, and don’t worry if a little flour gets on your nose.
Step 1: Start your yeast by mixing warm water, sugar, and the yeast in a big bowl. Let it sit for five minutes until it gets foamy on top. If it doesn’t foam, your yeast might be too old, so try again. I once used cold water and had to wait all day for bubbles!
Step 2: Add the flour and salt to the foamy mixture. Stir it with a wooden spoon until a shaggy, messy dough forms. Don’t be shy; get in there. (Hard-learned tip: Don’t dump all the flour in at once or you’ll make a dusty cloud. Add it slowly.)
Step 3: Turn the dough onto a floured counter and knead it for eight to ten minutes. Push it, fold it, and push it again. You’ll know it’s ready when it feels smooth and springy, like a soft pillow. My grandson Sam calls this “bread yoga” and I still laugh at that.
Step 4: Place the dough in a greased bowl and cover it with a towel. Set it in a warm, draft-free spot for one hour. The dough should double in size and look puffy. Why does the dough need to double in size before we punch it down? Share below!
Step 5: Preheat your oven to 425 degrees. Punch the risen dough down gently to release the air. Divide it into twelve equal pieces and shape each into a smooth round roll. Place them on a lined baking sheet.
Step 6: Cover the rolls with a towel and let them rise again for thirty minutes. Before baking, use a sharp knife to make three small slashes on top. This helps them expand and look fancy. Bake for 20-25 minutes until golden brown. Tap one on the bottom; if it sounds hollow, they’re done!
Cook Time: 25 minutes
Total Time: 2 hours 10 minutes
Yield: 12 rolls
Category: Bread, Snack
Fun Twists for Your Next Bake
Herb and Garlic: Mix two teaspoons of dried rosemary and one clove of minced garlic into the flour. It smells like a sunny Italian garden.
Cheddar and Chive: Fold in half a cup of shredded sharp cheddar and two tablespoons of chopped chives before the first rise. Perfect for soup dipping.
Honey Oat: Swap the sugar for honey and sprinkle rolled oats on top before baking. A soft, sweet roll that tastes like a warm hug.
Which one would you try first? Comment below!
How to Enjoy Your Warm Rolls
Serve these rolls with a pat of butter while they’re still warm. They’re also lovely alongside a bowl of tomato soup or a crisp green salad with vinaigrette. For a cozy meal, slice one open and fill it with roasted chicken and veggies.
As for drinks, a glass of cold milk is perfect for dunking. For grown-ups, a light apple cider pairs beautifully with the crusty bite. Which would you choose tonight?
How to Store and Reheat Your French Bread Rolls
These rolls are best the day you bake them. But leftovers are a real treat if you store them right.
Let the rolls cool completely on a wire rack first. Then put them in a paper bag at room temperature. Do not use plastic—it makes the crust soft and sad.
I once forgot a batch on the counter overnight. They were still chewy and good the next morning with butter. That is when I learned paper bags are magic.
For longer storage, wrap each roll in foil and freeze them. They keep for up to three months. To reheat, pop a frozen roll in a 350°F oven for ten minutes. The crust gets crispy again.
Batch cooking matters because it saves you time later. You will have fresh-tasting rolls ready for soup night or a quick sandwich. Have you ever tried storing it this way? Share below!
Three Common Problems and How to Fix Them
Problem one: your rolls come out flat. This usually happens if the yeast was too old or the water too hot. Always check that your water feels like warm bathwater, not hot tea.
Problem two: the crust is too hard. You might have baked them a few minutes too long. Try pulling them out when they are just golden, not dark brown. I remember when I burned my first batch—my kitchen smelled like toast for days.
Problem three: the inside is doughy. This means the rolls needed more time in the oven or a hotter start. A trick is to tap the bottom—if it sounds hollow, they are done. Fixing these issues builds your cooking confidence. You learn to trust your hands and your oven. That matters because good bread makes any meal feel special. Which of these problems have you run into before?
Your Top 5 Questions Answered
Q: Can I make these rolls gluten-free?
A: Yes, but use a 1-to-1 gluten-free flour blend. The dough will be stickier.
Q: Can I make the dough ahead of time?
A: Absolutely. Shape the rolls, cover them, and let the second rise happen in the fridge overnight.
Q: Can I swap all-purpose flour for whole wheat?
A: You can swap half the flour for whole wheat. The rolls will be denser but still tasty.
Q: How do I double the recipe?
A: Simply multiply everything by two. Use a bigger bowl and give the dough extra rising time.
Q: What if I don’t have parchment paper?
A: Grease the baking sheet well with butter or oil. The rolls will still come off fine.
*Fun fact: The slashes you cut on top are called “scoring.” They help the bread expand without splitting open.*
Which tip will you try first?
A Warm Goodbye from My Kitchen to Yours
I hope these rolls bring warmth to your table. There is nothing like pulling a hot, crusty bun from the oven and sharing it with people you love.
Take a picture of your beautiful batch. I would love to see them on Pinterest. It makes my heart happy to know my recipes are being used in kitchens far away.
Keep baking, keep trying, and do not worry about mistakes. That is how we all learn. Have you tried this recipe? Tag us on Pinterest!
Happy cooking!
—Tessa Hammond.

Crusty French Bread Rolls: Recipe and Baking Tips: Crusty French Bread Rolls Recipe and Baking Tips
Description
Experience the delightful contrast of textures and flavors with this Crusty French Bread Rolls Recipe and Baking Tips.
Ingredients
Instructions
- In a large mixing bowl, combine warm water, sugar, and yeast. Let it sit for about 5 minutes until foamy.
- Add flour and salt to the yeast mixture, stirring with a wooden spoon or dough hook until a shaggy dough forms.
- Knead the dough on a lightly floured surface for about 8-10 minutes, until smooth and elastic.
- Place the dough in a greased bowl, cover with plastic wrap or a kitchen towel, and let it rise in a warm place for about 1 hour, or until doubled in size.
- Preheat your oven to 425°F (220°C) and line a baking sheet with parchment paper.
- Punch down the risen dough and divide it into 12 equal pieces. Shape each piece into a round roll and place them on the prepared baking sheet.
- Cover the rolls with a kitchen towel and let them rise for another 30 minutes.
- Before baking, use a sharp knife to make a few shallow slashes on the tops of the rolls for decorative purposes and to help them expand while baking.
- Bake in the preheated oven for 20-25 minutes, or until the rolls are golden brown and sound hollow when tapped on the bottom.
- Let cool on a wire rack before serving.
Notes
- For best results, use a baking stone or place a pan of water in the oven to create steam for an extra crispy crust.


Leave a Reply